|
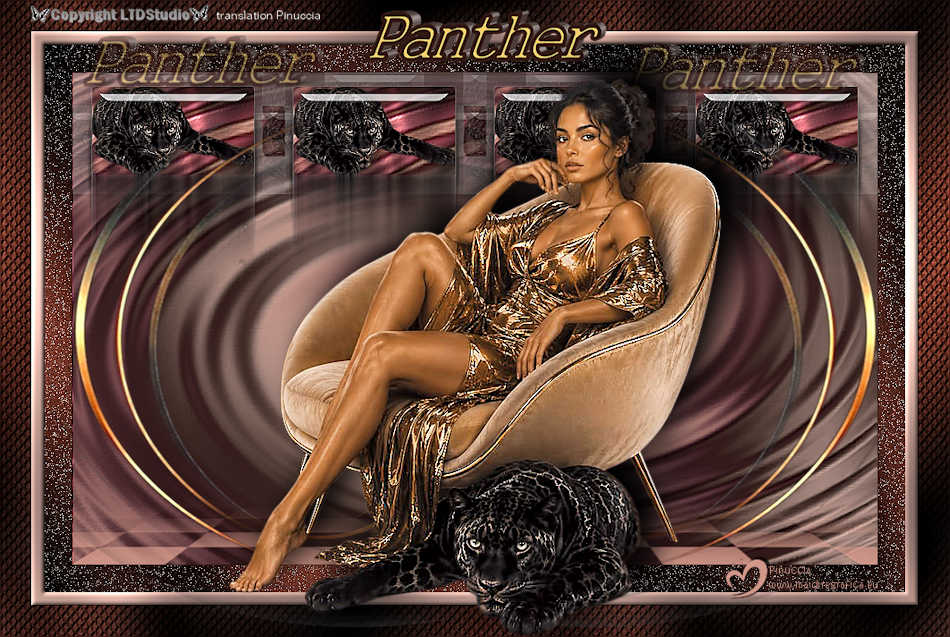
PANTHER 

This tutorial, was created with PSPX9 and translated with PSP2020, but it can also be made using other versions of PSP.
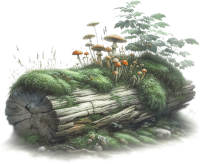 For this tutorial, you will need:  Thanks for the tube Beatriz. The rest of the material is by Lady Tess. (you find here the links to the material authors' sites) 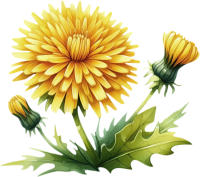  consult, if necessary, my filter section here Filters Unlimited 2.0 here &<Background Designers IV> - @Night Shadow Pool (to import in Unlimited) here Graphics Plus - Cross Shadow here Toadies - What are you here Alien Skin Eye Candy 5 Impact - Glass here Muras's Meister - Copies here Nik Software - Color Efex Pro here EC4000 - Motion Trail here FM Tile Tools - Blend Emboss here Filters Graphics Plus and Toadies can be used alone or imported into Filters Unlimited. (How do, you see here) If a plugin supplied appears with this icon  it must necessarily be imported into Unlimited it must necessarily be imported into UnlimitedYou can change Blend Modes according to your colors.  Copy the selection in the Selections Folder. Copy the texture JC049 in the Textures Folder. Copy the mask !!mask-fadesuave in the Masks Folder. Open the second mask in PSP and minimize it with the rest of the material. Colors 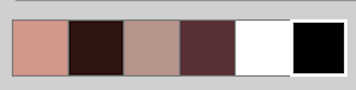 1. Set your foreground color to #d19889 and your background color to #2f1813. 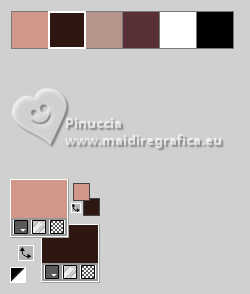 color 3 #b7948b color 4 #5a3138 other colors: white and black 2. Open a new transparent image 900 x 550 pixels. Effects>Plugins>Mehdi - Wavy Lab 1.1. This filter creates gradients with the colors of your Materials palette. The first is your background color, the second is your foreground color. Change the last two colors created by the filtre: the third color with #b7948b and the fourth color with #5a3f38. 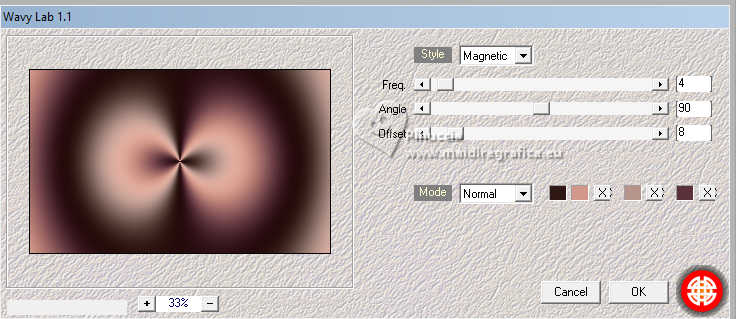 Layers>Duplicate. Adjust>Blur>Gaussian Blur - radius 40 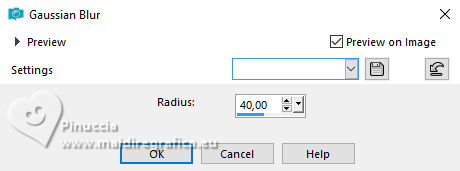 3. Layers>New Raster Layer. Flood Fill  the layer with your foreground color #d19889. the layer with your foreground color #d19889.Layers>New Mask layer>From image Open the menu under the source window and you'll see all the files open. Select the mask Exkizz_Mask_Daphner1. 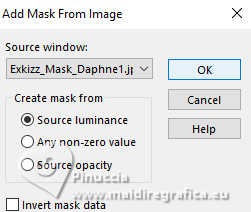 Layers>Merge>Merge Group. Adjust>Sharpness>Sharpen. 4. We have this 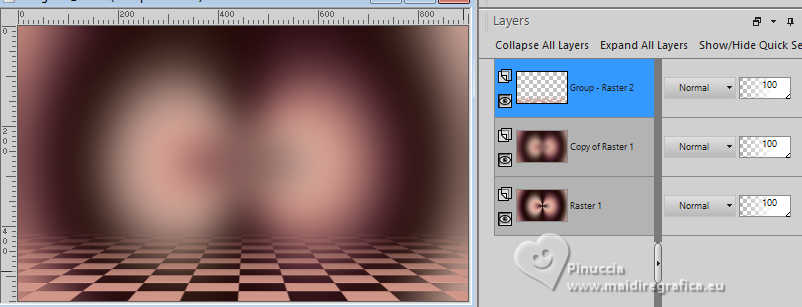 5. Activate the central layer, Copy of Raster 1. Effects>Plugins>Filters Unlimited 2.0 - Distortion Filters - Down The Drain 2. 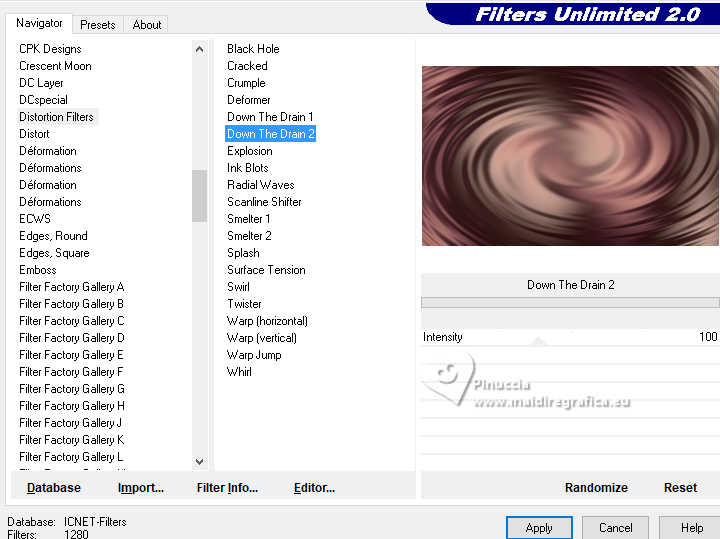 Effects>Plugins>FM Tile Tools - Blend Emboss, default settings. 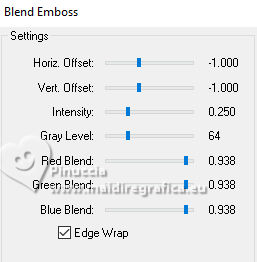 Repeat this Filter another time. Result 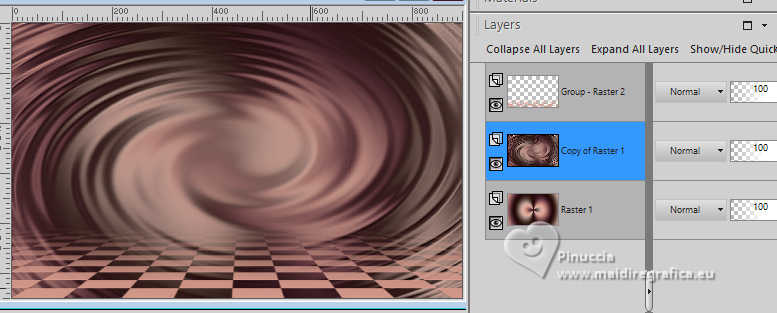 6. Activate the top layer of the mask. Layers>Load/Save Mask>Load Mask from Disk Look for and load the mask !!mask-fadesuave 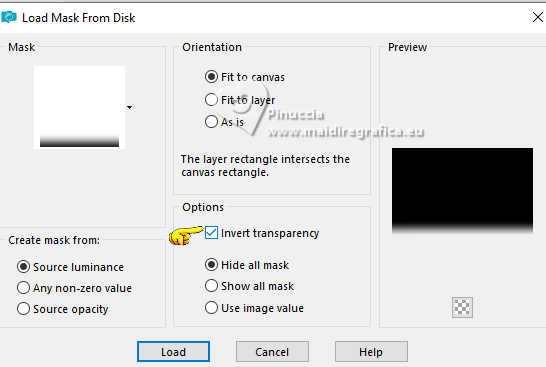 Layers>Duplicate. Layers>Merge>Merge Group. Layers>Duplicate. Layers>Merge>Merge Down. Selections>Load/Save Selection>Load Selection from Disk. Look for and load the selection LTD_Phanter_sel_1 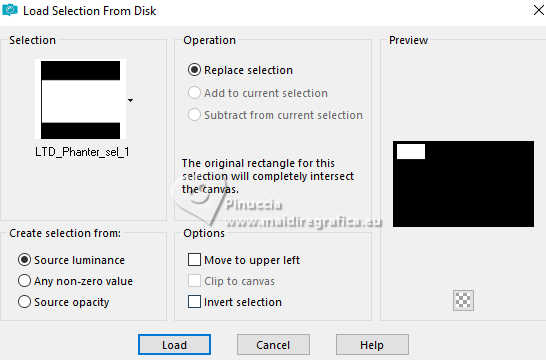 7. Activate the central layer - Copy of Raster 1. Selections>Promote Selection to Layer. Layers>Arrange>Bring to Top. Effects>Plugins>Filters Unlimited 2.0 - &<Background Designers IV> - @Night Shadow Pool 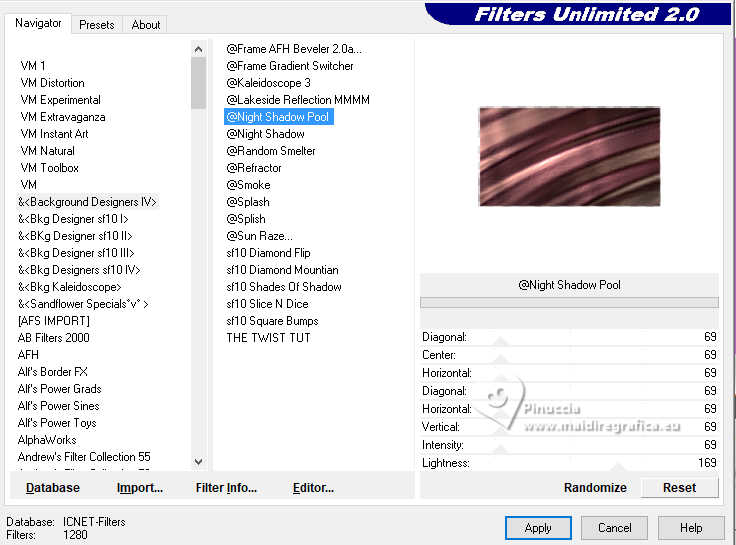 Repeat this Effect another time. 8. Layers>New Raster Layer. Open image_panther 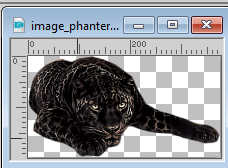 Edit>Copy. Go back to your work and go to Edit>Paste into Selection. Adjust>Sharpness>Sharpen. Layers>Merge>Merge Down. 9. Effects>Plugins>Alien Skin Eye Candy 5 Impact - Glass preset Clear with these settings. 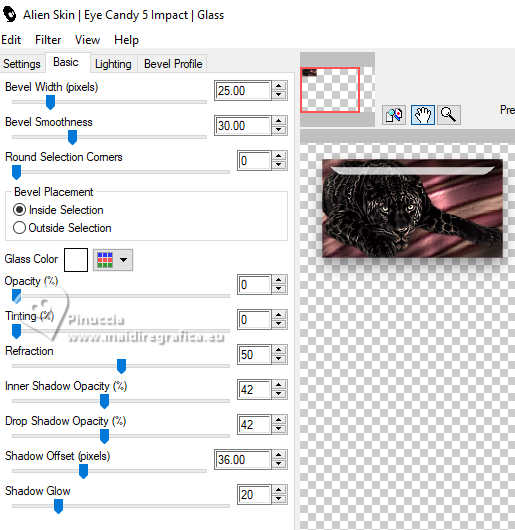 Selections>Select None. Effects>Plugins>Mura's Meister - Copies. 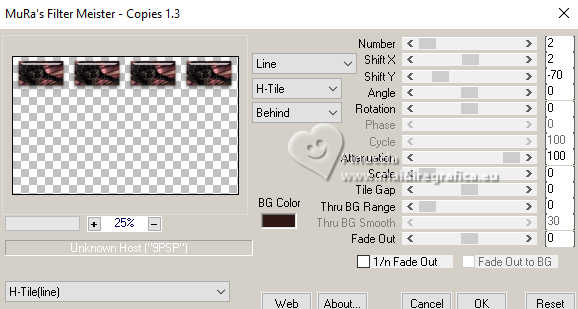 10. Layers>Duplicate. Activate the layer below of the original. Effects>Plugins>Filters Unlimited 2.0 - Toadies - What are you 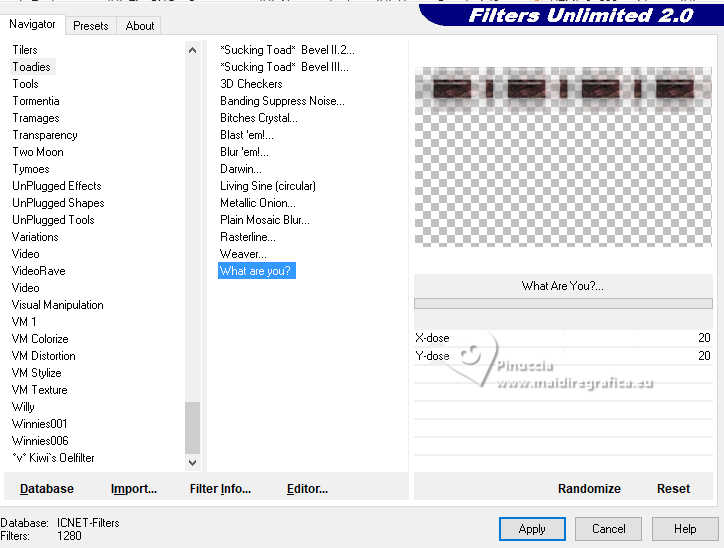 Adjust>Sharpness>Sharpen More. 11. We have this 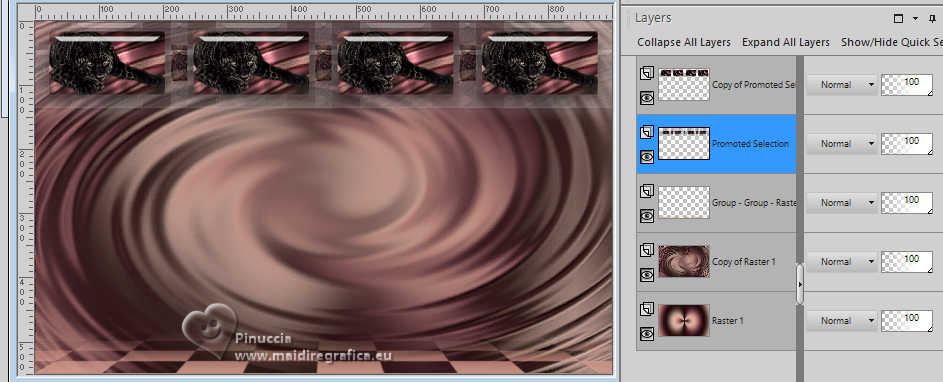 12. Activate your top layer. Effects>Plugins>Eye Candy 4000 - Motion Trail 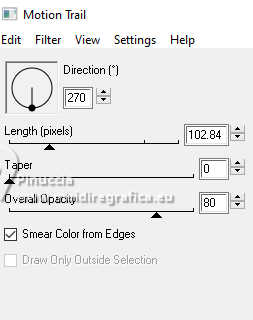 Effects>Plugins>Nik Software - Color Efex Pro - Tonal Contrast, default settings. 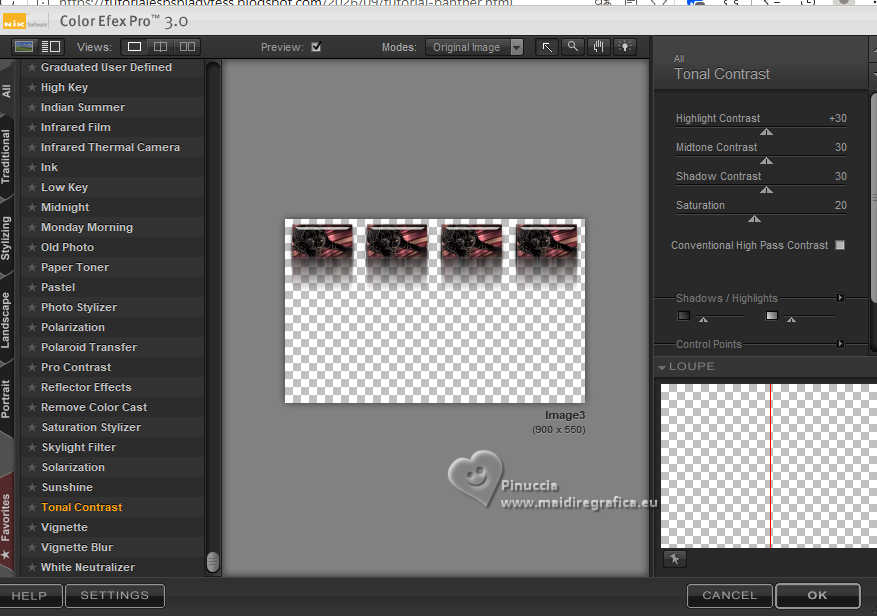 Result 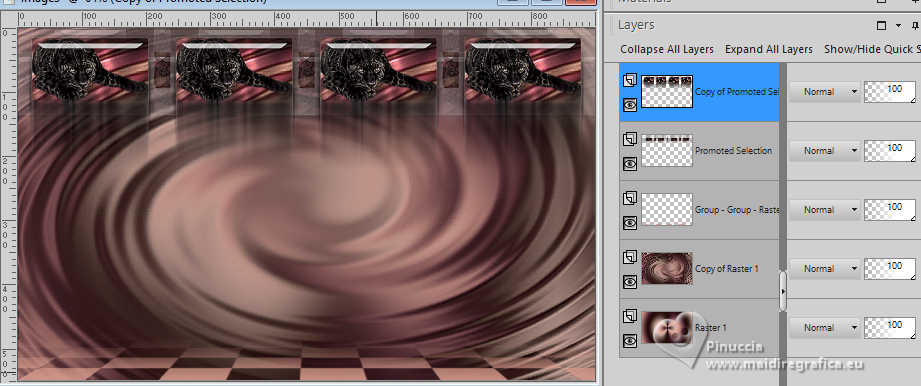 13. Image>Add Borders, 1 pixel, symmetric, color #2f1813. Selections>Select All. Image>Add Borders, 30 pixels, symmetric, color #2f1813. Selections>Invert. Effects>Plugins>Graphics Plus - Cross Shadow, default settings 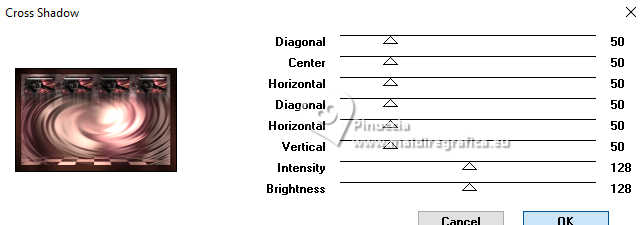 Repeat this Effect another time. 14. Adjust>Add/Remove Noise>Add Noise. 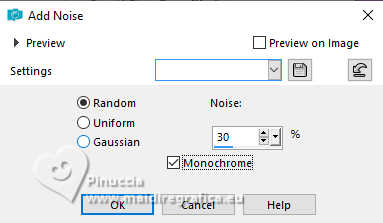 Effects>Plugins>Nik Software - Color Efex Pro - Tonal Contrast, last settings. 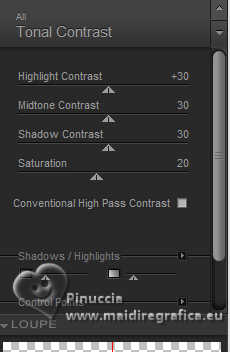 Selections>Select None. Selections>Select All. 15. Image>Add Borders, 15 pixels, symmetric, color #b7948b. Selections>Invert. Effects>Plugins>Filters Unlimited 2.0 - &<Background Designers IV> - @Night Shadow Pool 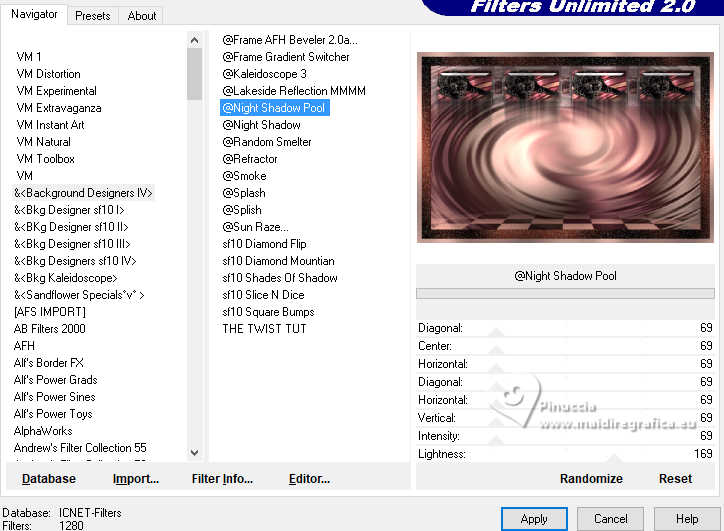 Effects>3D Effects>Inner Bevel. 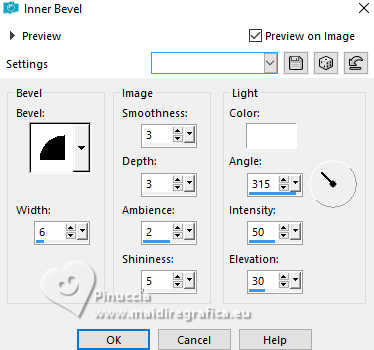 Selections>Select None. 16. Selections>Select All. Image>Add Borders, 35 pixels, symmetric, color #2f1813. Selections>Invert. Effects>Texture Effects>Texture - select the texture JC049 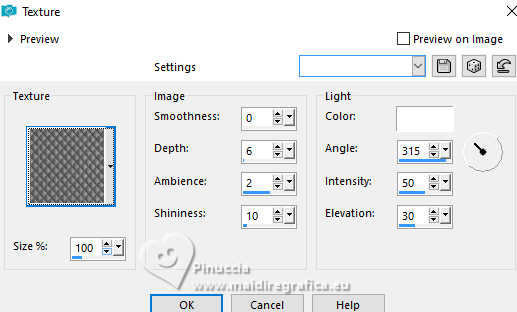 17. Effects>Plugins>Filters Unlimited 2.0 - &<Background Designers IV> - @Night Shadow Pool 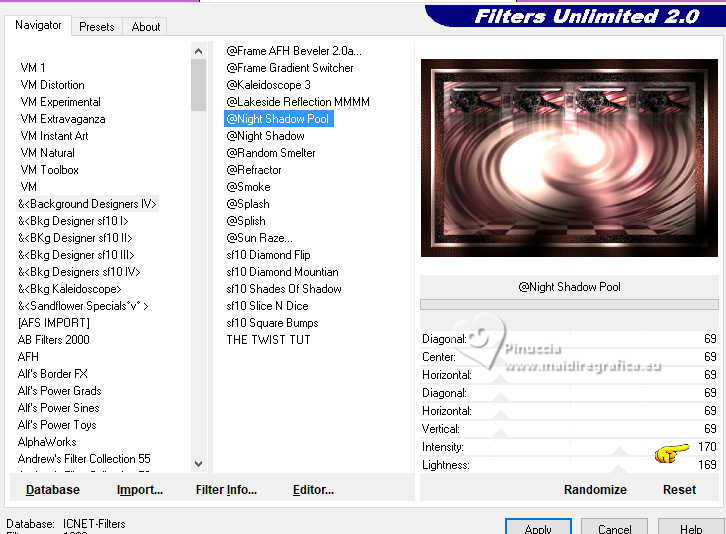 Effects>Plugins>Nik Software - Color Efex Pro - Tonal Contrast, last settings. Selections>Select none 18. Open 5050-woman-B TUBES 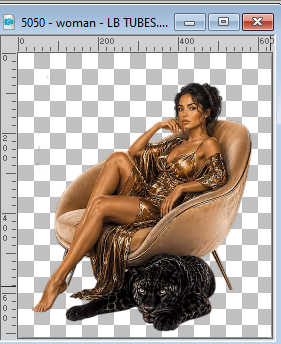 Edit>Copy. Go back to your work and go to Edit>Paste as new layer. Objects>Align>Bottom. Effects>3D Effects>Drop Shadow. 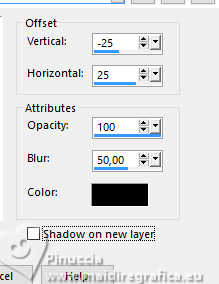 19. Open LTDStudio_Phanter_Deco  Edit>Copy. Go back to your work and go to Edit>Paste as new layer. Objects>Align>Bottom. Layers>Arrange>Move Down. 20. Open LTDStudio_Phanter_Texto  Edit>Copy. Go back to your work and go to Edit>Paste as new layer. Objects>Align>Top Move slightly down (in my version), to your liking. 21. Sign your work on a new layer. Add the author's and translator's watermarks. Layers>Merge>Merge All and save as jpg. Version with my tubes from Pinterest images    Your versions. Thanks Your versions. Thanks If you have problems or doubts, or you find a not worked link, or only for tell me that you enjoyed this tutorial, write to me. 2 October 2026 |