|
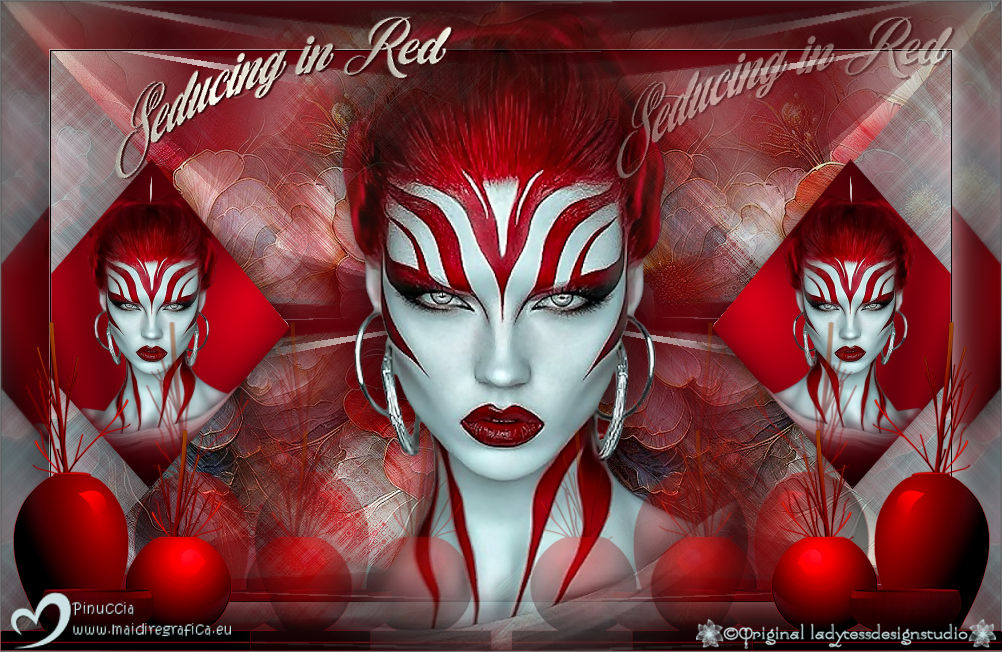
SEDUCING IN RED 

This tutorial, was created with PSPX9 and translated with PSP2020, but it can also be made using other versions of PSP.
For this tutorial, you will need:  For the tubes thanks Eugenia Clo and Cat. The rest of the material is by Lady Tess. (you find here the links to the material authors' sites)  consult, if necessary, my filter section here Filters Unlimited 2.0 here &<Bkg Kaleidoscope> - Nomad Rugs(to import in Unlimited) here Mehdi - Wavy Lab here Distort - Turn Your Inside Outside here Alien Skin Eye Candy 5 Impact - Glass here Funhouse - Xaggerate here Graphics Plus - Cross Shadow here AAA Frames - Foto Frame here Filters Distort, Funhouse and Graphics Plus can be used alone or imported into Filters Unlimited. (How do, you see here) If a plugin supplied appears with this icon  You can change Blend Modes according to your colors.  Copy the Selections in the Selections Folder. 1. Set your foreground color to #cae0e2, and your background color to #62000b.  2. Open a new transparent image 900 x 550 pixels. Effects>Plugins>Mehdi - Wavy Lab 1.1. This filter creates gradients with the colors of your Materials palette. The first is your background color, the second is your foreground color. Keep the last two colors created by the filtre 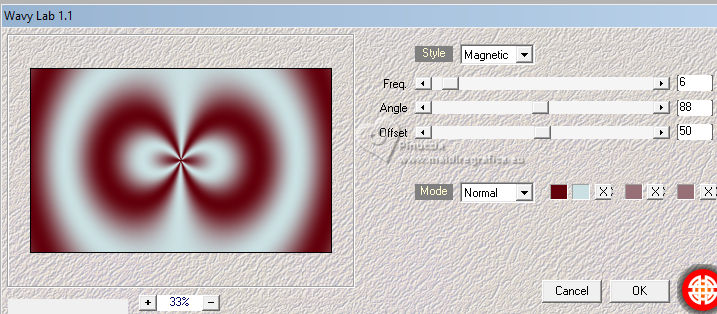 Layers>Duplicate. Adjust>Blur>Gaussian Blur - radius 35. 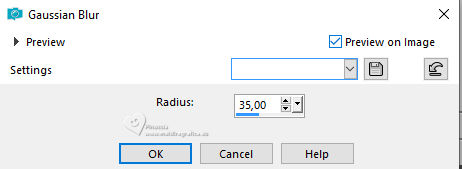 Layers>New Raster Layer. 3. Selections>Select All. Open Misted_Woman2028_byClo 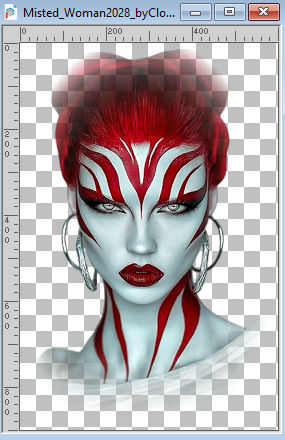 Edit>Copy. Go back to your work and go to Edit>Paste into Selection. Selections>Select None. 4. Effects>Image Effects>Seamless Tiling, default settings.  Layers>Merge>Merge Down. Adjust>Blur>Radial Blur 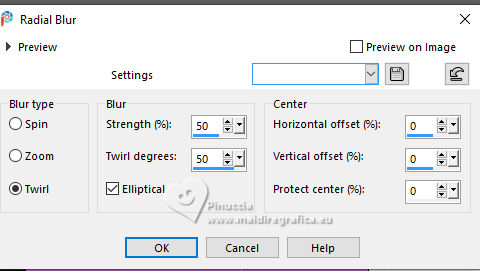 5. Effects>Plugins>Filters Unlimited 2.0 - Distort - Turn Your Inside Outside. 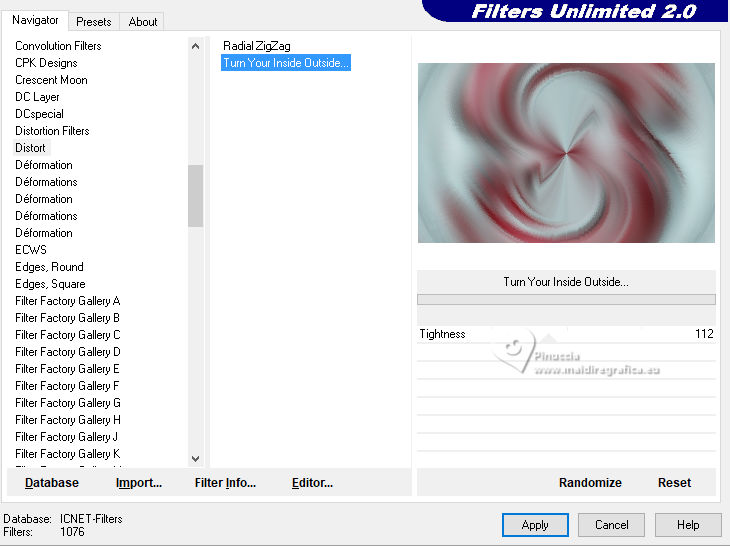 Effects>Plugins>Filters Unlimited 2.0 - Funhouse - Xaggerate. 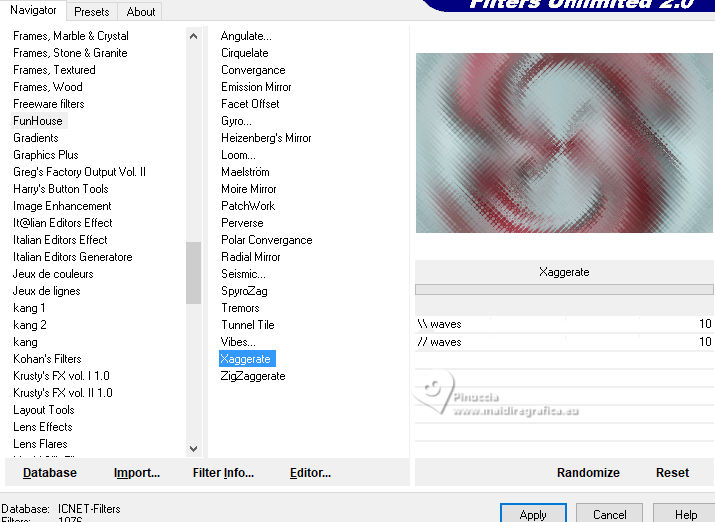 6. We have this 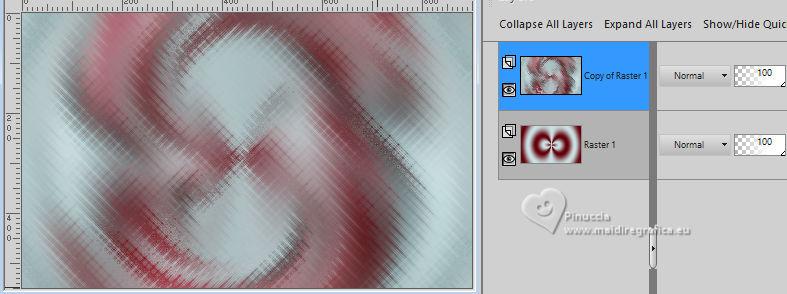 7. Selections>Load/Save Selection>Load Selection from Disk. Look for and load the selection SeducingRed_sel_1 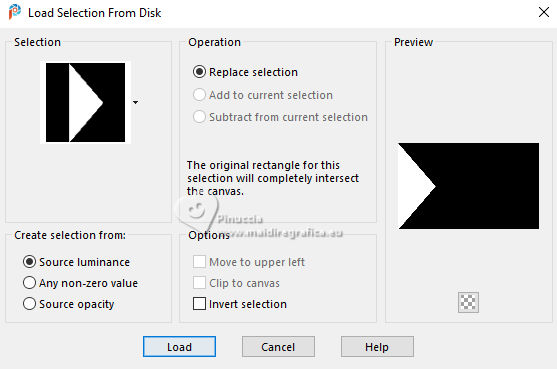 Selections>Promote Selection to Layer. Selections>Selection None. Effects>Plugins>Filters Unlimited 2.0 - &<Bkg Kaleidoscope> - Nomads rug. 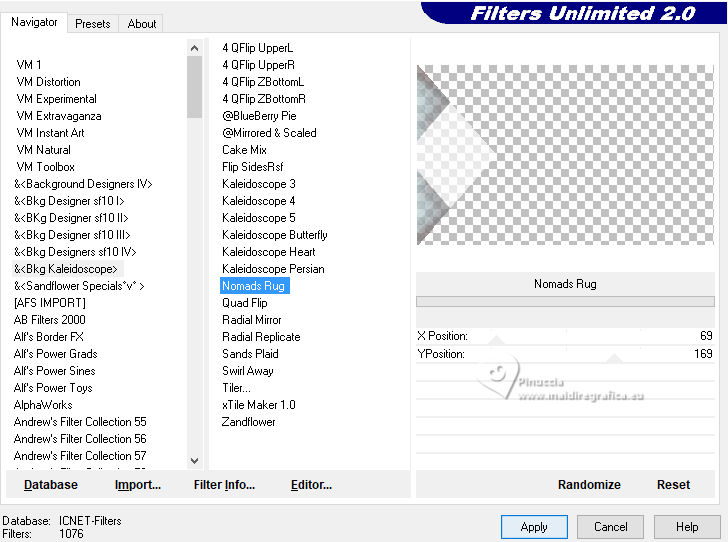 if you are using a different version of Unlimited, you may have a different result; for example this is the result with Unlimited 2.3. In this case, before applying the filter, set your background color to white. After, don't forget to return the background color to the initial color. In any case, you can also leave it as it is, because the difference will be almost invisible. 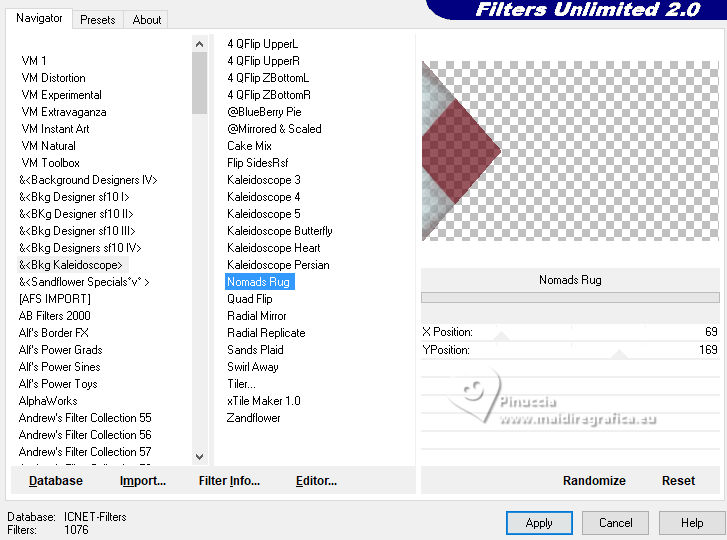 8. Layers>New Raster Layer. Selections>Load/Save Selection>Load Selection from Disk. Look for and load the selection SeducingRed_sel_2 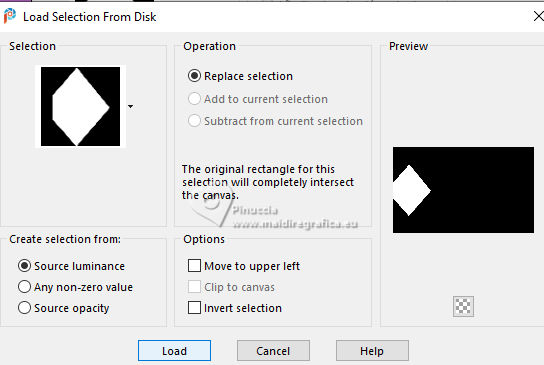 Flood Fill  the selection with your background color #62000b. the selection with your background color #62000b.Effects>Plugins>Filters Unlimited 2.0 - Graphics Plus - Cross Shadow, default settings. 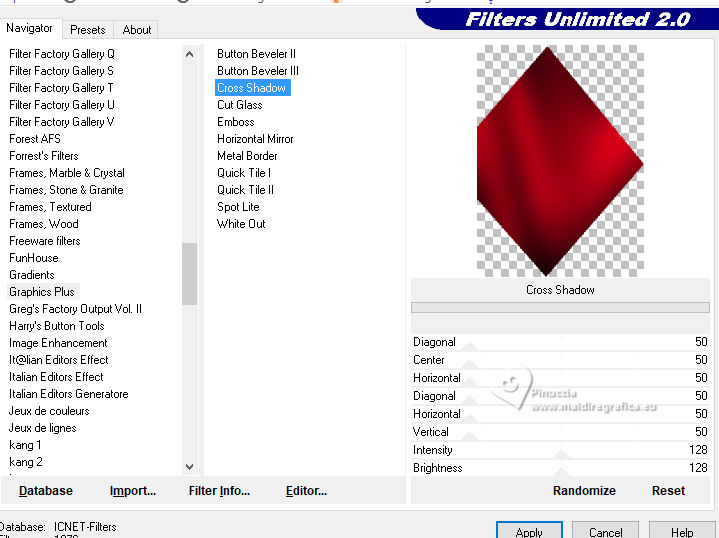 9. Edit>Paste as new layer - the tube Misted_Woman2028_byClo is still in memory. Image>Resize, to 30%, resize all layers not checked. Place  the tube in the center of the selection. the tube in the center of the selection.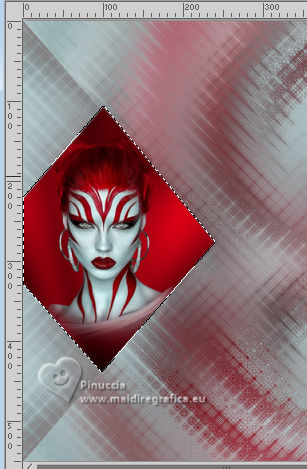 Selections>Invert. Press CANC on the keyboard  Selections>Invert. 10. Layers>Merge>Merge Down. Effects>Plugins>Alien Skin Eye Candy 5 Impact - Glass - preset Clear with these settings. 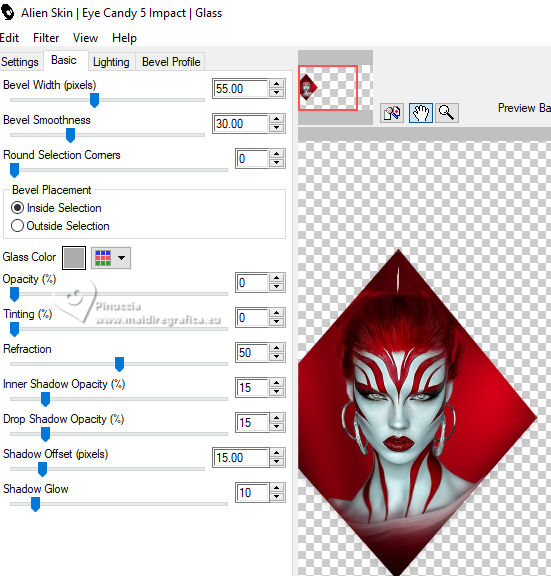 Selections>Select None. 11. Again Layers>Merge>Merge Down. Effects>3D Effects>Drop Shadow, color #000000 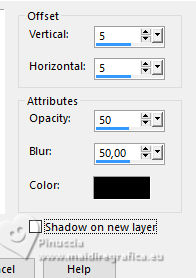 Layers>Duplicate. Image>Mirror>Mirror Horizontal. Layers>Merge>Merge Down. 12. We have this  13. Activate the central layer - Copy of Raster 1. Open 2024 07 10 Cat mist N1  Edit>Copy. Go back to your work and go to Edit>Paste as new layer. Change the Blend Mode of this layer to Overlay. Effects>Image Effects>Seamless Tiling.  14. Stay on this layer. Selections>Load/Save Selection>Load Selection from Disk. Look for and load the selection SeducingRed_sel_3  Layers>New Raster Layer. Flood Fill  with your background color #62000b. with your background color #62000b.Selections>Select None. 15. Effects>Plugins>Alien Skin Eye Candy 5 Impact - CLEAR, last settings.  Effects>Plugins>VM Toolbox - Zoom Blur 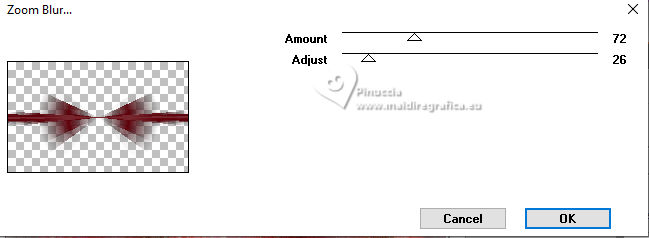 If you import the Effects in Unlimited it may happens that you'll find it under VM Stylize 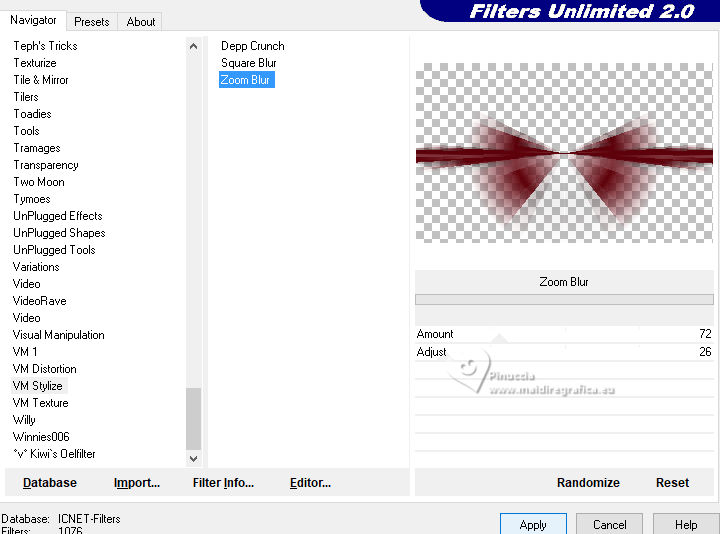 K key to activate your Pick Tool  Position X: 0,00 - Position Y: 174,00.  M key to deselect the Tool. Effects>Image Effects>Seamless Tiling.  16. We have this. 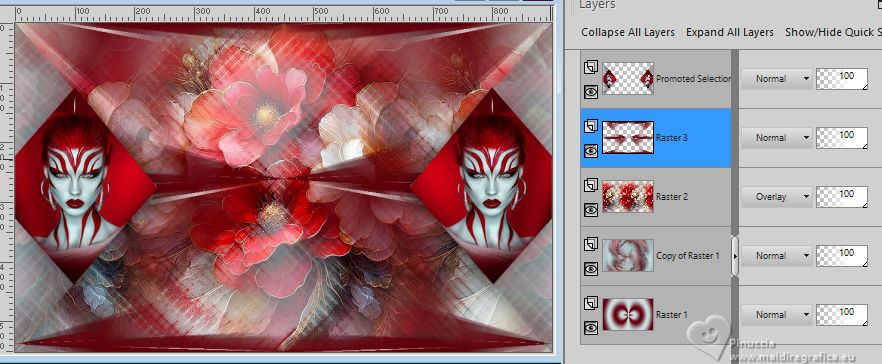 17. Image>Add borders, 1 pixel, symmetric, color #000000. Edit>Copy Edit>Paste as new image and minimize this image Go back to your work. Selections>Select All. Image>Add borders, 50 pixels, symmetric, color #ffffff. 18. Selections>Invert. Edit>Paste into Selection - the image of step 17 is still in memory. Effects>Plugins>AAA Frames - Foto Frame. 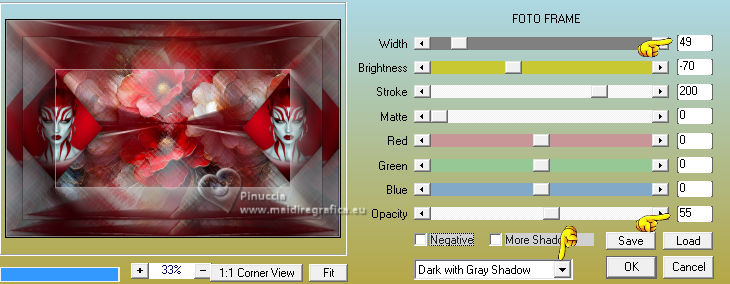 Selections>Select None. 19. Activate again che tube Misted_Woman2028_byClo and go to Edit>Copy. Go back to your work and go to Edit>Paste as new layer. Image>Resize, to 80%, resize all layers not checked. Move  the tube slightly down (see my final tag). the tube slightly down (see my final tag).Effects>3D Effects>Drop Shadow, color #000000. 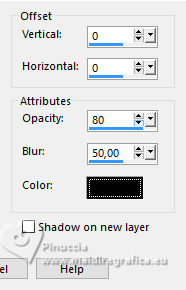 20. Open LTDStudio_SeducingRed_Deco  Edit>Copy. Go back to your work and go to Edit>Paste as new layer. Objects>Align>Bottom. Objects>Align>Horizontal Center. 21. Open LTDStudio_SeducingRed_Texto  Edit>Copy. Go back to your work and go to Edit>Paste as new layer. Place  the text to your liking. the text to your liking.22. Sign your work. Add the author and the translator's watermarks. Layers>Merge>Merge All and save as jpg. The women tubes are my composition from images found on the internet  For the flowers tube thanks PqnaAlice    Your versions. Thanks Your versions. Thanks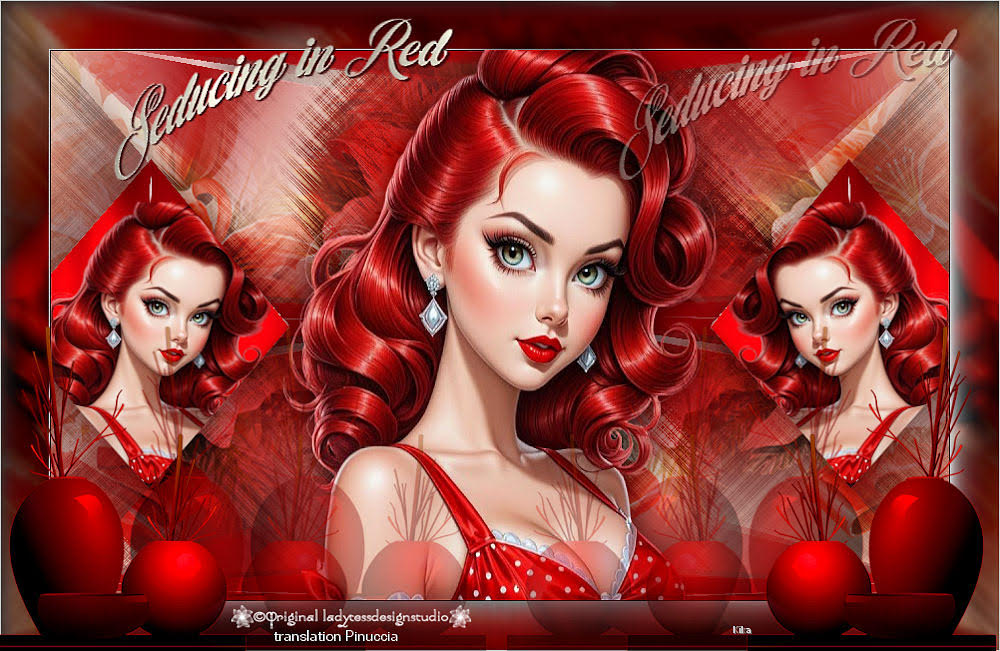 Kika 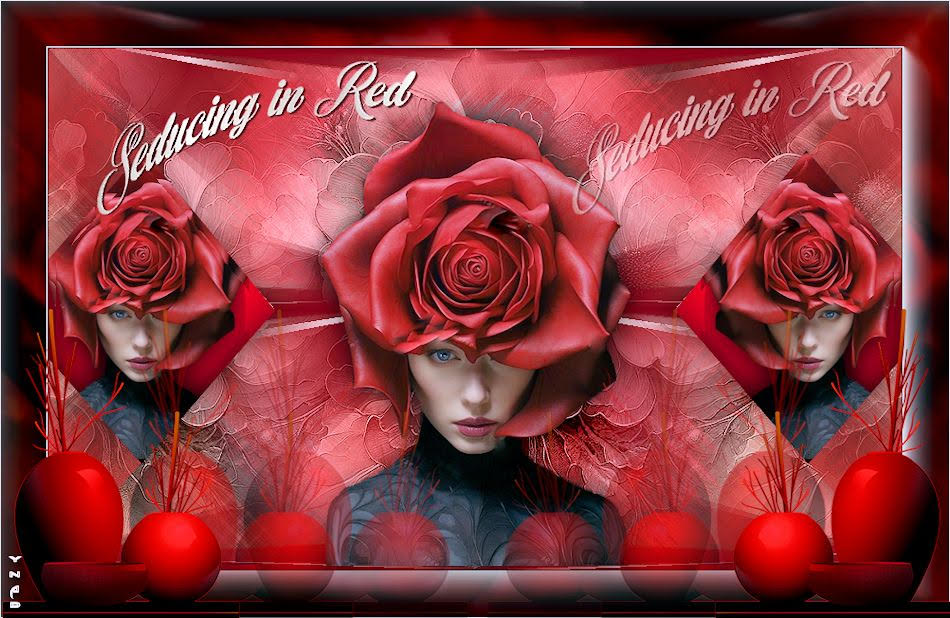 Dany 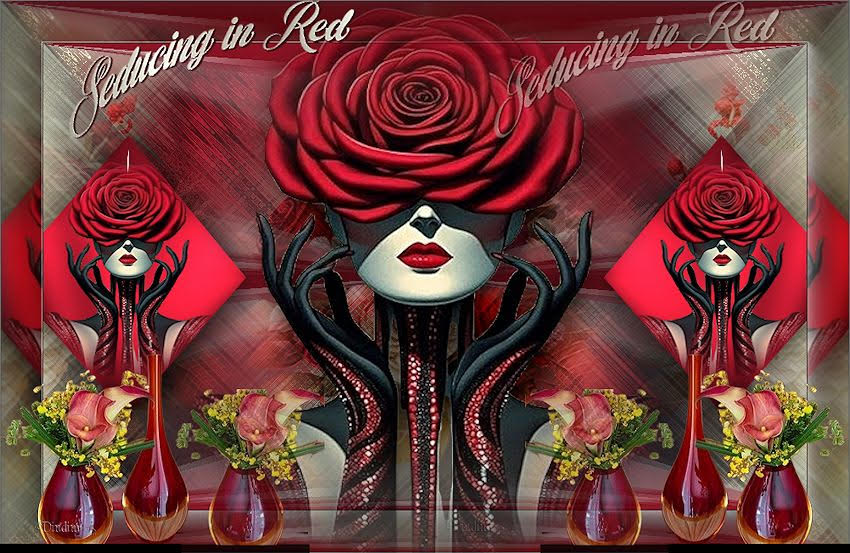 Dindim  If you have problems or doubts, or you find a not worked link, or only for tell me that you enjoyed this tutorial, write to me. |
