|
TOP DREAMS

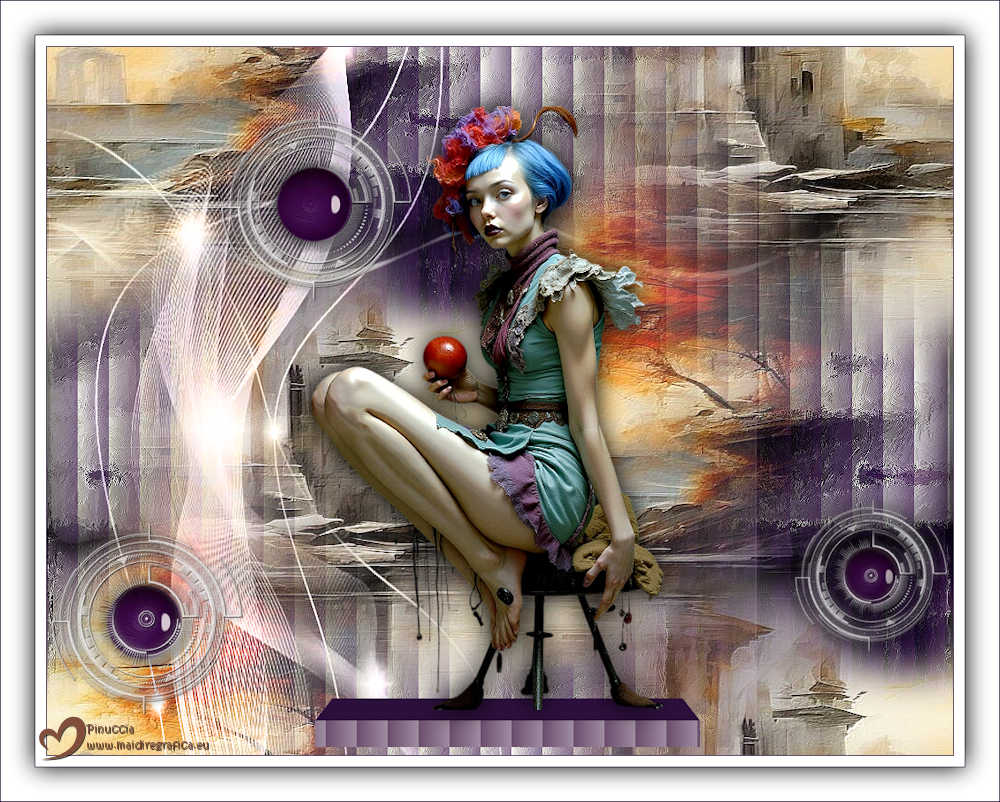
Thanks Lica Cida for your invitation to translate your tutorial

This tutorial was created with PSPX9 and translated with PSPX9 and PSP2020, but it can also be made using other versions of PSP.
Since version PSP X4, Image>Mirror was replaced with Image>Flip Horizontal,
and Image>Flip with Image>Flip Vertical, there are some variables.
In versions X5 and X6, the functions have been improved by making available the Objects menu.
In the latest version X7 command Image>Mirror and Image>Flip returned, but with new differences.
See my schedule here
 French translation here French translation here
 your versions here your versions here

For this tutorial, you will need:

Thanks for the tubes Cora.
(you find here the links to the material authors' sites)

consult, if necessary, my filter section here
Filters Unlimited 2.0 here
Flaming Pear - Flexify 2 here
AAA Frames - Foto Frame here

You can change Blend Modes according to your colors.

Copy the selection in the Selections Folder.
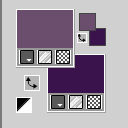
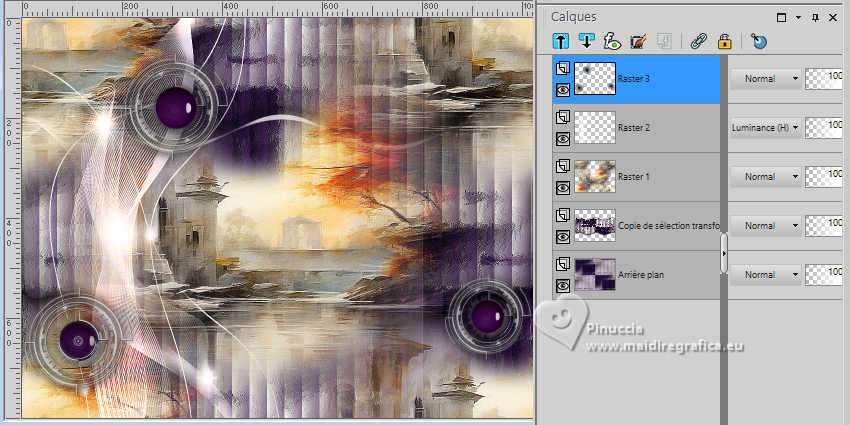
Set your foreground color to #6b4e6d,
and your background color to #3a144d.
1. Open backbylc 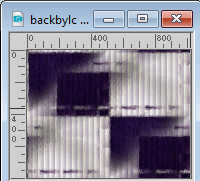
This image will be the basis of your work.
2. Effects>Texture Effects>Blinds
choose a color of your background; for me #3a144d)
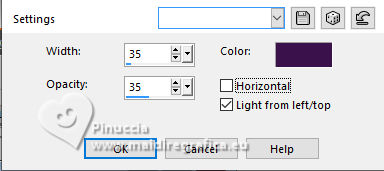
Adjust>Sharpness>Sharpen.
3. Selections>Load/Save Selection>Load Selection from Disk.
Look for and load the selection dreamssel1bylc
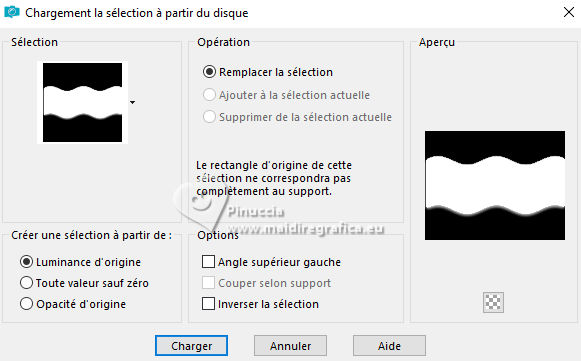
Selections>Promote Selection to Layer.
Selections>Select None.
4. Layers>Duplicate.
On this layer:
Effects>Plugins>Alien Skin Eye Candy 5 Impact - Glass.
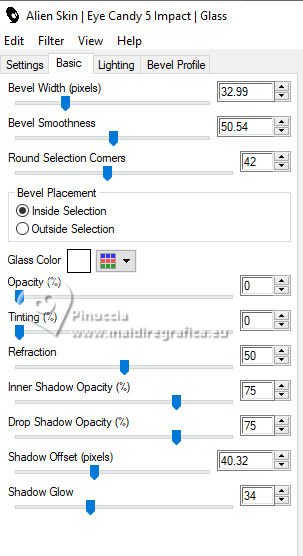
5. Effects>3D Effets>Drop Shadow, color #000000.
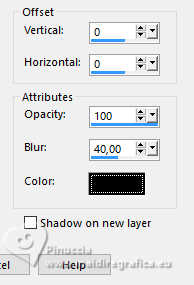
6. Delete the layer Promoted Selection.
7. Activate your top layer.
Layers>New Raster Layer.
9. Selections>Select All.
Open the misted 179PaisagemByPqnaAlice 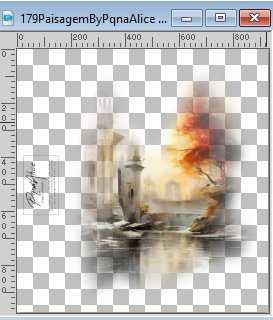
Erase the watermark and go to Edit>Copy.
Go back to your work and go to Edit>Paste into Selection.
Selections>Select None.
Adjust>Sharpness>Sharpen.
10. Effects>Image Effects>Seamless Tiling, default settings.

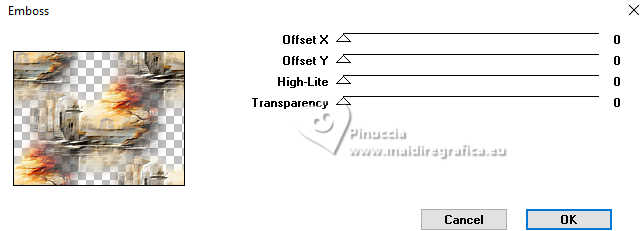
11. Effects>Plugins>Graphics Plus - Emboss
12. Open Golden_Deco87J_Silvie_13.08.2024 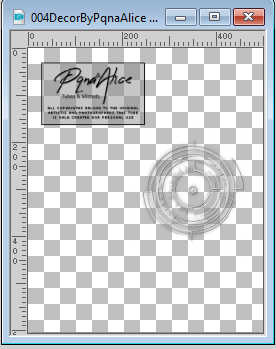
Edit>Copy.
Go back to your work and go to Edit>Paste as new layer.
13. K key to acivate your Pick Tool 
Position X: 2,00 - Position Y: 100,00.

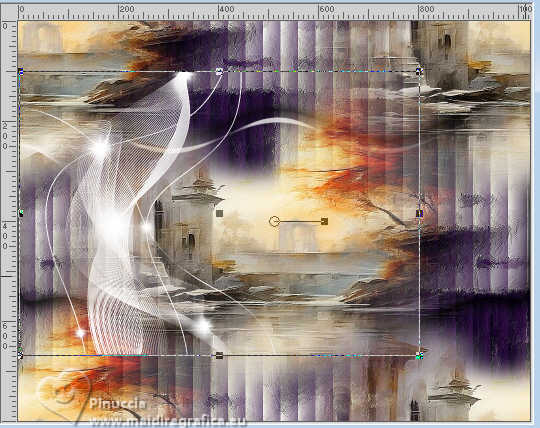
With the same Pick Tool 
pull the center knots up and down to the edges
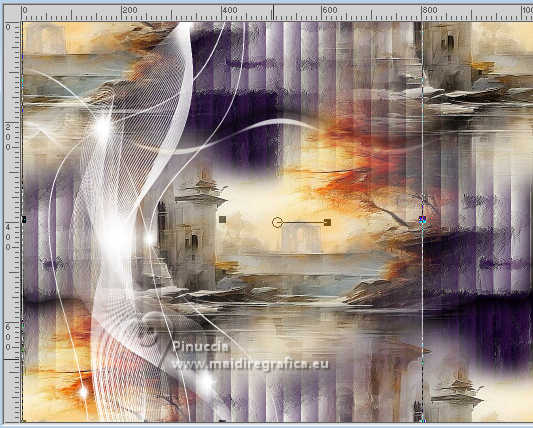
14. Effects>Plugins>Graphics Plus - Emboss.
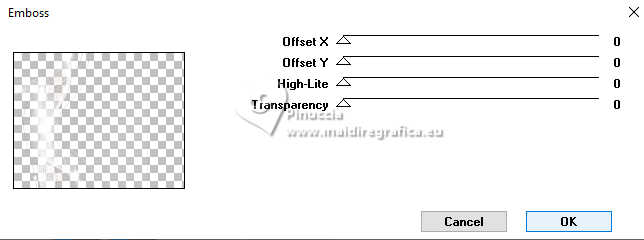
Change the Blend Mode of this layer to Luminance (legacy), opacity 100
15. Open 004DecorByPqnaAlice 
Erase the watermark and go to Edit>Copy.
Go back to your work and go to Edit>Paste as new layer (Raster 3)
Pick Tool 
Position X: 154,00 - Position Y: -28,00.

16. Layers>Duplicate.
Position X: -38,00 - Position Y: 496,00.

17. Layers>Duplicate.
Image>Resize, to 80%, resize all layers not checked.
Position X: 811,00 - Position Y: 477,00.

Effects>3D Effects>Drop Shadow, color #000000 (optional).

(If you use it, apply on the other decos).
Activate the layer below of the first copy.
Edit>Repeat Drop Shadow.
Activate the layer of the original, Raster 3.
Edit>Repeat Drop Shadow.
18. Open circulo acabamento by lc 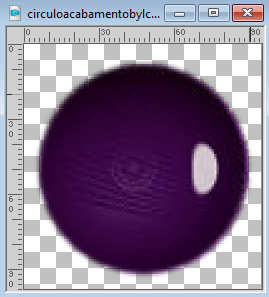
Edit>Copy.
Go back to your work and go to Edit>Paste as new layer.
Place  the tube in the center of the deco. the tube in the center of the deco.
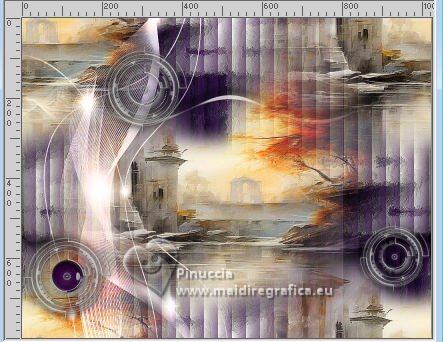
Effects>3D Effects>Drop shadow, at your choice.
Layers>Merge>Merge Down.
19. Activate the layer above of the first copy.
Edit>Paste as new layer - the tube is still in memory.
Place  correctly the tube. correctly the tube.
Effects>3D Effects>Drop Shadow, at your choice.
Layers>Merge>Merge Down.
20. Activate the top layer of the second copy.
Edit>Paste as new layer.
Image>Resize, to 80%, resize all layers not checked.
Place  correctly the tube. correctly the tube.
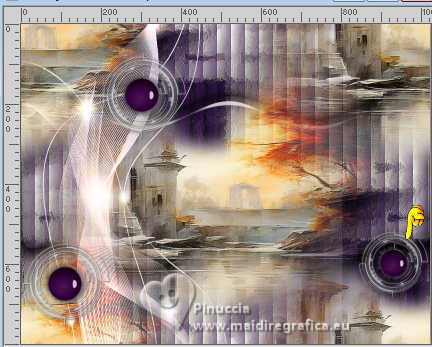
Effects>3D Effects>Drop Shadow, at your choice.
Layers>Merge>Merge Down.
Repeat again two times Layers>Merge>Merge Down,
to have the decos in one layer, Raster 3.
21. Activate your bottom layer.
Activate your Selection Tool 
(no matter the type of selection, because with the custom selection your always get a rectangle)
clic on the Custom Selection 
and set the following settings.

Selections>Promote Selection to Layer.
Flood Fill  the selection with your foreground color #6b4e6d. the selection with your foreground color #6b4e6d.
Layers>Arrange>Bring to Top.
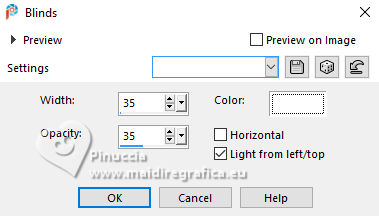
22. Effects>Texture Effects>Blinds, same settings, but color white #ffffff.
Selections>Select None.
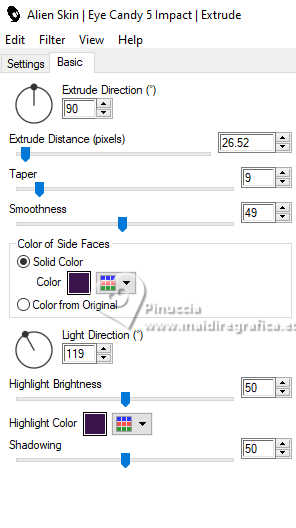
23. Effects>Plugins>Alien Skin Eye Candy 5 Impact - Extrude.
color #3a144d.
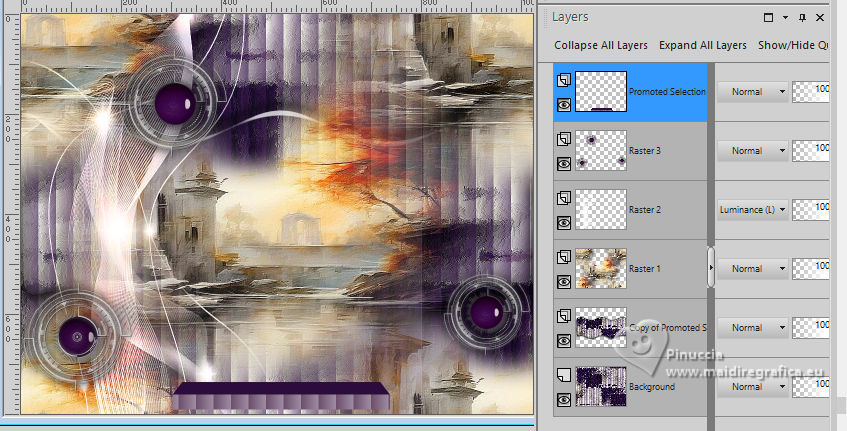
You should have this
24. Open the tube MULHERES_NAISEM-2263 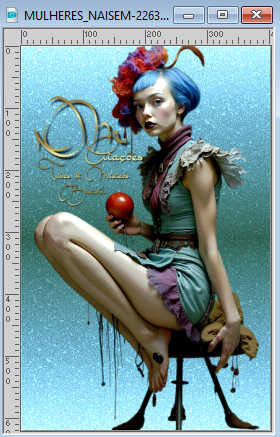
Edit>Copy.
Go back to your work and go to Edit>Paste as new layer.
Image>Resize, at your choice, for me to 110%, resize all layers not checked.
Place  the tube on the Extrude's effect. the tube on the Extrude's effect.
Effects>3D Effects>Drop Shadow, at your choice.
25. Image>Add Borders, 1 pixel, symmetric, background color #3a144d.
Image>Add Borders, 12 pixels, symmetric, color #ffffff.
Image>Add Borders, 1 pixel, symmetric, background color #3a144d.
Selections>Select All.
Image>Add Borders, 38 pixels, symmetric, color #ffffff.
Effects>3D Effects>Drop shadow, color #000000.

Selections>Select None.
Image>Add Borders, 1 pixel, symmetric, background color #3a144d.
Sign your work and save as jpg.
For the tubes of this version thanks Crystal and Jewel
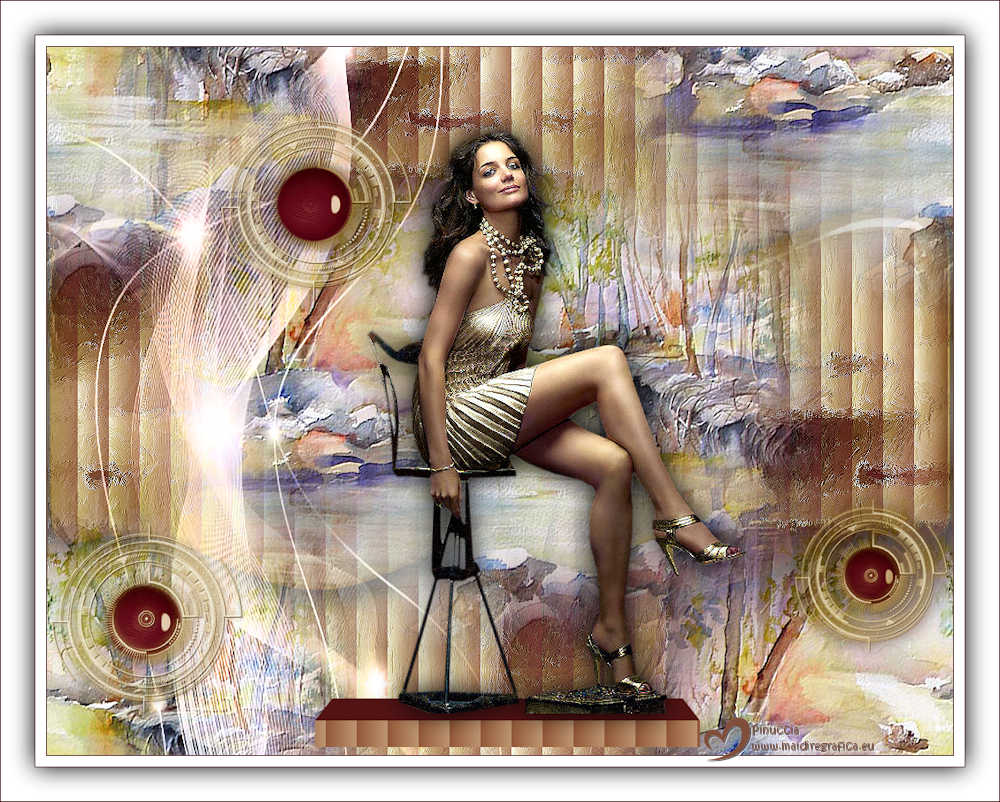
 Your versions here Your versions here

If you have problems or doubts, or you find a not worked link, or only for tell me that you enjoyed this tutorial, write to me.
17 September 2025

|


