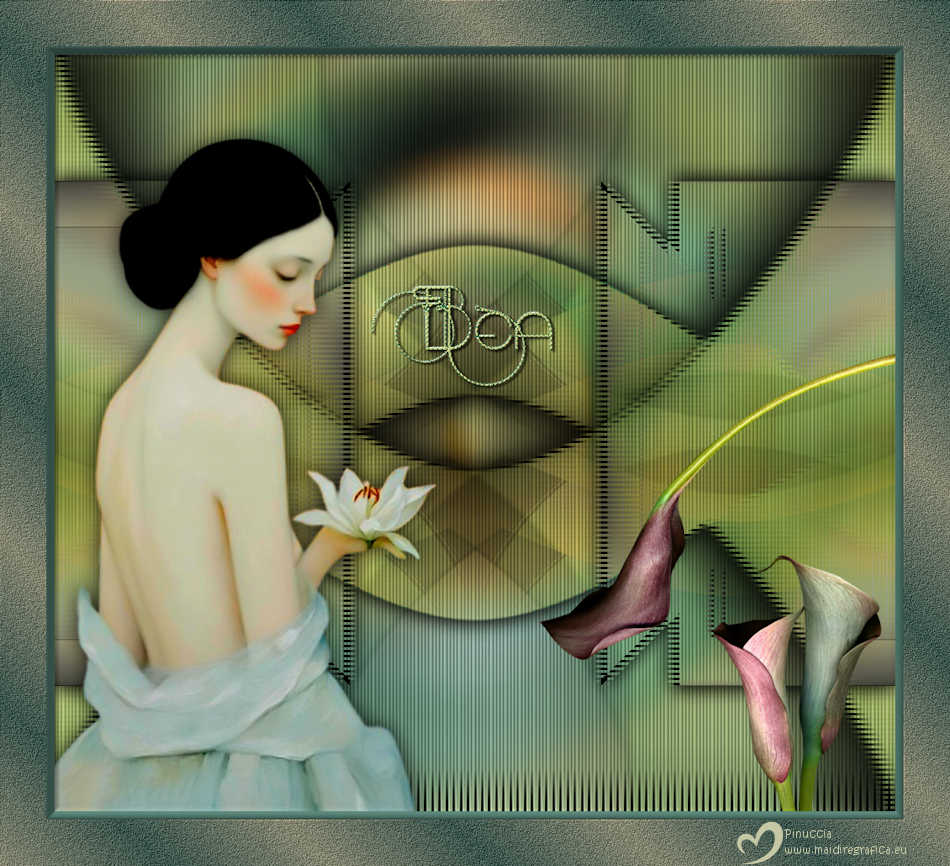
|
BEA


Thanks Luz Cristina for your invitation to translate your tutorials into english

This tutorial, created with PSP9, was translated with PspX9 and PSP2020, but it can also be made using other versions of PSP.
Since version PSP X4, Image>Mirror was replaced with Image>Flip Horizontal,
and Image>Flip with Image>Flip Vertical, there are some variables.
In versions X5 and X6, the functions have been improved by making available the Objects menu.
In the latest version X7 command Image>Mirror and Image>Flip returned, but with new differences.
See my schedule here
 French Translation here French Translation here
 Your versions here Your versions here

For this tutorial, you will need:

(you find here the links to the material authors' sites)

consult, if necessary, my filter section here
Filters Unlimited 2.0 here
Simple - Pizza Slice Mirror here
Simple - Left Right Wrap (Bonus) here
Mura's Meister - Pole Transform, Tone here
AAA Frames - Foto Frame here
FM Tile Tools - Blend Emboss, Saturation Emboss here
It@lian Editors Effect - Effetto Fantasma here
Carolaine and Sensibility - CS-Linear H here
Filters Simple and It@lian Editors can be used alone or imported into Filters Unlimited.
(How do, you see here)
If a plugin supplied appears with this icon  it must necessarily be imported into Unlimited it must necessarily be imported into Unlimited

You can change Blend Modes according to your colors.
In the newest versions of PSP, you don't find the foreground/background gradient (Corel_06_029).
You can use the gradients of the older versions.
The Gradient of CorelX here

1. Open a new transparent image 1000 x 900 pixels.
2. Set your foreground color to #c5c7a5,
and your background color to #527b6f.
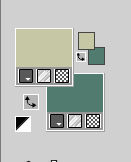
Set your foreground color to a Foreground/Background Gradient, style Linear.
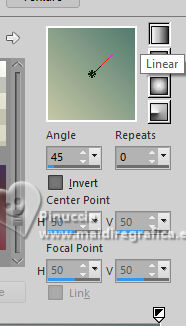
Flood Fill  the transparent image with your Gradient. the transparent image with your Gradient.
3. Selections>Select All.
Open your woman's tube 9081-LuzCristina 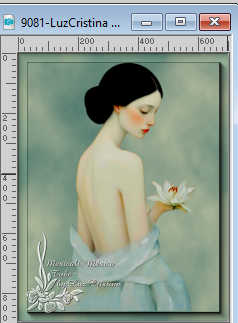
Edit>Copy.
Go back to your work and go to Edit>Paste into Selection.
Selections>Select None.
4. Effects>Image Effects>Seamless Tiling, default settings.

5. Adjust>Blur>Radial Blur.
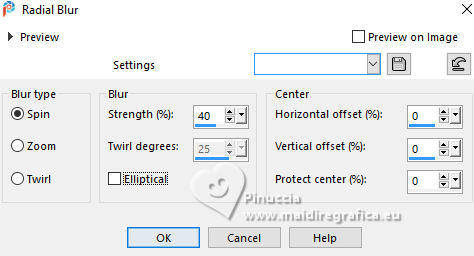
6. Layers>Duplicate.
Close the layer Raster 1 to see better.
Stay on the layer of the copy.
7. Effects>Plugins>AAA Frames - Foto Frame.
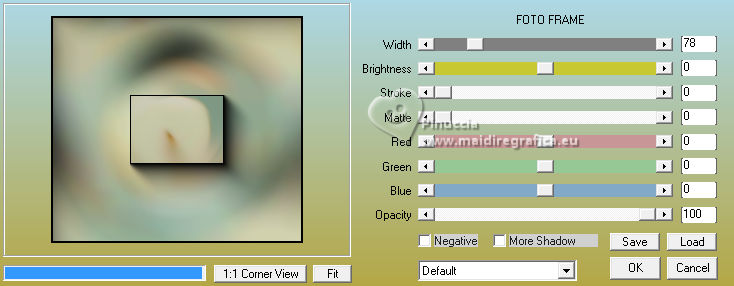
Image>Resize, to 70%, resize all layers not checked.
8. Effects>Plugins>Simple - Pizza Slice Mirror.
This Effect works without window; result:
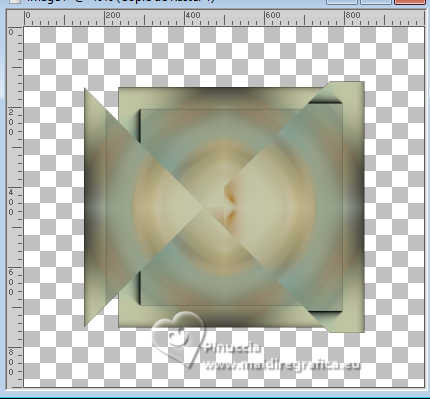
9. Effects>Reflection Effects>Rotating Mirror.

10. Effects>Plugins>Simple - Left Right Wrap.
Also this Effects works without window; result:

11. Effects>3D Effects>Drop Shadow, color black.
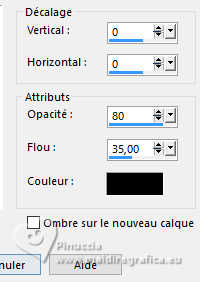
12. Layers>Duplicate.
Effects>Plugins>Mura's Meister - Pole Transform.

13. Layers>Arrange>Move Down.
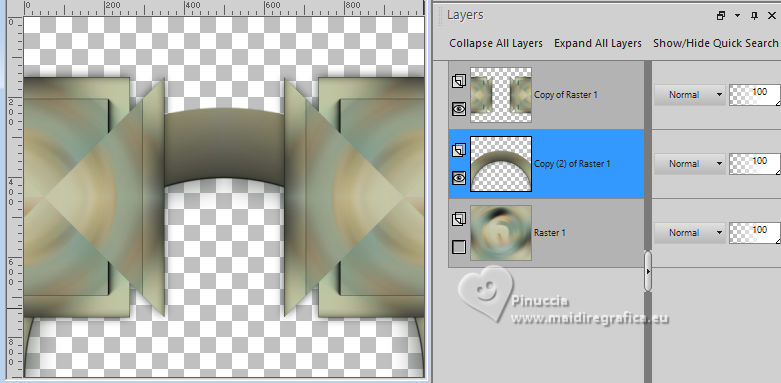
14. Effects>Distortion Effects>Pinch.

15. Layers>Duplicate.
Image>Mirror>Mirror Vertical (Image>Flip).
Layers>Merge>Merge Down.
16. Layers>Duplicate.
Layers>Arrange>Move Down.
17. Effects>Plugins>Italian Effects Editors - Effetto Fantasma.
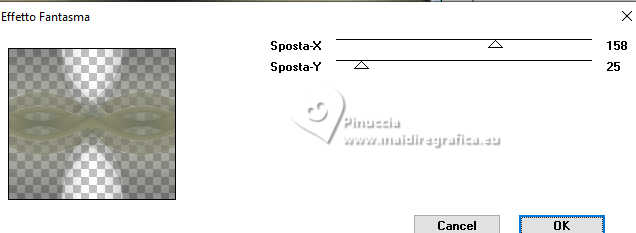
Change the Blend Mode of this layer to Hard Light.
18. Open the layer Raster 1,
and activate the layer copy (2) of Raster 1.
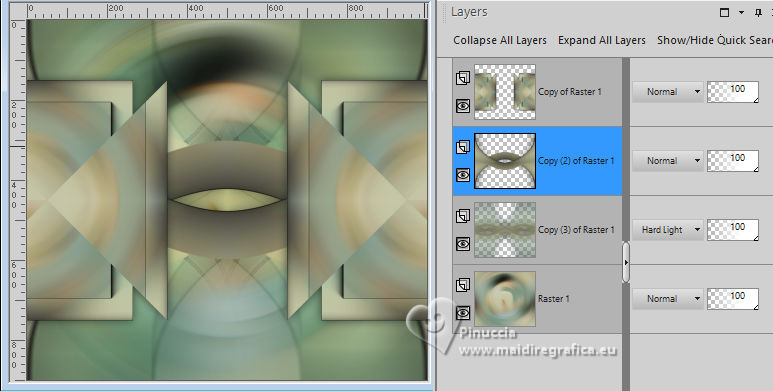
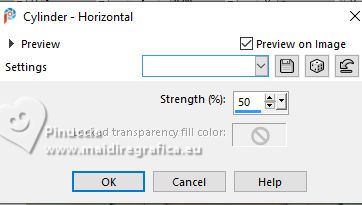
19. Effects>Geometric Effects>Cylinder horizontal.
20. Activate your bottom layer, Raster 1.
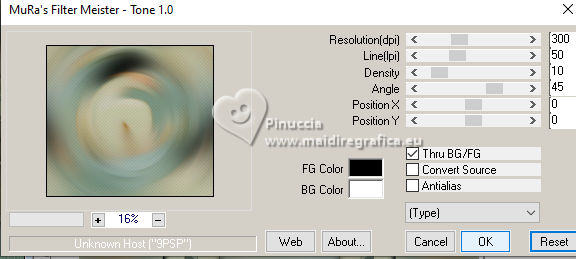
Effects>Plugins>Mura's Meister - Tone, default settings.
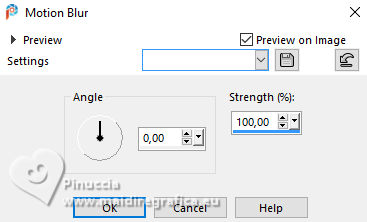
21. Adjust>Blur>Motion Blur.
22. Effects>Plugins>FM Tile Tools - Saturation Emboss, default settings.

23. Activate the layer Copy (2) of Raster 1
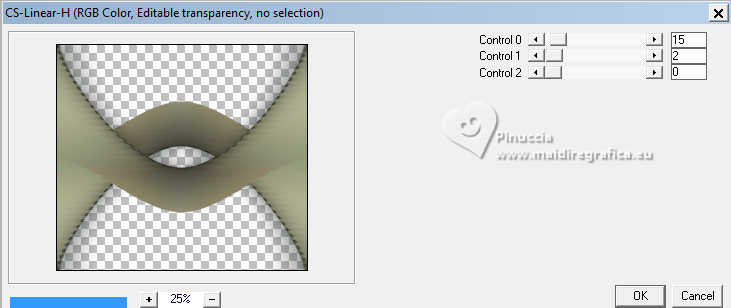
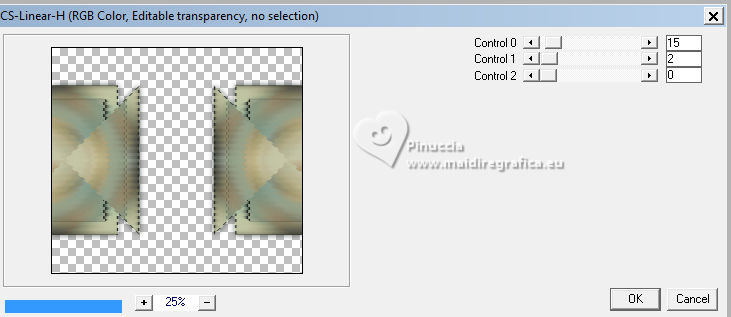
Effects>Plugins>Carolaine and Sensibility - CS-Linear H.
24. Effects>3D Effects>Drop Shadow, same settings, optional.
Change the Blend Mode of this layer to Hard Light.
25. Activate the layer Copy of Raster 1.
Effects>Plugins>Carolaine and Sensibility - CS-Linear H, same settings.
Change the Blend Mode of this layer to Darken.
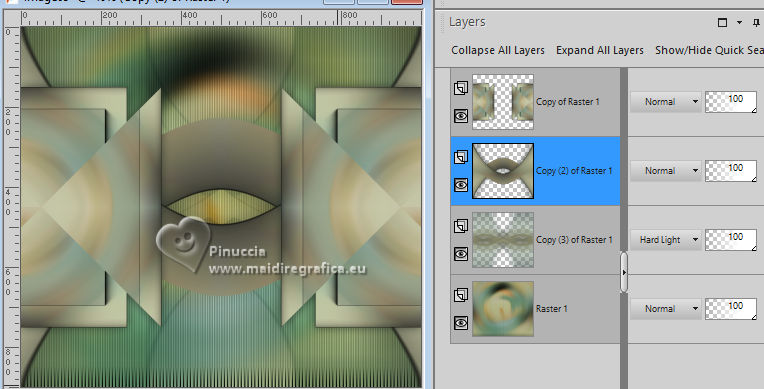
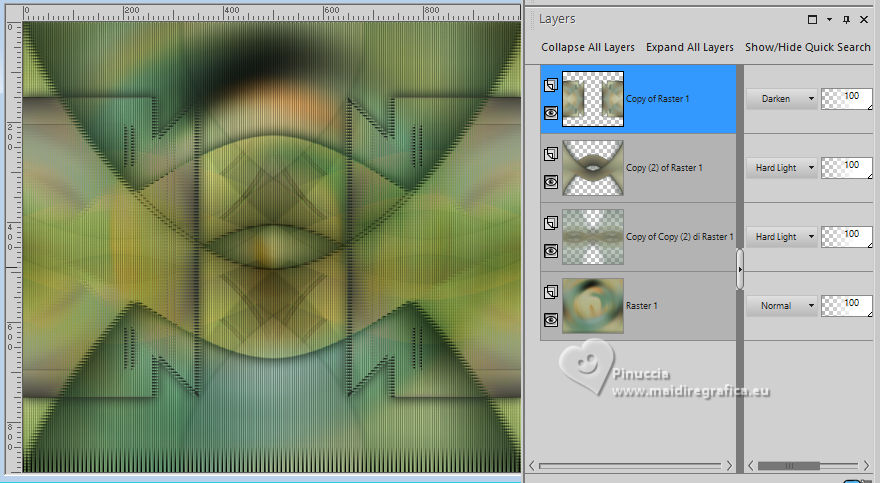
26. Your tag and the layers - adapt Blend Mode and opacity to your liking.
27. Edit>Paste as new layer - your woman's tube is still in memory.
Move  the tube to the left. the tube to the left.
Effects>3D Effects>Drop Shadow, same settings, or at your choice.
28. Open the deco tube 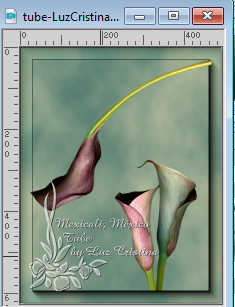
Edit>Copy.
Go back to your work and go to Edit>Paste as new layer.
Move  the tube at the bottom right. the tube at the bottom right.
Effects>3D Effects>Drop Shadow, same settings, or at your choice.
29. Open the texte 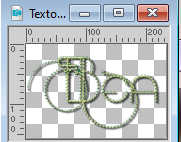
Edit>Copy.
Go back to your work and go to Edit>Paste as new layer.
Move  the tube to your liking. the tube to your liking.
The text has alreasy its Drop Shadow.
30. Image>Add borders, 10 pixels, symmetric, dark color.
Image>Add borders, 55 pixels, symmetric, light color.
Activate your Magic Wand Tool 
and click in the last border to select it.
31. Change the settings of your Gradient, Repeats 10.
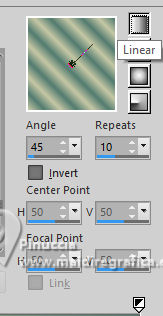
Flood Fill  the selection with your Gradient. the selection with your Gradient.
32. Adjust>Add/Remove Noise>Add Noise.
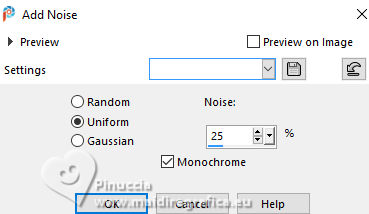
33. Effests>3D Effects 3D>Inner Bevel.
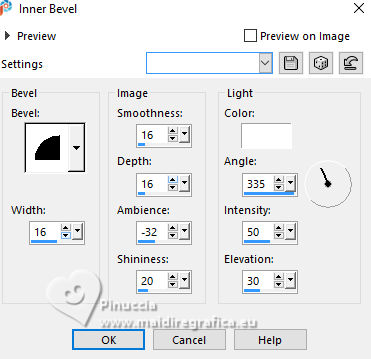
34. Effects>Plugins>FM Tile Tools - Blend Emboss, default settings.

Selections>Select None.
35. Image>Resize, to 84%, resize all layers checked.
Sign your work and save as jpg.


If you have problems or doubts, or you find a not worked link,
or only for tell me that you enjoyed this tutorial, write to me.
22 May 2025

|

