|
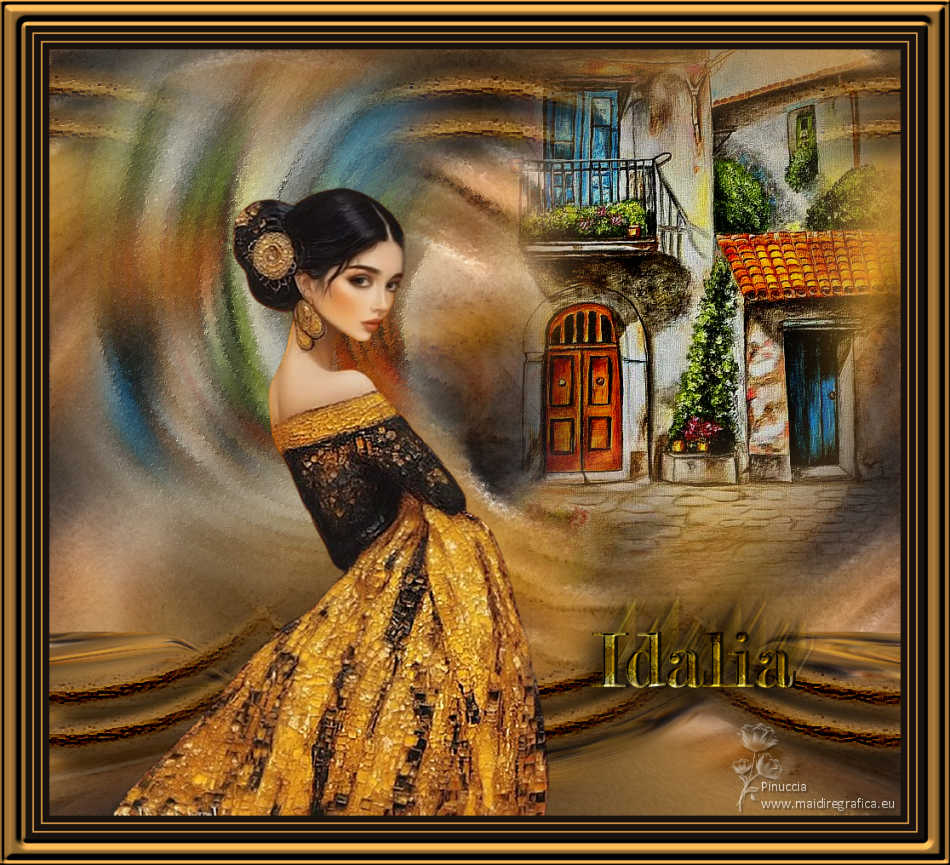
TUTORIAL IDALIA


Thanks Luz Cristina for your invitation to translate your tutorials into english

This tutorial, created with PSP9, was translated with PspX9 and PSP2020, but it can also be made using other versions of PSP.
Since version PSP X4, Image>Mirror was replaced with Image>Flip Horizontal,
and Image>Flip with Image>Flip Vertical, there are some variables.
In versions X5 and X6, the functions have been improved by making available the Objects menu.
In the latest version X7 command Image>Mirror and Image>Flip returned, but with new differences.
See my schedule here
 French Translation here French Translation here
 Your versions here Your versions here

For this tutorial, you will need:

(you find here the links to the material authors' sites)

consult, if necessary, my filter section here
Filters Unlimited 2.0 here
Fantastic Machine - Paint Engine here
Simple - Top Left Mirror here
Mura's Meister - Perspective Tiling here
FM Tile Tools - Blend Emboss here
Filters Simple can be used alone or imported into Filters Unlimited.
(How do, you see here)
If a plugin supplied appears with this icon  it must necessarily be imported into Unlimited it must necessarily be imported into Unlimited

You can change Blend Modes according to your colors.
In the newest versions of PSP, you don't find the foreground/background gradient (Corel_06_029).
You can use the gradients of the older versions.
The Gradient of CorelX here

1. Open a new transparent image 1000 x 900 pixels.
2. Set your foreground color to #cc9346,
and your background color to #19120f.
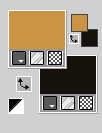
Set your foreground color to a Foreground/Background Gradient, style Sunburst.
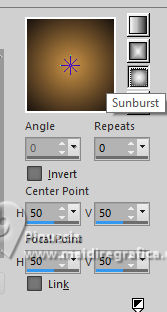
Flood Fill  the transparent image with your Gradient. the transparent image with your Gradient.
3. Selections>Select All.
Open the woman's tube 8878-LuzCristina 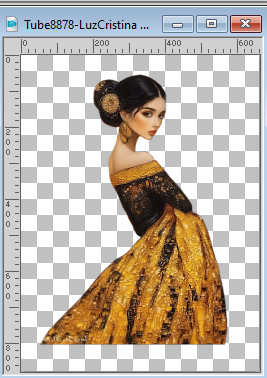
Edit>Copy.
Go back to your work and go to Edit>Paste into Selection.
Selections>Select None.
4. Effects>Image Effects>Seamless Tiling, default settings.

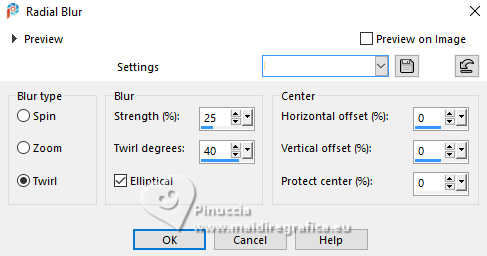
5. Adjust>Blur>Radial Blur.
6. Effects>Art Media Effects>Brush Strokes
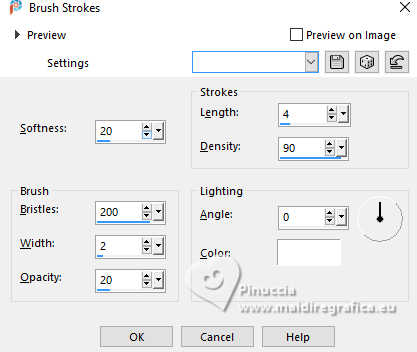
Edit>Repeat Brush Strokes.
7. Effects>Plugins>Fantastic Machine - PaintEngine.
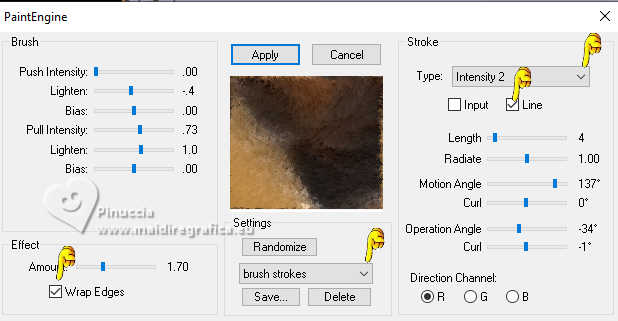
if you don't see the list of presets, it's likely that you didn't follow the necessary steps when installing the filter.
To have all the presets you need to copy a file provided with the filter into the Windows folder.
See the notes on Paint Engine here
In any case, you can manually set the settings corresponding to the "brush strokes" preset, that you see in the screenshot.
8. Layers>Duplicate.
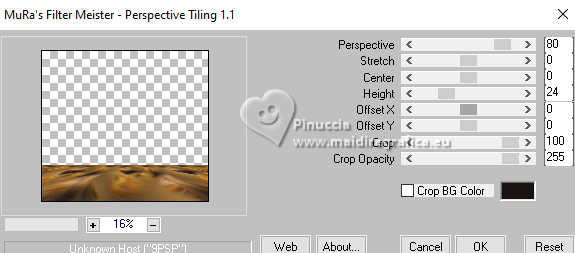
Effects>Plugins>Mura's Meister - Perspective Tiling.
9. Effects>Distortion Effects>Warp
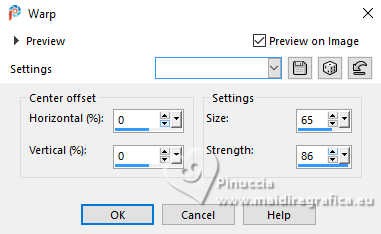
10. Layers>Duplicate.
Effects>Distortion Effects>Polar Coordinates
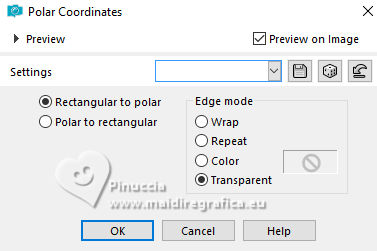
11. Image>Mirror>Mirror Vertical (Image>Flip).
Effects>Plugins>Simple - Top Left Mirror.
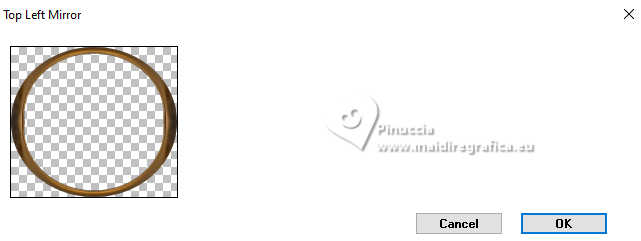
12. Image>Resize, to 84%, resize all layers not checked.
13. Effects>Image Effects>Seamless Tiling.

14. Effects>Art Media Effects>Brush Strokes, same settings.

15. Effects>Edge Effects>Erode.
Adjust>Sharpness>Sharpen More.
16. Layers>Duplicate.
Effects>Image Effects>Offset.
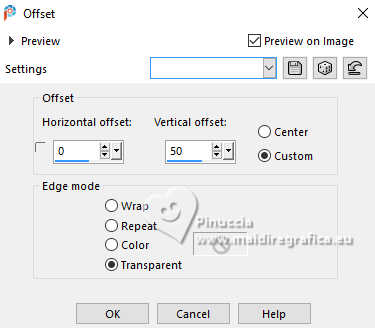
17. Layers>Merge>Merge Down.
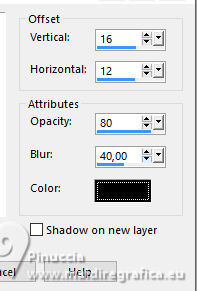
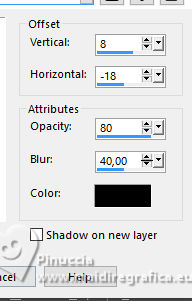
18. Effects>3D Effects>Drop Shadow, color black.
19. Open the misted Misted-LuzCristina 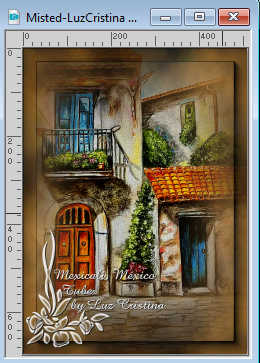
Edit>Copy.
Go back to your work and go to Edit>Paste as new layer.
Move  the tube at the upper right. the tube at the upper right.
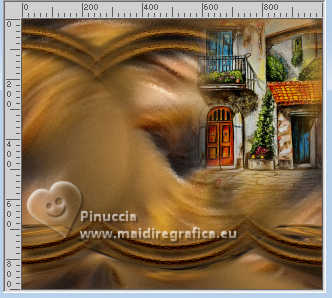
20. Layers>Duplicate.
Adjust>Blur>Radial Blur, same settings.

21. Image>Mirror>Mirror horizontal (Image>Mirror).
22. Effects>Plugins>Fantastic Machine - Paint Engine.
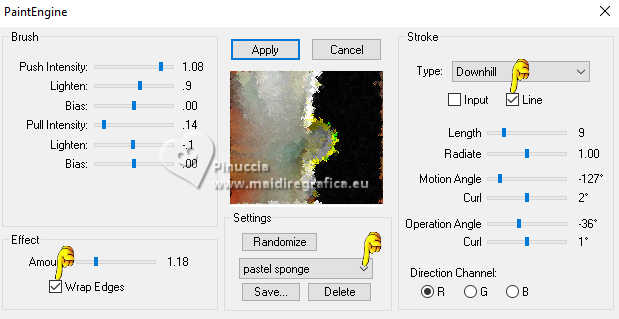
the result may be slightly different, because of the position of the misted; and also if you use another tube
23. Effects>Plugins>FM Tile Tools - Blend Emboss, default settings.

24. Layers>Duplicate.
Activate again the woman's tube 8878-LuzCristina and go to Edit>Copy.
Go back to your work and go to Edit>Paste as new layer.
Move  the tube to the left side. the tube to the left side.
25. Effects>3D Effects>Drop Shadow, color black.
26. Open the text texto 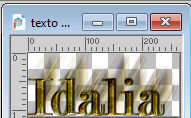
Copy.
Go back to your work and go to Edit>Paste as new layer.
Move  the text at the bottom right. the text at the bottom right.
27. Image>Add borders, 8 pixels, symmetric, dark color.
Image>Add borders, 2 pixels, symmetric, light color.
Image>Add borders, 8 pixels, symmetric, dark color.
Image>Add borders, 2 pixels, symmetric, light color.
Image>Add borders, 8 pixels, symmetric, dark color.
Image>Add borders, 30 pixels, symmetric, light color.
28. Activate your Magic Wand Tool 
and click in the last border to select it.
29. Effects>3D Effects>Inner Bevel.
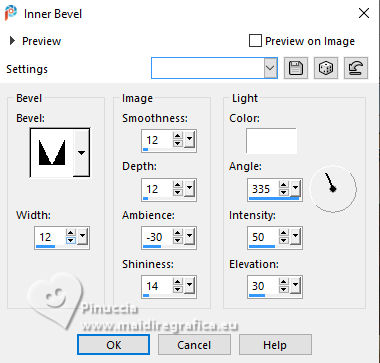
Selections>Select None.
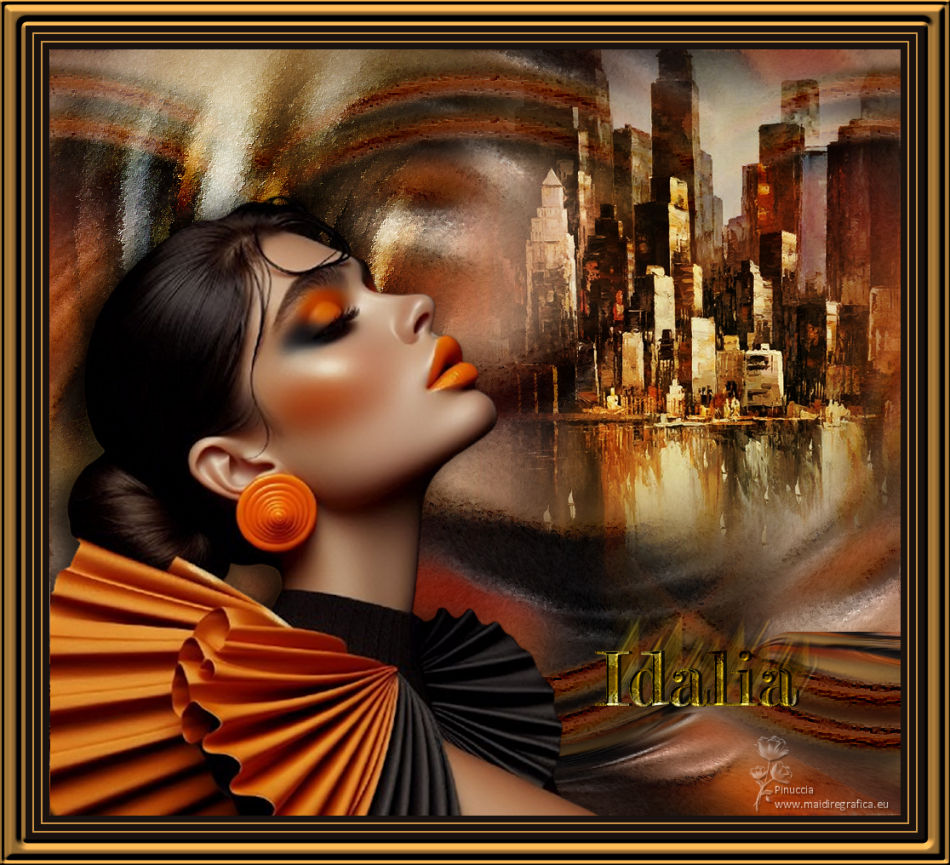
30. Image>Resize, to 85%, resize all layers checked.
Sign your work and save as jpg.
Luz Cristina wrote:
Y siempre recuerda que hay mil maneras de pelar un gato!!
Busca siempre alternativas cuando algo te atore.
tr. And always remember that there are a thousand ways to skin a cat!!
Always look for alternatives when something is bothering you.
For the tubes of this version thanks Luz Cristina


If you have problems or doubts, or you find a not worked link,
or only for tell me that you enjoyed this tutorial, write to me.
19 December 2024

|

