|
ILUSIÓN


Thanks Luz Cristina for your invitation to translate your tutorials into english

This tutorial, created with PSP9, was translated with PspX9 and PSP2020, but it can also be made using other versions of PSP.
Since version PSP X4, Image>Mirror was replaced with Image>Flip Horizontal,
and Image>Flip with Image>Flip Vertical, there are some variables.
In versions X5 and X6, the functions have been improved by making available the Objects menu.
In the latest version X7 command Image>Mirror and Image>Flip returned, but with new differences.
See my schedule here
 French Translation here French Translation here
 Your versions here Your versions here

For this tutorial, you will need:

(you find here the links to the material authors' sites)

consult, if necessary, my filter section here
Filters Unlimited 2.0 here
Simple - Top Left Mirror here
FM Tile Tools - Blend Emboss here
Mura's Meister - Copies, Perspective Tiling here
Artistiques - Pastels here
AAA Frames - Foto Frame here
Filters Simple can be used alone or imported into Filters Unlimited.
(How do, you see here)
If a plugin supplied appears with this icon  it must necessarily be imported into Unlimited it must necessarily be imported into Unlimited

You can change Blend Modes according to your colors.

The Gradient Metalic gold 01 is standard in PSP. If you don't find it in your PSP,
copy the provided one in the Gradients Folder.
1. Open a new transparent image 1000 x 900 pixels.
2. Set your foreground color to Gradient, and select the gradient Metalic gold 01
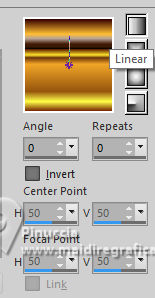
attention please, the gradient provided has the .grd extension.
If, for this reason, you don't find it in the gradient list, use the gradient with the .jgd extension
(I added it in the material)
Flood Fill  the transparent image with your Gradient. the transparent image with your Gradient.
3. Effects>Plugins>Simple - Top Left Mirror.
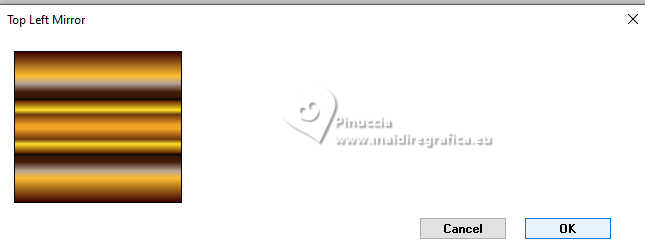
4. Adjust>Brightness and Contraste>Brightness and Contraste.
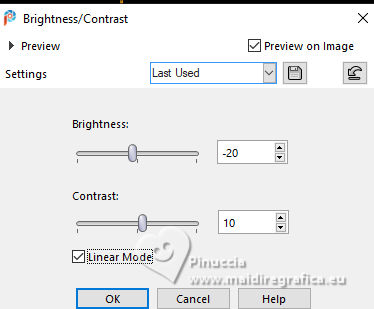
5. Effects>Plugins>Artistiques - Pastels
if you use the english version (the result doesn't change):
Effects>Plugins>Artistic - Rough Pastel
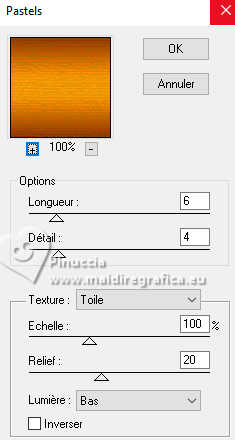 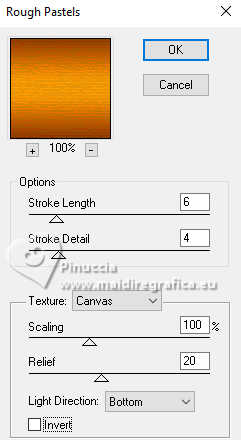
Now it is the time, if you want, to colorize the image according to your colors
6. Layers>Duplicate.
7. Effects>Texture Effects>Polished Stone.
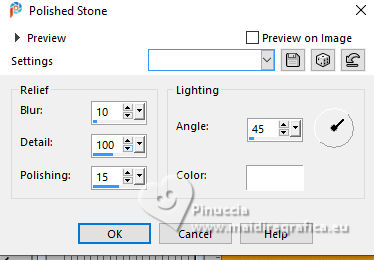
8. Effects>Geometric Effects>Perspective Horizontal.
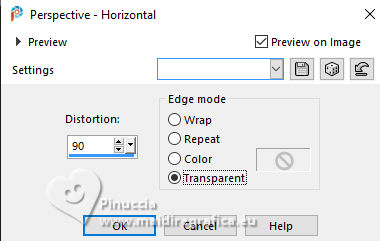
9. Image>Mirror>Mirror horizontal.
10. Repeat Effects>Geometric Effects>Perspective Horizontal, same settings,
to create a bar
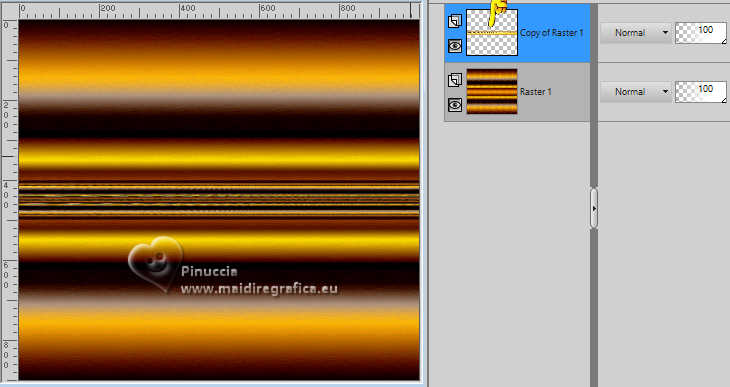
11. Effects>3D Effects>Drop Shadow.

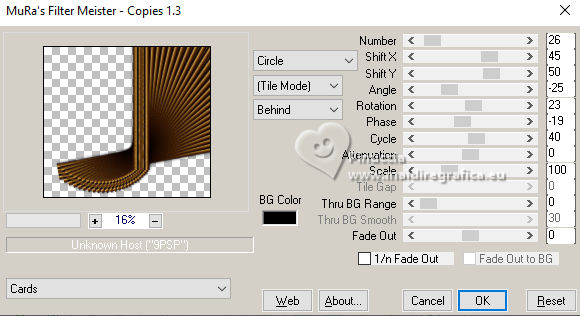
12. Effects>Plugins>Mura's Meister - Copies.
13. Image>Mirror>Mirror horizontal.
14. Effects>Reflection Effects>Rotating Mirror.

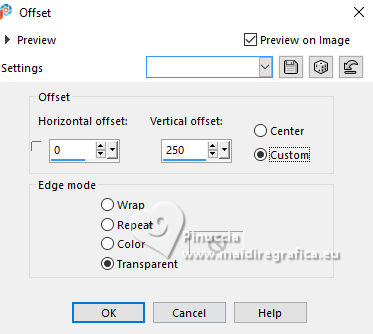
15. Effects>Image Effects>Offset.
16. Activate the layer Raster 1.
Layers>Duplicate.
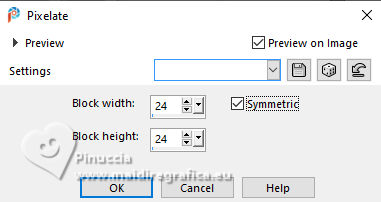
17. Effects>Distortion Effects>Pixelate.
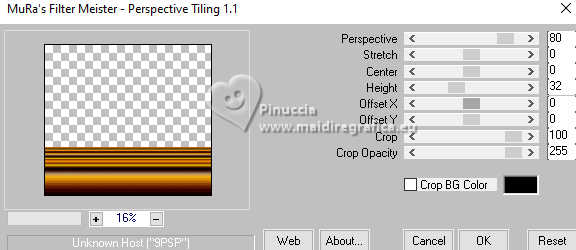
18. Effects>Plugins>Mura's Meister - Perspective Tiling.
19. Effects>Geometric Effects>Spherize.
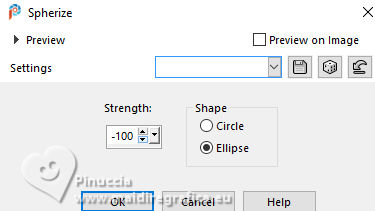
Edit>Repeat Spherize.
20. Effects>Plugins>FM Tile Tools - Blend Emboss.

21. Open the tube 9227-LuzCristina 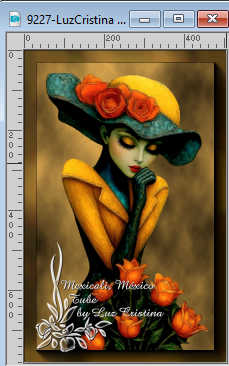
Edit>Copy.
Go back to your work and go to Edit>Paste as new layer.
Layers>Arrange>Bring to Top.
22. Effects>Image Effects>Offset.
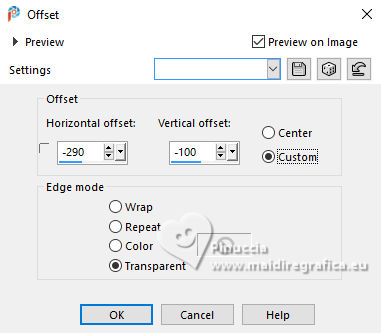
23. Layers>Duplicate.
Image>Mirror>Mirror Vertical (Image>Flip).
Layers>Arrange>Move Down.
24. Adjust>Blur>Radial Blur.
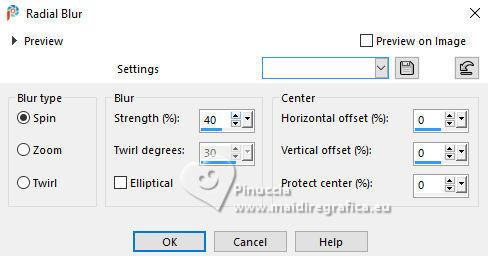
25. Effects>Reflection Effects>Rotating Mirror.

26. Effects>Plugins>Artistiques - Pastels, same settings.

27. Effects>3D Effects>Drop shadow, same settings.

Activate the layer above of the tube.
Edit>Repeat Drop Shadow.
28. Open the text texto 
Edit>Copy.
Go back to your work and go to Edit>Paste as new layer.
Move  the text to your liking. the text to your liking.
The text already has its Drop Shadow.
29. For the borders, set your foreground color to #f1b95a 
Image>Ajouter des bordures, 10 pixels, symmetric, color black.
Image>Ajouter des bordures, 2 pixels, symmetric, color #f1b95a.
Image>Ajouter des bordures, 20 pixels, symmetric, color black.
Image>Ajouter des bordures, 2 pixels, symmetric, color #f1b95a.
Image>Ajouter des bordures, 30 pixels, symmetric, color black.
Image>Ajouter des bordures, 2 pixels, symmetric, color #f1b95a.
30. Image>Resize, to 84%, resize all layers checked.
31. Sign your work and save as jpg.
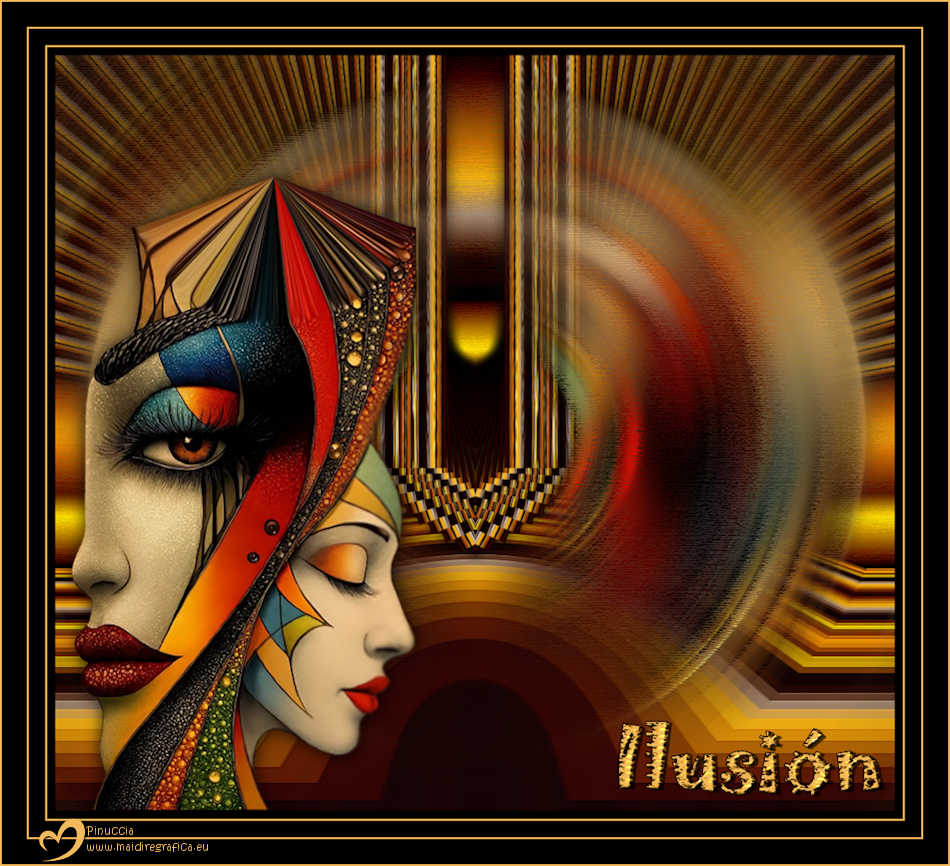
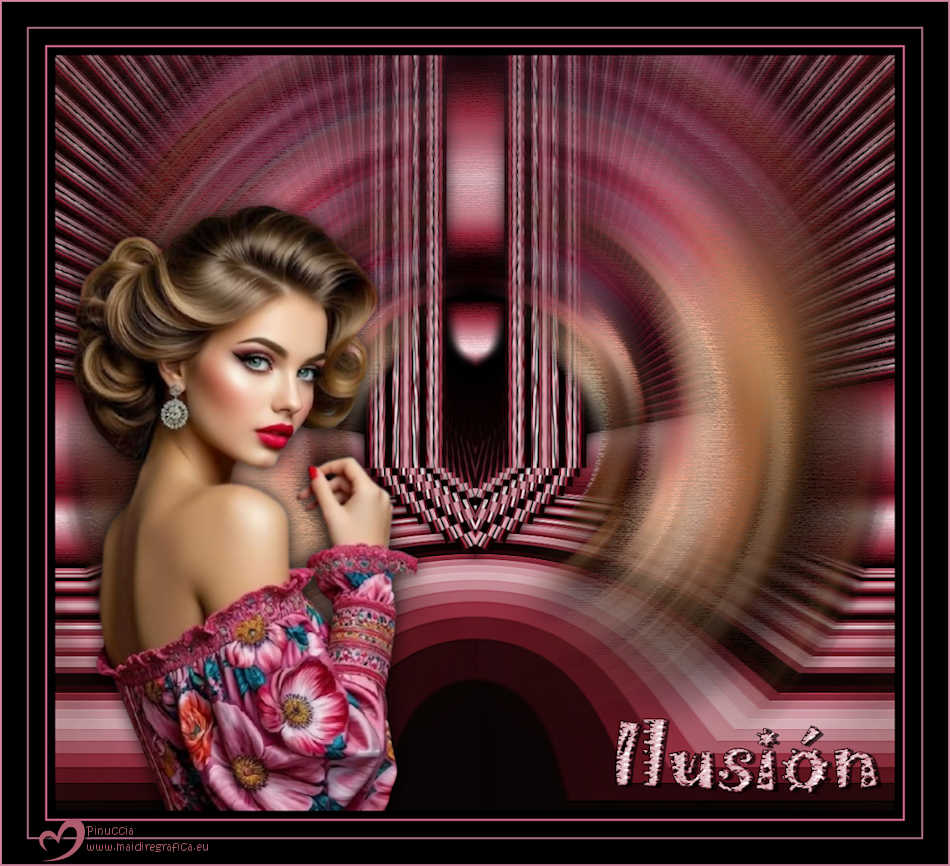
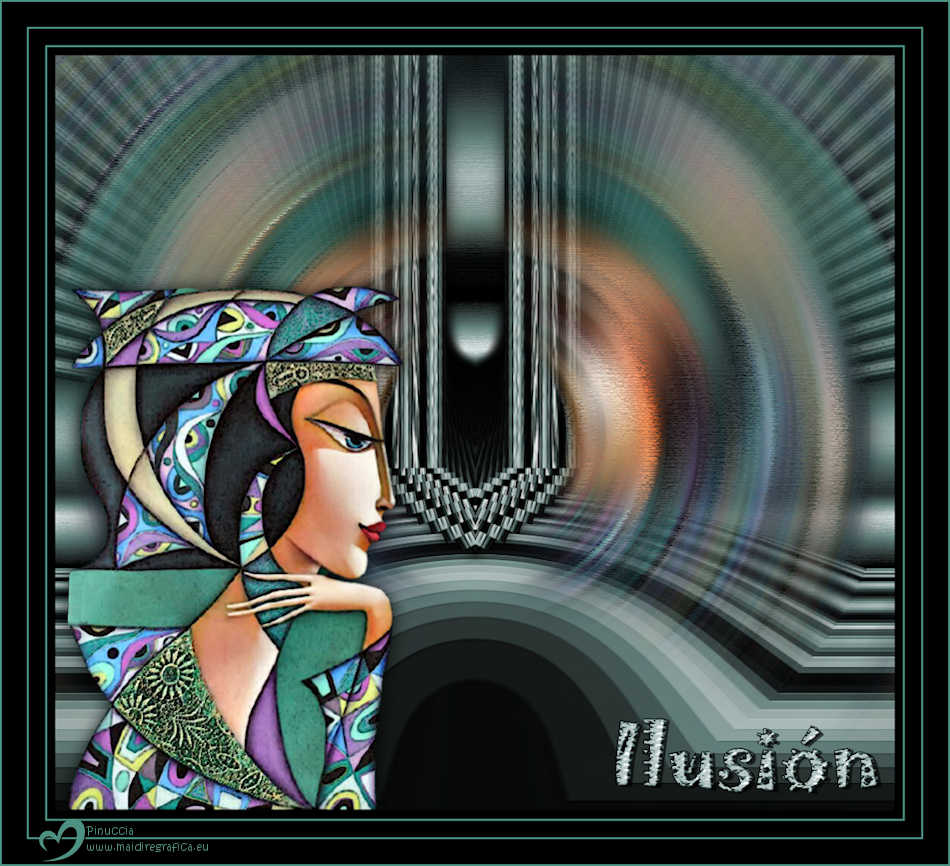
Versions with tubes by Luz Cristina


If you have problems or doubts, or you find a not worked link,
or only for tell me that you enjoyed this tutorial, write to me.
12 September 2025

|


