|
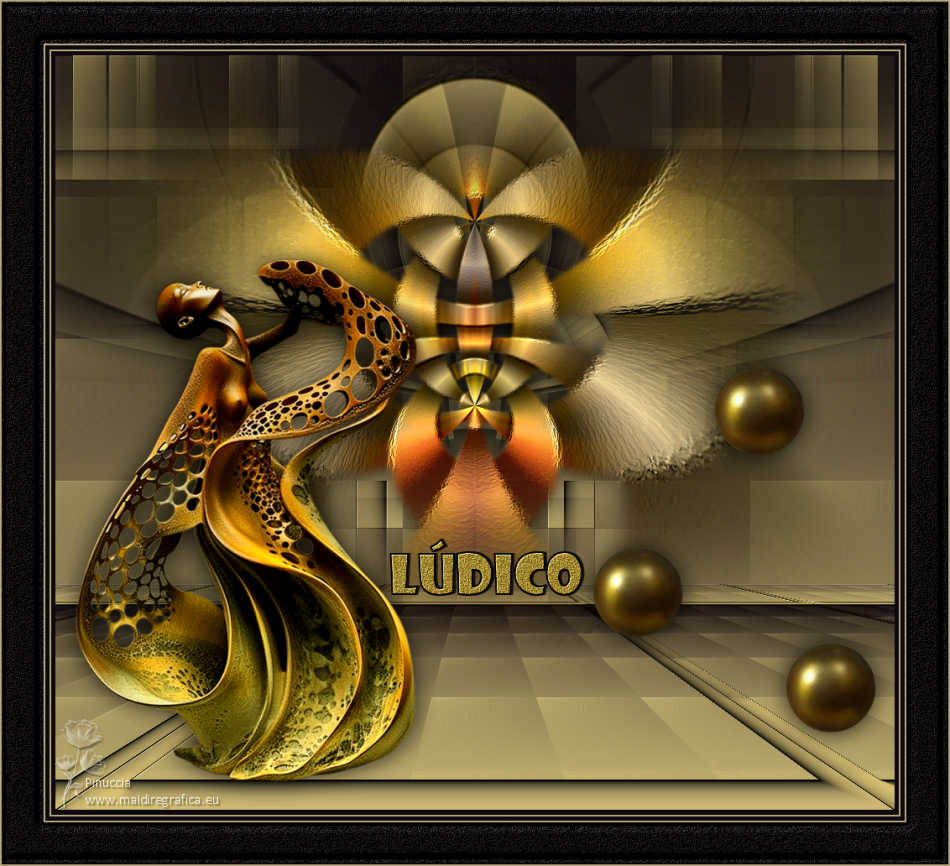
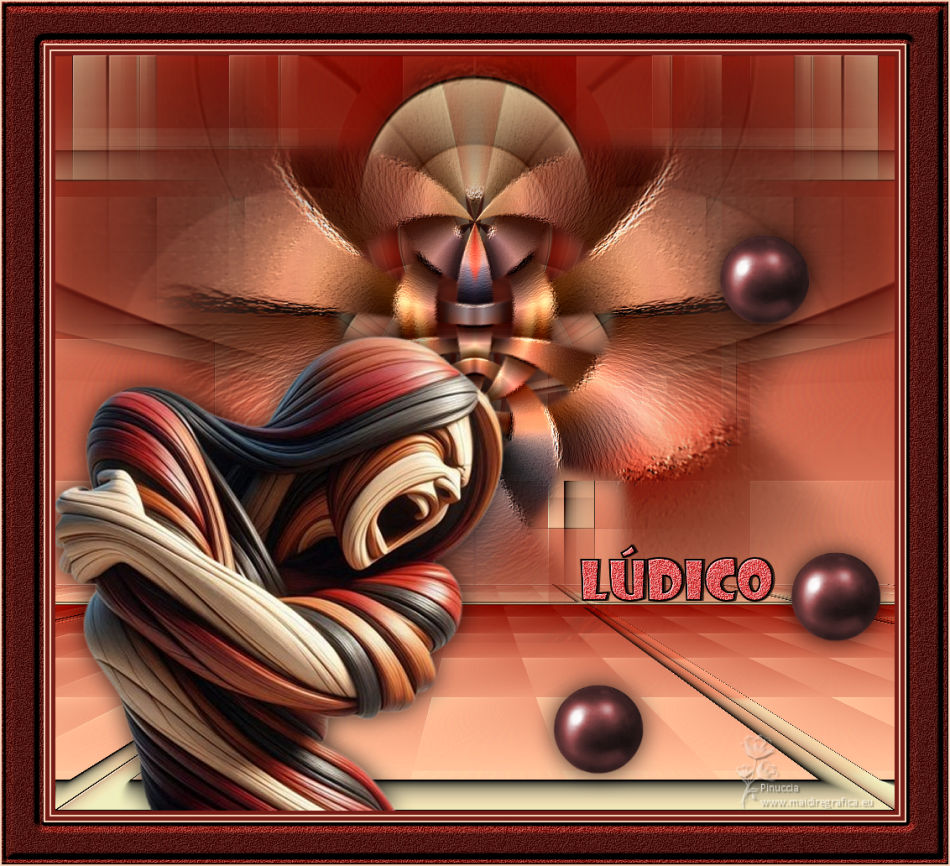
TUTORIAL LUDICO


Thanks Luz Cristina for your invitation to translate your tutorials into english

This tutorial, created with PSP9, was translated with PspX9 and PSP2020, but it can also be made using other versions of PSP.
Since version PSP X4, Image>Mirror was replaced with Image>Flip Horizontal,
and Image>Flip with Image>Flip Vertical, there are some variables.
In versions X5 and X6, the functions have been improved by making available the Objects menu.
In the latest version X7 command Image>Mirror and Image>Flip returned, but with new differences.
See my schedule here
 French Translation here French Translation here
 Your versions here Your versions here

For this tutorial, you will need:

(you find here the links to the material authors' sites)

consult, if necessary, my filter section here
Filters Unlimited 2.0 here
Mehdi 2 - Flat Median here
AAA Frames - Foto Frame here
Flaming Pear - Flexify 2 here
Toadies - Weaver here
VM Natural - Weave no Distortion here
Mura's Meister - Perspective Tiling here
Mura's Meister - Copies here
FM Tile Tools - Saturation Emboss, Blend Emboss here
Filters VM Natural and Toadies can be used alone or imported into Filters Unlimited.
(How do, you see here)
If a plugin supplied appears with this icon  it must necessarily be imported into Unlimited it must necessarily be imported into Unlimited

You can change Blend Modes according to your colors.
In the newest versions of PSP, you don't find the foreground/background gradient (Corel_06_029).
You can use the gradients of the older versions.
The Gradient of CorelX here

Copy the preset Emboss 3 in the Presets Folder.
Open the mask in PSP and minimize it with the rest of the material.
1. Open a new transparent image 1000 x 700 pixels.
2. Set your foreground color to #b3a881,
and your background color to #0e090e.
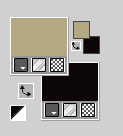
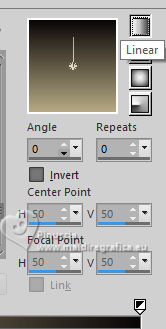
Set your foreground color to a Foreground/Background Gradient, style Linear.
3. Selections>Select All.
Open the woman's tube 8872-LuzCristina 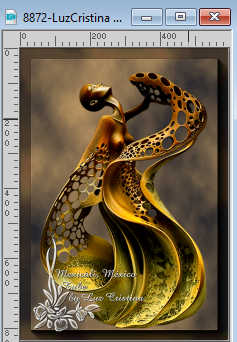
Edit>Copy.
Go back to your work and go to Edit>Paste into Selection.
Selections>Select None.
4. Effects>Image Effects>Seamless Tiling, default settings.

5. Effects>Plugins>Mehdi 2 - Flat Median.
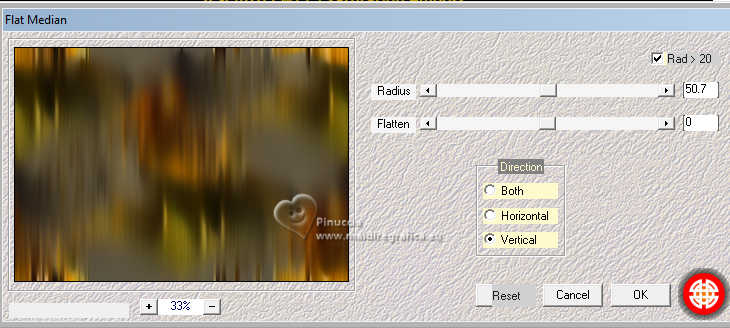
6. Effects>Plugins>FM Tile Tools - Saturation Emboss, default settings.

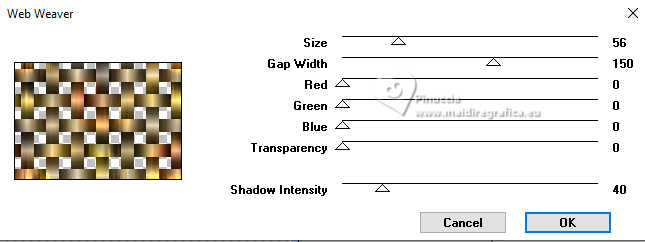
7. Effects>Plugins>VM Natural - Weave No Distortion.
Note. a curiosity of this filter: after selecting it
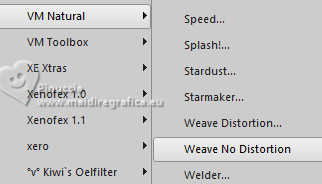
it will appear with the name Web Weaver
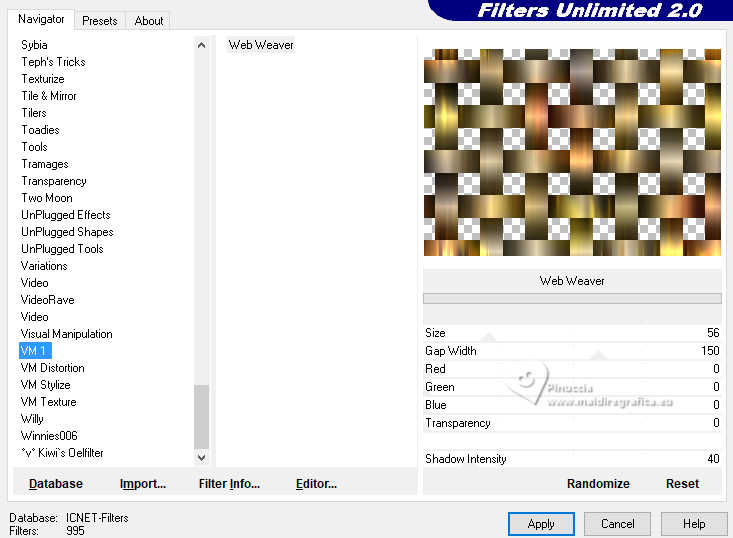
If you import it into Unlimited you will find it under VM1
8. Image>Mirror>Mirror Horizontal.
9. Effects>Reflection Effect>Rotating Mirror.

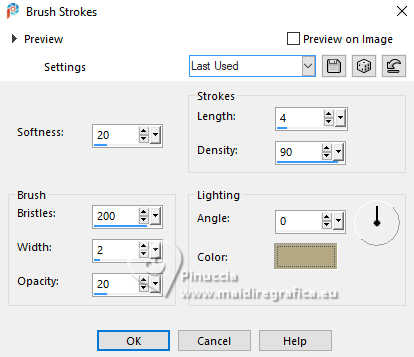
10. Effects>Art Media Effects>Brush Strokes, light foreground color.
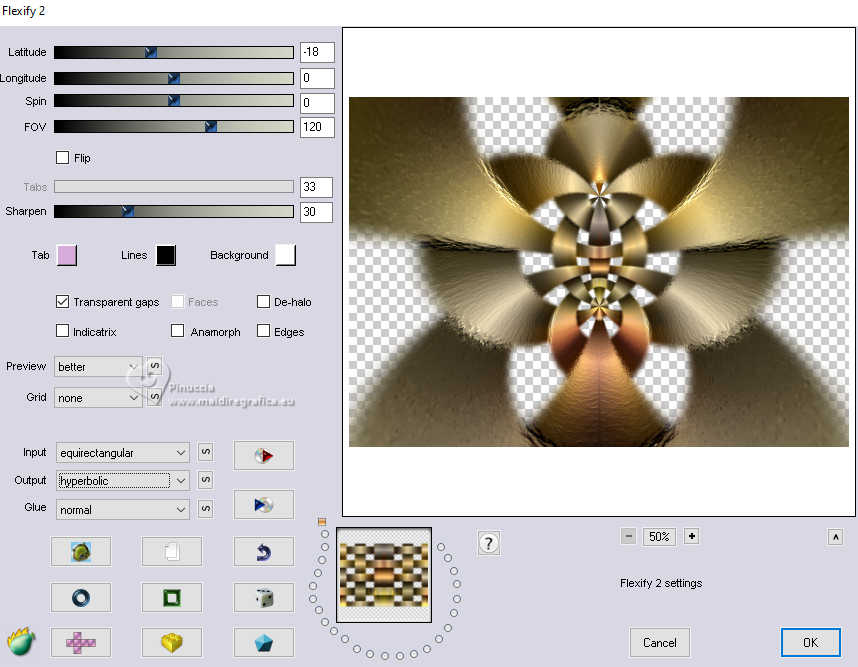
11. Effects>Plugins>Flaming Pear - Flexify 2.
12. Layers>New Mask layer>From image
Open the menu under the source window and you'll see all the files open.
Select the mask 20-21 .
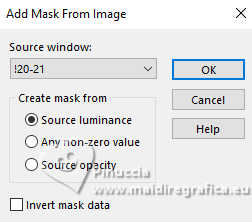
Layers>Duplicate, to apply the mask 2 times.
Layers>Merge>Merge Group.
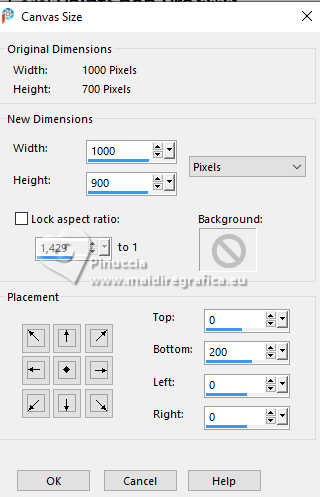
13. Image>Canvas Size - 1000 x 900 pixels.
14. Effects>3D Effects>Drop Shadow, color black.

Repeat Effects>Plugins>FM Tile Tools - Saturation Emboss (optional in your free version).

15. Layers>New Raster Layer.
Layers>Arrange>Move Down.
Flood Fill  the layer with your Gradient. the layer with your Gradient.
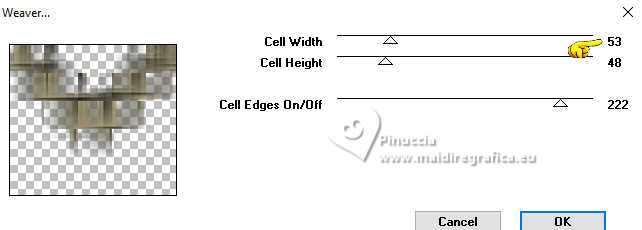
16. Effects>Plugins>Toadies - Weaver.
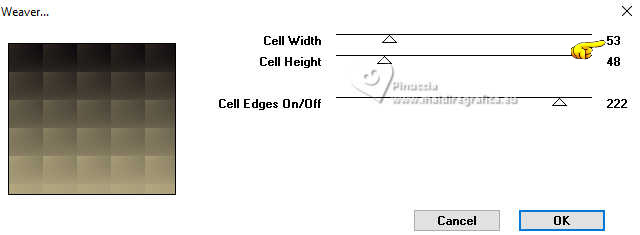
17. Effects>User Defined Filter - select the preset Emboss 3 and ok.

18. Effects>Edge Effects>Dilate.
19. Layers>Duplicate.
20. Effects>Plugins>AAA Frames - Foto Frame, default settings.
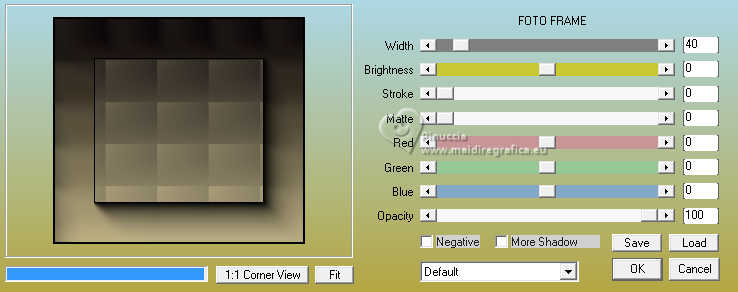
21. Effets>Modules Externes>Mura's Meister - Perspective Tiling.
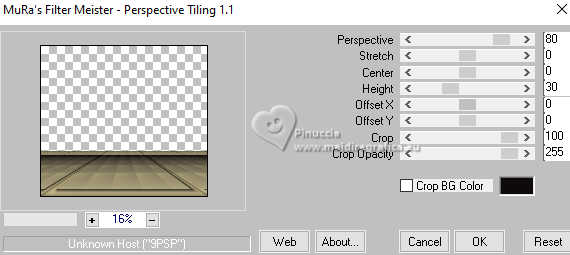
22. Layers>Duplicate.
23. Effects>Geometric Effects>Skew.
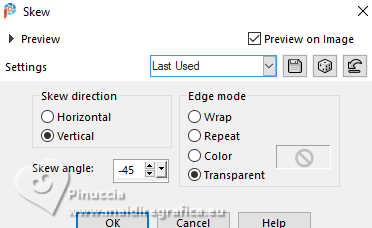
24. Effects>Reflection Effects>Rotating Mirror

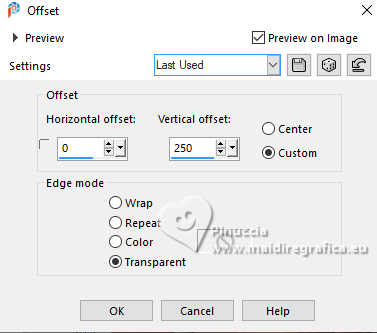
25. Effects>Image Effects>Offset.
26. Repeat Effects>Plugins>Toadies - Weaver.
27. Effects>Reflection Effects>Rotaging Mirror.

28. Effects>Plugins>FM Tile Tools - Saturation Emboss.

29. Layers>Duplicate.
30. Effects>Plugins>Flaming Pear - Flexify 2, same settings.

31. Effects>3D Effects>Drop Shadow, same settings.

32. Activate the layer Raster 1.
Effects>Plugins>FM Tile Tools - Saturation Emboss, same settings.

Activate the layer Copy of Raster 1
Repeat Effects>Plugins>FM Tile Tools - Saturation Emboss (to give more color).
33. Activate your top layer.
Activate again your woman's tube and go to Edit>Copy.
Go back to your work and go to Edit>Paste as new layer.
Place  correctly the tube. correctly the tube.
Effects>3D Effects>Drop Shadow, same settings.
34. Open the tube esfera-LuzCristina 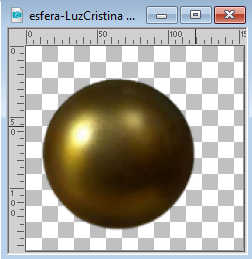
Edit>Copy.
Go back to your work and go to Edit>Paste as new layer.
35. Effects>Plugins>Mura's Meister - Copies
Attention please, remember that the result of this filter is random,
that is, it cannot be the same as mine, nor any other result that you can obtain by repeating the filter without changing the parameters.
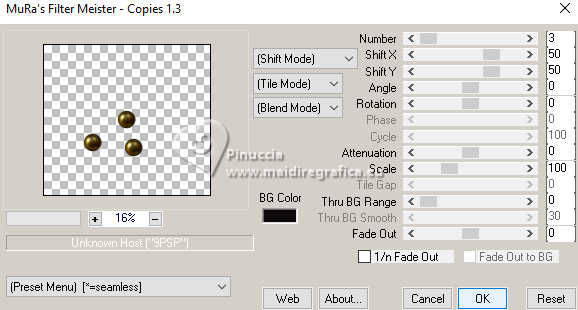 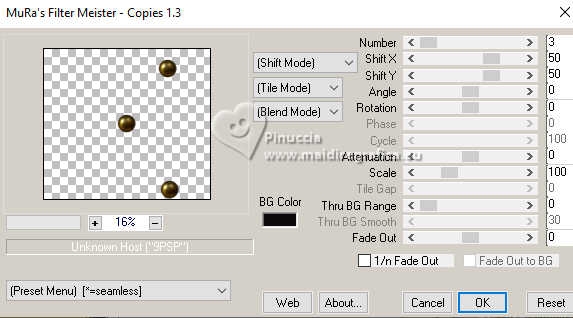
If you want to change the result,
click several times on the preview window (a small hand will appear, and the spheres will start to "dance"),
until you are satisfied.
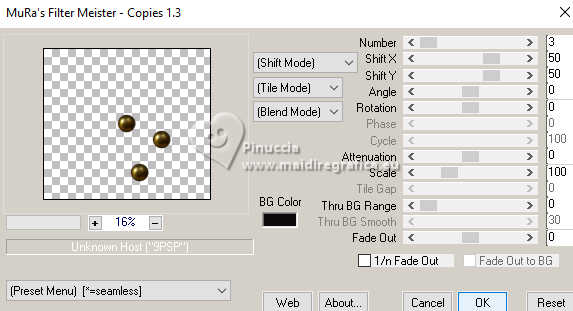
Effects>3D Effects>Drop Shadow, same settings.
36. Open the text texto 
Edit>Copy.
Go back to your work and go to Edit>Paste as new layer.
Place  le text to your liking. le text to your liking.
the text already has its own Drop Shadow.
37. Image>Add borders, 5 pixels, symmetric, dark color.
Image>Add borders, 2 pixels, symmetric, light color.
Image>Add borders, 5 pixels, symmetric, dark color.
Image>Add borders, 2 pixels, symmetric, light color.
Image>Add borders, 50 pixels, symmetric, dark color.
38. Activate your Magic Wand Tool 
and click on the last border to select it.
39. Adjust>Add/Remove Noise>Add Noise.
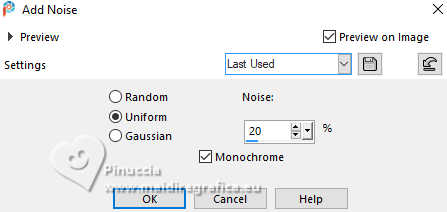
40. Effects>Plugins>FM Tile Tools - Blend Emboss, default settings.

41. Effects>3D Effects>Inner Bevel.
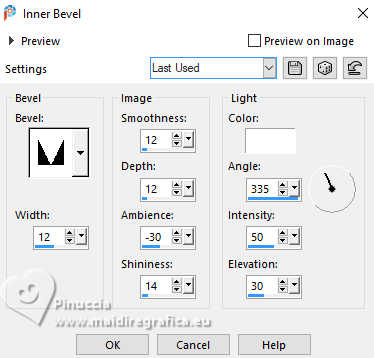
Selections>Select None.
42. Image>Add borders, 2 pixels, symmetric, light color.
Image>Resize, to 85%, resize all layers checked.
Sign your work and save as jpg.
For the tube of this version thanks Luz Cristina


If you have problems or doubts, or you find a not worked link,
or only for tell me that you enjoyed this tutorial, write to me.
14 December 2024

|

