|
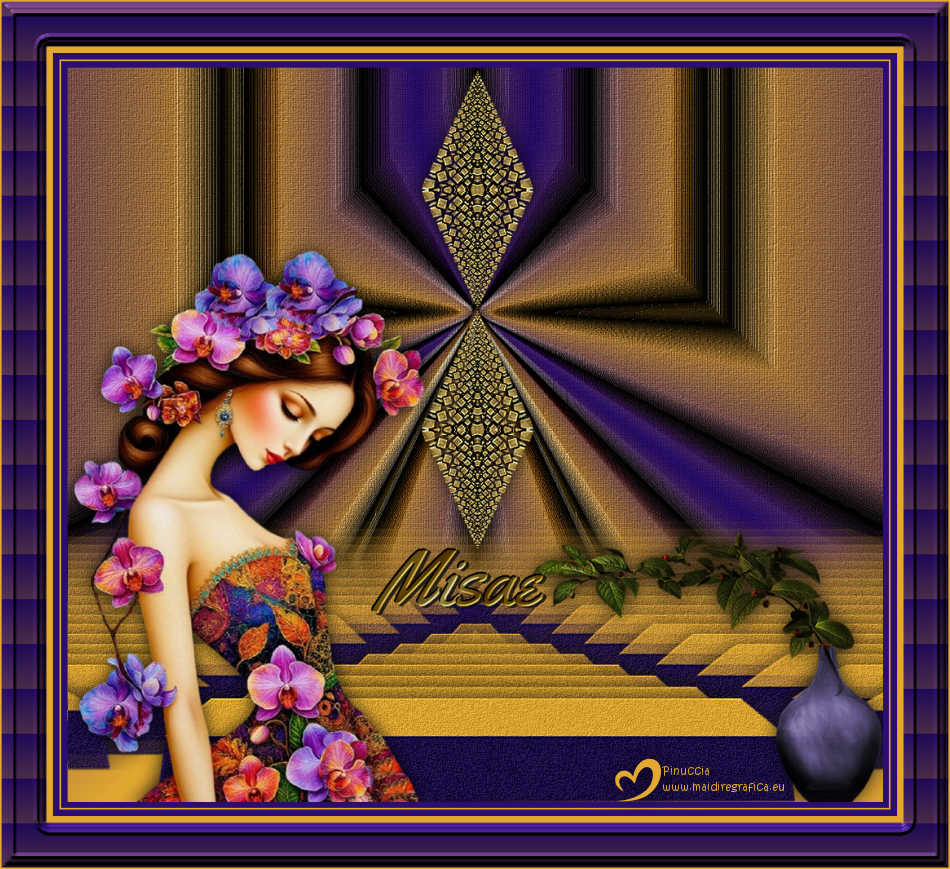
MISAE


Thanks Luz Cristina for your invitation to translate your tutorials into english

This tutorial, created with PSP9, was translated with PspX9 and PSP2020, but it can also be made using other versions of PSP.
Since version PSP X4, Image>Mirror was replaced with Image>Flip Horizontal,
and Image>Flip with Image>Flip Vertical, there are some variables.
In versions X5 and X6, the functions have been improved by making available the Objects menu.
In the latest version X7 command Image>Mirror and Image>Flip returned, but with new differences.
See my schedule here
 French Translation here French Translation here
 Your versions here Your versions here

For this tutorial, you will need:

(you find here the links to the material authors' sites)

consult, if necessary, my filter section here
Andromeda - Perspective here
Mura's Meister - Copies here
Alien Skin Eye Candy 5 Impact here
FM Tile Tools - Blend Emboss here

You can change Blend Modes according to your colors.
In the newest versions of PSP, you don't find the foreground/background gradient (Corel_06_029).
You can use the gradients of the older versions.
The Gradient of CorelX here

Copy the texture Textura Lino in the Textures Folder.
1. Open a new transparent image 1000 x 600 pixels.
2. Set your foreground color to the dark color #e2a82f
and your background color to the light color #2b0d74
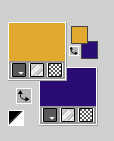
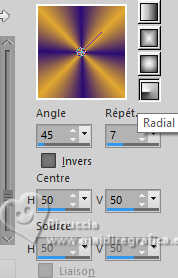
Set your foreground color to a Foreground/Background Gradient, style Radial.
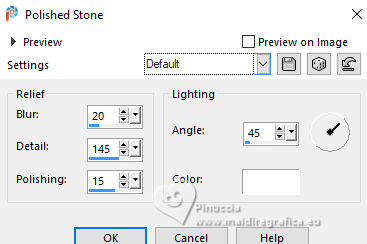
3. Effects>Texture Effects>Polished Stone, default settings.
4. Effects>Geometric Effects>Skew.
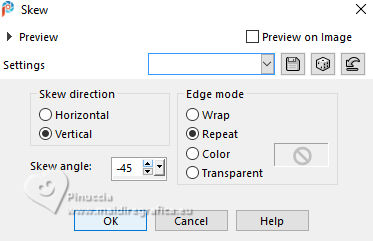
5. Effects>Reflection Effects>Rotating Mirror.

6. Image>Mirror>Mirror vertical (Image>Flip).
7. Image>Canvas Size - 1000 x 900 pixels.
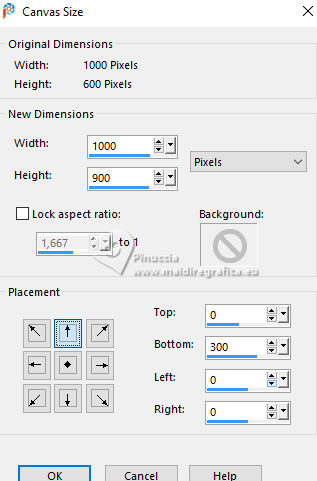
8. Effects>Plugins>Mura's Meister - Copies
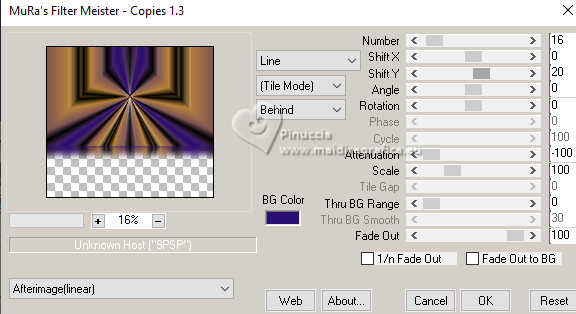
9. Layers>New Raster Layer.
Layers>Arrange>Move Down.
Flood Fill  the layer with your Gradient. the layer with your Gradient.
10. Activate the layer Raster 1.
Layers>New Raster Layer.
11. Activate your Selection Tool 
(no matter the type of selection, because with the custom selection your always get a rectangle)
clic on the Custom Selection 
and set the following settings.
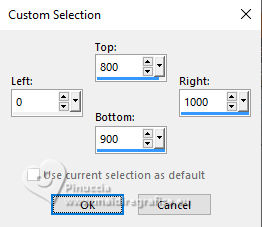
12. Set your foreground color to Color.
Flood Fill  the selection with your foreground color #e2a82f. the selection with your foreground color #e2a82f.
Selections>Select None.
13. Effects>Plugins>Andromeda - Perspective - apply the filter 2 times.
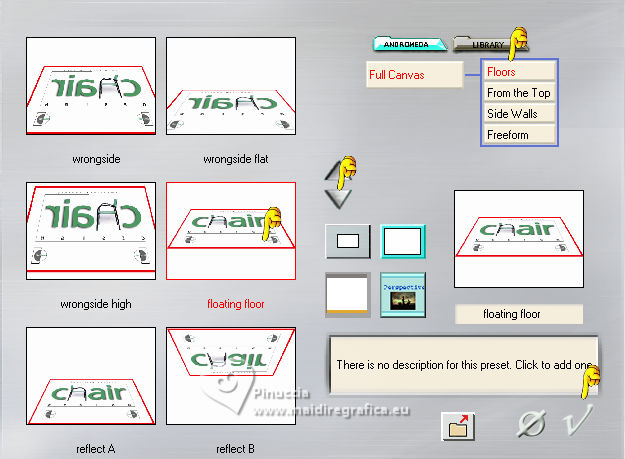
14. Effects>Plugins>Alien Skin Eye Candy 5 Impact - Extrude.
Solid Color: your background color

15. Place  the bar down (Objects>Align>Bottom). the bar down (Objects>Align>Bottom).

****
Attention, if you have problems with the filter Perspective,
skip the steps 11-13 and
copy/paste as new layer the image I added in the material) 
If you use other colors,
set the Match Mode on RGB Value,
and flood fill  the top part (left button) with your foreground color, the top part (left button) with your foreground color,
and the bottom part (right button) with your background color.
Move  the bar downs (Objects>Align>Bottom) the bar downs (Objects>Align>Bottom)

and go on from the step 16
****
16. Effects>3D Effects>Drop Shadow, color black.

17. Effects>Plugins>Mura's Meister - Copies.

18. Effects>Reflection Effects>Rotating Mirror.

19. Effects>Distortion Effects>Pinch.
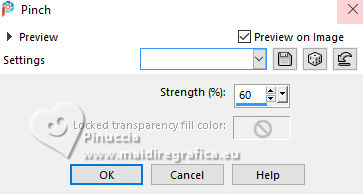
20. Adjust>Add/Remove Noise>Add Noise
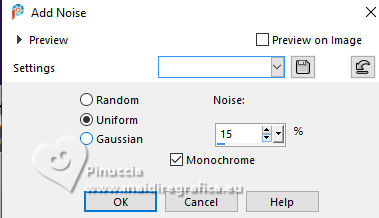
Effects>Plugins>FM Tile Tools - Blend Emboss (optional).

21. Activate the layer Raster 1.
Effects>Texture Effects>Texture - select the texture Texture Lino
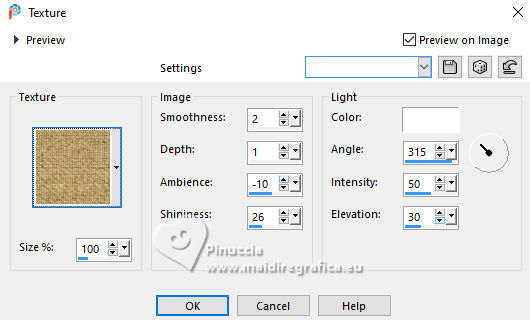
22. Open Deco-LuzCristina 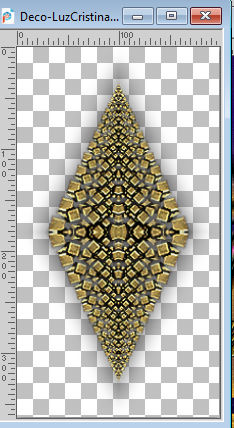
Edit>Copy.
Go back to your work and go to Edit>Paste as new layer.
Layers>Duplicate.
Place  the tube as below. the tube as below.
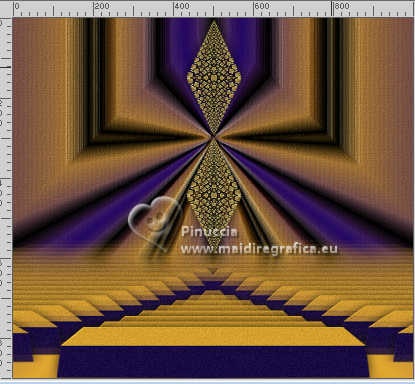
The tube has already its drop shadow.
23. Open the tube jarron-LuzCristina 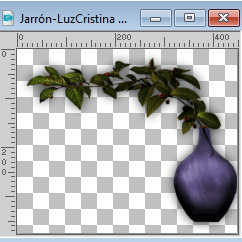
Edit>Copy.
Go back to your work and go to Edit>Paste as new layer.
Move  the tube at the bottom right. the tube at the bottom right.
The tube has already its drop shadow.
24. Open the text texto 
Edit>Copy.
Go back to your work and go to Edit>Paste as new layer.
Move  the text to your liking. the text to your liking.
25. Open the woman's tube 9057-LuzCristina 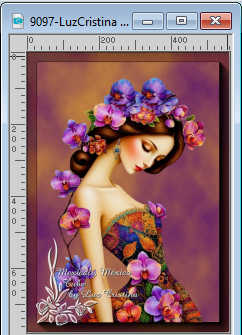
Edit>Copy.
Go back to your work and go to Edit>Paste as new layer.
Move  the tube to the left. the tube to the left.
Effects>3D Effects>Drop Shadow, last settings.
26. Image>Add borders, 8 pixels, symmetric, dark color.
Image>Add borders, 2 pixels, symmetric, light color.
Image>Add borders, 8 pixels, symmetric, dark color.
Image>Add borders, 2 pixels, symmetric, light color.
Image>Add borders, 55 pixels, symmetric, dark color.
26. Activate your Magic Wand Tool 
and click in the last border to select it.
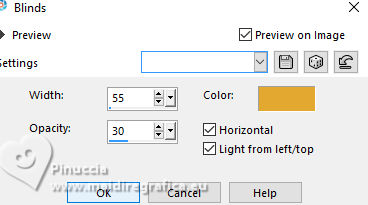
Effects>Texture Effects>Blinds - foreground color
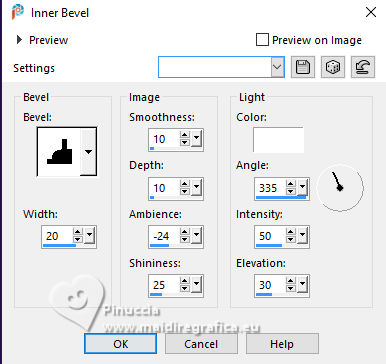
27. Effects>3D Effects>Inner Bevel.
Selections>Select All.
28. Image>Add borders, 2 pixels, symmetric, light color.
Image>Resize, to 83%, resize all layers checked.
Sign your work and save as jpg.
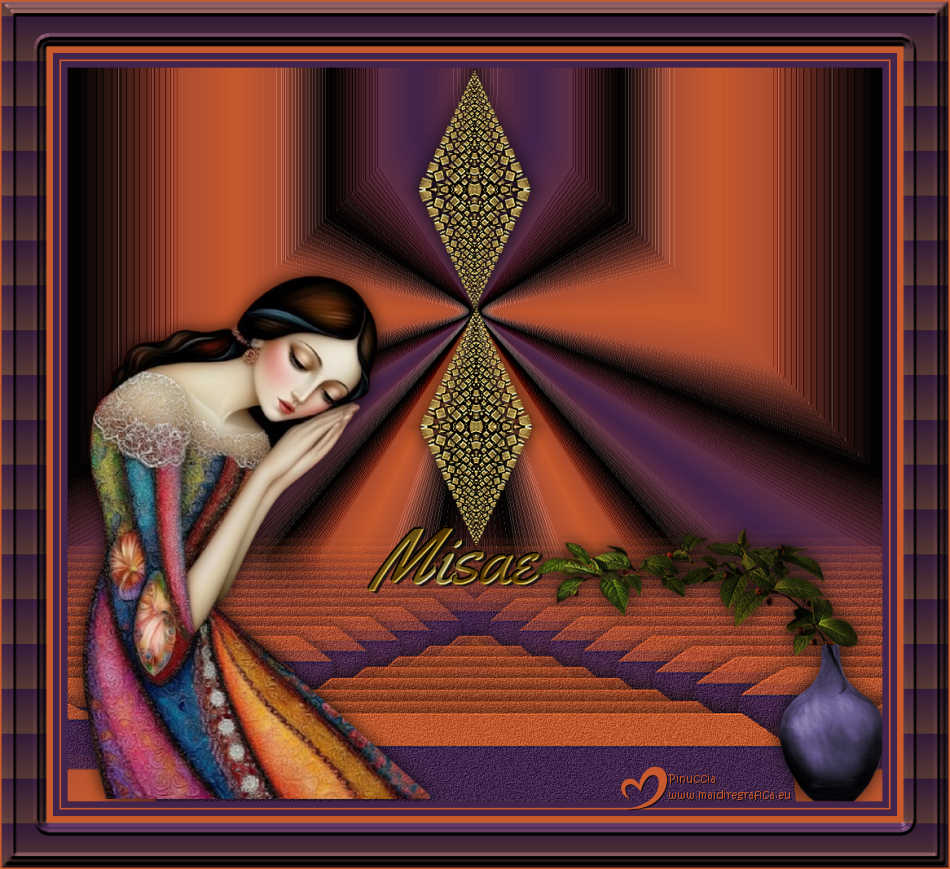
For the tubes of this version thanks Luz Cristina and Mentali


If you have problems or doubts, or you find a not worked link,
or only for tell me that you enjoyed this tutorial, write to me.
9 June 2025

|

