|
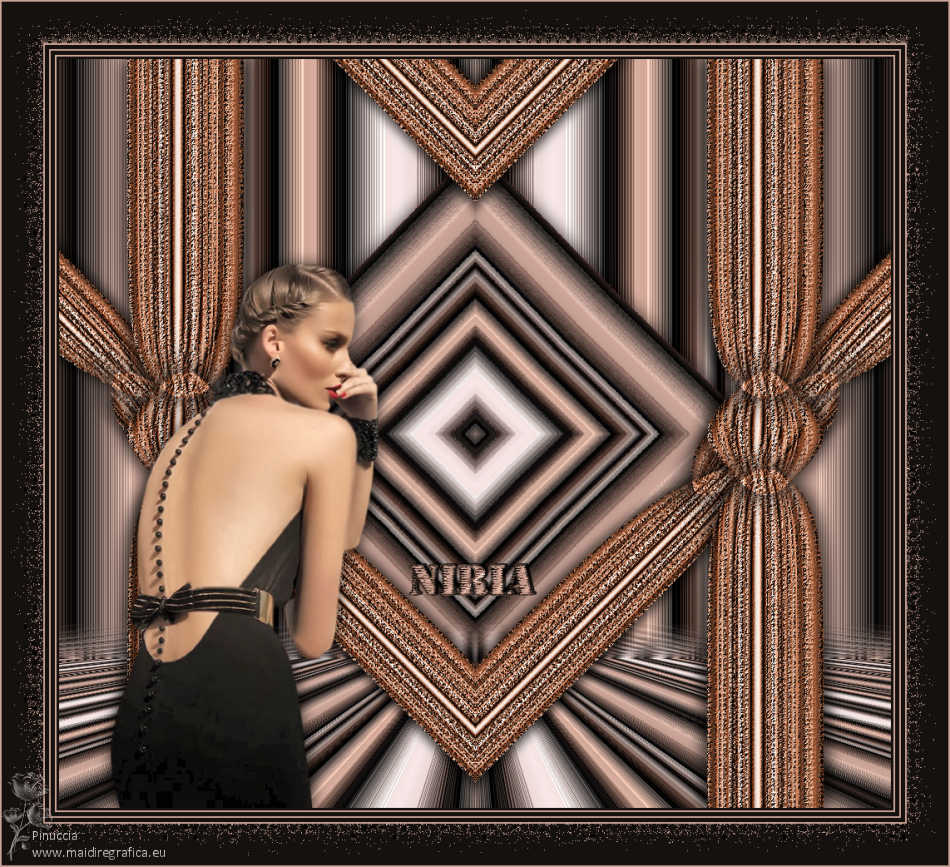
TUTORIAL NIRIA


Thanks Luz Cristina for your invitation to translate your tutorials into english

This tutorial, created with PSP9, was translated with PspX9 and PSP2020, but it can also be made using other versions of PSP.
Since version PSP X4, Image>Mirror was replaced with Image>Flip Horizontal,
and Image>Flip with Image>Flip Vertical, there are some variables.
In versions X5 and X6, the functions have been improved by making available the Objects menu.
In the latest version X7 command Image>Mirror and Image>Flip returned, but with new differences.
See my schedule here
 French Translation here French Translation here
 Your versions here Your versions here

For this tutorial, you will need:

(you find here the links to the material authors' sites)

consult, if necessary, my filter section here
Filters Unlimited 2.0 here
AP Distort - Distort-ShiftMesh here
Mura's Seamless - Emboss here
VM Distortion - Kaleidoscope here
Mura's Meister - Perspective Tiling here
Mura's Meister - Copies here
Filters Mura's Seamless and VM Distortion can be used alone or imported into Filters Unlimited.
(How do, you see here)
If a plugin supplied appears with this icon  it must necessarily be imported into Unlimited it must necessarily be imported into Unlimited

You can change Blend Modes according to your colors.

Copy the Gradient in the Gradients Folder.
1. Open a new transparent image 1000 x 900 pixels.
2. Set your foreground color to the Gradient Metallic rose, stile Linear.
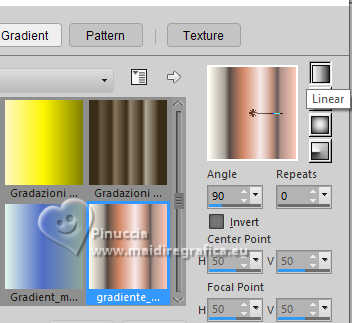
Flood Fill  the transparent image with your Gradient. the transparent image with your Gradient.
3. Effects>Texture Effects>Polished Stone
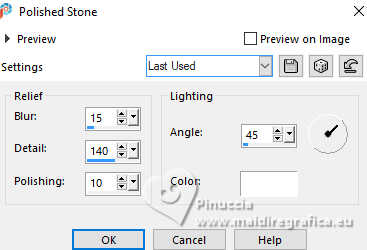
4. Image>Mirror>Mirror Horizontal.
5. Effects>Reflection Effects>Rotating Mirror.

6. Layers>Duplicate.
7. Effects>Geometric Effects>Circle.
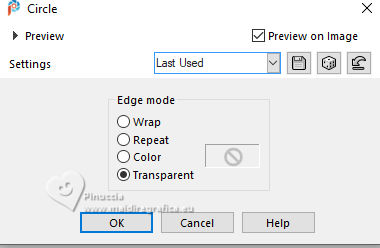
8. Image>Resize, to 60%, resize all layers not checked.
9. Effects>Image Effects>Seamless Tiling.
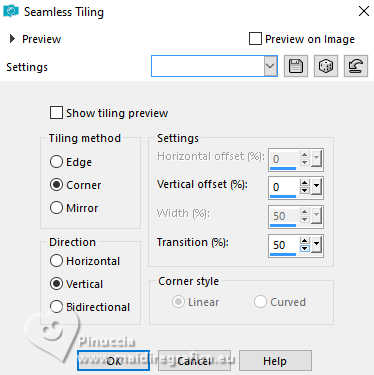
10. Effects>Distortion Effects>Pinch - 3 times

11. Effects>Image Effects>Offset.
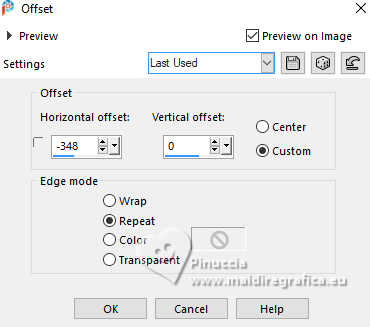
12. Effects>Reflection Effects>Rotating Mirror.

13. Effects>Modules Externes>AP [Distort] - Distort-ShiftMesh
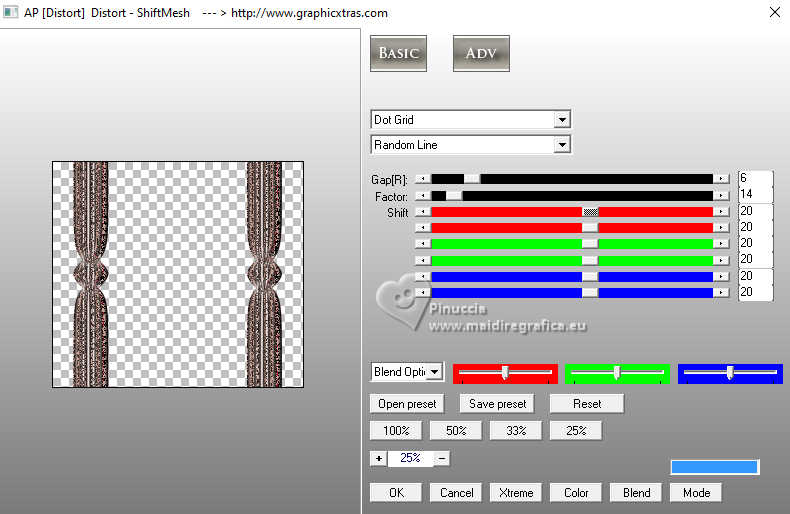
14. Adjust>Hue and Saturation>Automatic Saturation Enhancement (optional for you free version)
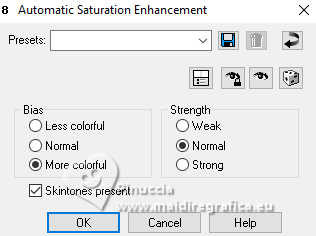
This effect is not found after the PSP 9 version.
For my example, comparing the result after the Distort effect (left) and the Luz Cristina tag (right),
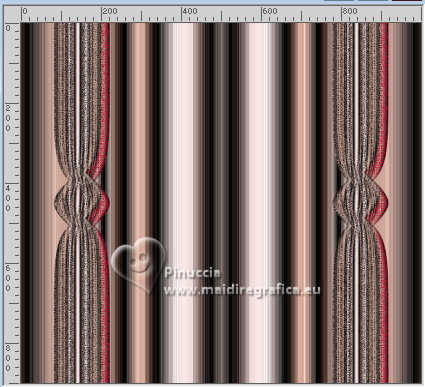 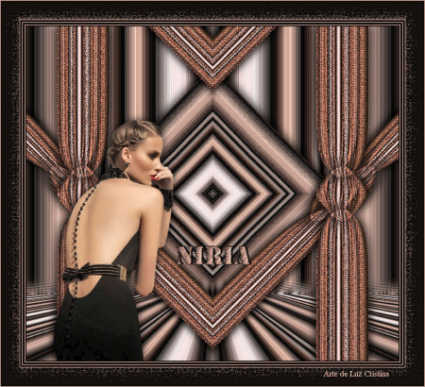
note: with PSP2020 the result was different
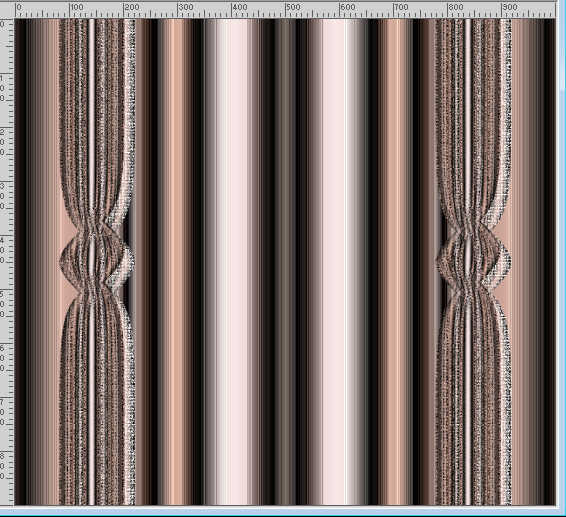
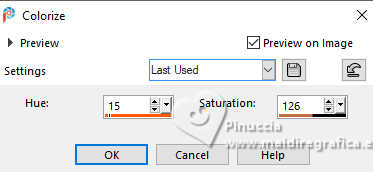
I used: Adjust>Hue and Saturation>Colorize, with these settings.
It's up to you to decide whether to follow my example.
15. Effects>Plugins>Mura's Seamless - Emboss.
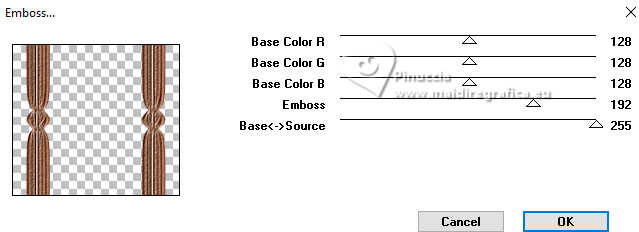
16. Effects>3D Effects>Drop shadow, color black.

Optional Edit>Repeat Drop Shadow.
17. Layers>Duplicate.
18. Effects>Geometric Effects>Skew.
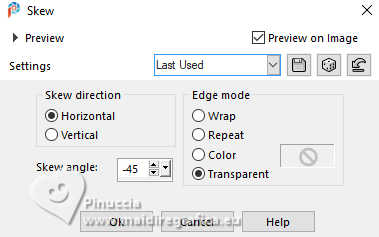
19. Effects>Reflection Effects>Rotating Mirror.

20. Layers>Arrange>Move Down.
21. Activate the layer Raster 1.
Layers>Duplicate.
22. Effects>Plugins>Mura's Meister - Perspective Tiling.
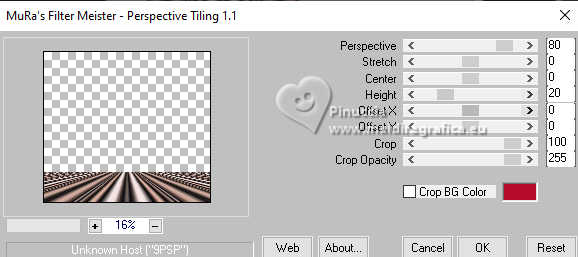
23. Effects>Plugins>Mura's Meister - Copies.
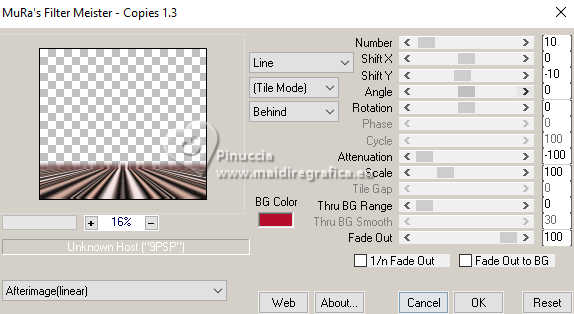
24. Activate again the layer Raster 1.
Layers>Duplicate.
Image>Resize, to 60%, resize all layers not checked.
25. Effects>Plugins>VM Distortion - Kaleidoscope.
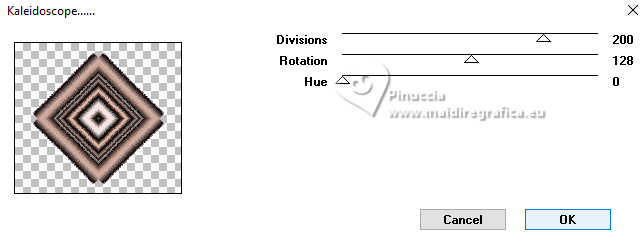
26. Image>Resize, to 80%, resize all layers not checked.
Effects>3D Effects>Drop Shadow, same settings.
27. Activate your top layer.
Open the tube 6587-Luz Cristina 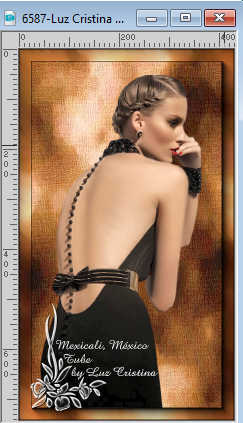
Edit>Copy.
Go back to your work and go to Edit>Paste as new layer.
Move  the tube to the left side. the tube to the left side.
Effects>3D Effects>Drop Shadow, same settings.
28. Open the text Texto 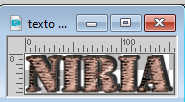
Edit>Copy.
Go back to your work and go to Edit>Paste as new layer.
Move  the tube to your liking. the tube to your liking.
29. For the borders, set your foreground color to the dark color #15110f,
and your background to the light color #cba396.
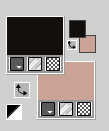
Image>Add borders, 3 pixels, symmetric, dark color #15110f.
Image>Add borders, 2 pixels, symmetric, light color #cba396.
Image>Add borders, 5 pixels, symmetric, dark color #15110f.
Image>Add borders, 2 pixels, symmetric, light color #cba396.
Image>Add borders, 5 pixels, symmetric, dark color #15110f.
Image>Add borders, 2 pixels, symmetric, light color #cba396.
Image>Add borders, 50 pixels, symmetric, dark color.
30. Activate your Magic Wand Tool 
and click on the last border to select it.
Effects>Texture Effects>Mosaic Antique
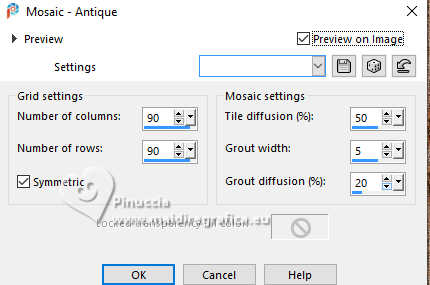
Edit>Repeat Mosaic Antique.
Selections>Select None.
31. Image>Add borders, 2 pixels, symmetric, light color #cba396.
Image>Resize, to 84%, resize all layers checked.
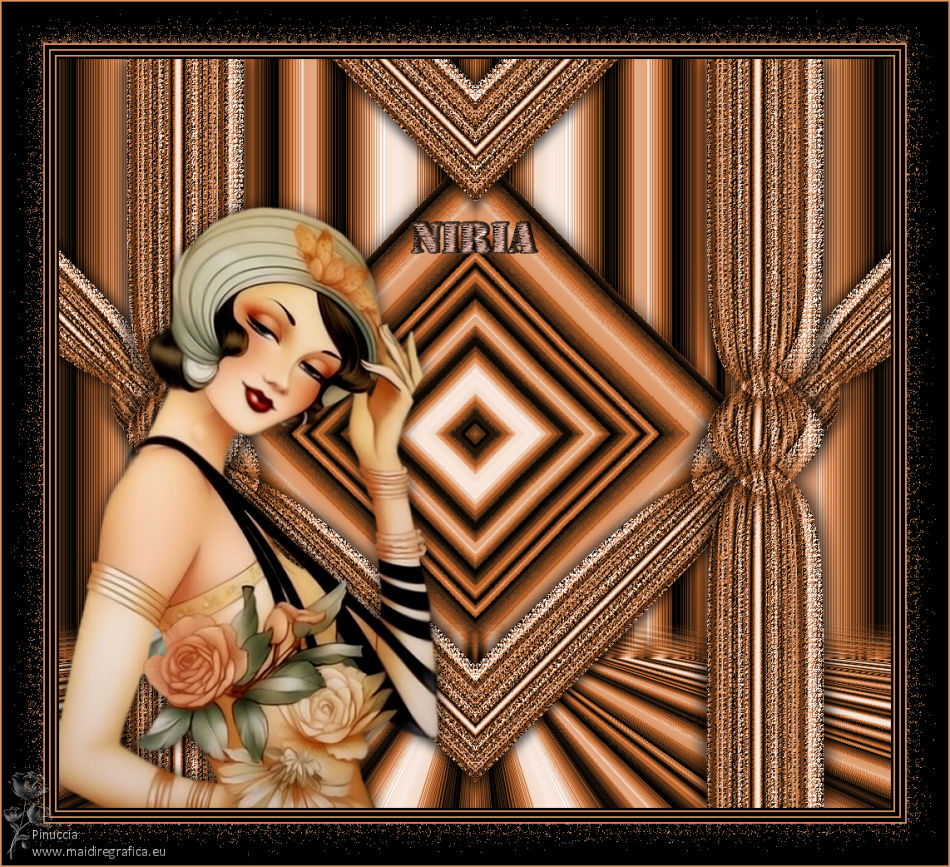
32. Sign your work and save as jpg.


If you have problems or doubts, or you find a not worked link,
or only for tell me that you enjoyed this tutorial, write to me.
26 November 2024

|

