|
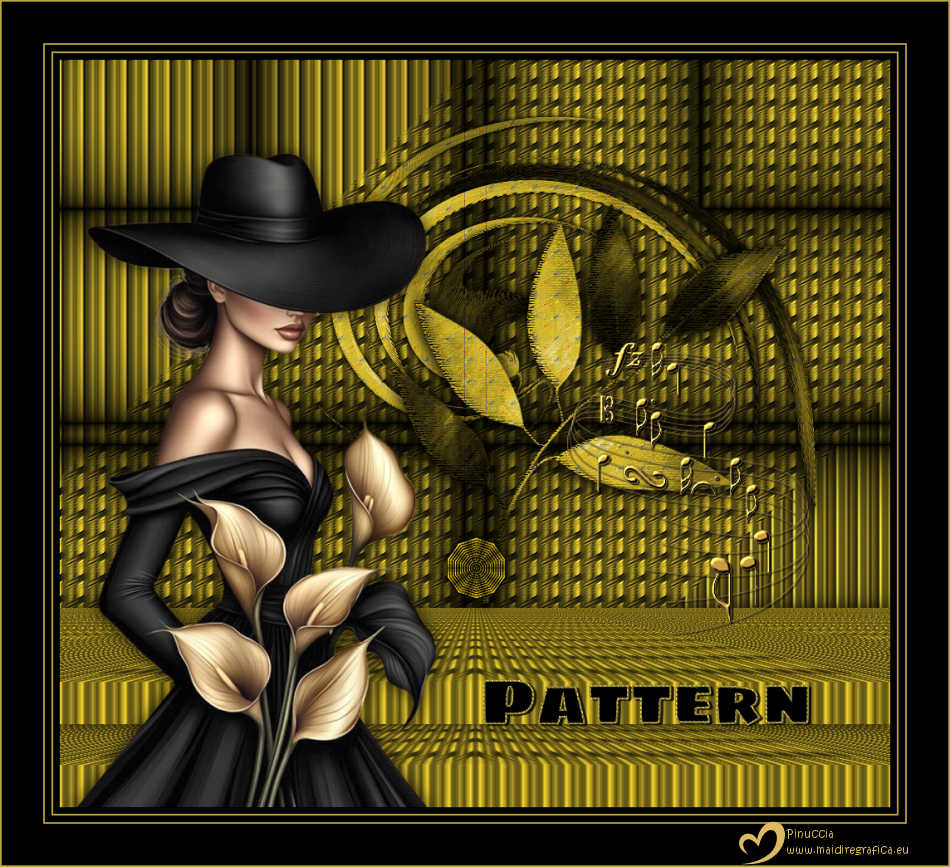
PATTERN


Thanks Luz Cristina for your invitation to translate your tutorials into english

This tutorial, created with PSP9, was translated with PspX9 and PSP2020, but it can also be made using other versions of PSP.
Since version PSP X4, Image>Mirror was replaced with Image>Flip Horizontal,
and Image>Flip with Image>Flip Vertical, there are some variables.
In versions X5 and X6, the functions have been improved by making available the Objects menu.
In the latest version X7 command Image>Mirror and Image>Flip returned, but with new differences.
See my schedule here
 French Translation here French Translation here
 Your versions here Your versions here

For this tutorial, you will need:

Tubes de Luz Cristina
(you find here the links to the material authors' sites)

consult, if necessary, my filter section here
Filters Unlimited 2.0 here
Mura's Meister - Perspective Tiling here
FM Tile Tools - Blend Emboss here
Mura's Seamless - Stripe at Cylinder here
Filters Mura's Seamless can be used alone or imported into Filters Unlimited.
(How do, you see here)
If a plugin supplied appears with this icon  it must necessarily be imported into Unlimited it must necessarily be imported into Unlimited

You can change Blend Modes according to your colors.

Open the golden pattern in PSP and minimize it with the rest of the material.
1. Open a new transparent image 1000 x 900 pixels.
2. Set your foreground color to Pattern and select the pattern gold 45
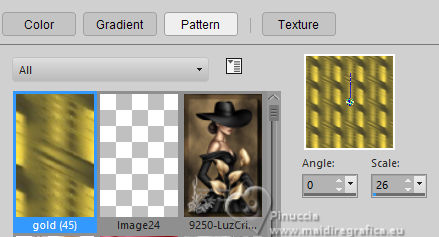
Flood Fill  the transparente image with your golden pattern. the transparente image with your golden pattern.
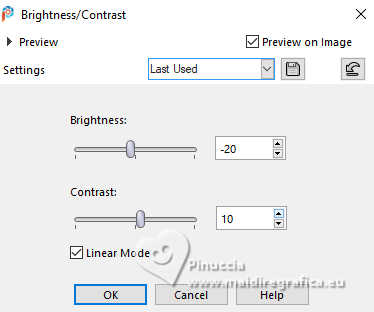
3. Adjust>Brightness and Contraste>Brightness and Contraste.
4. Effects>Geometric Effects>Skew.
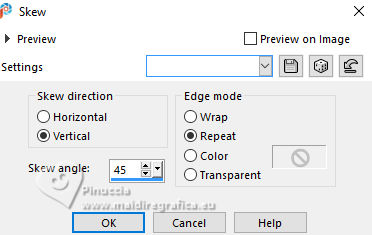
5. Layers>Duplicate.
6. Effects>Plugins>Mura's Meister - Perspective Tiling.
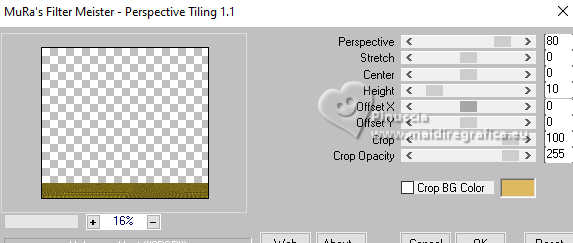
7. Effects>Reflection Effects>Rotating Mirror.

8. Effects>Image Effects>Offset.
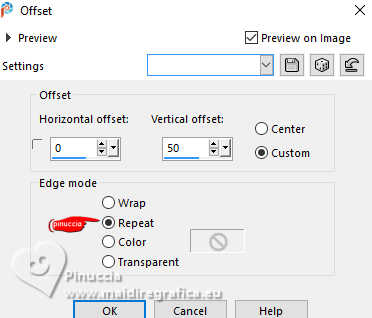
9. Layers>Duplicate.
Effects>Image Effects>Offset.
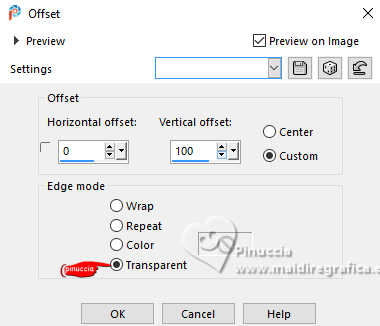
10. Effects>3D Effects>Drop shadow, color black.

11. Activate the layer Raster 1.
Effets>Modules Externes>FM Tile Tools - Blend Emboss, default settings.

12. Layers>New Raster Layer.
Effects>Plugins>Mura's Seamless - Stripe of Cylinder.
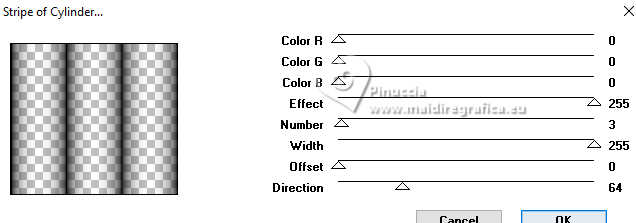
13. Effects>Reflection Effects>Kaleidoscope.
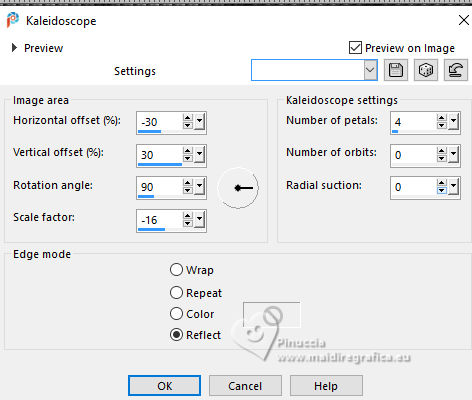
14. Activate your top layer.
Open your women's tube 9250-LuzCristina2 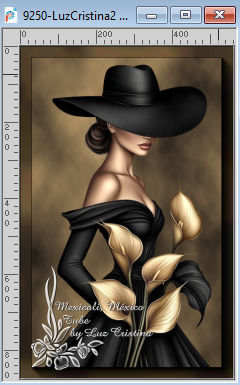
Edit>Copy.
Go back to your work and go to Edit>Paste as new layer.
Move  the tube to the left. the tube to the left.
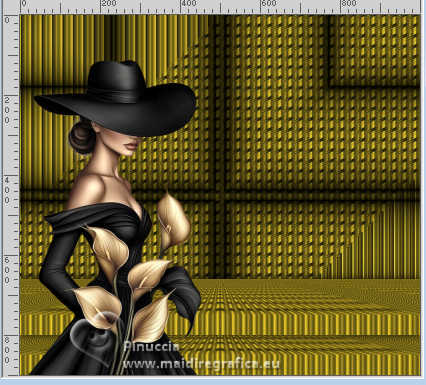
Effects>3D Effects>Drop Shadow, same settings.
15. Open the tube deco 3 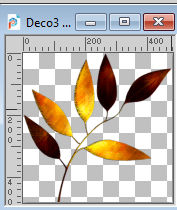
Edit>Copy.
Go back to your work and go to Edit>Paste as new layer.
Place  correctly the tube. correctly the tube.
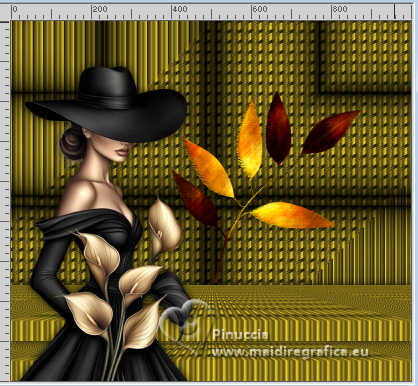
Effects>3D Effects>Drop Shadow, same settings.
16. Layers>Duplicate.
Layers>Arrange>Move Down - 2 times (under the woman's tube).
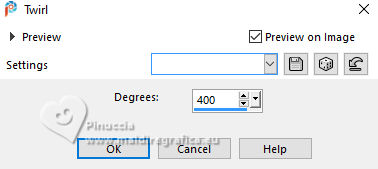
17. Effects>Distortion Effects>Twirl.
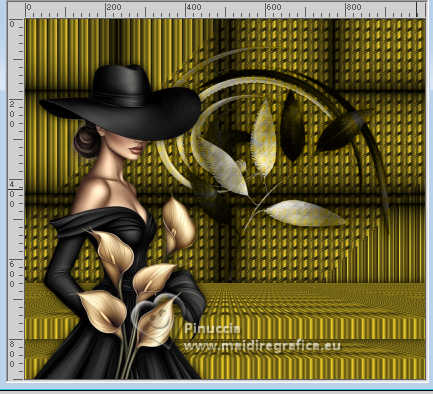
Image>Mirror>Mirror vertical (Image>Flip)
Move  correctly the image symmetrically, correctly the image symmetrically,
voir mon example.
the result can be different according to the tube and its position
Change the Blend Mode of the two layers to Luminance (Optional)
18. Activate your top layer.
Open the tube deco2 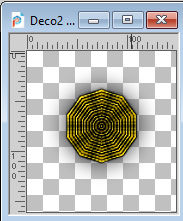
Edit>Copy.
Go back to your work and go to Edit>Paste as new layer.
Place  correctly the tube. correctly the tube.
19. Open the tube deco4 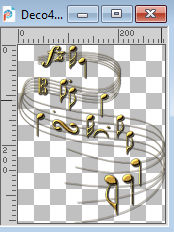
Edit>Copy.
Go back to your work and go to Edit>Paste as new layer.
Place  correctly the tube. correctly the tube.
20. Open the text texte 
Edit>Copy.
Go back to your work and go to Edit>Paste as new layer.
Place  the text to your liking. the text to your liking.
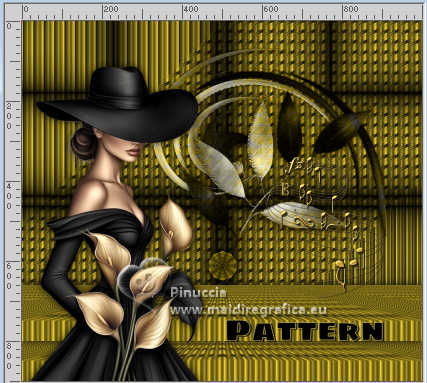
21. Image>Add Borders, 8 pixels, symmetric, color black.
Image>Add Borders, 2 pixels, symmetric, color #bca73e.
Image>Add Borders, 8 pixels, symmetric, color black.
Image>Add Borders, 2 pixels, symmetric, color #bca73e.
Image>Add Borders, 50 pixels, symmetric, color black.
Image>Add Borders, 2 pixels, symmetric, color #bca73e.
22. Image>Resize, 83%, resize all layers checked.
Sign your work and save as jpg.
For the tubes of this version thanks Luz Cristina
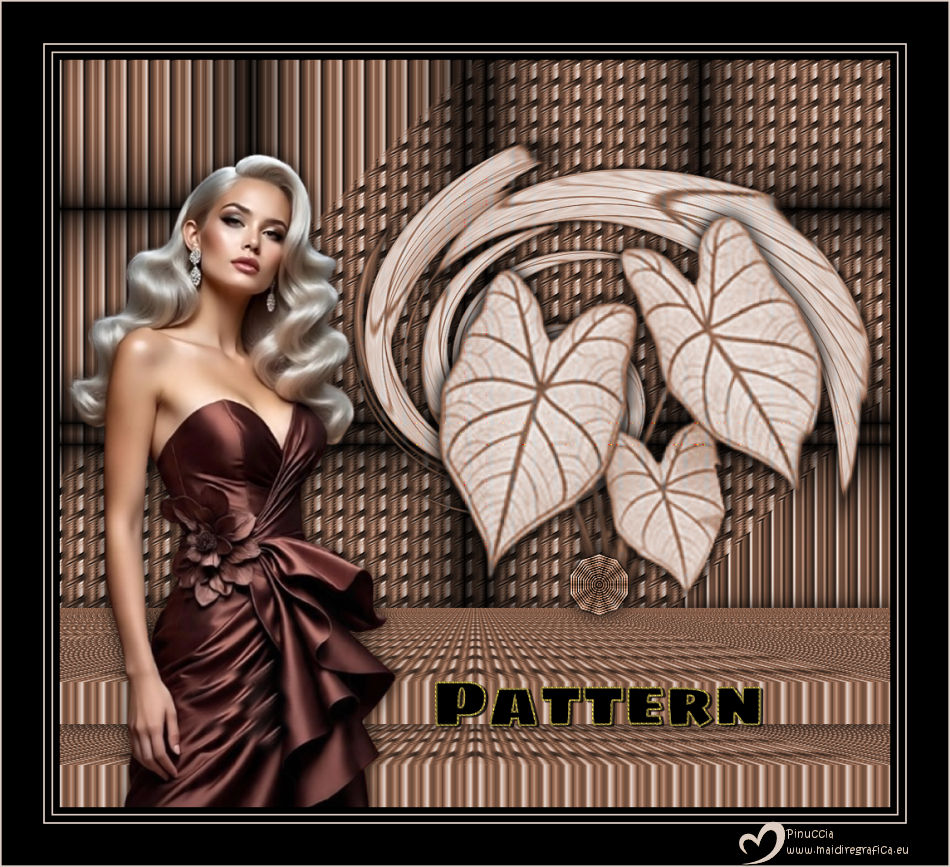


If you have problems or doubts, or you find a not worked link,
or only for tell me that you enjoyed this tutorial, write to me.
15 November 2025

|

