|
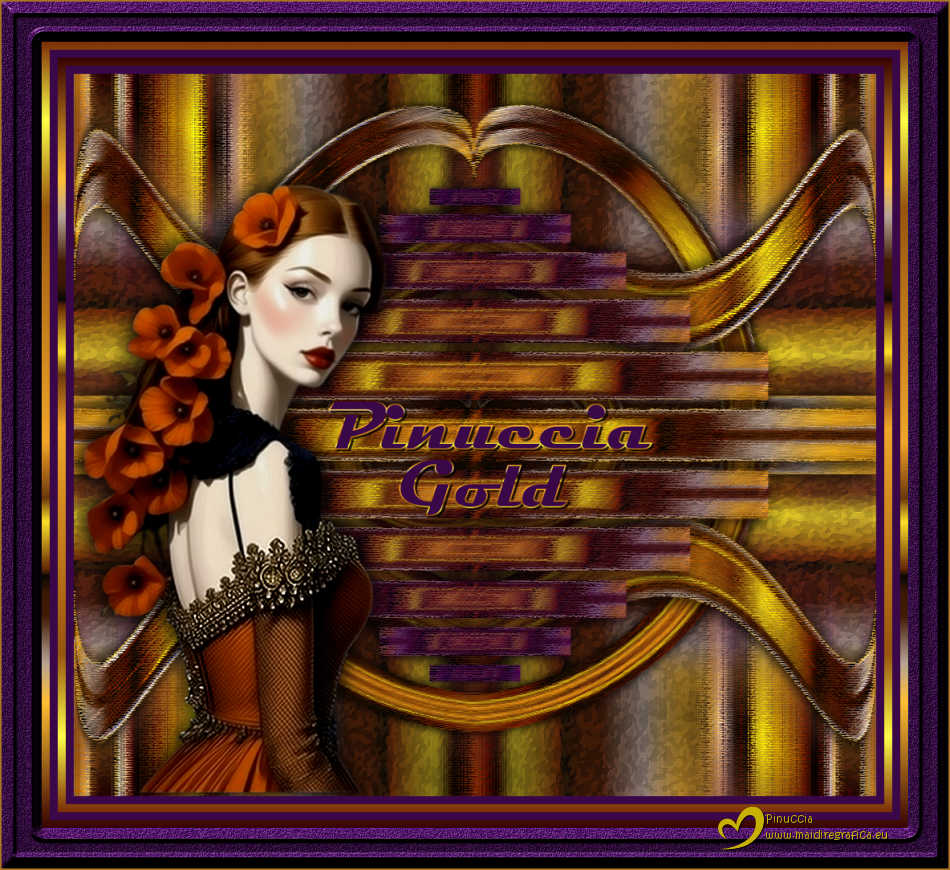
PINUCCIA GOLD


Thanks Luz Cristina for your invitation to translate your tutorials into english

Gracias, muchas gracias mi Pinnu querida por tu presencia en mi vida..
Gracias a ti, muchas gracias mi querida Luz por esta maravillosa dedicatoria.
This tutorial, created with PSP9, was translated with PspX9 and PSP2020, but it can also be made using other versions of PSP.
Since version PSP X4, Image>Mirror was replaced with Image>Flip Horizontal,
and Image>Flip with Image>Flip Vertical, there are some variables.
In versions X5 and X6, the functions have been improved by making available the Objects menu.
In the latest version X7 command Image>Mirror and Image>Flip returned, but with new differences.
See my schedule here
 French Translation here French Translation here
 Your versions here Your versions here

For this tutorial, you will need:

(you find here the links to the material authors' sites)

consult, if necessary, my filter section here
Filters Unlimited 2.0 here
VM Toolbox - Zoom Blur here
FM Tile Tools - Blend Emboss here
Artistiques - Eponge, Pastels here
Simple - Top Left Mirror, Pizza Slice Mirror here
Mura's Meister - Copies here
AAA Frames - Foto Frame here
Filters VM Toolbox and Simple can be used alone or imported into Filters Unlimited.
(How do, you see here)
If a plugin supplied appears with this icon  it must necessarily be imported into Unlimited it must necessarily be imported into Unlimited

You can change Blend Modes according to your colors.

Copy the Gradient in your Gradients Folder.
1. Open a new transparent image 1000 x 900 pixels.
2. Set your foreground color to Gradient and select the gradient Metalic gold01, style Linear.
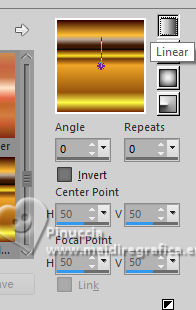
Set your background color to #3a0749.
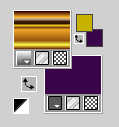
Flood Fill  the transparent image with your Gradient. the transparent image with your Gradient.
****
Attention please,
according to the translators of the various PSP versions, gradients can be saved with the extension .jgd or with the extension .grd.
For this reason, if you don't see the gradient provided in your PSP, check the extension.
You can change the extension is possible by yourself, from jgd to .grd or vice versa.
In any case in the material, I addes the gradient with both extensions.
*****
3. Effects>Plugins>Simple - Top Left Mirror.
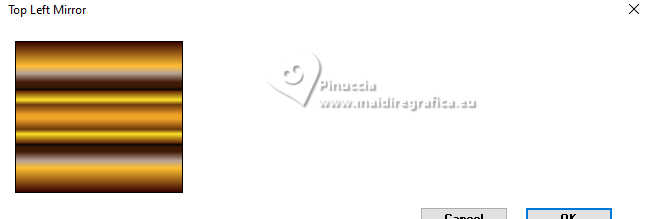
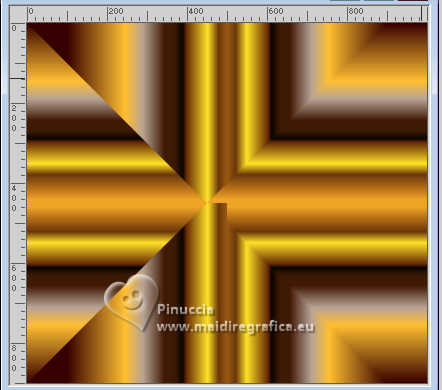
4. Effects>Plugins>Simple - Pizza Slice Mirror.
This effect works without window; result
5. Image>Mirror>Mirror horizontal.
6. Effects>Reflection Effects>Rotating Mirror.

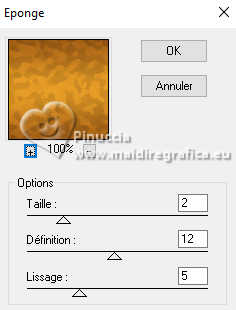
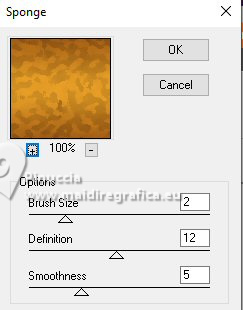
7. Effects>Plugins>Artistiques - Eponge
if you use the english version of this filter (the result doesn't change):
Effects>Plugins>Artistics - Sponge
8. Effects>Plugins>FM Tile Tools - Blend Emboss

9. Layers>Duplicate.
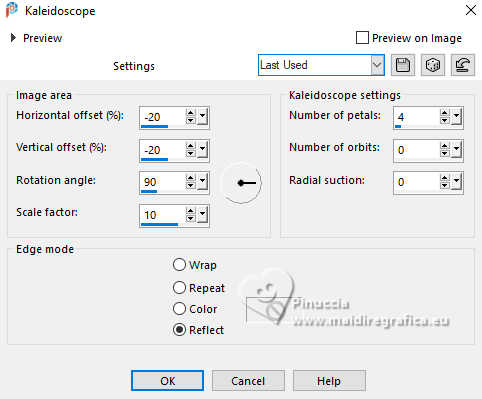
Ecfects>Reflection Effects>Kaleidoscope.
10. Effects>Geometric Effects>Perspective horizontal.

11. Image>Mirror>Mirror horizontal.
Repeat Effefts>Geometric Effects>Perspective horizontal, same settings.
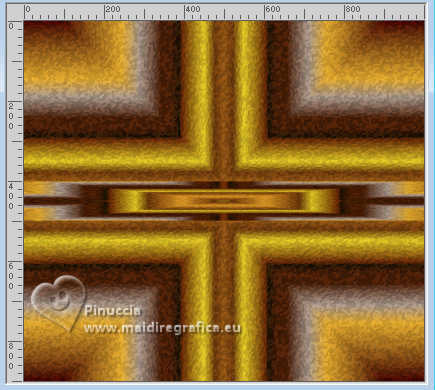
12. Effects>3D Effects>Drop Shadow, color #000000.

Edit>Repeat Drop Shadow (optional in your version)
13. Layers>Duplicate.
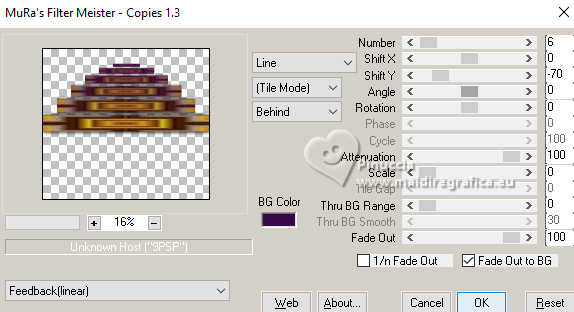
Effects>Plugins>Mura's Meister - Copies.
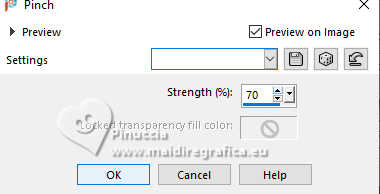
14. Effects>Distortion Effects>Pinch.
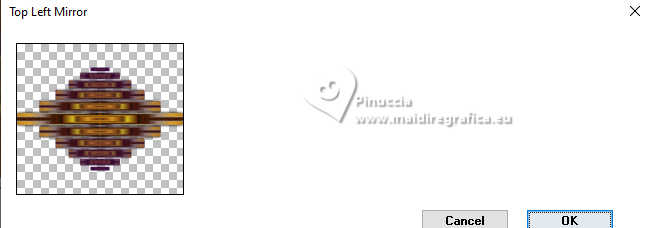
15. Effects>Plugins>Simple - Top Left Mirror.
16. Effects>3D Effects>Drop Shadow, color #000000.

17. Effects>Plugins>Artistiques - Eponge
if you use the english version of this filter (the result doesn't change):
Effects>Plugins>Artistics - Rough Pastel
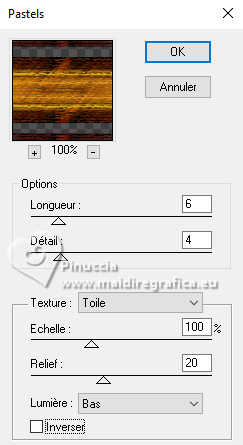 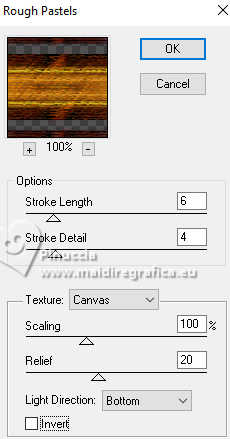
18. Activate the layer Copy of Raster 1.
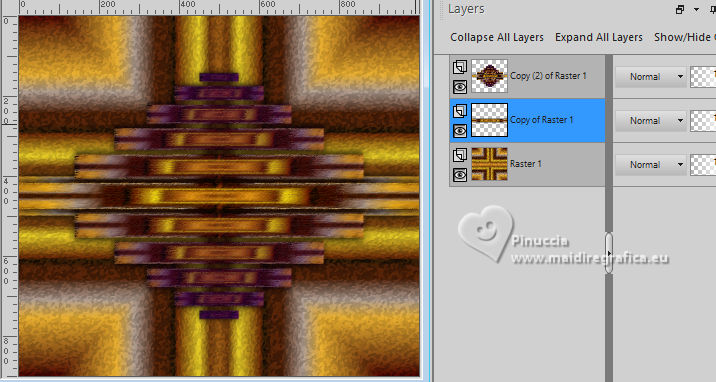
Layers>Duplicate.
19. Effects>Distortion Effects>Wave.
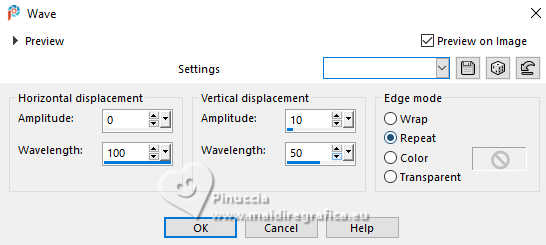
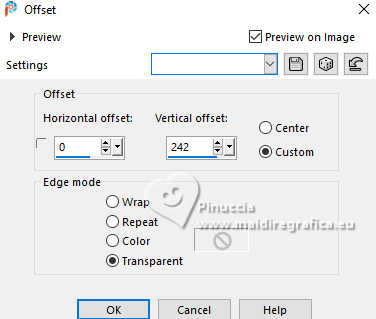
20. Effects>Image Effects>Offset.
21. Layers>Duplicate.
Image>Mirror>Mirror Vertical (Image>Flip).
Layers>Merge>Merge Down.
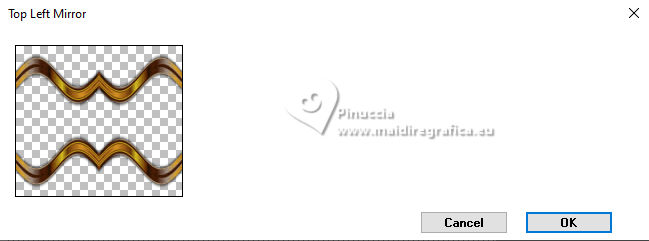
22. Effects>Plugins>Simple - Top Left Mirror.
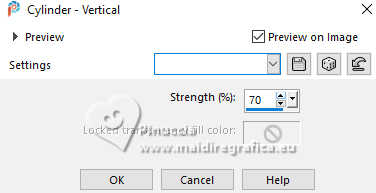
23. Effects>Geometric Effects>Cylinder vertical.
24. Effects>Plugins>Artistiques - Pastels, same settings.
25. Layers>Duplicate.
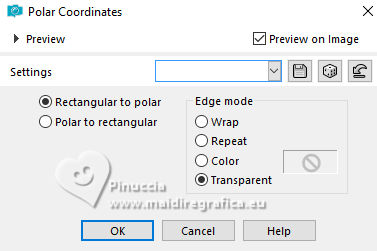
Effects>Distorsion Effects>Polar Coordinates.
26. Layers>Arrange>Move Down.
27. Layers>Duplicate.
Layers>Arrange>Move Down.
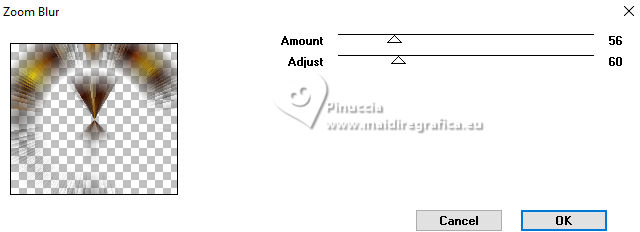
28. Effects>Plugins>VM Toolbox - Zoom Blur.
29. Effects>Reflection Effects>Rotating Mirror, same settings.

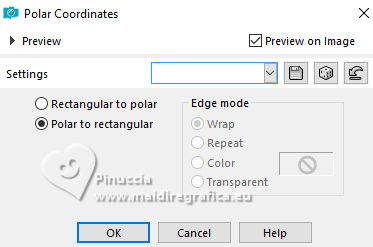
30. Effects>Distortion Effects>Polar Coordinates.
31. Image>Mirror>Mirror vertical (Image>Flip).
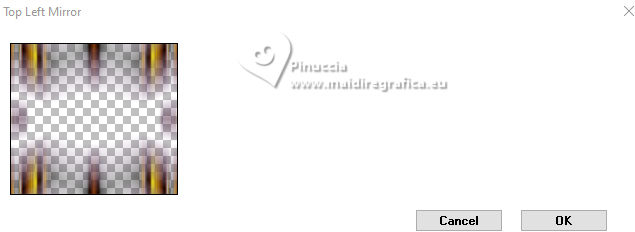
32. Effects>Plugins>Simple - Top Left Mirror.
33. Layers>Arrange>Move Down.
34. Effects>Plugins>Artistiques - Pastels, same settings.
35. Activate your top layer.
Open the tube 8971-LuzCristina 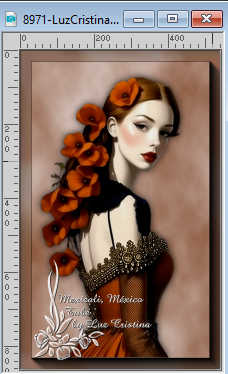
Edit>Copy.
Go back to your work and go to Edit>Paste as new layer.
Move  the tube to the left side. the tube to the left side.
Effects>3D Effects>Drop Shadow, at your choice.
36. Open the texte Texto 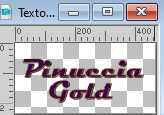
Edit>Copy.
Go back to your work and go to Edit>Paste as new layer.
Move  the tube at your choice. the tube at your choice.
37. Image>Add borders, 10 pixels, symmetric, dark color.
Image>Add borders, 10 pixels, symmetric, color white.
Activate your Magic Wand Tool 
click on the last border to select it.
Flood Fill  the selection with your Gradient. the selection with your Gradient.
Selections>Select None.
38. Image>Add borders, 10 pixels, symmetric, dark color.
Image>Add borders, 10 pixels, symmetric, color white.
Select the last border with your Magic Wand Tool 
Flood Fill  the selection with your Gradient. the selection with your Gradient.
39. Image>Mirror>Mirror vertical (Image>Flip).
Selections>Select None.
40. Image>Add borders, 50 pixels, symmetric, dark color.
Select this border with your Magic Wand Tool 
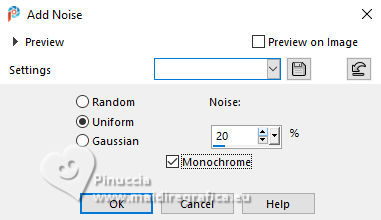
Adjust>Add/Remove Noise>Add Noise.
41. Effects>Plugins>FM Tile Tools - Blend Emboss

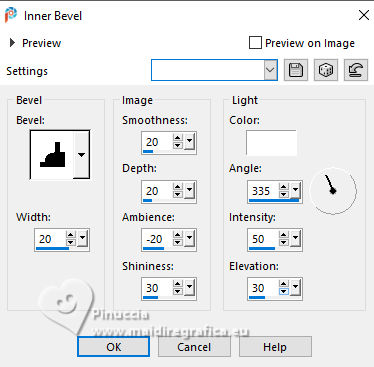
42. Effects>3D Effects>Inner Bevel.
Selections>Select None.
43. Image>Add Borders, 2 pixels, symmetric, color #ab7423  . .
44. Image>Resize, 80%, resize all layers checked.
Sign your work and save as jpg.
*****
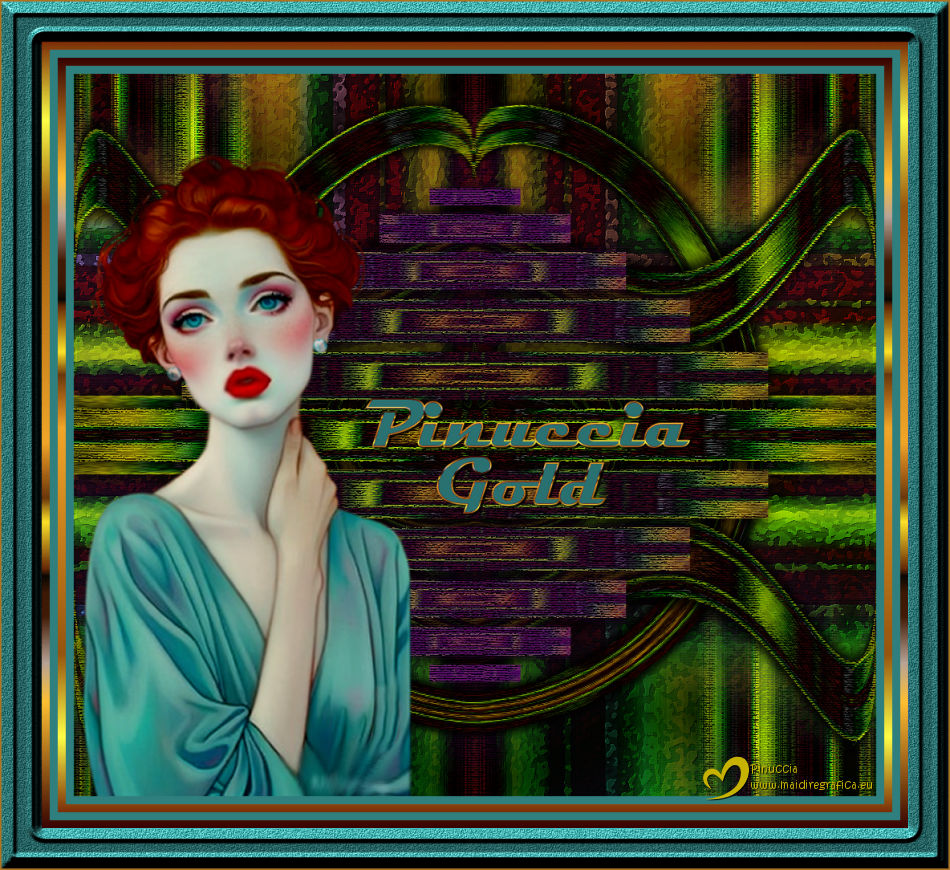
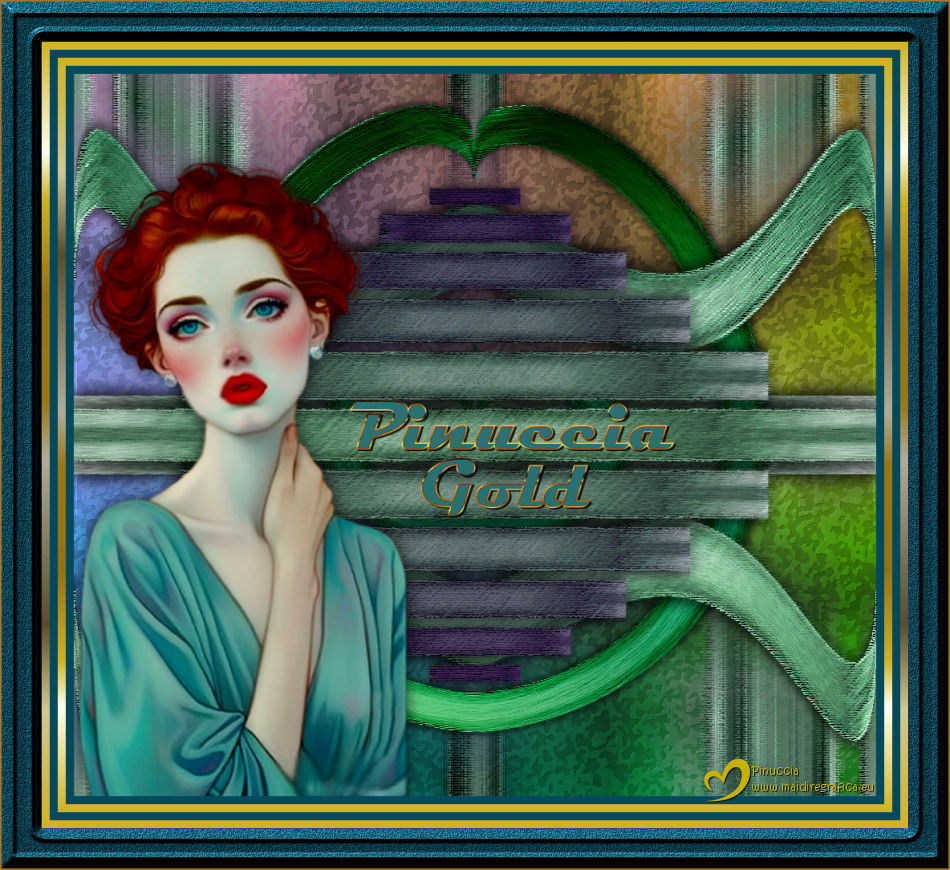
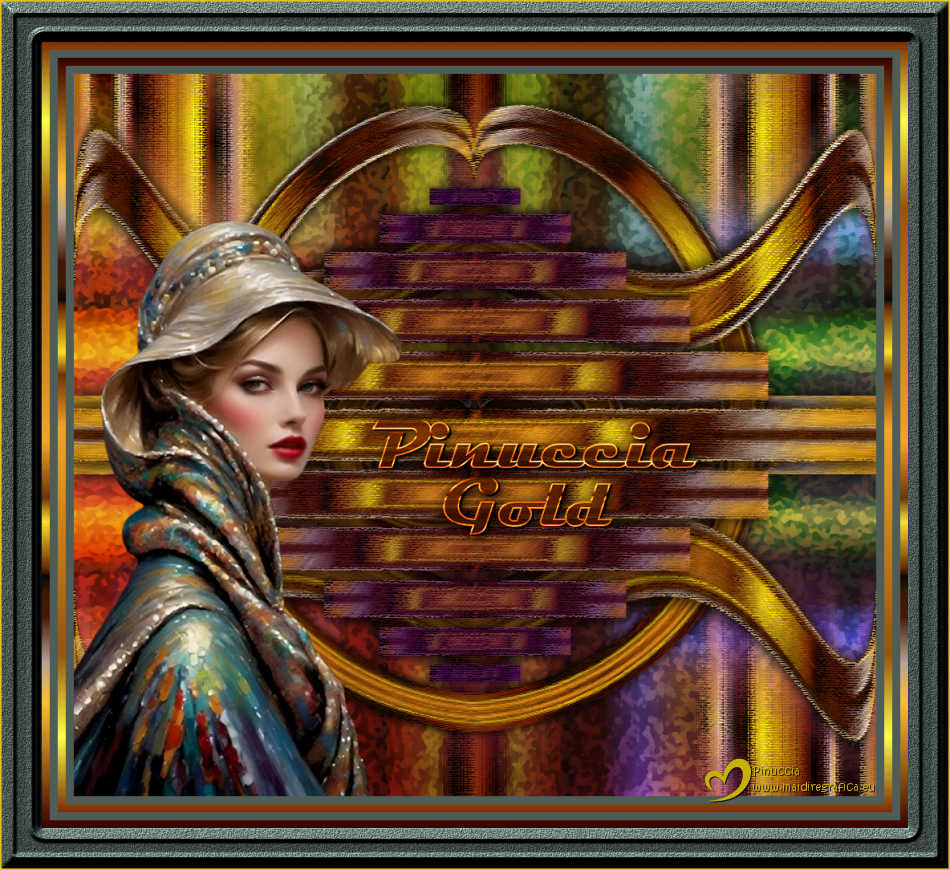
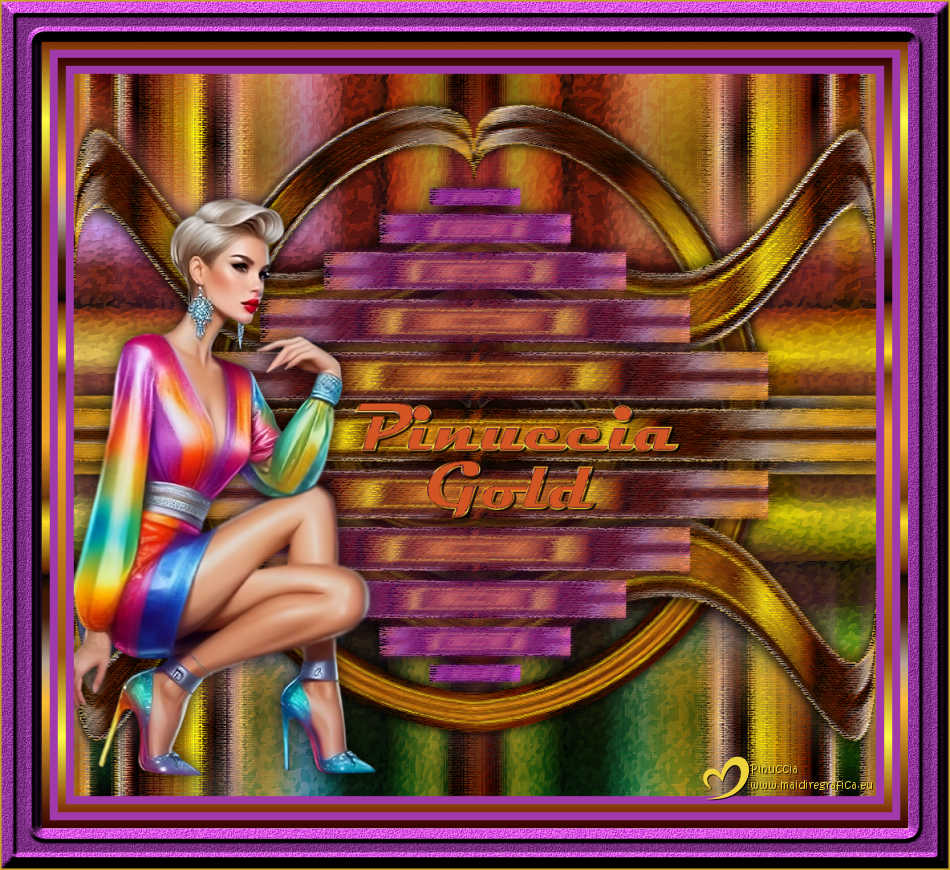
In this version,
I duplicated the layer Raster 1.
On this layer:
Effects>Plugins>Filters Unlimited 2.0 - Filter Factory Gallery M - Ambrosia,
I clicked on Randomi until I was satisfied with the result.
Layers>Arrange>Move Down.
Change the Blend Mode of this layer Raster 1 to Hard Light.
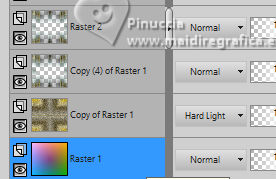
Finally, I applied the Artistic>Sponge filter.
In the gradient, I used a color that matched my tube.
The Nick Software Color Efex - Bi-color filter also works.
Use your creativity and imagination:
"There are a thousand ways to skin a cat."
*****


If you have problems or doubts, or you find a not worked link,
or only for tell me that you enjoyed this tutorial, write to me.
24 April 2025

|

