|
ESPLENDOR

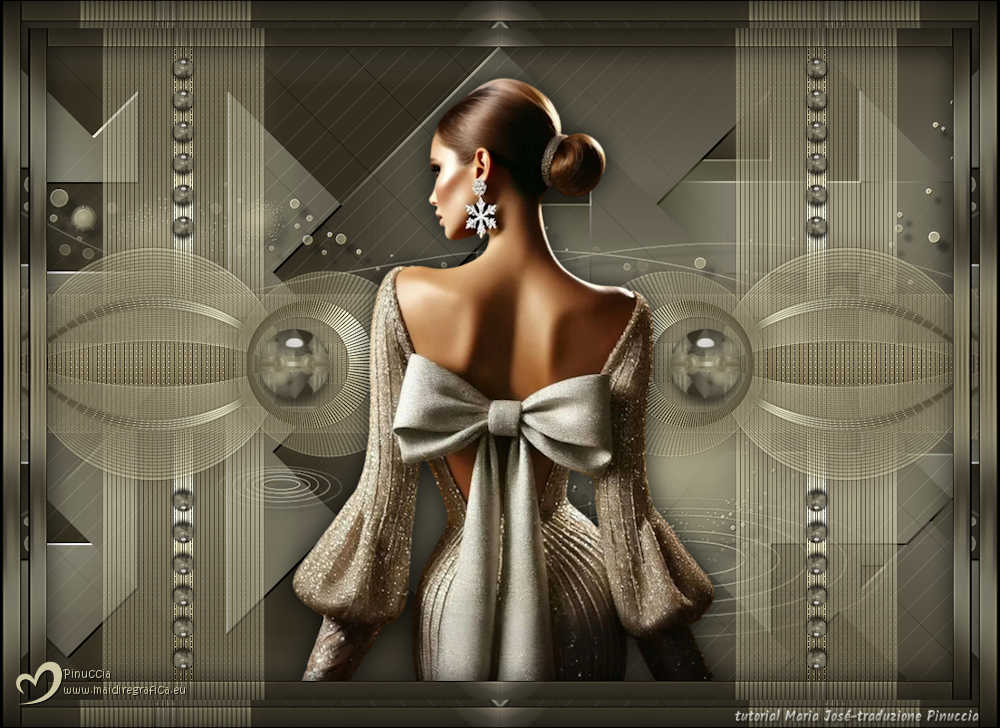
Thanks Maria José for your invitation to translate your tutorial

This tutorial has been translated with PSPX9 and PSP2020, but it can also be made using other versions of PSP.
Since version PSP X4, Image>Mirror was replaced with Image>Flip Horizontal,
and Image>Flip with Image>Flip Vertical, there are some variables.
In versions X5 and X6, the functions have been improved by making available the Objects menu.
In the latest version X7 command Image>Mirror and Image>Flip returned, but with new differences.
See my schedule here
 French translation here French translation here
 your versions here your versions here
For this tutorial, you will need:

Material by Maria José.
(you find here the links to the material authors' sites)

consult, if necessary, my filter section here
Filters Unlimited 2.0 here
VM Extravaganza - Picture in a picture here
Mehdi - Sorting Tiles here
Simple - Top Left Mirror, Pizza Slice Mirror here
AP [Lines] - Lines SilverLining here
Carolaine and Sensibility - CS-LDots here
Toadies - What are you here
Flaming Pear - Flexify 2 here
RCS Filter Pak 1.0 - Coppertooling Simulator here
Mura's Seamless - Emboss at Alpha here
L&K's - L&K's - Paris here
Alien Skin Eye Candy 5 Impact - Glass here
Filtres VM Extravaganza, Simple, Toadies, RCS Filter Pak and Mura's Seamless can be used alone or imported into Filters Unlimited.
(How do, you see here)
If a plugin supplied appears with this icon  it must necessarily be imported into Unlimited it must necessarily be imported into Unlimited

You can change Blend Modes according to your colors.
In the newest versions of PSP, you don't find the foreground/background gradient (Corel_06_029).
You can use the gradients of the older versions.
The Gradient of CorelX here
Copy the preset  in the folder of the plugin Alien Skin Eye Candy 5 Impact>Settings>Glass. in the folder of the plugin Alien Skin Eye Candy 5 Impact>Settings>Glass.
One or two clic on the file (it depends by your settings), automatically the preset will be copied in the right folder.
why one or two clic see here
Copy the Flexify preset in a folder of your choice.
I usually leave it in the material folder.
You will import it from this folder when you need it.

Open the mask in PSP and minimize it with the rest of the material
Choose two colors from the tube.
For the example:
Set your foreground color to the dark color #605340,
and your background color to the light color #cdc7a3.
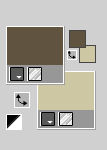
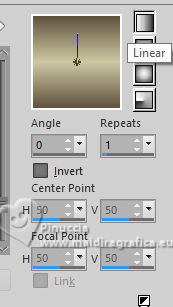
Set your foreground color to a Foreground/Background Gradient, style Linear.
1. Open alphachannel-esplendor-MJ.
Window>Duplicate or, on the keyboard, shift+D to make a copy.

Close the original.
The copy, that will be the basis of your work, is not empty,
but contains the selections saved to alpha channel.
Flood Fill  the transparent image with your Gradient. the transparent image with your Gradient.
2. Effects>Plugins>VM Extravaganza - Picture in a Picture
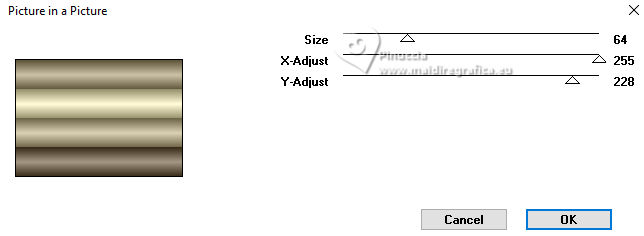
If you have a version with more parameters, don't worry:
all Controls remain at 0
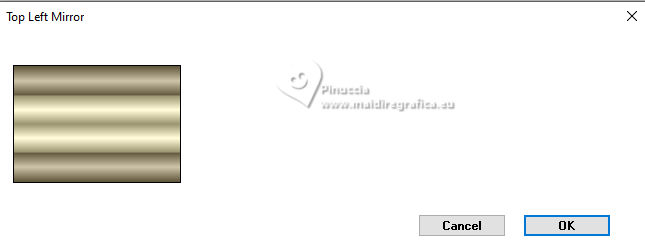
3. Effects>Plugins>Simple - Top Left Mirror
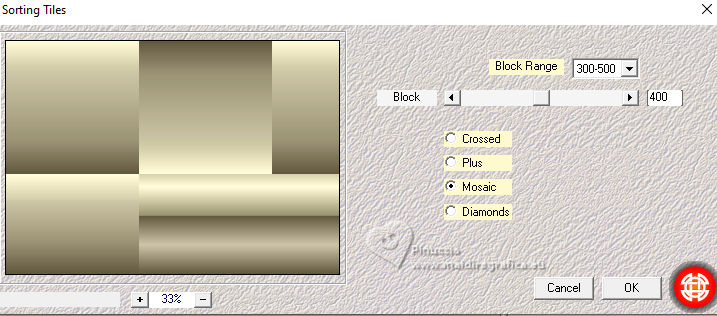
4. Effects>Plugins>Mehdi - Sorting Tiles
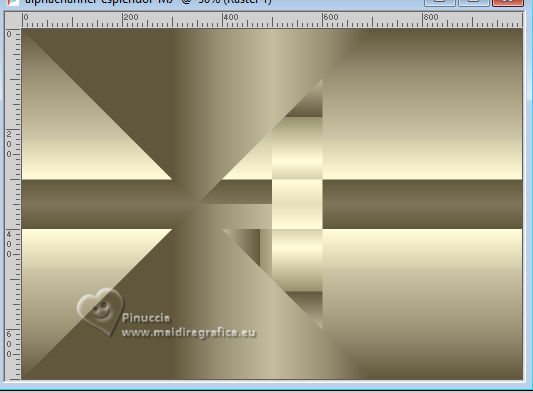
5. Effects>Plugins>Simple - Pizza Slice Mirror
We have this
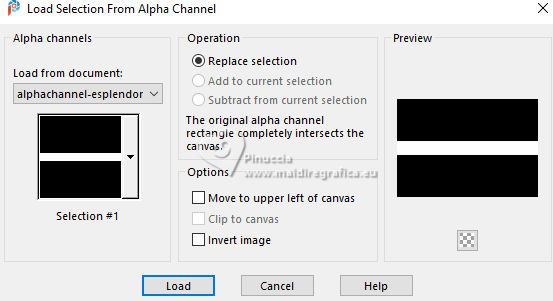
6. Selections>Load/Save Selection>Load Selection from Alpha Channel.
The selection Selection #1 is immediately available. You just have to click Load.
Selections>Promote selection to layer.
Adjust>Blur>Gaussian Blur - radius 30.

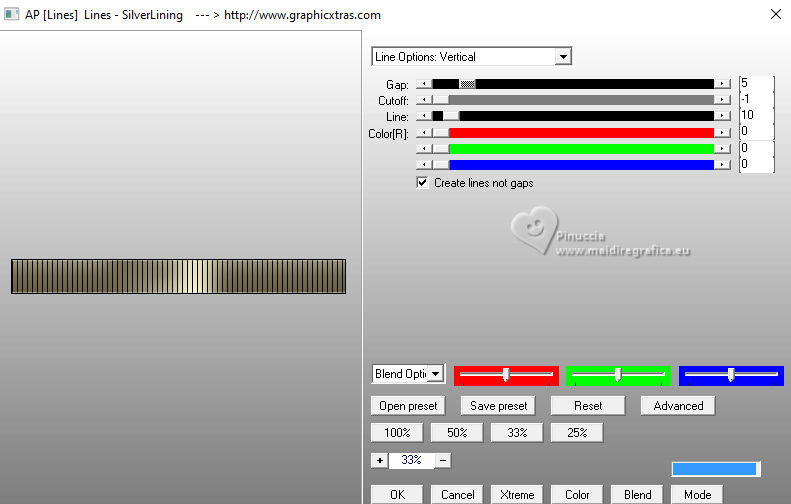
7. Effects>Plugins>AP [Lines] - Lines SilverLining.
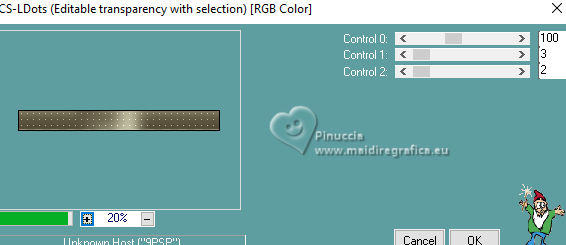
8. Effects>Plugins>Carolaine and Sensibility - CS-LDots
Selections>Select None.
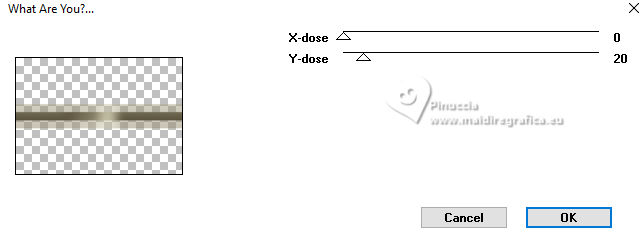
9. Effects>Plugins>Toadies - What Are You?...
10. Activate the layer Raster 1.
11. Effects>Plugins>Simple - Blintz
12. Image>Flip>Flip Vertical (Image>Flip).
Effects>Plugins>Simple - Blintz.
13. Stay on the layer Raster 1
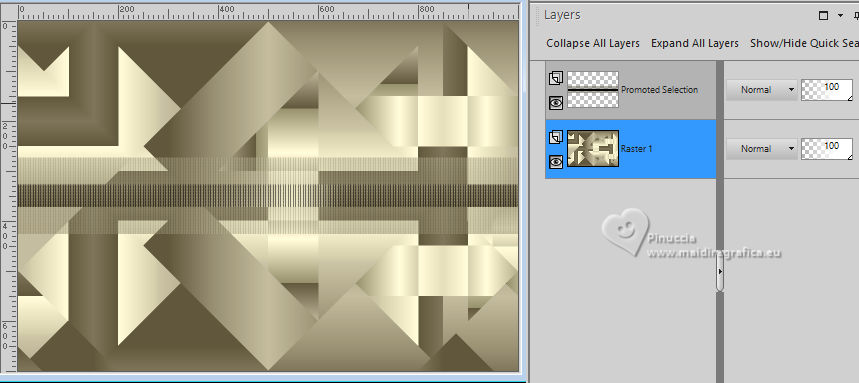
Selections>Load/Save Selection>Load Selection from Alpha Channel.
Open the selections menu and load the selection Selection #2
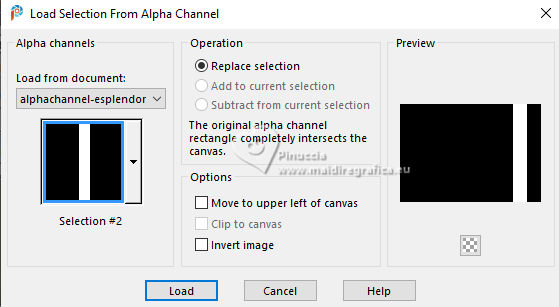 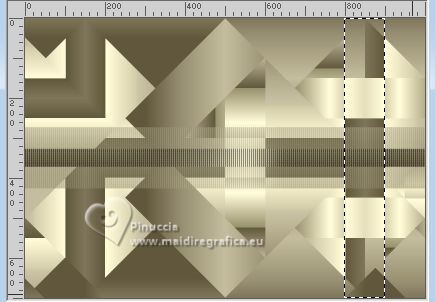
Selections>Promote Selection to Layer.
14. Adjust>Blur>Gaussian Blur - radius 30.

15. Effects>Plugins>AP [Lines] - Lines SilverLining, last settings.
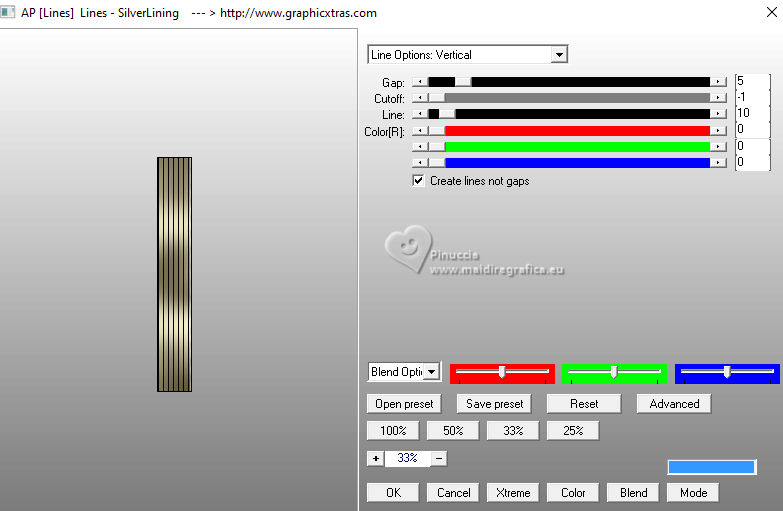
16. Effects>Plugins>Carolaine and Sensibility - CS-LDots, last settings.
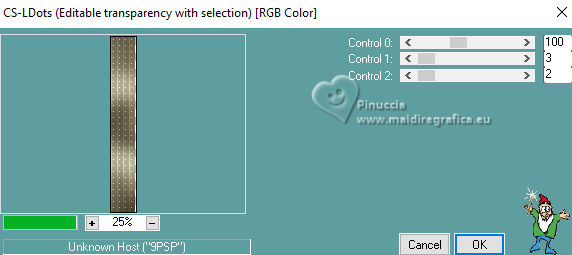
Selections>Select None.
17. Effects>Plugins>Toadies - What Are You?...
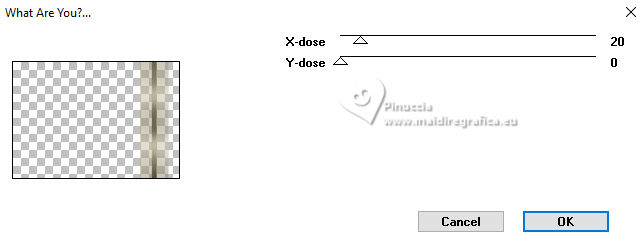
Layers>Duplicate.
Image>Mirror>Mirror Horizontal.
18. Activate your top layer, Promote Selection
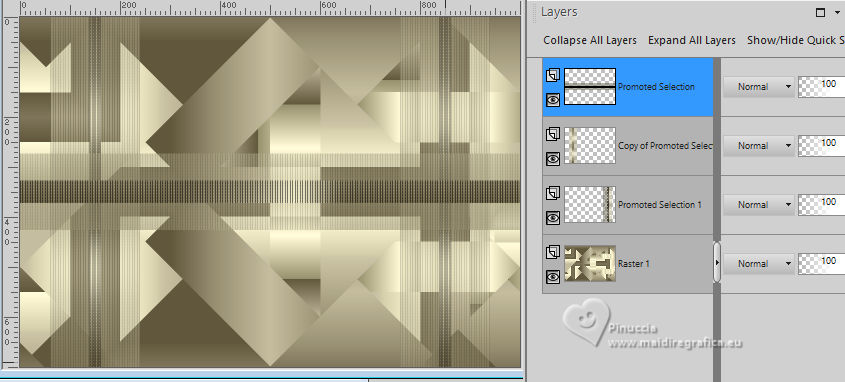
Layers>Merge>Merge Down - 2 times.
Layers>Duplicate.
19. Effects>Plugins>Flaming Pear - Flexify 2
Click on the red arrow and look for the preset in the folder where you copied it.


20. Image>Resize, to 50%, resize all layers not checked.
21. Objects>Align>Left.
Layers>Duplicate.
Image>Mirror>Mirror Horizontal.
Layers>Merge>Merge Down.
22. Adjust>Sharpness>Sharpen More.
Effects>3D Effects>Drop Shadow, dark foreground color.
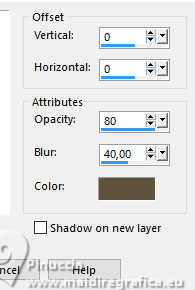
23. Activate the layer below, Promoted Selection 1.
Repeat the step 22:
Adjust>Sharpness>Sharpen More.
Effects>3D Effects>Drop shadow, dark foreground color.

24. Activate the layer Raster 1.
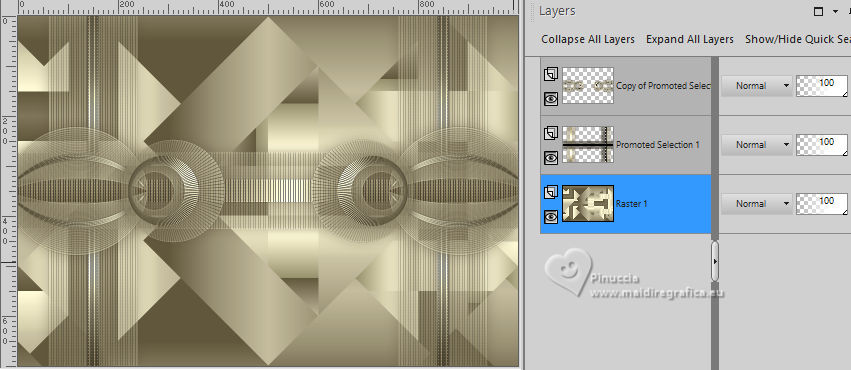
Effects>Plugins>RCS Filter Pak 1.0 - Coppertooling Simulator.

25. Layers>New Raster Layer.
Reduce the opacity of your Flood Fill Tool to 80%.
Flood Fill  the layer with your light background color. the layer with your light background color.
don't forget to set again the opacity of your Flood Fill Tool to 100
26. Layers>New Mask layer>From image
Open the menu under the source window and you'll see all the files open.
Select the mask 72-mask_MJ.
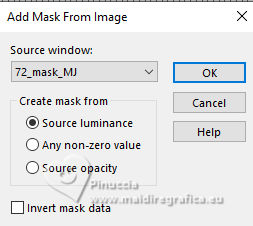
Layers>Merge>Merge Group.
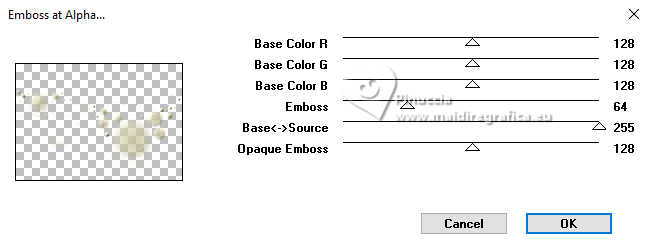
27. Effects>Plugins>Mura's Seamless - Emboss at Alpha, default settings
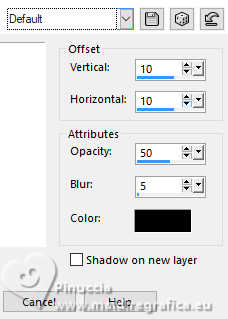
28. Adjust>Sharpness>Sharpen More.
Effects>3D Effects>Drop Shadow, default settings.
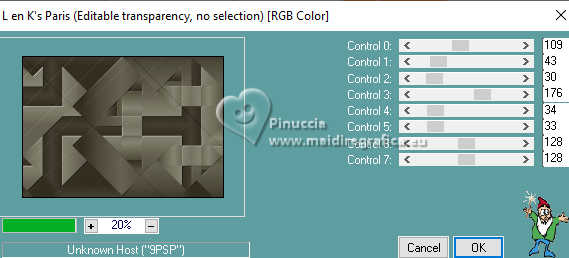
29. Activate the layer Raster 1.
Effects>Plugins>L&K's - L&K's Paris, default settings.
30. Activate your top layer, Copy of Promoted Selection 1.
Edit>Copy Special>Copy Merged
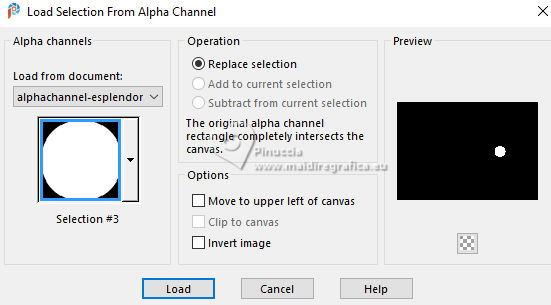
31 Selections>Load/Save Selection>Load Selection from Alpha Channel.
Open the selections menu and load the selection Selection #3
32. Layers>New Raster Layer.
Edit>Paste into Selection - the image of step 30.
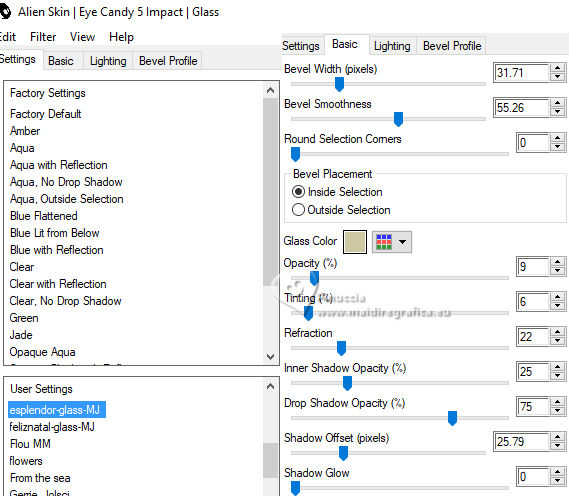
33. Effects>Plugins>Alien Skin Eye Candy 5 Impact - Glass.
Select the preset esplendor-glass-MJ
Selections>Select None.
Layers>Duplicate.
Image>Mirror>Mirror Horizontal.
Layers>Merge>Merge Down.
34. Open deco-esplendor-MJ 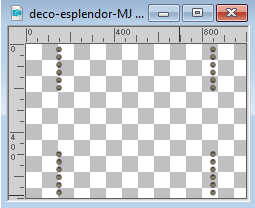
Edit>Copy.
Go back to your work and go to Edit>Paste as new layer.
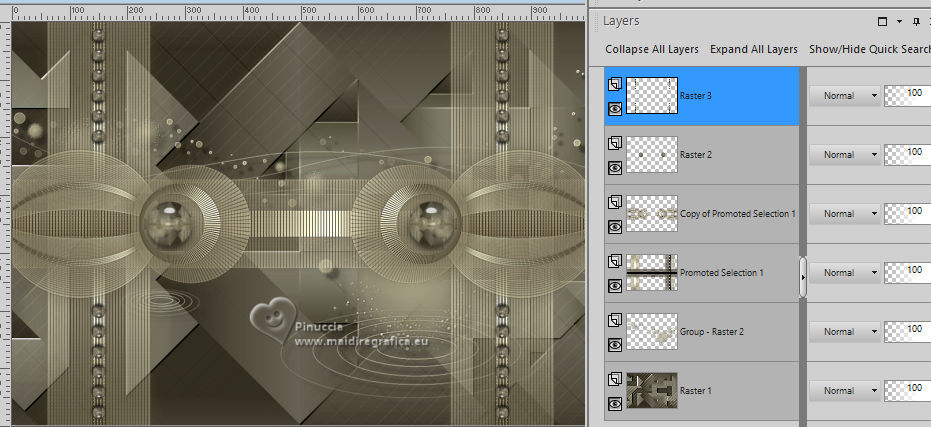
Your tag and the layers - adapt Blend Mode and opacity according to your tag.
35. Open your main tube femme-esplendor-MJ 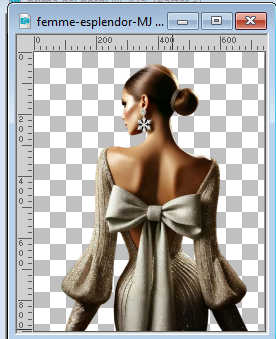
Edit>Copy.
Go back to your work and go to Edit>Paste as new layer.
Image>Resize, to 78%, resize all layers not checked.
Place  correctly the tube. correctly the tube.
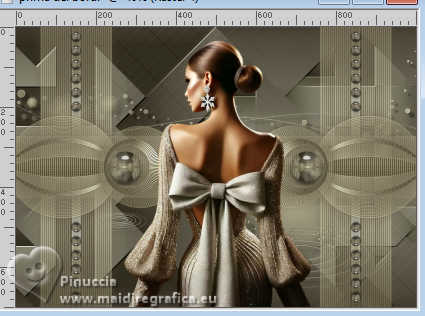
Effects>3D Effects>Drop shadow, at your choice.
36. Image>Add Borders, 1 pixel, symmetric, dark foreground color.
37. Selections>Select All.
Edit>Copy
Image>Add Borders, 20 pixels, symmetric, color white.
38. Selections>Invert.
Edit>Paste into Selection - the image copied at step 37.
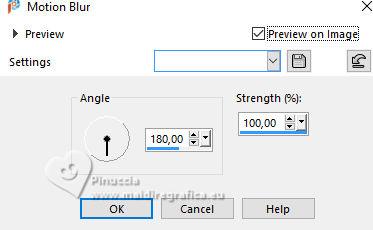
39. Adjust>Blur>Motion Blur.
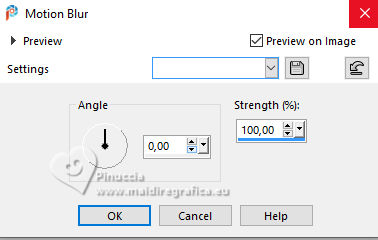
Repeat Adjust>Blur>Motion Blur, anglo 0
40. Effects>Plugins>Simple - Top Left Mirror
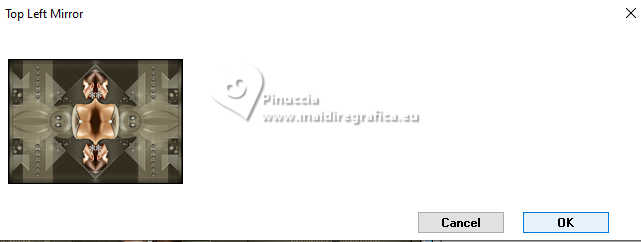
41. Adjust>Sharpness>Sharpen More.
Effects>3D Effects>Drop Shadow, color black.

42. Selections>Select None.
Edit>Copy
Image>Add Borders, 30 pixels, symmetric, color white.
43. Selections>Invert.
Edit>Paste into Selection - the image copied at step 42.
44. Effects>Plugins>Simple - Top Left Mirror
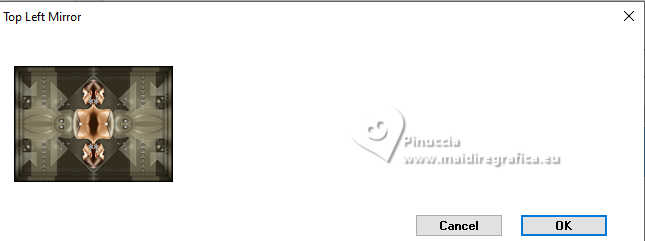
Selections>Select None.
45. Sign your work.
Image>Add Borders, 1 pixel, symmetric, color black.
46. Image>Resize, 1000 pixels width, resize all layers checked.
Save as jpg.
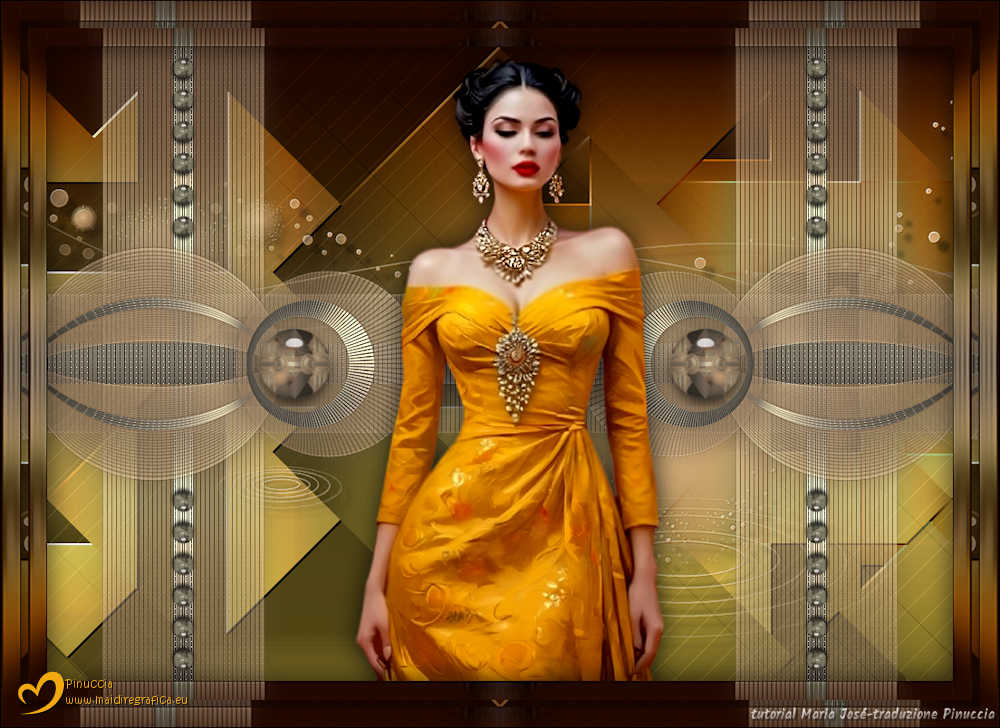
For the tube of this version thanks Luz Cristina.

If you have problems or doubts, or you find a not worked link,
or only for tell me that you enjoyed this tutorial, write to me.
15 September 2025

|


