|
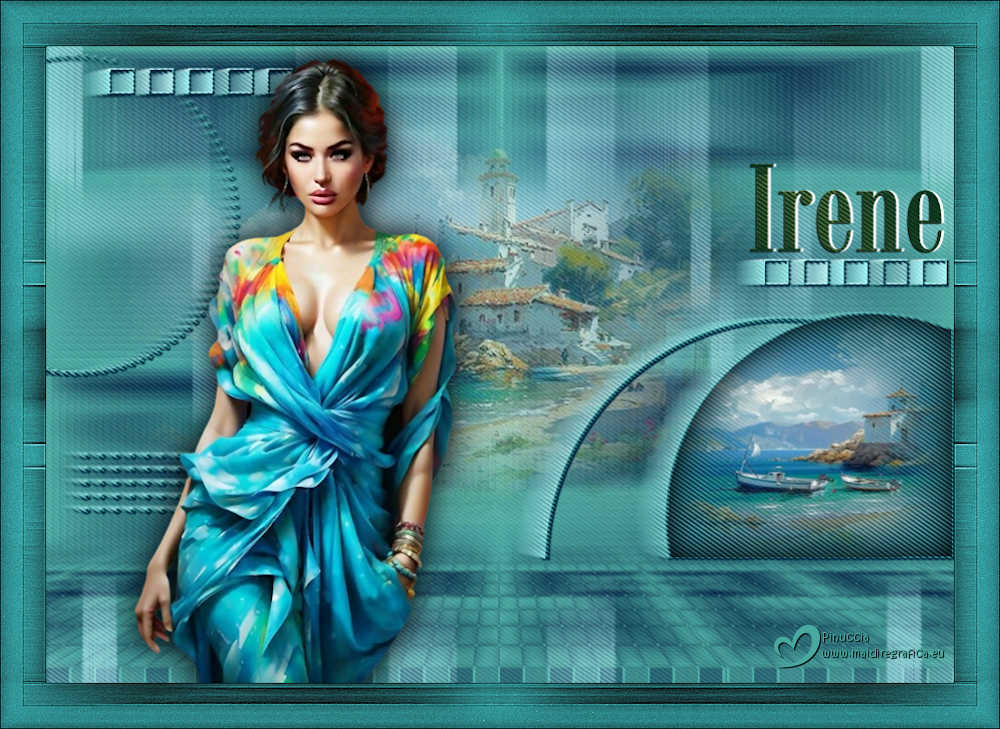
IRENE

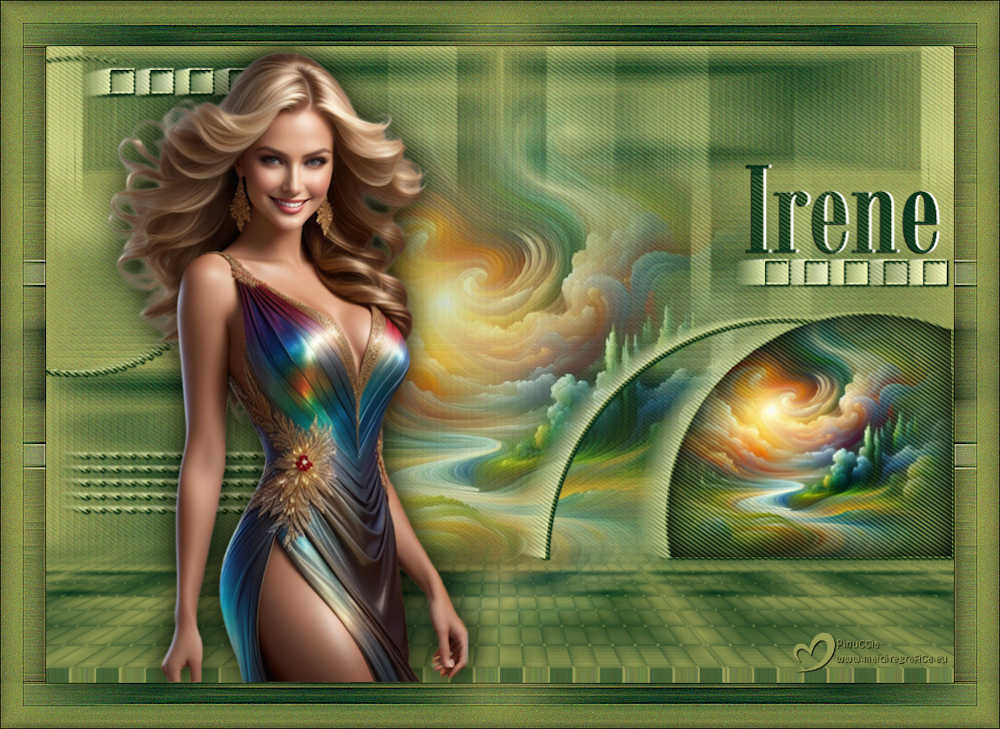
Thanks Maria José for your invitation to translate your tutorial

This tutorial has been translated with PSPX9 and PSP2020, but it can also be made using other versions of PSP.
Since version PSP X4, Image>Mirror was replaced with Image>Flip Horizontal,
and Image>Flip with Image>Flip Vertical, there are some variables.
In versions X5 and X6, the functions have been improved by making available the Objects menu.
In the latest version X7 command Image>Mirror and Image>Flip returned, but with new differences.
See my schedule here
 French translation here French translation here
 your versions here your versions here
For this tutorial, you will need:

Material is by Maria José
(you find here the links to the material authors' sites)

consult, if necessary, my filter section here
Filters Unlimited 2.0 here
Mezzy - Glass here
AP 01 [Innovations] - Mirror Reflections here
Richard Rosenman - Grain Generator here
Mura's Meister - Perspective Tiling here
Mura's Seamless - Emboss at Alpha here
Eye Candy 4000 - Motion Trail here
Filters Mura's Seamless can be used alone or imported into Filters Unlimited.
(How do, you see here)
If a plugin supplied appears with this icon  it must necessarily be imported into Unlimited it must necessarily be imported into Unlimited

You can change Blend Modes according to your colors.
In the newest versions of PSP, you don't find the foreground/background gradient (Corel_06_029).
You can use the gradients of the older versions.
The Gradient of CorelX here

Copy the selection in the Selections Folder.
Open the mask in PSP and minimize it with the rest of the material
Set your foreground color to the dark color #06301c
and your background color to the light color #989e56.
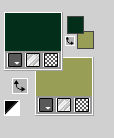
Set your foreground color to a Foreground/Background Gradient, style Rectangulaire.

1. Open a new transparent image 1000 x 700 pixels.
Flood Fill  the transparent image with your Gradient. the transparent image with your Gradient.
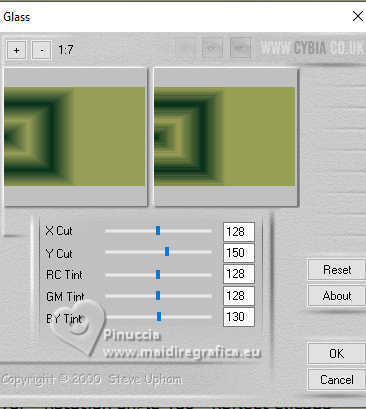
2. Effects>Plugins>Mezzy - Glass, default settings.
3. Adjust>Sharpness>Sharpen More.
4. Effects>Reflection Effects>Rotating Mirror.

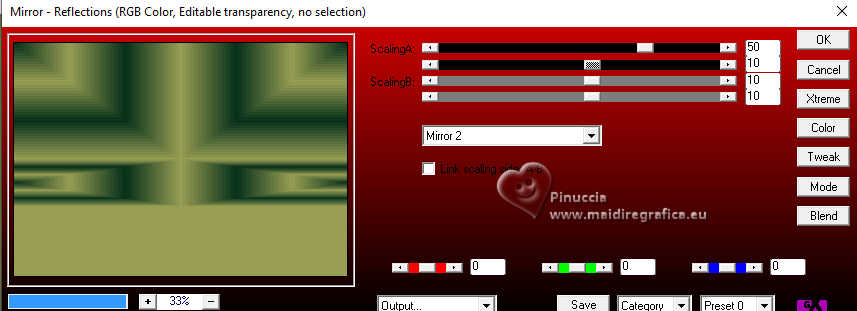
5. Effects>Plugins>AP 01 [Innovations] - Mirror Reflections.
6. Effects>Image Effects>Seamless Tiling.

7. Effects>Plugins>Richard Rosenman - Grain Generator.
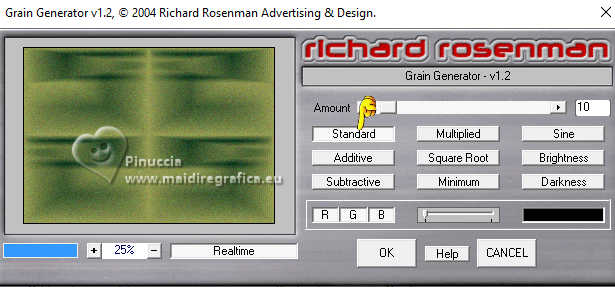
This is the older version used in the tutorial.
If you use the newer version, the result may be slightly different.
In this case, it doesn't change.
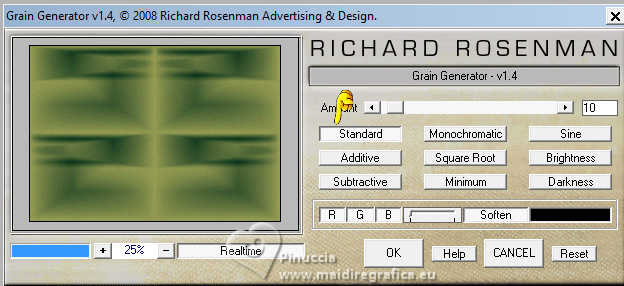
Layers>Duplicate.
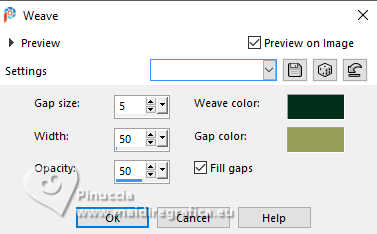
8. Effects>Texture Effects>Weave
weave color: foreground color
gap color: background color.
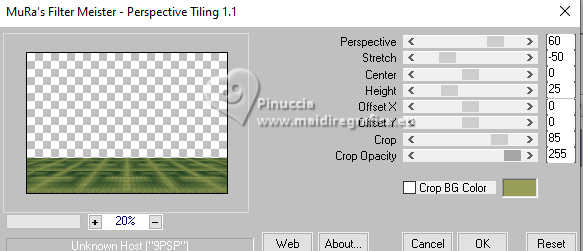
9. Effects>Plugins>Mura's Meister - Perspective Tiling.
10. Activate your Magic Wand Tool  tolerance 0, feather 80, tolerance 0, feather 80,

Click in the transparent part to select it.
Press +/-10 times CANC on the keyboard.
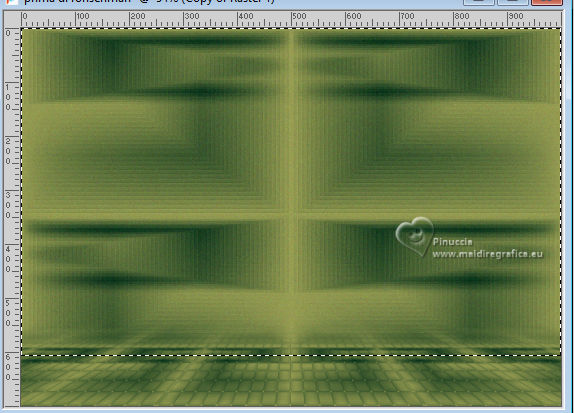
Selections>Select None.
11. Effects>Image Effects>Offset.
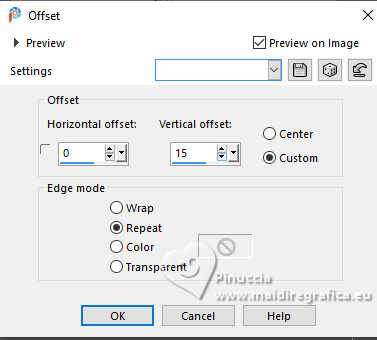
12. Layers>New Raster Layer.
Flood Fill  the layer with your light background color. the layer with your light background color.
13. Layers>New Mask layer>From image
Open the menu under the source window and you'll see all the files open.
Select the mask mask-20-05-25-MJ.
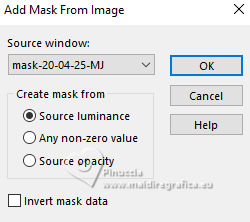
Layers>Merge>Merge Group.
14. Effects>Plugins>Mura's Seamless - Emboss at Alpha, default settings.
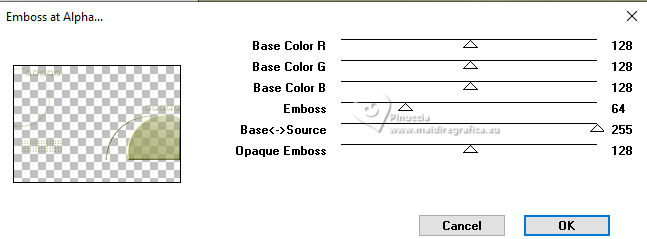
15. Effects>Plugins>Eye Candy 4000 - Motion Trail.
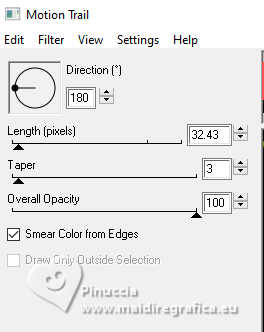
16. Effects>Artistic Effects>Halftone.
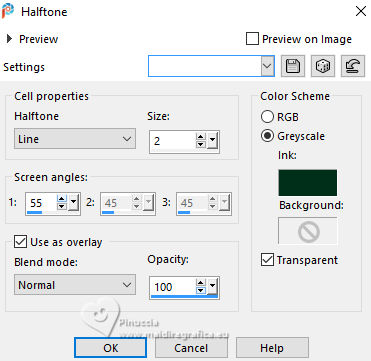
17. Selections>Load/Save Selection>Load Selection from Disk.
Look for and load the selection irene-MJ
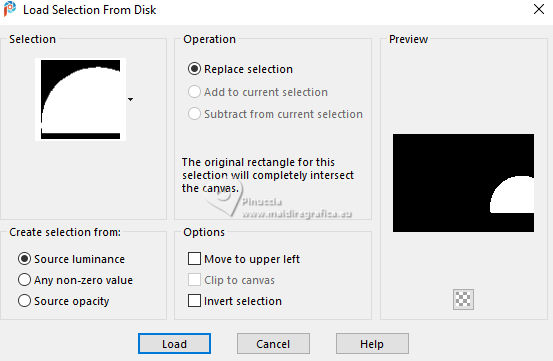
18. Layers>New Raster Layer.
Open the tube misted-MJ 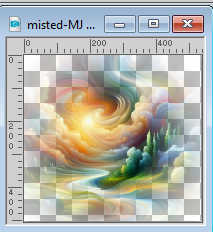
Edit>Copy.
Go back to your work and go to Edit>Paste into Selection.
19. Layers>New Raster Layer.
Effects>3D Effects>Cutout.
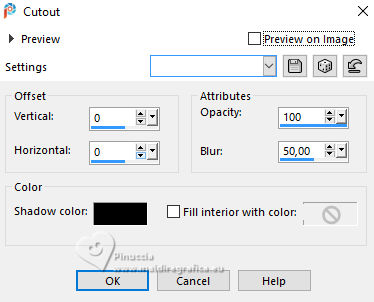
Layers>Merge>Merge Down.
Selections>Select None.
20. Open misted-1-MJ 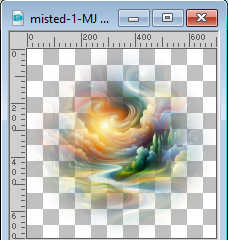
Edit>Copy.
Go back to your work and go to Edit>Paste as new layer.
Reduce the opacity of this layer +/-70%.
Layers>Arrange>Move Down - 2 times.
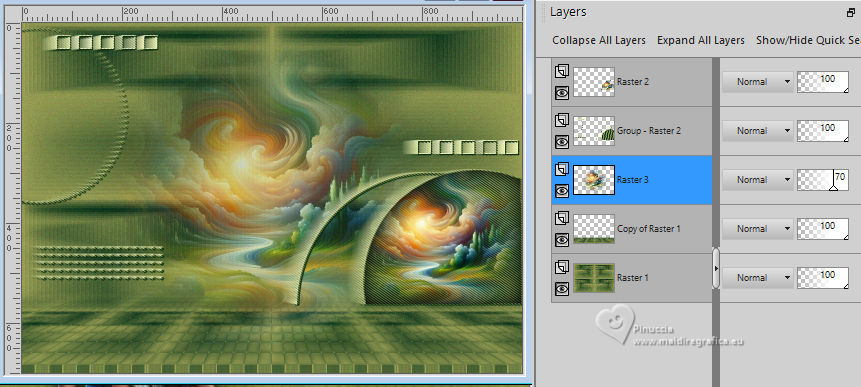
Activate the layer Raster 1.
21. Open deco-irene-MJ 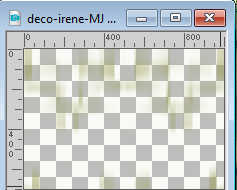
Edit>Copy.
Go back to your work and go to Edit>Paste as new layer.
Change the Blend Mode of this layer to Screen.
22. Open texto 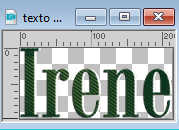
Edit>Copy.
Go back to your work and go to Edit>Paste as new layer.
Layers>Arrange>Bring to Top.
Place  the text to your liking. the text to your liking.
23. Open the tube femme-tuto-irene-MJ 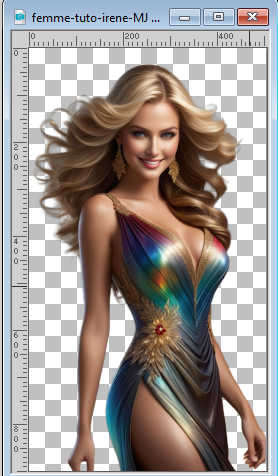
Edit>Copy.
Go back to your work and go to Edit>Paste as new layer.
Image>Resize, to 80%, resize all layers not checked.
Move  the tube to the left side. the tube to the left side.
Effects>3D Effects>Drop Shadow, at your choice.
Your tag and the layers - adapt Blend Mode and opacity according to your work.
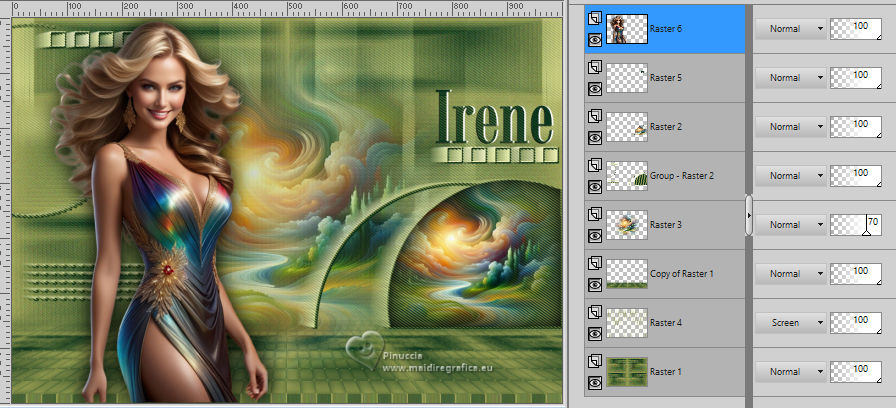
25. Layers>Merge>Merge visible.
Edit>Copy
26. Open bordas-irene 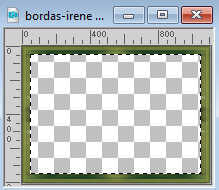
The tube has an active selection.
Colorize the border according to your work.
to do it:
Selections>Invert.
Colorize.
Selections>Invert
Edit>Paste into Selection - the image copied at step 25.
Effects>3D Effects>Drop Shadow, color black.

Selections>Select None.
26. Sign your work.
Layers>Merge All.
28. Image>Resize, 1000 pixels width, resize all layers checked.
Save as jpg.
For the tube of this version thanks Wieske (the misted are mine)

If you have problems or doubts, or you find a not worked link,
or only for tell me that you enjoyed this tutorial, write to me.
18 August 2025

|


