|
LUARA

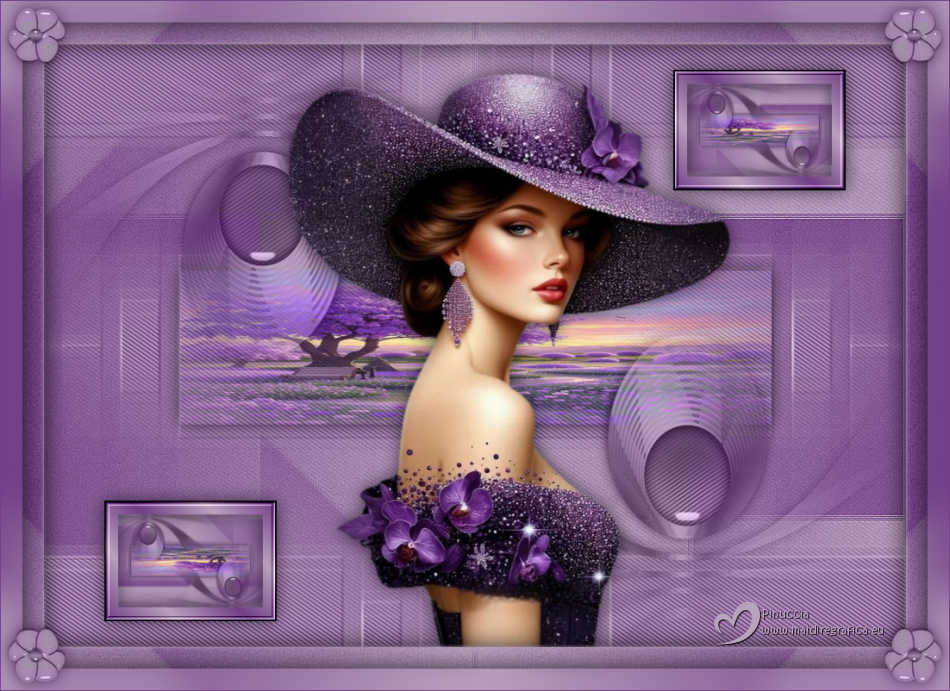
Thanks Maria José for your invitation to translate your tutorial

This tutorial has been translated with PSPX9 and PSP2020, but it can also be made using other versions of PSP.
Since version PSP X4, Image>Mirror was replaced with Image>Flip Horizontal,
and Image>Flip with Image>Flip Vertical, there are some variables.
In versions X5 and X6, the functions have been improved by making available the Objects menu.
In the latest version X7 command Image>Mirror and Image>Flip returned, but with new differences.
See my schedule here
 French translation here French translation here
 your versions here your versions here
For this tutorial, you will need:

Material by MJ
(you find here the links to the material authors' sites)

consult, if necessary, my filter section here
Filters Unlimited 2.0 here
Mura's Seamless - Emboss at Alpha here
Mehdi - Sorting Tile here
Simple - Blintz, Top Left Mirror here
AAA Frames - Foto Frame here
Funhouse - Loom here
Filtres Mura's Seamless, Funhouse and Simple can be used alone or imported into Filters Unlimited.
(How do, you see here)
If a plugin supplied appears with this icon  it must necessarily be imported into Unlimited it must necessarily be imported into Unlimited

You can change Blend Modes according to your colors.
In the newest versions of PSP, you don't find the foreground/background gradient (Corel_06_029).
You can use the gradients of the older versions.
The Gradient of CorelX here

Copy the selections in the Selections Folder.
Open the mask in PSP and minimize it with the rest of the material.
Choose two colors from the tube.
For the example:
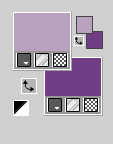
Set your foreground color to #b9a2be,
and your background color to #713f86.
1. Open a new transparent image 1000 x 700 pixels.
Flood Fill  the transparent image with your light foreground color. the transparent image with your light foreground color.
2. Layers>New Mask layer>From image
Open the menu under the source window and you'll see all the files open.
Select the mask maskcameron216
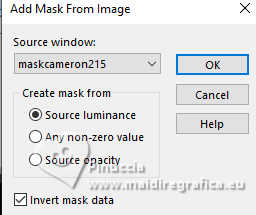
Layers>Merge>Merge Group.
3. Effects>Plugins>Mura's Seamless - Emboss at Alpha, default settings.
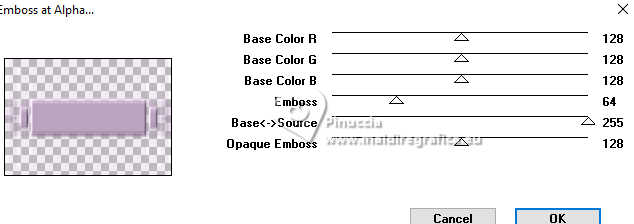
4. Effects>Image Effects>Seamless Tiling.

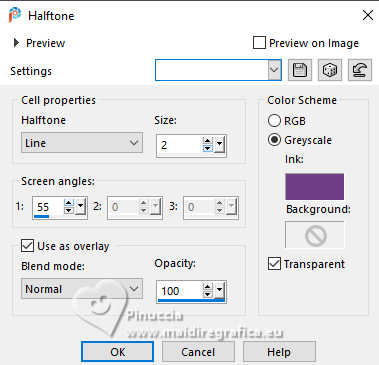
5. Effects>Artistic Effects>Halftone - background color.
6. Set your foreground color to a Foreground/Background Gradient, style Linear.
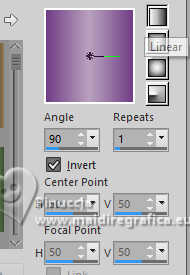
Layers>New Raster Layer.
Flood Fill  the layer with your Gradient. the layer with your Gradient.
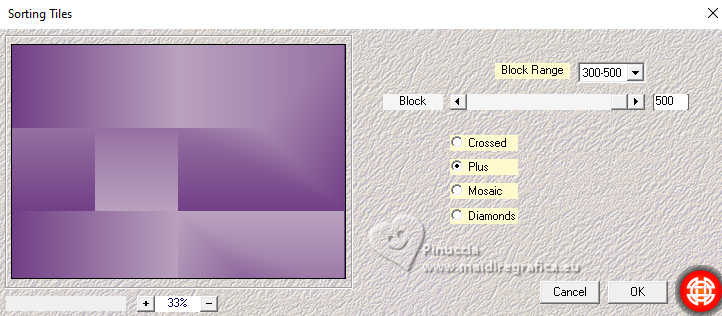
7. Effects>Plugins>Mehdi - Sorting Tiles.
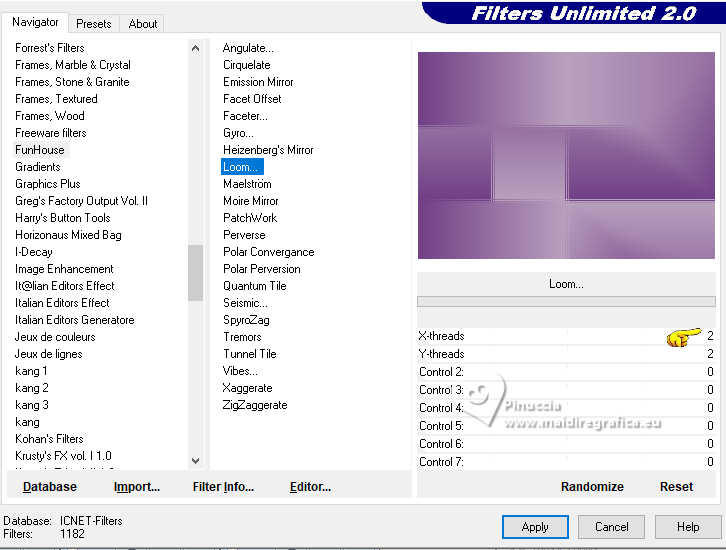
8. Effects>Plugins>Filters Unlimited 2.0 - Funhouse - Loom.
9. Effects>Plugins>Simple - Blintz.
This effect works without window; result
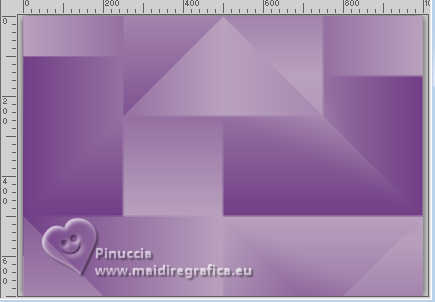
10. Image>Miroir>Miroir vertical (Image>Renverser)
11. Effects>Plugins>Filters Unlimited 2.0 - Funhouse - Loom, same settings.
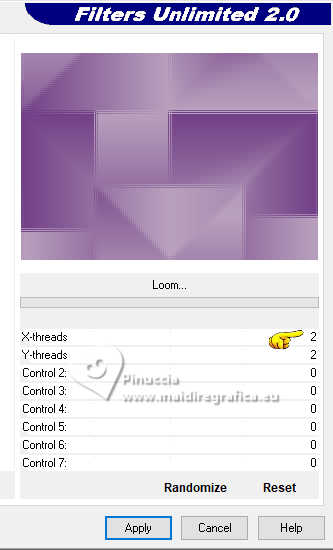
12. Adjust>Add/Remove Noise>Add Noise.

13. Adjust>Sharpness>Sharpen More.
14. Layers>Arrange>Send to Bottom.
15. Activate your top layer Group--Raster 1.
Selections>Load/Save Selection>Load Selection from Disk.
Look for and load the selection luara-MJ
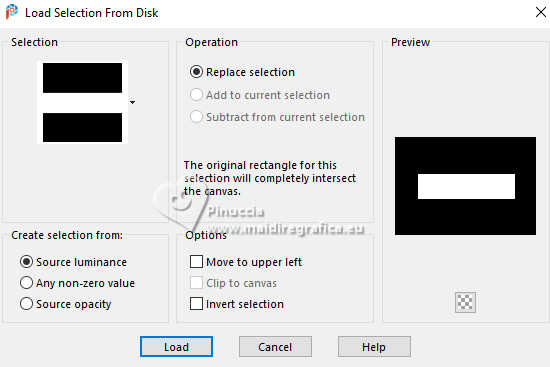
16. Layers>New Raster Layer.
Open the misted misted-luara-MJ 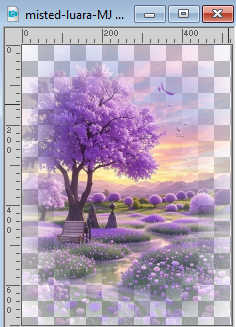
Edit>Copy.
Go back to your work and go to Edit>Paste into Selection.
17. Layers>Merge>Merge Down.
Effects>3D Effects>Drop Shadow, color black.
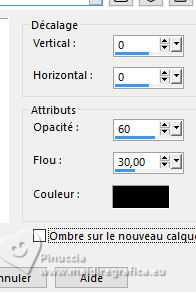
Sélections>Désélectionner tout.
18. Ouvrir deco-luara-MJ 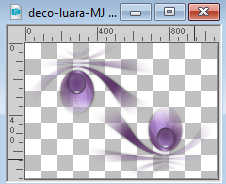
Edit>Copy.
Go back to your work and go to Edit>Paste as new layer.
Change the Blend Mode of this layer to Luminance (legacy).
19. Edit>Copy Special>Copy Merged
Edit>Paste as new image.
20. On this image.
Image>Resize, to 20%, resize all layers checked.
21. Effects>Plugins>AAA Frames - Foto Frame.
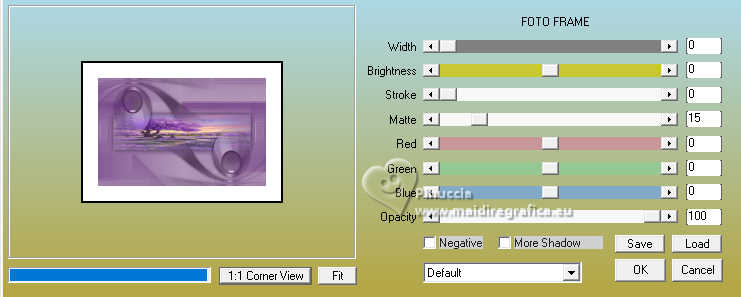
22. Selections>Load/Save Selection>Load Selection from Disk.
Look for and load the selection luara-1-MJ
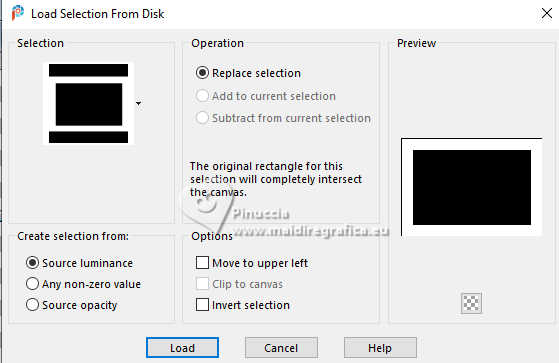
Change the settings of your Gradient
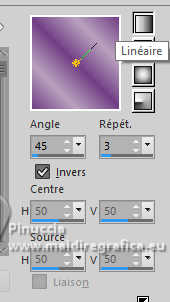
Flood Fill  the selection with your Gradient. the selection with your Gradient.
23. Effects>Plugins>Filters Unlimited 2.0 - Buttons &Frames - 3D Glass Frame 2.
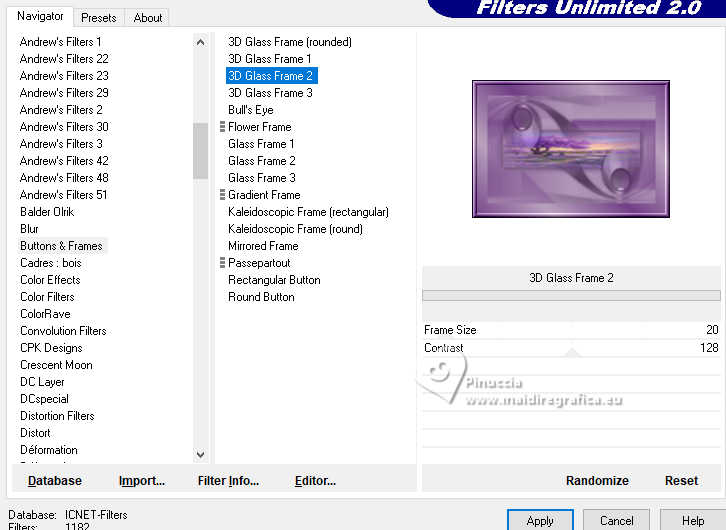
Effects>3D Effects>Drop Shadow, color black.

Selections>Select None.
24. Edit>Copy.
Go back to your work and go to Edit>Paste as new layer.
25. K key to activate your Pick Tool 
Position X: 730,00 - Position Y: 30,00.
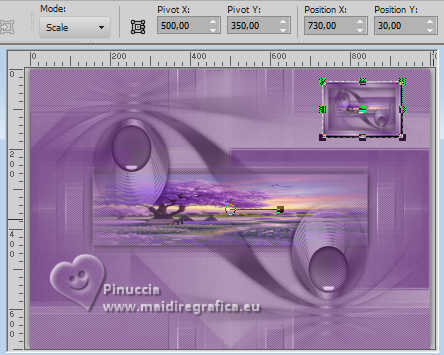
M key to deselect the Tool.
26. Layers>Duplicate.
Image>Mirror>Mirror Horizontal.
Image>Mirror>Mirror Vertical (Image>Flip).
27. Layers>Merge>Merge Down.
Effects>3D Effects>Drop Shadow, color black.

Activate the layer Raster 1.
Edit>Copy
Edit>Paste as new image and minimize this image.
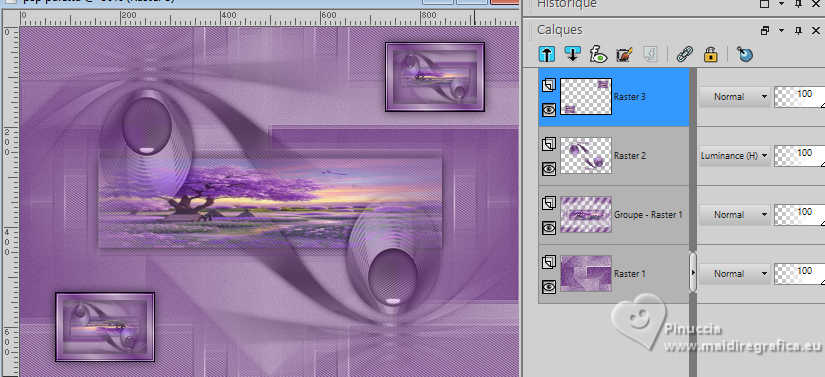
Your tag and the layers - adjust Blend Mode according to your work.
28. Ouvrir le tube femme-tube-MJ 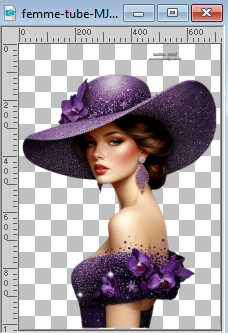
Erase the watermark and go to Edit>Copy.
Go back to your work and go to Edit>Paste as new layer.
Image>Resize, to 74%, resize all layers not checked.
Layers>Arrange>Bring to top.
Image>Mirror>Mirror Horizontal.
Place  the tube to your liking. the tube to your liking.
Effects>3D Effects>Drop Shadow, at your choice.
29. Image>Add Borders, 50 pixels, symmetric, color white.
30. Activate your Magic Wand Tool  , feather 5, , feather 5,
and click in this border to select it.
31. Activate the image minimized at step 27 and go to Edit>Copy.
Go back to your work and go to Edit>Paste into Selection.
32. Effects>Plugins>Simple - Top Left Mirror.
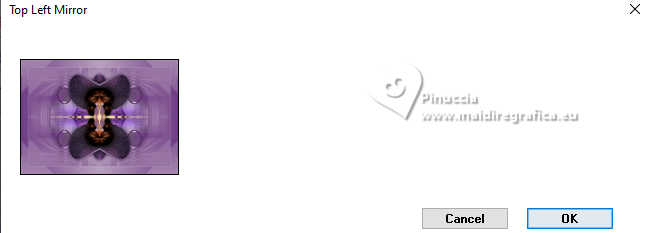
Effects>3D Effects>Drop Shadow, color black.

33. Selections>Select All.
Selectoins>Modify>Contract - 25 pixels.
Selections>Invert.
34. Adjust>Blur>Gaussian Blur - radius 20.

Effects>3D Effects>Drop Shadow, color black.

Selections>Select None.
35. Open deco-bordas-MJ 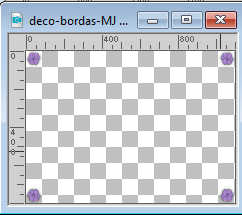
Edit>Copy.
Go back to your work and go to Edit>Paste as new layer.
Change the Blend Mode of this layer to Luminance (legacy).
36. Sign your work.
Image>Add Borders, 1 pixel, symmetric, dark background color.
37. Image>Resize, 1000 pixels width, resize all layers checked.
Save as jpg.
For the tube of this version thanks MyTaggingAddiction


If you have problems or doubts, or you find a not worked link,
or only for tell me that you enjoyed this tutorial, write to me.
11 October 2025

|


