|
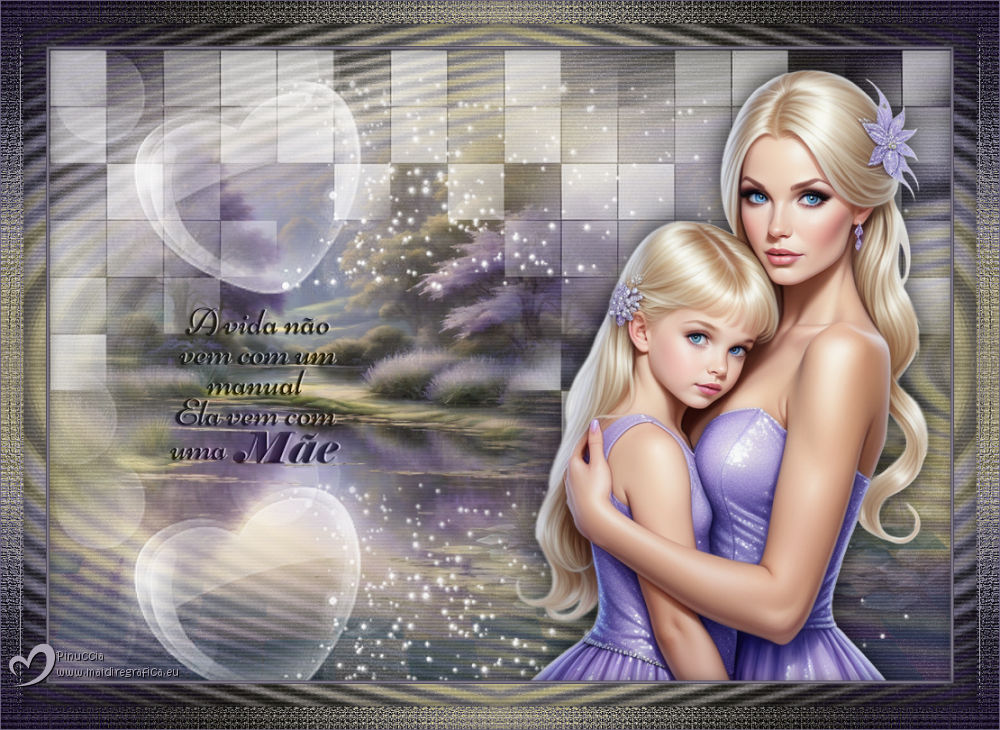
MÃE

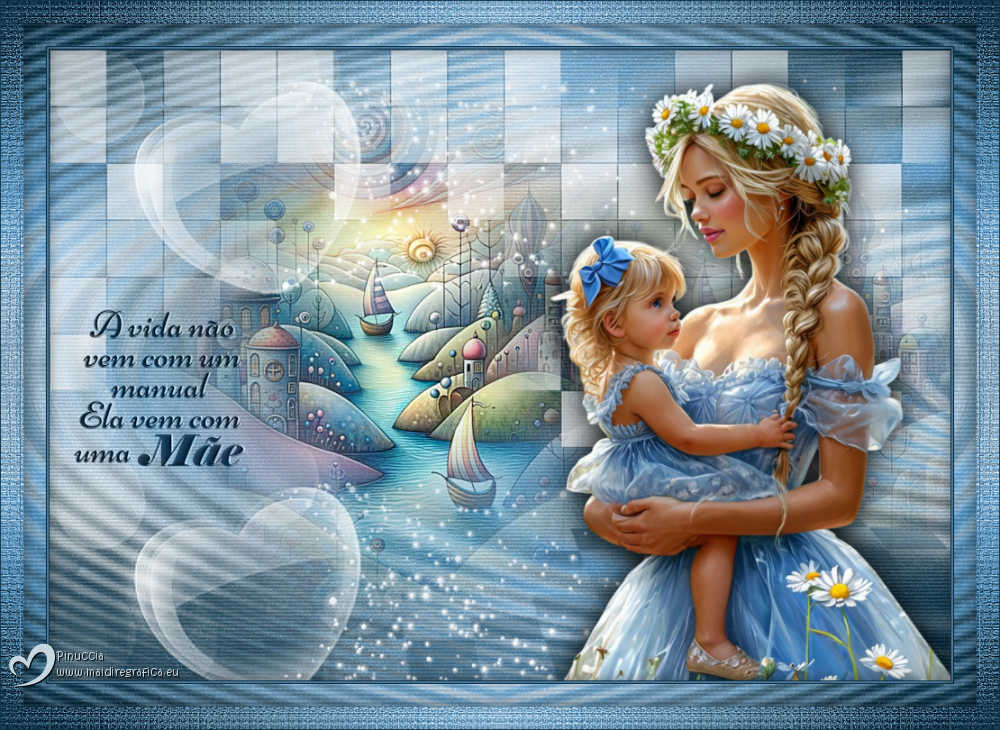
Thanks Maria José for your invitation to translate your tutorial

This tutorial has been translated with PSPX9 and PSP2020, but it can also be made using other versions of PSP.
Since version PSP X4, Image>Mirror was replaced with Image>Flip Horizontal,
and Image>Flip with Image>Flip Vertical, there are some variables.
In versions X5 and X6, the functions have been improved by making available the Objects menu.
In the latest version X7 command Image>Mirror and Image>Flip returned, but with new differences.
See my schedule here
 French translation here French translation here
 your versions here your versions here
For this tutorial, you will need:

Images Pinterest.
Tubes by Maria José
For the mask thanks Ildiko.
(you find here the links to the material authors' sites)

consult, if necessary, my filter section here
Filters Unlimited 2.0 here
Mehdi - Wavy Lab 1.1. here
Filter Factory Gallery E - Splash 2 here
Photoeffex - Scanlines here
Mura's Seamless - Emboss at Alpha here
Simple - Top Left Mirror here
Alien Skin Eye Candy 5 Impact - Perspective Tiling here
Filters Funhouse, Mura's Seamless and Simple can be used alone or imported into Filters Unlimited.
(How do, you see here)
If a plugin supplied appears with this icon  it must necessarily be imported into Unlimited it must necessarily be imported into Unlimited

You can change Blend Modes according to your colors.
Copy the preset  in the folder of the plugin Alien Skin Eye Candy 5 Impact>Settings>Shadow. in the folder of the plugin Alien Skin Eye Candy 5 Impact>Settings>Shadow.
One or two clic on the file (it depends by your settings), automatically the preset will be copied in the right folder.
why one or two clic see here

Open the masks in PSP and minimize them with the rest of the material
Colors

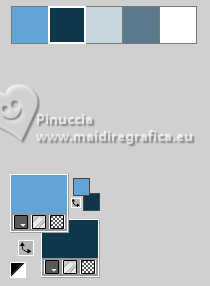
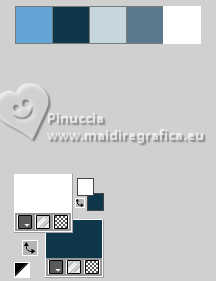
Set your foreground color to #62a4d6,
and your background color to #11374c.
1. Open a new transparent image 1000 x 700 pixels.
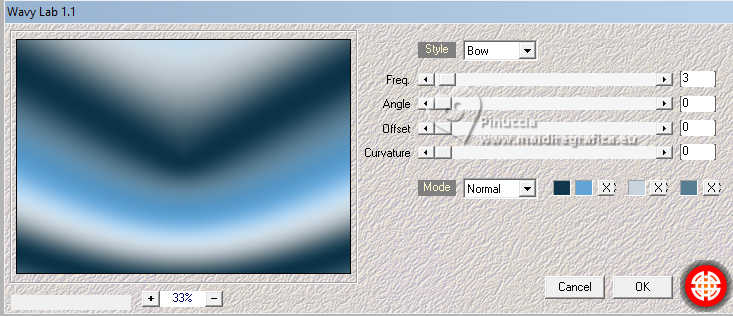
Effects>Plugins>Mehdi - Wavy Lab 1.1.
This filter creates gradients with the colors of your Materials palette.
The first is your background color, the second is your foreground color.
Change the last two colors created by the filtre:
the third color with #c5d6de and the fourth color with #597a8d.
3. Effects>Image Effects>Seamless Tiling.

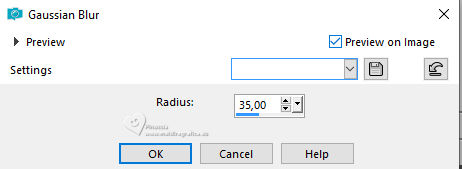
4. Adjust>Blur>Gaussian Blur - radius 35.
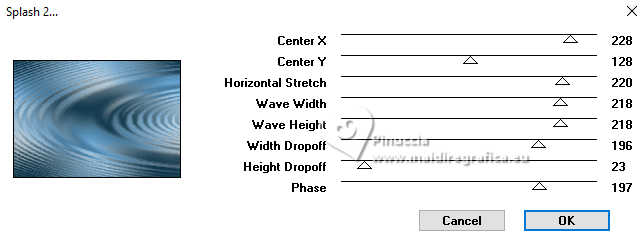
5. Effects>Plugins>Filter Factory Gallery E - Splash 2.
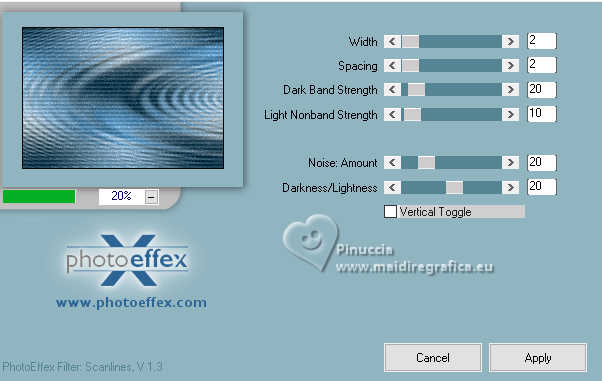
6. Effects>Plugins>PhotoEffex - Scanlines.
7. Open the misted misted-mae 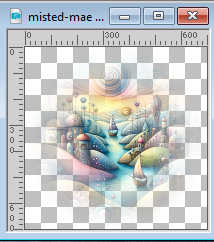
Edit>Copy.
Go back to your work and go to Edit>Paste as new layer.
Move  the tube a little more to the left. the tube a little more to the left.
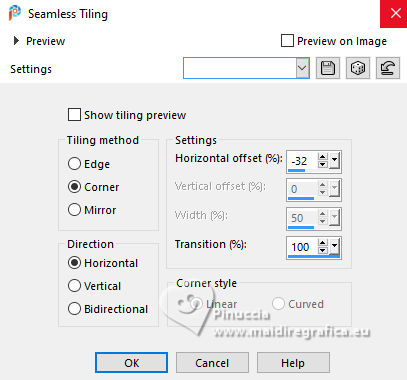
8. Effects>Image Effects>Seamless Tiling.
9. Set your foreground color to white #ffffff.
Layers>New Raster Layer.
Flood Fill  the layer with color white. the layer with color white.
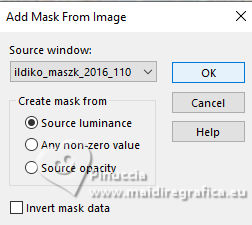
10. Layers>New Mask layer>From image
Open the menu under the source window and you'll see all the files open.
Select the mask ildiko_maszk_2016_110.
Layers>Merge>Merge Group.
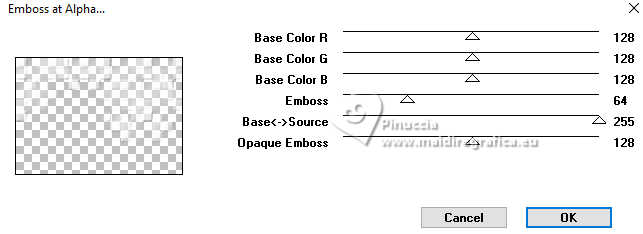
11. Effects>Plugins>Mura's Seamless - Emboss at Alpha, default settings.
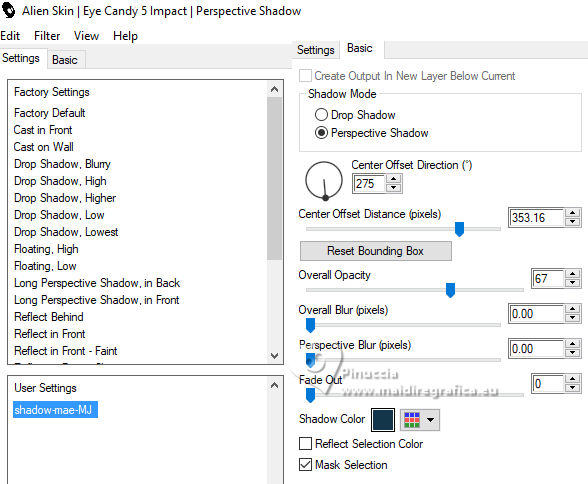
12. Effects>Plugins>Alien Skin Eye Candy 5 Impact - Perspective Shadow.
Select the preset Shadow-mae-MJ and ok.
13. Adjust>Sharpness>Sharpen More.
14. Layers>New Raster Layer.
Flood Fill  the layer with color white #ffffff. the layer with color white #ffffff.
15. Layers>New Mask layer>From image
Open the menu under the source window
and select the mask coeur-mask.
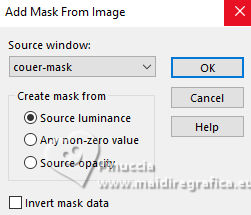
Layers>Merge>Merge Group.
16. Effects>Plugins>Mura's Seamless - Emboss at Alpha, default settings.
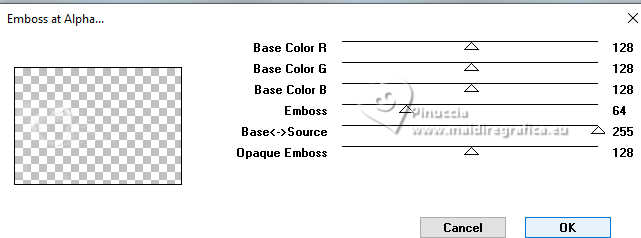
17. K key to activate your Pick Tool 
Position X: 0,00 - Position Y: -200,00.

18. Effects>Image Effects>Seamless Tiling.
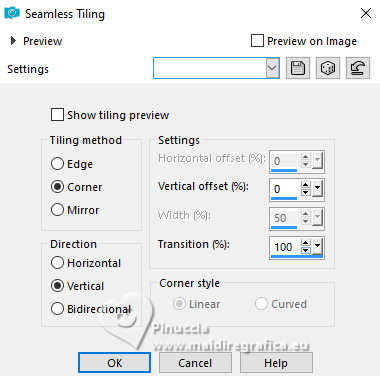
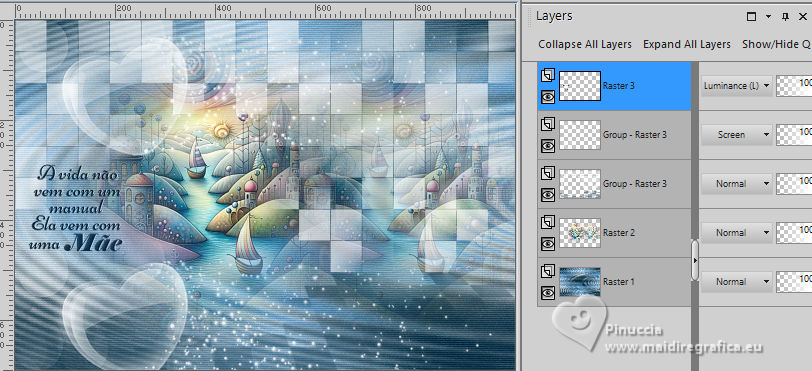
Change the Blend Mode of this layer to Screen.
19. Open the texte texto-mae 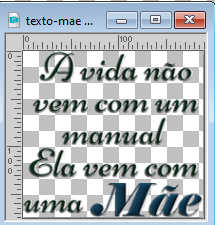
Edit>Copy.
Go back to your work and go to Edit>Paste as new layer.
Move  the text to the left or to your liking. the text to the left or to your liking.
Change the Blend mode of this layer to Luminance (legacy).
Your tag and the layers - adapt Blend Mode and opacity according to your colors.
20. Open your main tube personagem-MJ 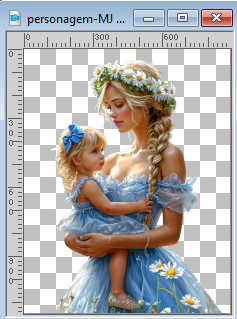
Edit>Copy.
Go back to your work and go to Edit>Paste as new layer.
Image>Resize, to 61%, resize all layers not checked.
Move  the tube to the right. the tube to the right.
Effects>3D Effects>Drop Shadow, at your choice.
21. Activate the layer Raster 1.
Edit>Copy
If you want, as a precaution, Edit>Paste as new image, and minimize this image.
22. Set your foreground color to to first color.

Image>Add borders, 1 pixel, symmetric, background color.
Image>Add borders, 2 pixels, symmetric, foreground color.
Image>Add borders, 1 pixel, symmetric, background color.
Selections>Select All.
Image>Add Borders, 50 pixels, symmetric, color white #ffffff.
23. Selections>Invert.
Edit>Paste into Selection - the image of step 21 is still in memory.
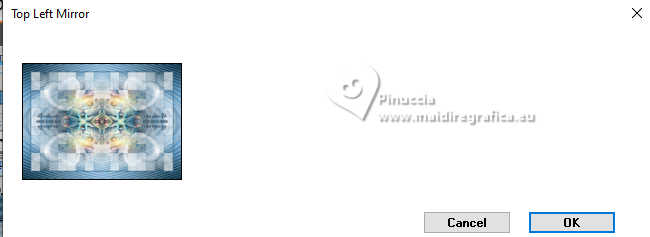
24. Effects>Plugins>Simple - Top Left Mirror.
Effects>3D Effects>Drop Shadow, color black.

25. Selections>Select All.
Selections>Modify>Contract - 25 pixels.
Selections>Invert.
26. Effects>Texture Effects>Mosaic Glass.
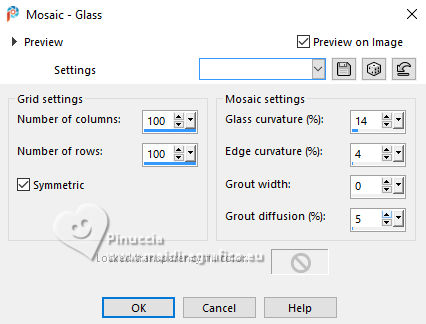
Edit>Repeat Mosaic Glass.
27. Effects>Plugins>Simple - Top Left Mirror.

28. Adjust>Sharpness>Sharpen More.
Effects>3D Effects>Drop Shadow, color black.

Selections>Select None.
29. Sign your work.
Image>Add borders, 1 pixel, symmetric, background color.
30. Image>Resize, 1000 pixels width, resize all layers checked.
Save as jpg.
For the tubes of this version thanks Tammy's Welt

If you have problems or doubts, or you find a not worked link,
or only for tell me that you enjoyed this tutorial, write to me.
7 May 2025

|


