|
MERRY CHRISTMAS


Thanks Maria José for your invitation to translate your tutorial

This tutorial has been translated with PSPX9 and PSP2020, but it can also be made using other versions of PSP.
Since version PSP X4, Image>Mirror was replaced with Image>Flip Horizontal,
and Image>Flip with Image>Flip Vertical, there are some variables.
In versions X5 and X6, the functions have been improved by making available the Objects menu.
In the latest version X7 command Image>Mirror and Image>Flip returned, but with new differences.
See my schedule here
 French translation here French translation here
 your versions here your versions here
For this tutorial, you will need:
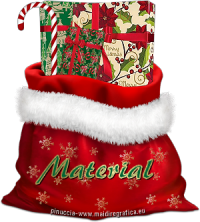
For the misted thanks CatDana; Images Pinterest; tubes MJ
(you find here the links to the material authors' sites)

consult, if necessary, my filter section here
Filters Unlimited 2.0 here
Mehdi - Sorting Tiles here
VanDerLee - Unplugged-X here
VM Natural - Sparkle here
Mura's Meister - Perspective Tiling here
Simple - Top Left Mirror here
Filtres VM Natural and Simple can be used alone or imported into Filters Unlimited.
(How do, you see here)
If a plugin supplied appears with this icon  it must necessarily be imported into Unlimited it must necessarily be imported into Unlimited

You can change Blend Modes according to your colors.
In the newest versions of PSP, you don't find the foreground/background gradient (Corel_06_029).
You can use the gradients of the older versions.
The Gradient of CorelX here
Copy the preset in the Presets Folder.
Open the mask in PSP and minimize it with the rest of the material.
Set your foreground color to #afe2f3,
and your background color to #1d64a4.
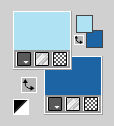
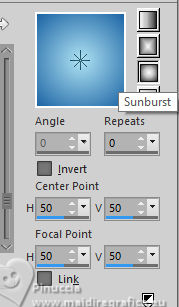
Set your foreground color to a Foreground/Background Gradient, style Sunburst.
1. Open a new transparent image 1000 x 700 pixels.
Flood Fill  the transparent image with your background color #1d64a4. the transparent image with your background color #1d64a4.
2. Layers>New Mask layer>From image
Open the menu under the source window and you'll see all the files open.
Select the mask mask-noel-MJ
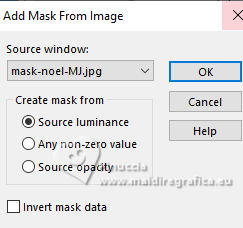
Layers>Merge>Merge Group.
3. Effects>User Defined Filter- Emboss 3

Change the Blend Mode of this layer to Screen.
4. Layers>New Raster Layer.
Flood Fill  the layer with your Gradient. the layer with your Gradient.
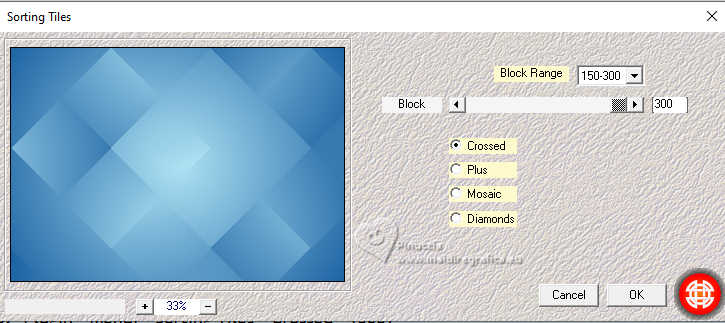
5. Effects>Plugins>Mehdi - Sorting Tiles.
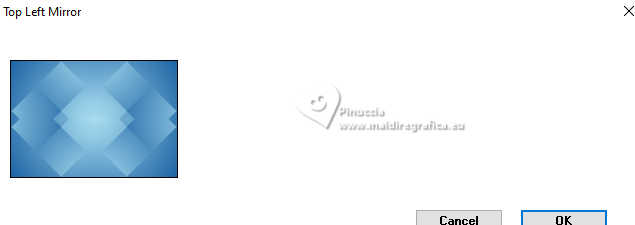
6. Effects>Plugins>Simple - Top Left Mirror.
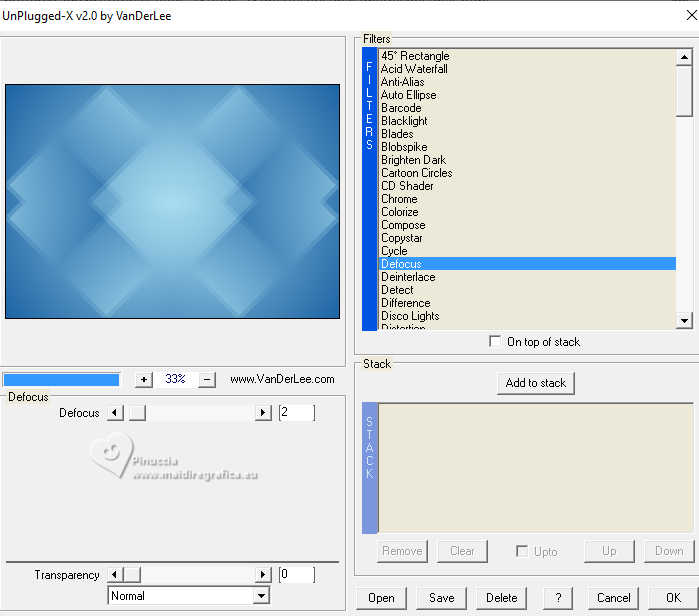
7. Effects>Plugins>VanDerLee - Unplugged-X - Defocus
8. Effects>User Defined Filter- Emboss 3

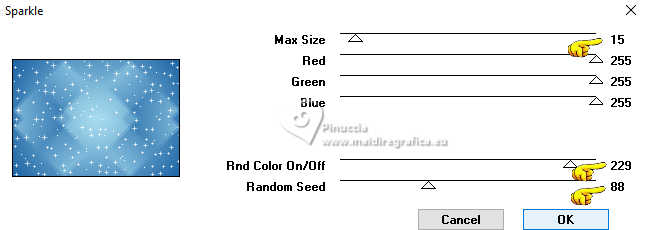
9. Effects>Plugins>VM Natural - Sparkle.
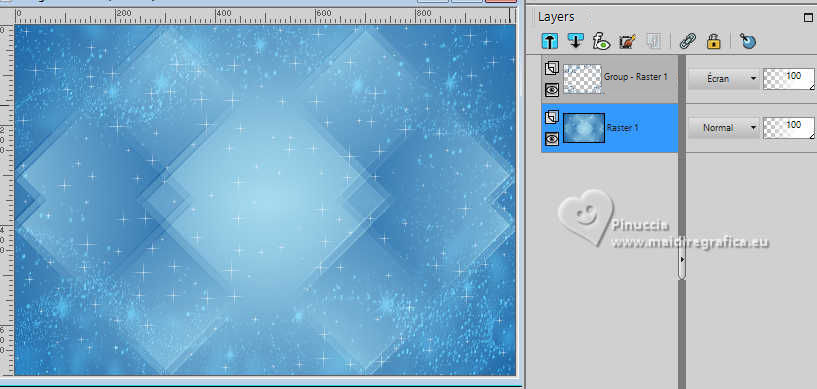
Layers>Arrange>Move Down.
10. Open the tube 2024 12 12 Cat Dana mist 3 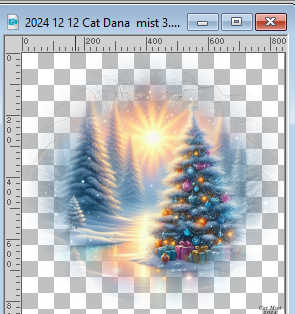
Erase the watermark and go to Edit>Copy.
Go back to your work and go to Edit>Paste as new layer.
Image>Resize, to 80%, resize all layers not checked.
K key to activate your Pick Tool 
Position X: 165,00 - Position Y: -10,00

M key to deselect the Tool.
11. Edit>Copy Special>Copy Merged.
Edit>Paste as new layer.
12. Effects>Plugins>Mura's Meister - Perspective Tiling.
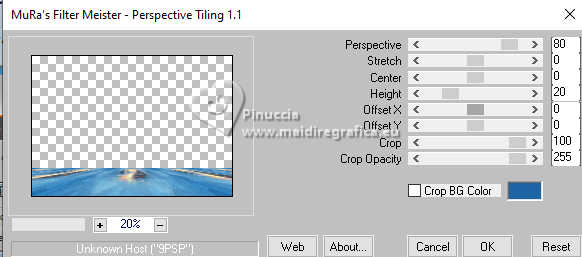
13. Activate your Magic Wand Tool  , tolerance 0 and feather 80 , tolerance 0 and feather 80
and click in the transparent part to select it.
Press +/- 10 times CANC on the keyboard 
Selections>Select None.
don't forget to set again the feather of your Magic Wand Tool to 0
Layers>Arrange>Move Down
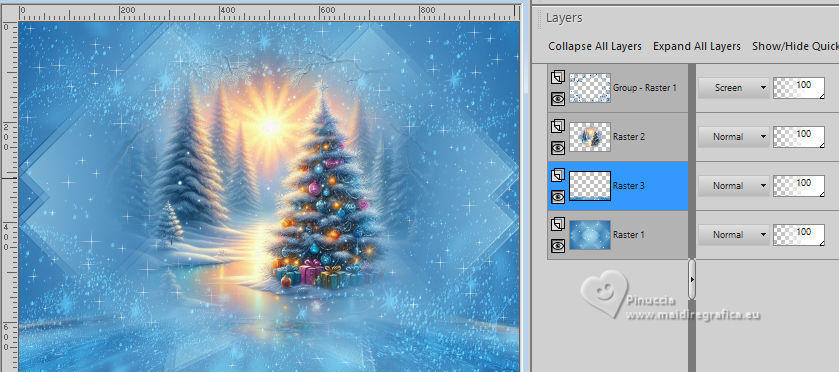
14. Activate your top layer.
Open deco-1-MJ 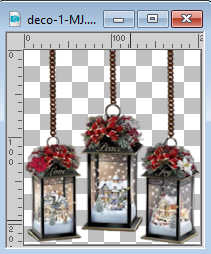
Edit>Copy.
Go back to your work and go to Edit>Paste as new layer.
K key to activate your Pick Tool 
Position X: 745,00 - Position Y: 0,00

M key to deselect the Tool.
15. Effects>3D Effects>Drop Shadow, color white.
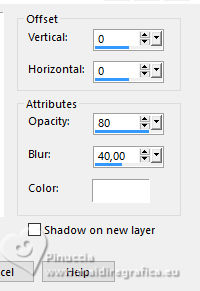
16. Open deco-3-MJ 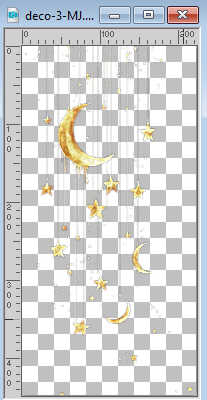
Edit>Copy.
Go back to your work and go to Edit>Paste as new layer.
17. Objects>Align>Top.
Objects>Align>Left.
Effects>3D Effects>Drop Shadow, same settings.

18. Open gnomo-1-MJ 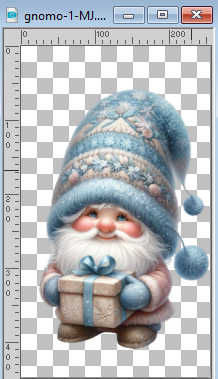
Edit>Copy.
Go back to your work and go to Edit>Paste as new layer.
Move  the tube to the bottom right. the tube to the bottom right.
Effects>3D Effects>Drop Shadow, same settings.
19. Open the tube personagem-MJ 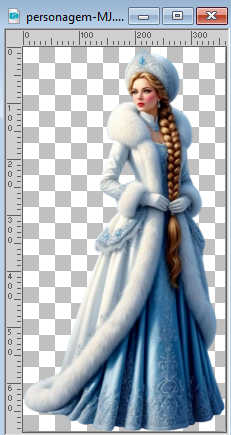
Edit>Copy.
Go back to your work and go to Edit>Paste as new layer.
Move  the tube to the left side. the tube to the left side.
Effects>3D Effects>Drop Shadow, same settings.
20. Open the text texto 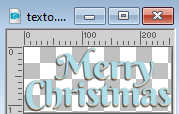
Edit>Copy.
Go back to your work and go to Edit>Paste as new layer.
Place  the text to your liking. the text to your liking.
Activate the layer Raster 1.
Edit>Copy.
Edit>Paste as new image, and minimize it for caution.
Your tag and the layers; adapt according to your work.
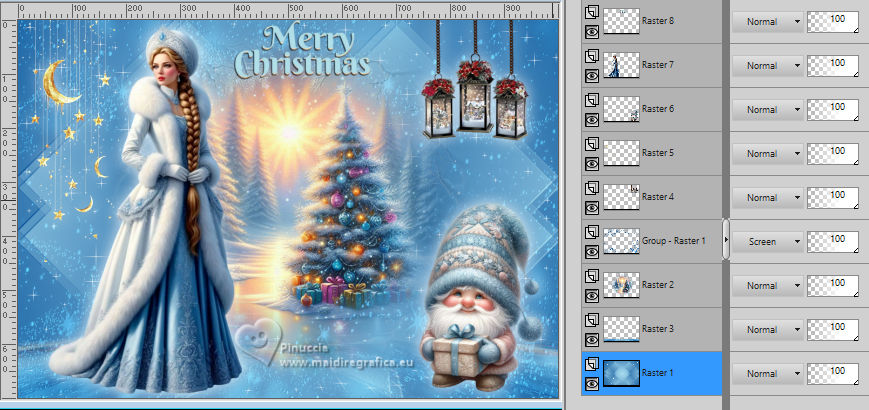
21. Image>Add Borders, 1 pixel, symmetric, dark background color #1d64a4.
Image>Add Borders, 10 pixels, symmetric, color white.
Image>Add Borders, 1 pixel, symmetric, dark background color #1d64a4.
Image>Add Borders, 25 pixels, symmetric, color white.
Image>Add Borders, 1 pixel, symmetric, dark background color #1d64a4.
22. Selections>Select All.
Image>Add Borders, 30 pixels, symmetric, color white.
23. Selections>Invert.
Edit>Paste into Selection - the minimized image is still in memory.
24. Adjust>Blur>Gaussian Blur - radius 30.

25. Selections>Invert.
Effects>3D Effects>Drop Shadow, color white

Selections>Select None.
26. Image>Add Borders, 1 pixel, symmetric, dark background color #1d64a4.
27. Sign your work.
Layers>Merge>Merge All.
28. Image>Resize, 1000 pixels width, resize all layers checked.
Save as jpg.
Version with my tubes from Pinterest images; thank for the woman Virginia and for the fawn Wieske
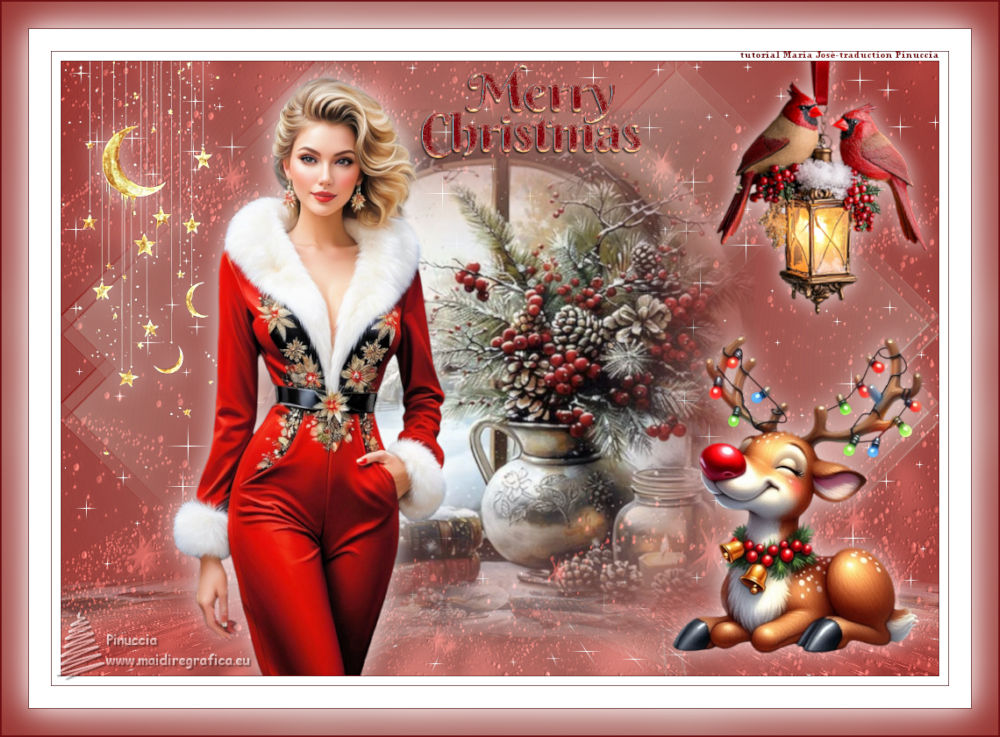
Version with my tubes from Pinterest images

If you have problems or doubts, or you find a not worked link,
or only for tell me that you enjoyed this tutorial, write to me.
2 December 2025

|


