|
OUTONO 2025

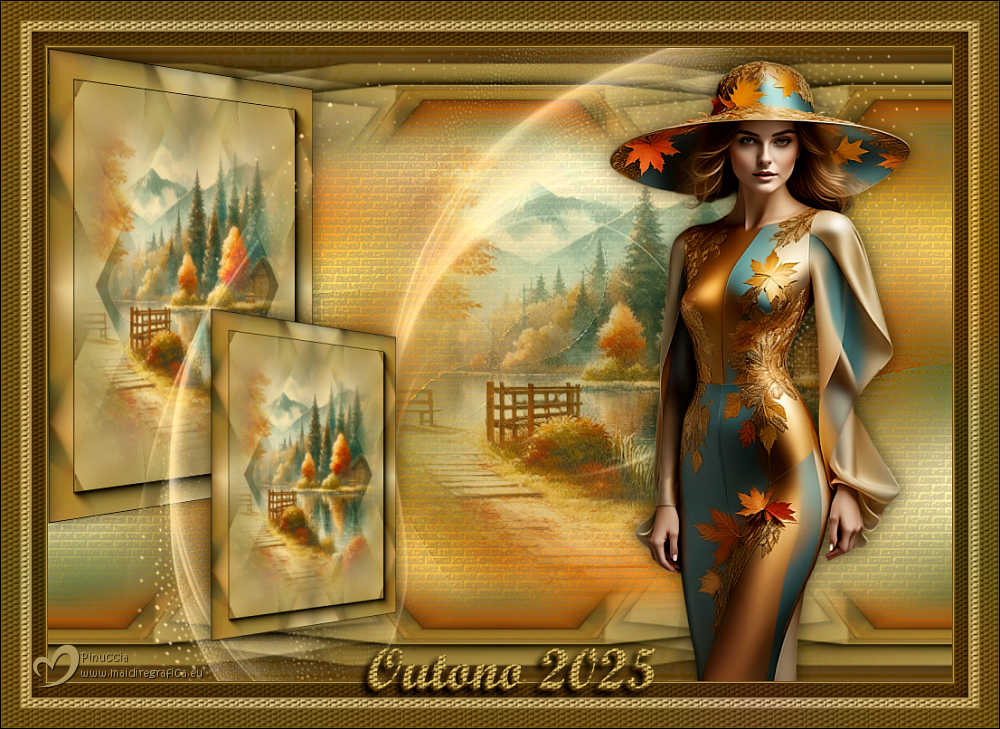
Thanks Maria José for your invitation to translate your tutorial

This tutorial has been translated with PSPX9 and PSP2020, but it can also be made using other versions of PSP.
Since version PSP X4, Image>Mirror was replaced with Image>Flip Horizontal,
and Image>Flip with Image>Flip Vertical, there are some variables.
In versions X5 and X6, the functions have been improved by making available the Objects menu.
In the latest version X7 command Image>Mirror and Image>Flip returned, but with new differences.
See my schedule here
 French translation here French translation here
 your versions here your versions here
For this tutorial, you will need:

For the tube thanks Suizabella
The rest of the material is by MJ
(you find here the links to the material authors' sites)

consult, if necessary, my filter section here
Filters Unlimited 2.0 here
VM Instant Art - Tripolis here
Simple - Top Left Mirror here
AAA Frames - Foto Frame / optional AAA Filters - Custom here
Andromeda - Perspective here
Richard Rosenman here
Artistiques - Pastels here
Mura's Meister - Perspective Tiling here
Filtres VM Instant Art and Simple can be used alone or imported into Filters Unlimited.
(How do, you see here)
If a plugin supplied appears with this icon  it must necessarily be imported into Unlimited it must necessarily be imported into Unlimited

You can change Blend Modes according to your colors.

Copy the selection in the Selections Folder.
Choose two colors from the tube.
For the example:
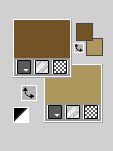
Set your foreground color to #735326,
and your background color to #ae975c.
1. Open a new transparent image 1000 x 700 pixels.
Selections>Select All.
Open the image grafico outono-MJ 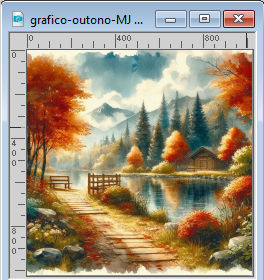
Edit>Copy.
Go back to your work and go to Edit>Paste into Selection.
Selections>Select None.
2. Effects>Image Effects>Seamless Tiling.

3. Adjust>Blur>Gaussian Blur - radius 40.

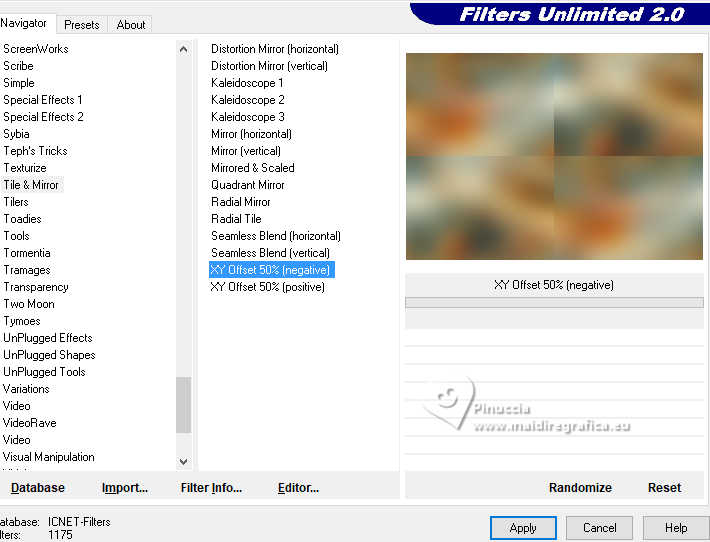
4. Effects>Plugins>Filters Unlimited 2.0 - Tile & Mirror - XY Offset 50% (negative)
5. Effects>Distortion Effects>Twirl
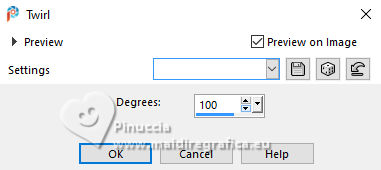
6. Effects>Edge Effects>Enhance More.
Layers>Duplicate.
Image>Mirror>Mirror vertical (Image>Flip).
7. Change the Blend Mode of this layer to Overlay and reduce the opacity to 50%.
Layers>Merge>Merge Down.
Layers>Duplicate.
8. Effects>Plugins>VM Instant Art - Tripolis, default settings.
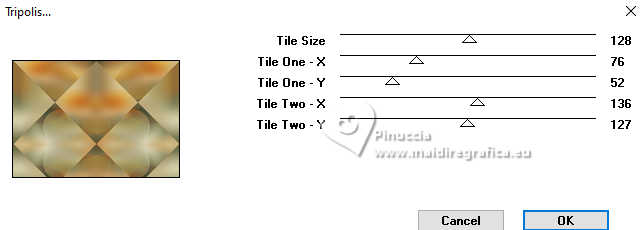
9. Effects>Image Effects>Seamless Tiling, last settings.

10. Effects>Plugins>Simple - Top Left Mirror.
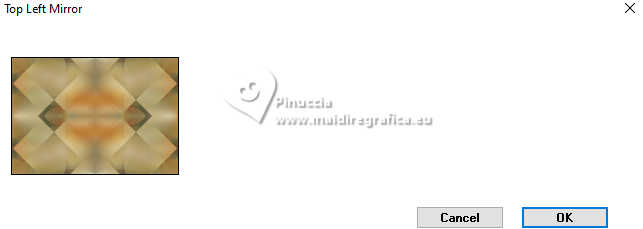
11. K key to activate your Pick Tool 
in mode Scale 
pull the central right node to the left, until 500 pixels.
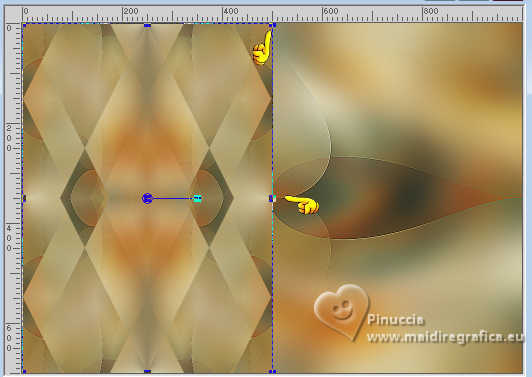
M key to deselect the Tool.
12. Selections>Load/Save Selection>Load Selection from Disk.
Look for and load the selection 25-outono-1-MJ
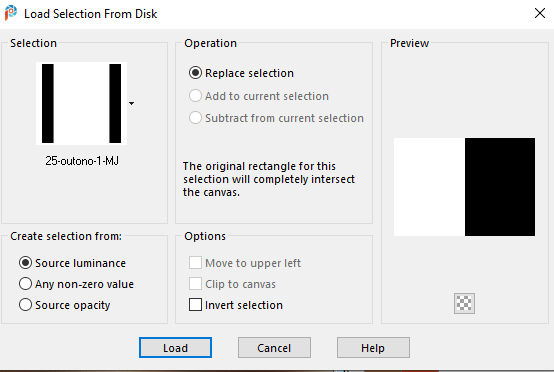
Layers>New Raster Layer.
13. Open the tube misted-tuto-MJ 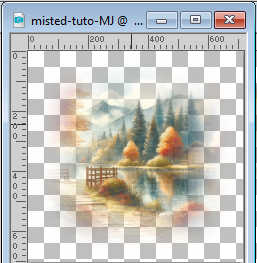
Edit>Copy.
Go back to your work and go to Edit>Paste into Selection.
Layers>Merge>Merge Down.
Keep selected.
14. Effets>Plugins>AAA Frames - Foto Frame, default settings.
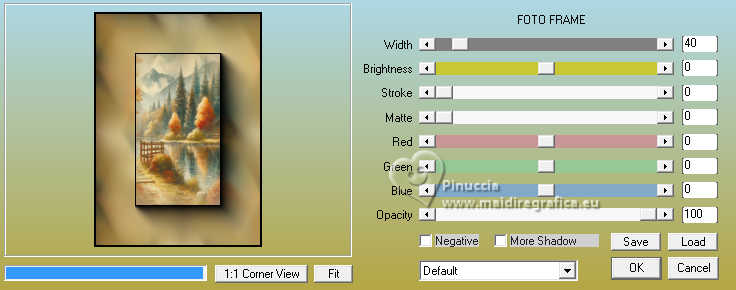
Selections>Select None.
15. Image>Resize, to 80%, resize all layers not checked.
16. Effects>Plugins>Andromeda - Perspective
click on Presets
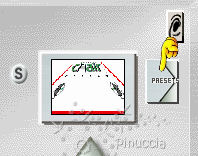
Set the settings and click on the sign at the bottom right to apply
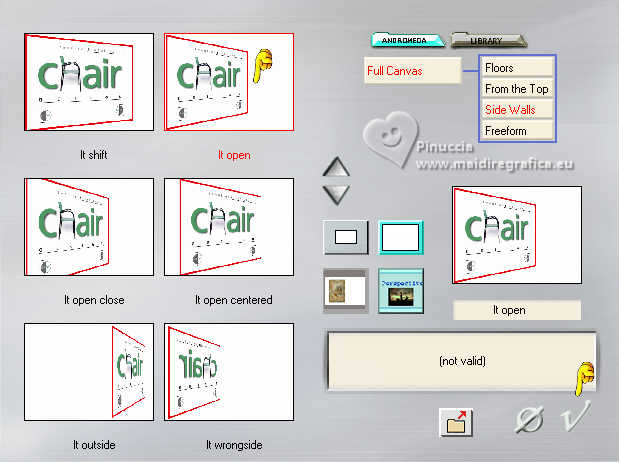
Again click on the sign at the bottom right to close
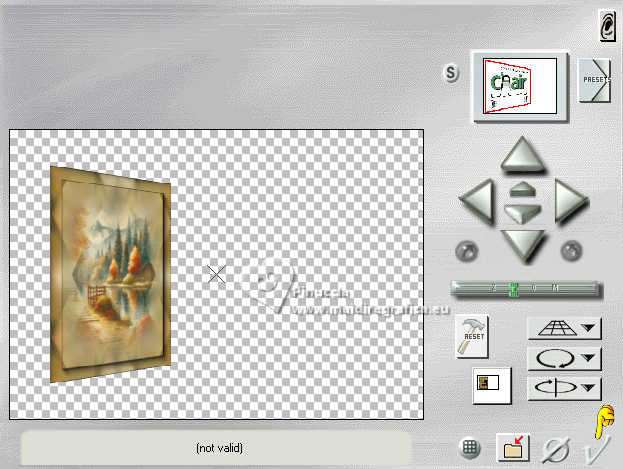
17. Objects>Align>Top.
Objects>Align>Left.
18. Layers>Duplicate.
Image>Resize, to 70%, resize all layers not checked.
19. K key to activate your Pick Tool 
Position X:: 169,00 - Position Y:: 333,00.

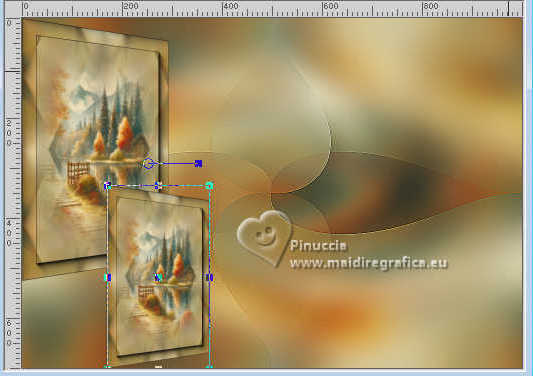
M key to deselect the Tool.
20. Effects>3D Effects>Drop shadow, color black.

Activate the layer below of the original.
Edit>Repeat Drop Shadow.
21. Activate your bottom layer, Raster 1.
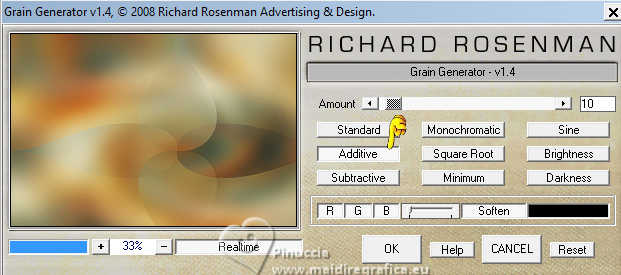
Effects>Plugins>Richard Rosenman - Grain Generator
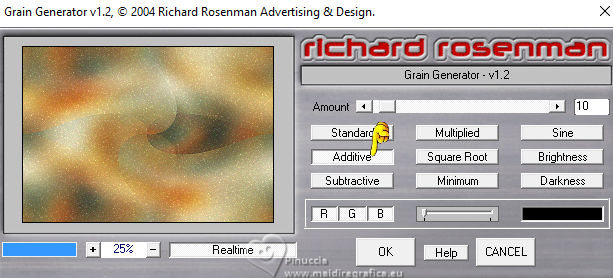
If you're using the newer version, the result will be roughly the same
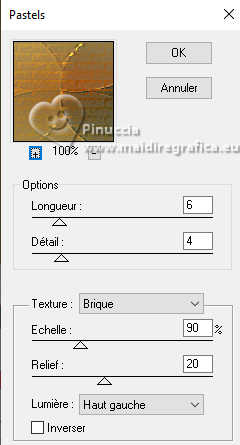
22. Effects>Plugins>Artistiques - Pastels
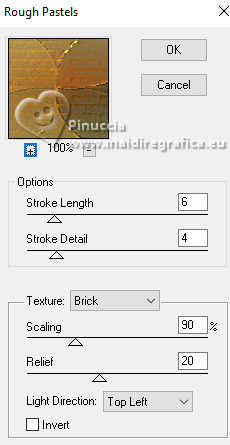
if you use the french version of this filter, the result doesn't change
Effects>Plugins>Artistic - Rough Pastels
23. Activate your top layer - Copy (2) of Raster 1.
Edit>Copy Special>Copy Merged.
Edit>Paste as new layer.
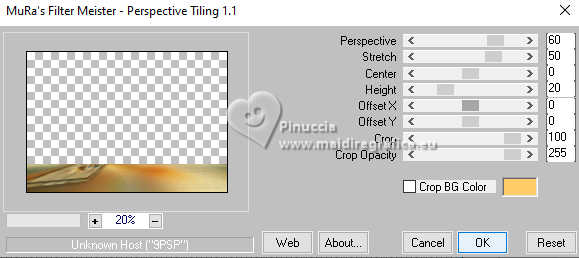
24. Effects>Plugins>Mura's Meister - Perspective Tiling.
25. Effects>Reflection Effects>Rotating Mirror.

26. Activate your Magic Wand Tool  , tolerance 0, feather 70, , tolerance 0, feather 70,

Click on the transparent zone to select it.
Press +/-10 times CANC on the keyboard 
Selections>Select None.
don't forget to set again the feather of your Magic Wand Tool to 0
27. Effects>Geometric Effects>Skew.
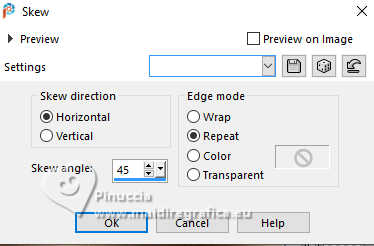
Edit>Repeat Skew.
28. Effects>Reflection Effects>Rotating Mirror, last settings.

29. Effects>Image Effects>Seamless Tiling.

Layers>Arrange>Move Down - 2 times.
Layers>Duplicate.
Image>Mirror>Mirror Vertical (Image>Flip).
30. Activate your top layer - Copy (2) of Raster 1.
K key to activate your Pick Tool 
Position X:: 158,00 - Position Y:: 268,00.

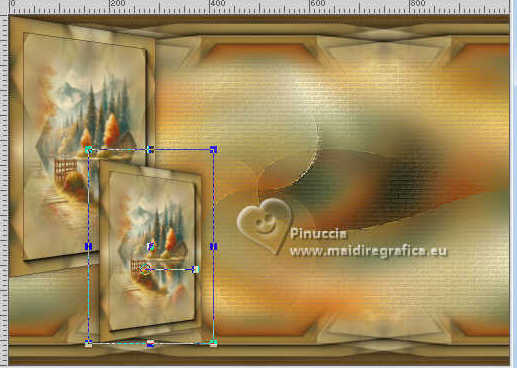
M key to deselect the Tool.
31. Activate again the tube misted-tuto-MJ 
Edit>Copy.
Go back to your work and go to Edit>Paste as new layer.
Layers>Arrange>Move Down - 3 times.
Move  the tube to the right. the tube to the right.
Reduce the opacity of this layer +/-83%.
32. Activate your top layer.
Open the tube deco-outono-MJ 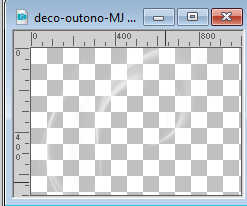
Edit>Copy.
Go back to your work and go to Edit>Paste as new layer.
K key to activate your Pick Tool 
Position X:: 63,00 - Position Y:: 0,00.

M key to deselect the Tool.
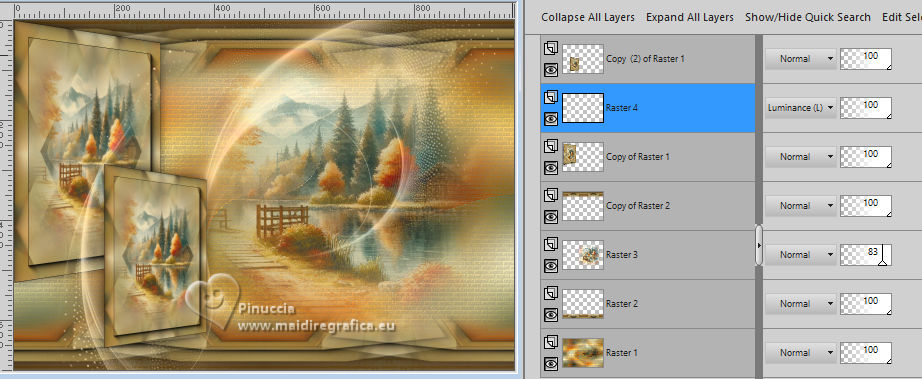
Change the Blend Mode of this layer to Luminance (Legacy).
Layers>Arrange>Move Down.
Your tag and the layers - adapt Blend Mode and opacity according to your work
33. Activate again your top layer - Copy (2) of Raster 1.
Open your main tube Suizabella 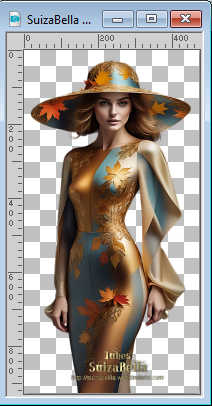
Edit>Copy.
Go back to your work and go to Edit>Paste as new layer.
Image>Resize, to 77%, resize all layers not checked.
Effects>3D Effects>Drop Shadow, at your choice.
34. Image>Add Borders, 1 pixel, symmetric, dark color.
Image>Add Borders, 1 pixel, symmetric, light color.
35. Selections>Select All.
Edit>Copy
Image>Add Borders, 50 pixels, symmetric, dark color.
36. Selections>Invert.
Edit>Paste into Selection - the image of step 35.
37. Adjust>Blur>Gaussian Blur - radius 40

38. Layers>New Raster Layer.
Open borders-1-MJ 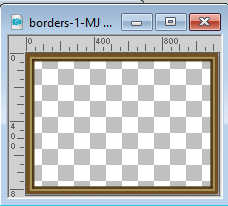
Edit>Copy.
Go back to your work and go to Edit>Paste into Selection.
Change the Blend Mode of this layer to Luminance (legacy) or other according to your colors.
39. Selections>Invert.
Effects>3D Effects>Drop Shadow, color black.

Selections>Select None.
40. Open texto-1-MJ 
Edit>Copy.
Go back to your work and go to Edit>Paste as new layer.
Move  the text to your liking. the text to your liking.
41. Sign your work.
Image>Add Borders, 1 pixel, symmetric, color black.
42. Image>Resize, 1000 pixels width, resize all layers checked.
Optional:
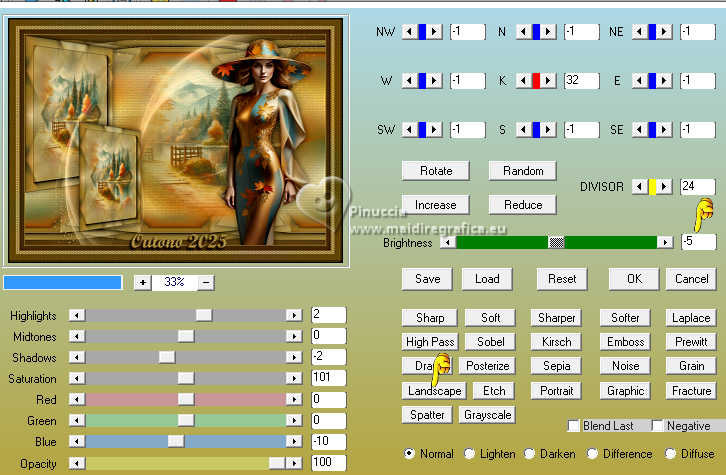
Effects>Plugins>AAA Filters - Custom - Landscape -5
Save as jpg.
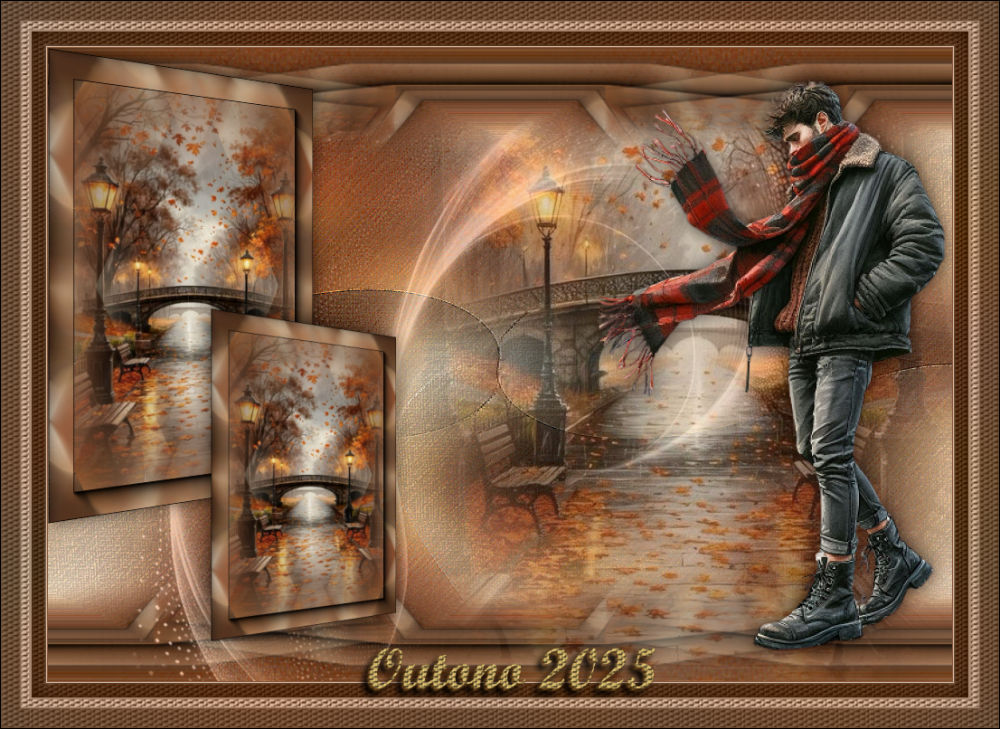

If you have problems or doubts, or you find a not worked link,
or only for tell me that you enjoyed this tutorial, write to me.
1 October 2025

|


