|
RAYON DE SOLEIL

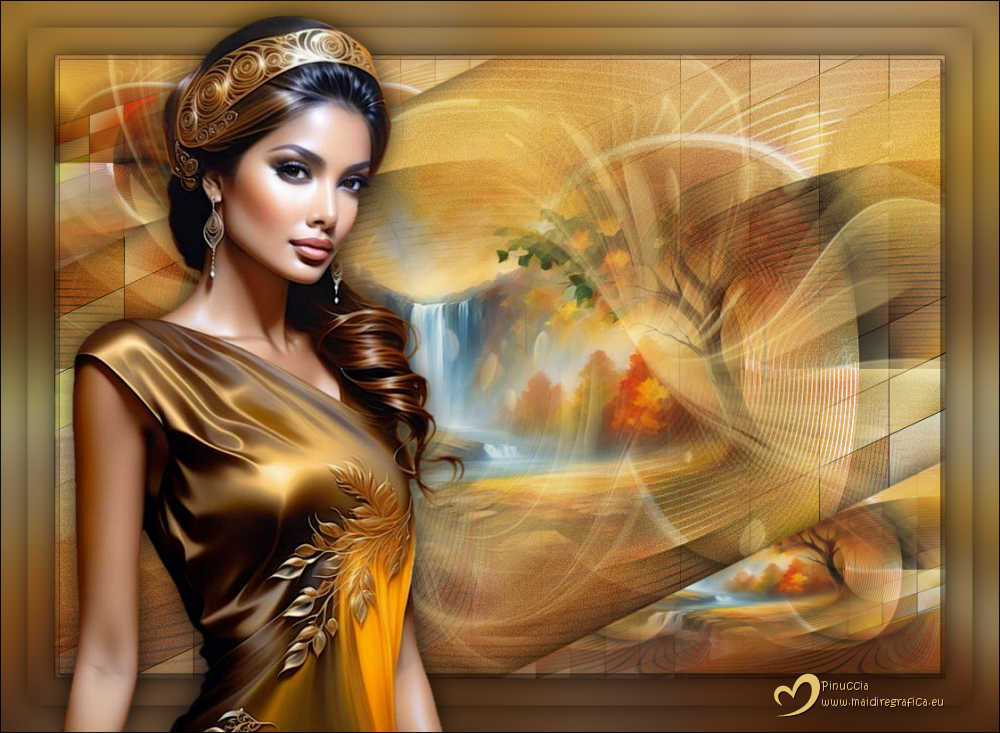
Thanks Maria José for your invitation to translate your tutorial

This tutorial has been translated with PSPX9 and PSP2020, but it can also be made using other versions of PSP.
Since version PSP X4, Image>Mirror was replaced with Image>Flip Horizontal,
and Image>Flip with Image>Flip Vertical, there are some variables.
In versions X5 and X6, the functions have been improved by making available the Objects menu.
In the latest version X7 command Image>Mirror and Image>Flip returned, but with new differences.
See my schedule here
 French translation here French translation here
 your versions here your versions here
For this tutorial, you will need:

For the mask thanks ValyScrapPassion.
The rest of the material is by Maria José
(you find here the links to the material authors' sites)

consult, if necessary, my filter section here
Filters Unlimited 2.0 here
VM Distortion - Gear here
Tramages - Tow the lines here
Mehdi - Sorting Tiles here
AAA Frames - Foto Frame here
Flaming Pear - Flexify 2 here
Toadies - Plain Mosaic Blur here
Mura's Seamless - Emboss at Alpha here
Filters VM Distortion, Tramages, Toadies and Mura's Seamless can be used alone or imported into Filters Unlimited.
(How do, you see here)
If a plugin supplied appears with this icon  it must necessarily be imported into Unlimited it must necessarily be imported into Unlimited

You can change Blend Modes according to your colors.
Copy the Flexify preset in a folder of your choice.
I usually leave it in the material folder.
You will import it from this folder when you need it.

Copy the Mask 20-20 in the Masks Folder.
Open the second mask in PSP and minimize it with the rest of the material
1. Open alphachannel-rayon de soleil.
Window>Duplicate or, on the keyboard, shift+D to make a copy.

Close the original.
The copy, that will be the basis of your work, is not empty,
but contains the selections saved to alpha channel.
2. Selections>Select All.
Open the image grafico-zenart-07 
Edit>Copy.
Go back to your work and go to Edit>Paste into Selection.
Selections>Select None.
3. Effects>Image Effects>Seamless Tiling.

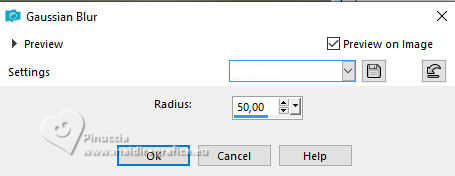
4. Adjust>Blur>Gaussian Blur - radius 50
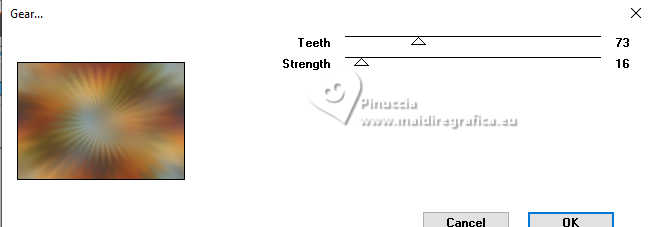
5. Effects>Plugins>VM Distortion - Gear, default settings.
6. Effects>Plugins>Tramages - Tow the line, default settings.

7. Effects>Image Effects>Seamless Tiling, same settings.

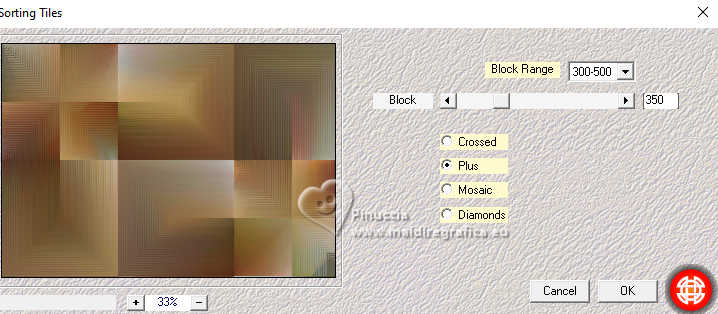
8. Effects>Plugins>Mehdi - Sorting Tiles.
9. Effects>Plugins>Flaming Pear - Flexify 2
click on the red button and look for the preset in the folder you saved it

Here below the settings

10. Effects>Image Effects>Seamless Tiling, Horizontal checked.

11. K key to activate your Pick Tool 
pull the image as below.
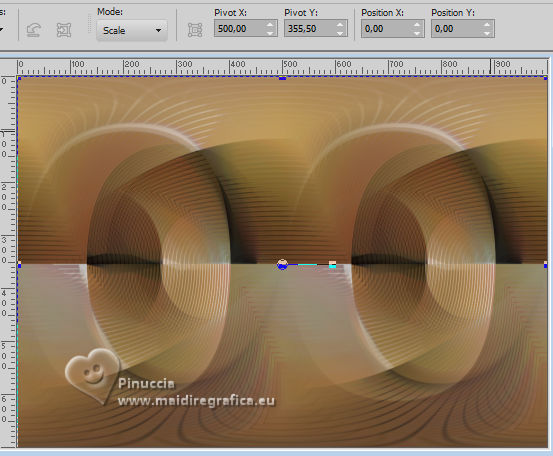
M key to deselect the Tool.
Layers>Duplicate.
Change the Blend Mode of this layer to Overlay.
12. Activate the layer Raster 1.
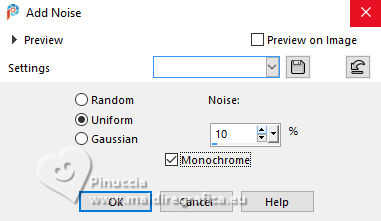
Adjust>Add/Remove Noise>Add Noise.
13. Adjust>Sharpness>Sharpen More.
14. Open the misted misted-2 
Edit>Copy.
Go back to your work and go to Edit>Paste as new layer.
Layers>Arrange>Bring to Top.
Layers>Duplicate.
15. Effects>Image Effects>Seamless Tiling, Bidirectional checked.

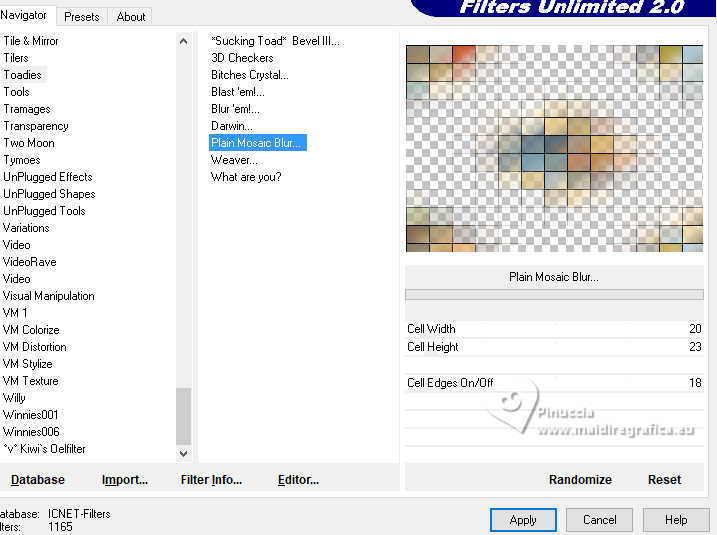
16. Effects>Plugins>Toadies - Plain Mosaic Blur.
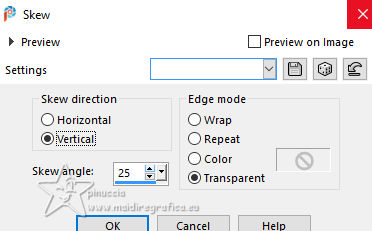
17. Effects>Geometric Effects>Skew.
18. Layers>Load/Save Mask>Load Mask from Disk.
Look for and load the mask 20-20 .
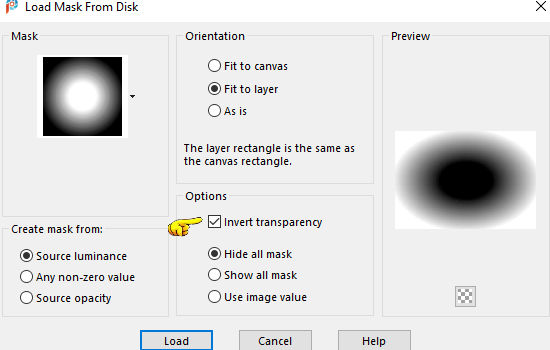
Layers>Duplicate.
Layers>Merge>Merge Group.
Change the Blend Mode of this layer to Hard Light.
19. Stay on the layer Group-Copy of Raster 2.
Edit>Copy Special>Copy Merged
20. Selections>Load/Save Selection>Load Selection from Alpha Channel.
The selection Selection#1 is immediately available.
You just have to click Load.
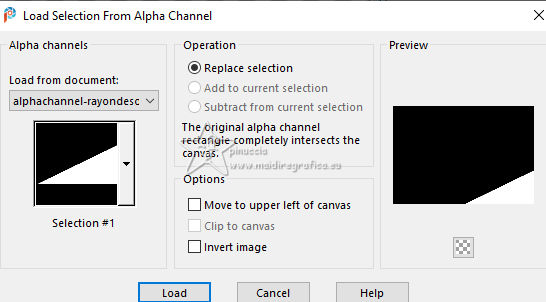
21. Layers>New Raster Layer.
Edit>Paste into Selection - the imag of the previous step.
Selections>Select None.
22. Selections>Load/Save Selection>Load Selection from Alpha Channel.
Open the Selections menu and load the selection Selection #2
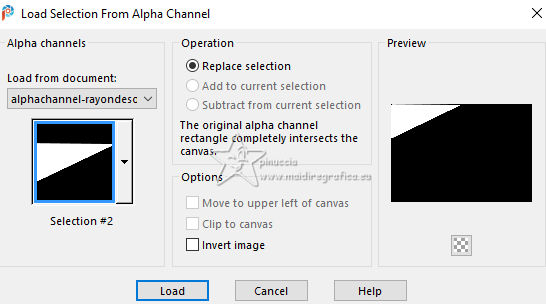
23. Layers>New Raster Layer.
Edit>Paste into Selection - the image of step 19 is still in memory.
Selections>Select None.
24. Layers>Merge>Merge Down.
Effects>3D Effects>Drop Shadow, color black.

25. Layers>New Raster Layer.
Set your foreground color with a light color of your graphic: #e4c270  . .
Flood Fill  the layers with your light foreground color. the layers with your light foreground color.
26. Layers>New Mask layer>From image
Open the menu under the source window and you'll see all the files open.
Select the mask colormask-MJ .
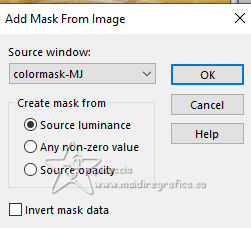
Layers>Merge>Merge Group.
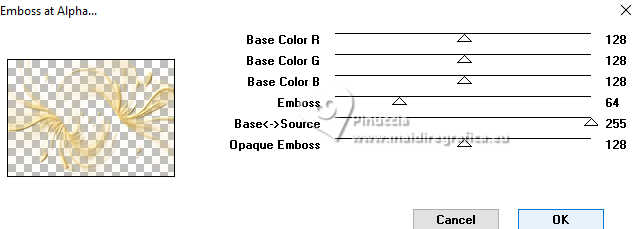
27. Effects>Plugins>Mura's Seamless - Emboss at Alpha, default settings.
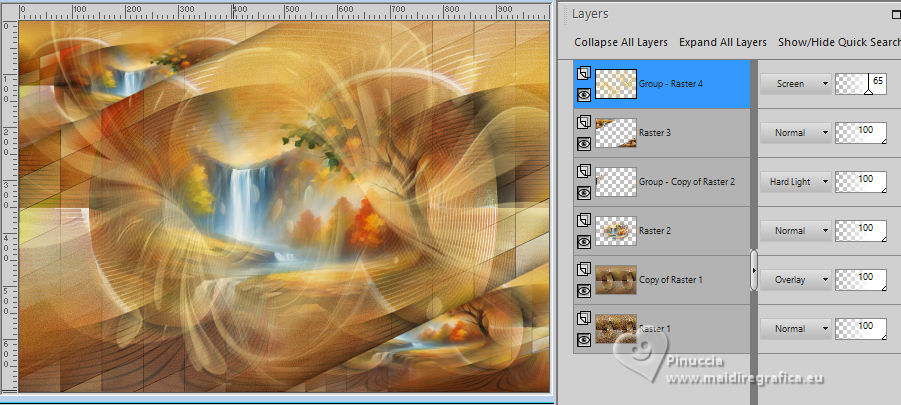
Change the Blend Mode of this layer to Screen and reduce the opacity +/-65%.
Your tag and the layer - adapt Blend Mode and opacity according to your colors
Layers>Merge>Merge visible.
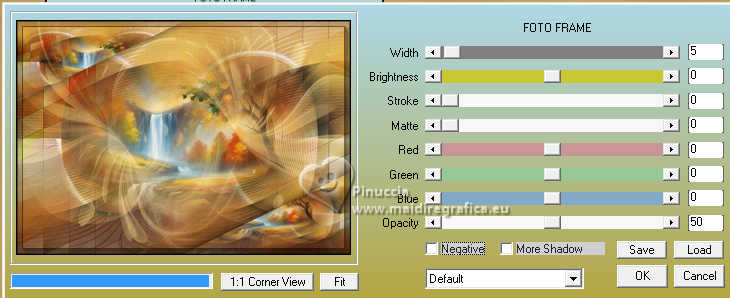
28. Effects>Plugins>AAA Frames - Foto Frame.
29. Selections>Select All.
Edit>Copy
30. Image>Add Borders, 30 pixels, symmetric, color white
31. Selections>Invert.
Edit>Paste into Selection - the image of step 29.
32. Adjust>Blur>Gaussian Blur - radius 30.

33. Selections>Invert.
Effects>3D Effects>Drop Shadow, color black.

34. Selections>Select All.
Edit>Copy
35. Image>Add Borders, 30 pixels, symetric, color white.
36. Selections>Invert.
Edit>Paste into Selection - the image of step 34.
Selections>Select None.
37. Open the tube tube-femme-MJ 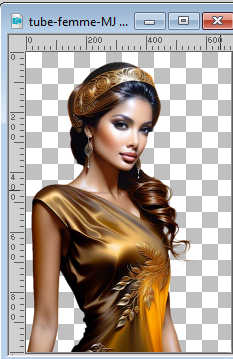
Edit>Copy.
Go back to your work and go to Edit>Paste as new layer.
Image>Resize, to 83%, resize all layers not checked.
Move  the tube to the left side. the tube to the left side.
Effects>3D Effects>Drop Shadow, at your choice.
38. Sign your work on a new layer.
Image>Add Borders, 1 pixel, symmetric, color black.
39. Image>Resize, 1000 pixels width, resize all layers checked.
Save as jpg.
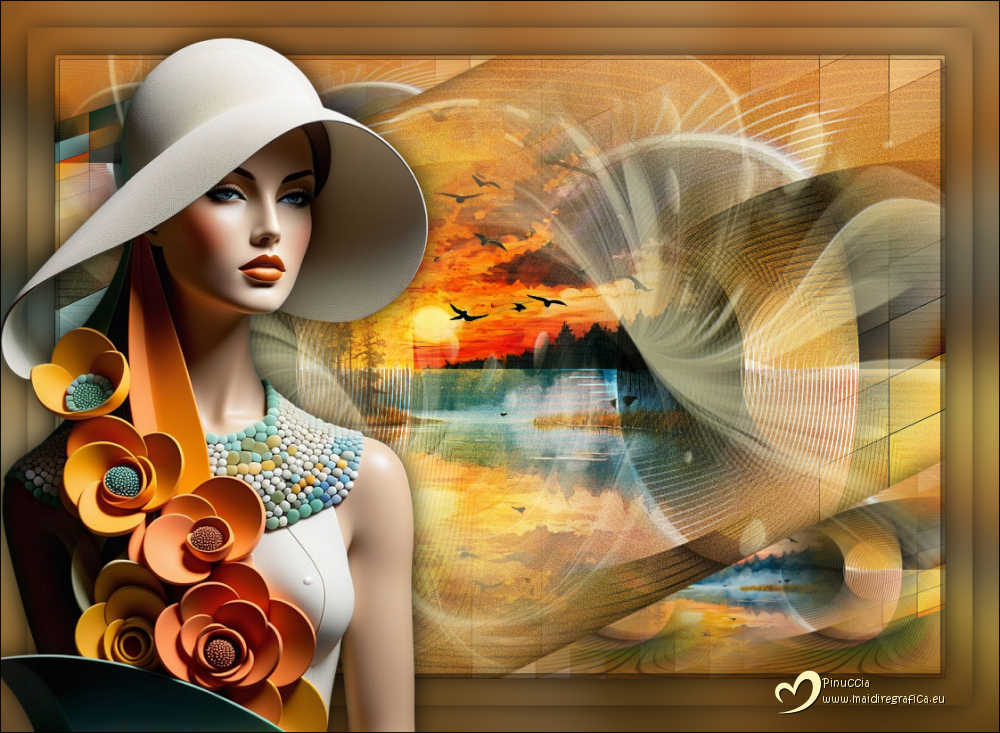
For the tubes of these versions thanks
Tatty Things
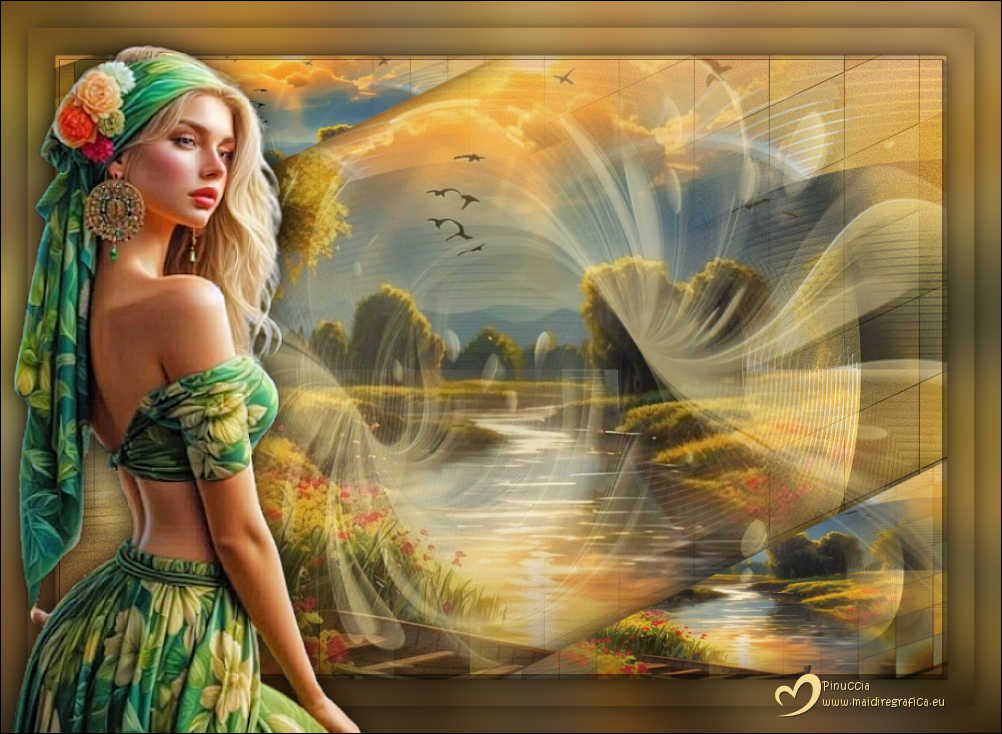
Renée

If you have problems or doubts, or you find a not worked link,
or only for tell me that you enjoyed this tutorial, write to me.
29 July 2025

|


