|
SULAMITHA

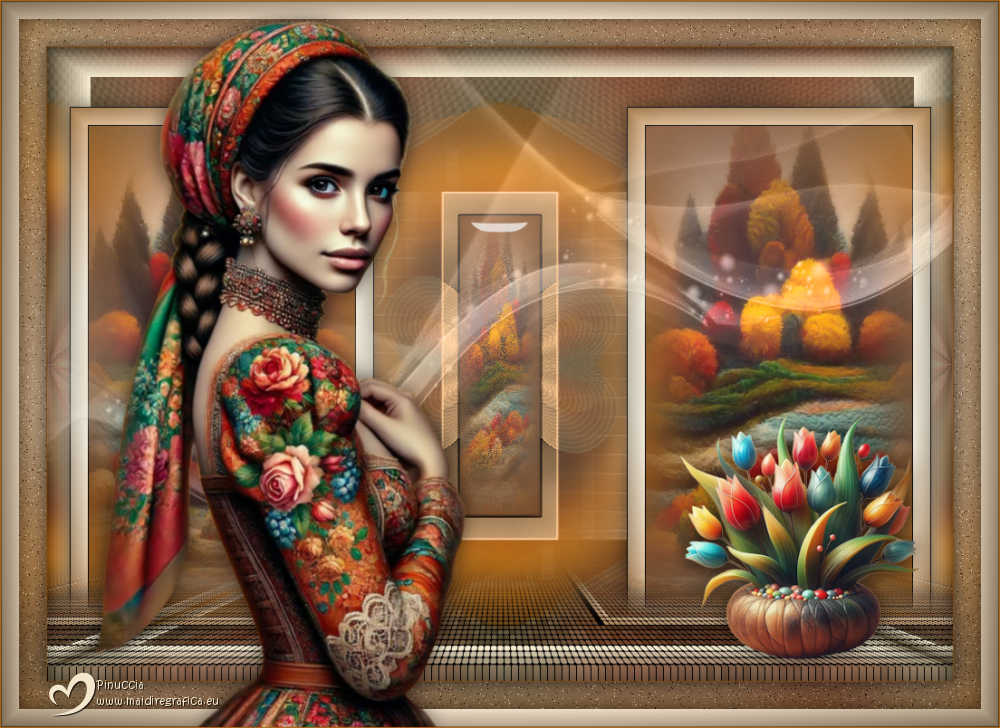
Thanks Maria José for your invitation to translate your tutorial

This tutorial has been translated with PSPX9 and PSP2020, but it can also be made using other versions of PSP.
Since version PSP X4, Image>Mirror was replaced with Image>Flip Horizontal,
and Image>Flip with Image>Flip Vertical, there are some variables.
In versions X5 and X6, the functions have been improved by making available the Objects menu.
In the latest version X7 command Image>Mirror and Image>Flip returned, but with new differences.
See my schedule here
 French translation here French translation here
 your versions here your versions here
For this tutorial, you will need:

For the mask thanks ValyScrapPassion.
The rest of the material is by Maria José
(you find here the links to the material authors' sites)

consult, if necessary, my filter section here
Filters Unlimited 2.0 here
Carolaine and Sensibility - CS-HLines here
Plugin Galaxy - Alpha Tool here
AAA Frames - Frame Works here
VM Natural - Speed here
Alien Skin Eye Candy 5 Impact - Glass here
Richard Rosenmann - Halftone here
Mura's Seamless - Emboss at Alpha here
Simple - Left Right Wrap here
Mura's Meister - Perspective Tiling here
Filters VM Natural, Mura's Seamless and Simple can be used alone or imported into Filters Unlimited.
(How do, you see here)
If a plugin supplied appears with this icon  it must necessarily be imported into Unlimited it must necessarily be imported into Unlimited

You can change Blend Modes according to your colors.
In the newest versions of PSP, you don't find the foreground/background gradient (Corel_06_029).
You can use the gradients of the older versions.
The Gradient of CorelX here
Copy the preset  in the folder of the plugin Alien Skin Eye Candy 5 Impact>Settings>Glass. in the folder of the plugin Alien Skin Eye Candy 5 Impact>Settings>Glass.
One or two clic on the file (it depends by your settings), automatically the preset will be copied in the right folder.
why one or two clic see here

Open the mask in PSP and minimize it with the rest of the material
Choose 3 colors to your liking.
For the example:
Set your foreground color to the dark color #b46919
and your background color to the light color #f3e8cd.
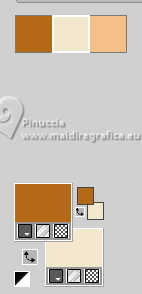
color 3 #f4c088.
Set your foreground color to a Foreground/Background Gradient, style Sunburst.

1. Open alphachannel-2-sulamitha
Window>Duplicate or, on the keyboard, shift+D to make a copy.

Close the original.
The copy, that will be the basis of your work, is not empty,
but contains the selections saved to alpha channel.
Selections>Select All.
Open grafico-sula 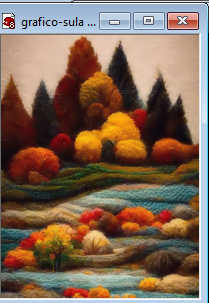
Edit>Copy.
Go back to your work and go to Edit>Paste into Selection.
Selections>Select None.
3. Effects>Image Effects>Seamless Tiling.

4. Adjust>Blur>Gaussian Blur - radius 40.

5. Effects>Reflection Effects>Feedback.

6. Selections>Load/Save Selection>Load Selection from Alpha Channel.
The selection Selection #1 is immediately available. You just have to click Load.
 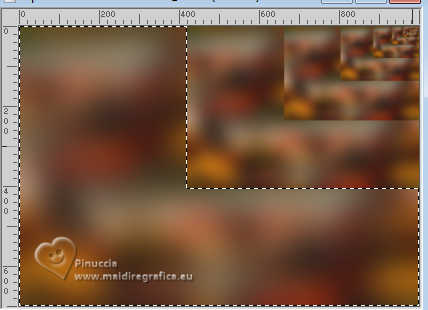
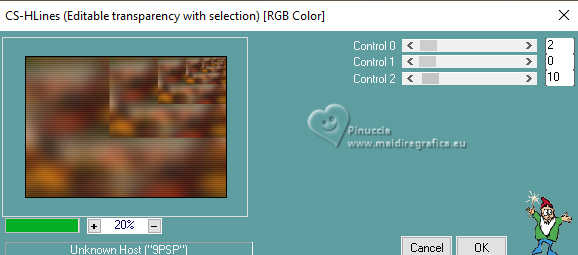
7. Effects>Plugins>Carolaine and Sensibility - CS-HLines.
8. Adjust>Sharpness>Sharpen.
Selections>Select None.
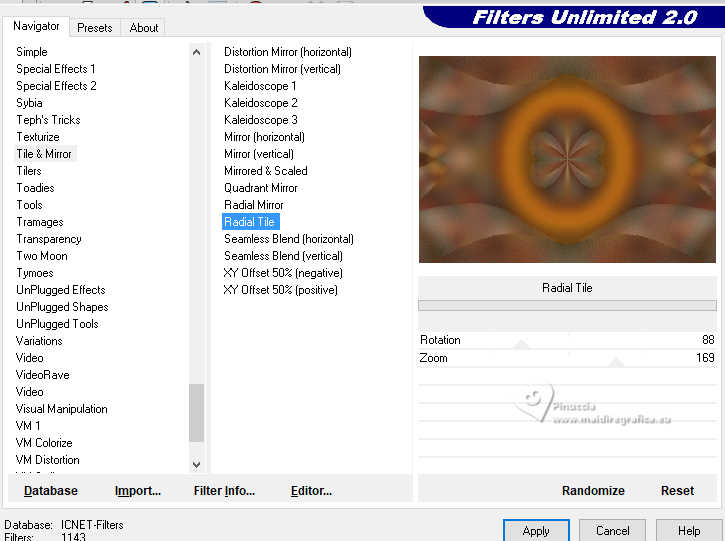
9. Effects>Plugins>Filters Unlimited 2.0 - Tile & Mirror - Radial Tile, default settings.
10. Effects>Image Effects>Seamless Tiling.

11. Effects>Reflection Effects>Rotating Mirror.

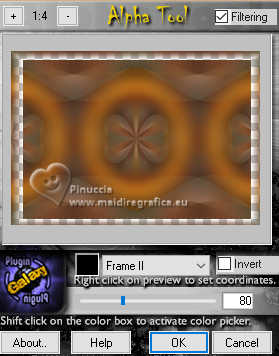
12. Effects>Plugins>Plugin Galaxy - Alpha Tool.
13. Layers>New Raster Layer.
Layers>Arrange>Send to Bottom.
Flood Fill  with your light background color. with your light background color.
Layers>Merge>Merge visible.
14. Selections>Load/Save Selection>Load Selection from Alpha Channel.
Open the selections menu and load the selection Selection #2

Selections>Promote Selection to Layer.
15. Adjust>Blur>Gaussian Blur - radius 40.

16. Open the misted misted-sulamitha-MJ 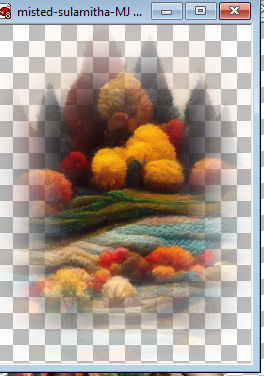
Edit>Copy.
Minimize the tube.
Go back to your work and go to Edit>Paste into Selection.
17. Effects>Plugins>AAA Frames - Frame Works
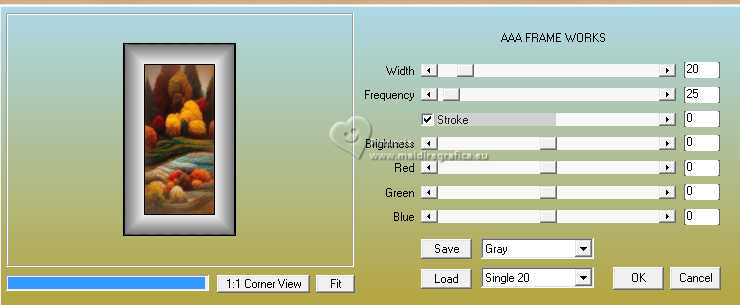
18. Selections>Load/Save Selection>Load Selection from Alpha Channel.
Open the selections menu and load the selection Selection #3

19. Layers>New Raster Layer.
Flood Fill  the layer with your Gradient. the layer with your Gradient.
Reduce the opacity of this layer to 55%.
Layers>Merge>Merge Down.
Selections>Select None.
20. Effects>Reflection Effects>Rotating Mirror.

21. Effects>Plugins>Simple - Left Right Wrap
This Effect works without window; result
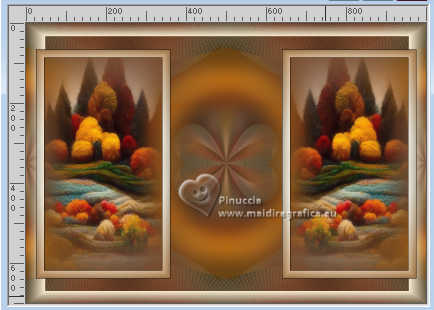
22. Effects>3D Effects>Drop shadow, color black.

23. Open deco-sula-MJ 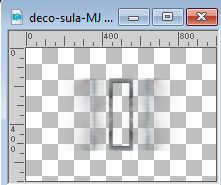
Edit>Copy.
Go back to your work and go to Edit>Paste as new layer.
Activate your Color Change Tool 
Set your foreground color to the color 3 #f4c088
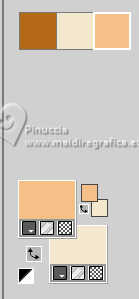
Flood fill the deco with your foreground color (color 3).
Layers>Arrange>Move Down.
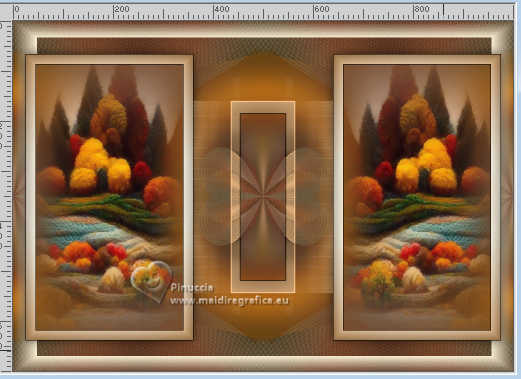
Activate the layer Merged.
25. Selections>Load/Save Selection>Load Selection from Alpha Channel.
Open the selections menu and load the selection Selection #4

Selections>Promote Selection to Layer.
26. Adjust>Blur>Gaussian Blur - radius 40.

27. Activate again the misted misted-sulamitha-MJ and go to Edit>Copy.
Go back to your work and go to Edit>Paste into Selection.
28. Effects>Plugins>VM Natural - Speed.
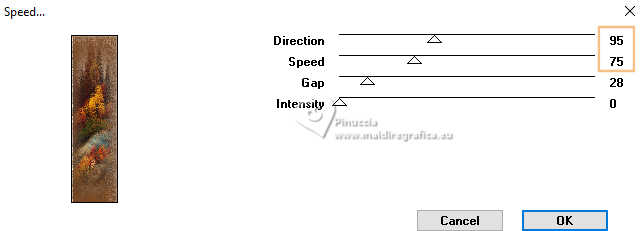
29. Effects>Plugins>Alien Skin Eye Candy 5 Impact - Glass.
Select the preset sulamitha-glass-MJ
if you use other color, set Glass Color with your light background color
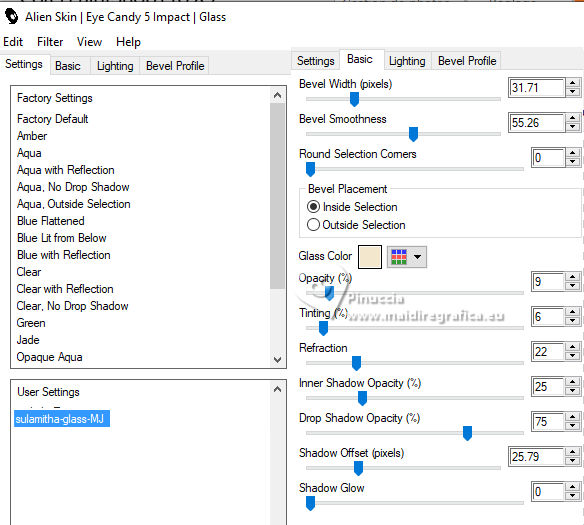
Activate the layer above, Raster 1.

Layers>Merge>Merge Down.
Selections>Select None.
Activate your top layer (Promoted Selection).
30. Edit>Copy Special>Copy merged.
Edit>Paste as new layer.
31. Effects>Plugins>Richard Rosenmann - Halftone, default settings.
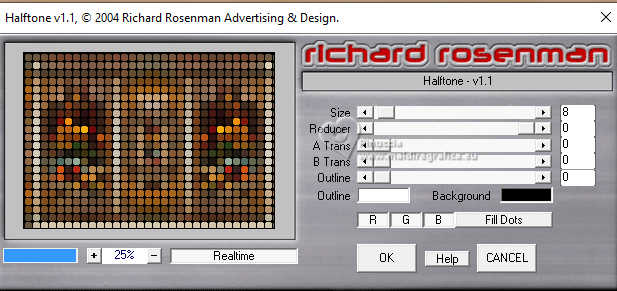
32. Effects>Plugins>Mura's Meister - Perspective Tiling.
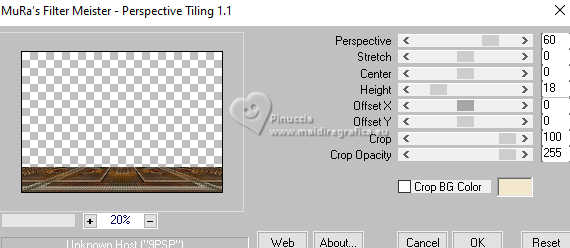
33. Activate your Magic Wand Tool  , tolerance 0 and feather 70, , tolerance 0 and feather 70,
and click in the transparent part to select it.
Press +/-10 times CANC on the keyboard 
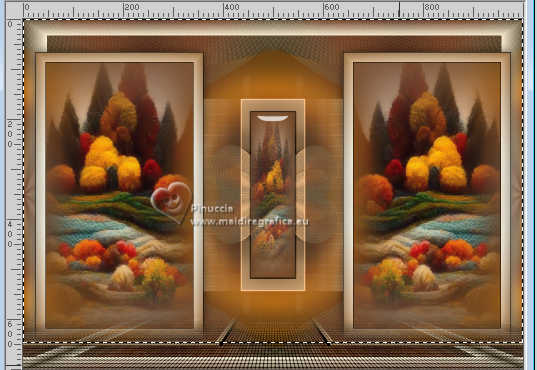
Selections>Select None.
don't forget to set again the feather to 0
34. Effects>Image Effects>Offset.

35. Layers>New Raster Layer.
Reduce the opacity of your Flood Fill Tool to 80%
Flood Fill  the layer with your light background color #f3e8cd. the layer with your light background color #f3e8cd.
don't forget to set again the opacity to 100
36. Layers>New Mask layer>From image
Open the menu under the source window and you'll see all the files open.
Select the mask VSP240

Layers>Merge>Merge Group.
37. Effects>Plugins>Mura's Seamless - Emboss at Alpha, default settings.
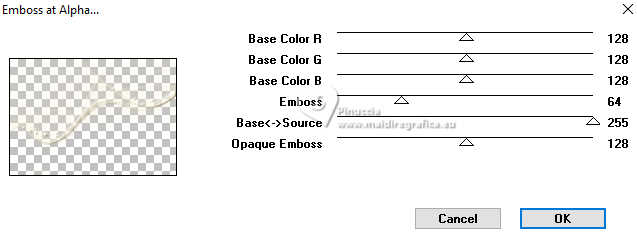
Change the Blend Mode of this layer to Luminance (legacy), or other.
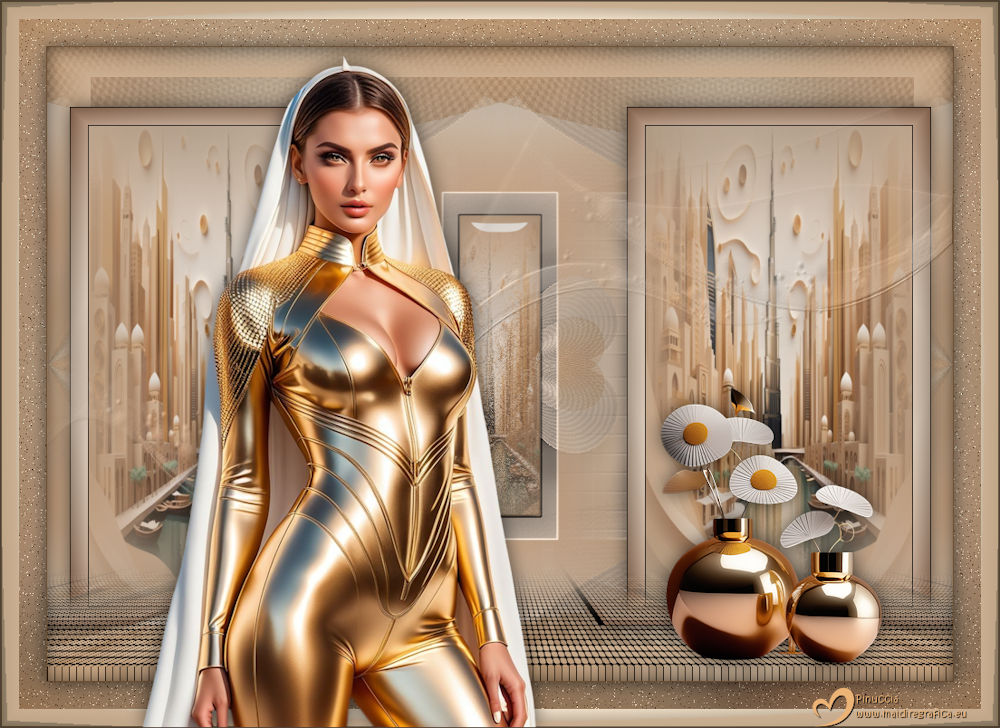
Your tag and the layers - adapt Blend Mode and/or opacity according to your work.

38. Open the tube tube-decorativo-MJ 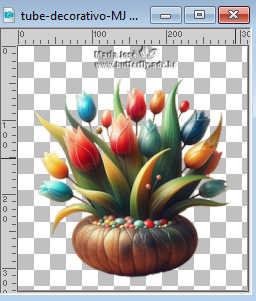
Erase the watermark and go to Edit>Copy.
Go back to your work and go to Edit>Paste as new layer.
Move  the tube to the right. the tube to the right.
Effects>3D Effects>Drop Shadow, at your choice.
39. Image>Add Borders, 1 pixels, symmetric, dark color 1 ##b46919
40. Selections>Selecti All.
Edit>Copy
Image>Add Borders, 50 pixels, symmetric, color white.
41. Selections>Invert.
Edit>Paste into Selection - the image copied at step 40.
42. Adjust>Blur>Gaussian Blur - radius 40.

43. Adjust>Add/Remove Noise>Add Noise.

Effects>3D Effects>Drop Shadow, color black.

44. Selections>Invert.
Repeat Effects>3D Effects>Drop shadow, color black.

Selections>Select None.
45. Open bordas-1-MJ 
Edit>Copy.
Go back to your work and go to Edit>Paste as new layer.
Effects>3D Effects>Drop shadow, same settings.
46. Layers>Merge>Merge Visible.
47. Open the tube remove-tube-MJ 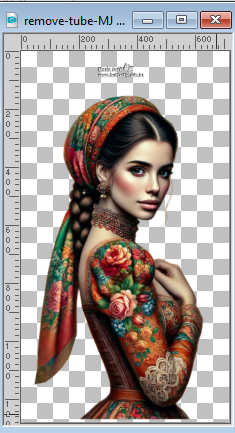
Erase the watermark and go to Edit>Copy.
Go back to your work and go to Edit>Paste as new layer.
Image>Resize, to 70%, resize all layers not checked.
Move  the tube to the left side. the tube to the left side.
Effects>3D Effects>Drop Shadow, at your choice.
48. Sign your work on a new layer.
Image>Add Borders, 1 pixel, symmetric, dark color.
49 Image>Resize, 1000 pixels width, resize all layers checked.
Save as jpg.
For the tubes of these versions thanks
Nena Silva

Kamil

If you have problems or doubts, or you find a not worked link,
or only for tell me that you enjoyed this tutorial, write to me.
10 June 2025

|


