|
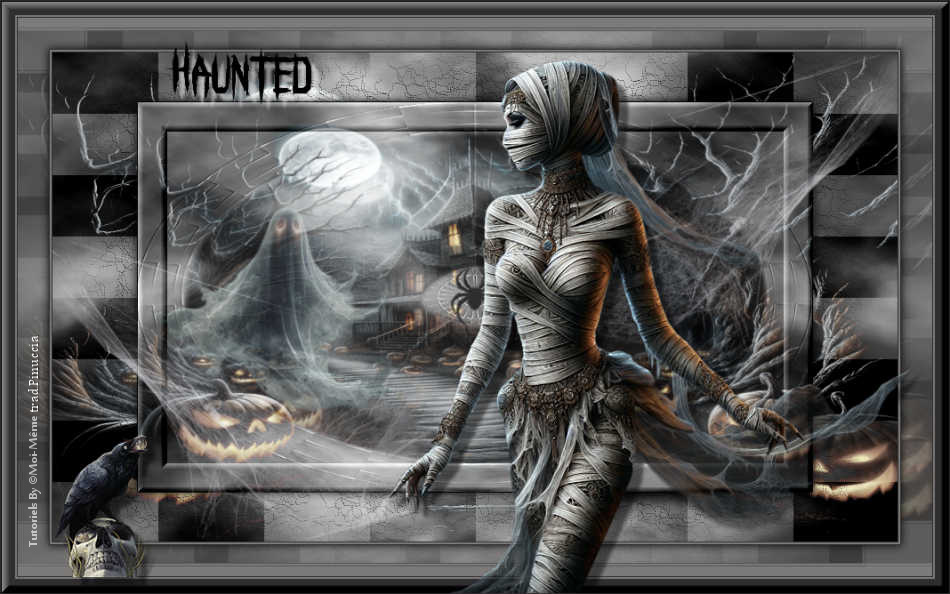
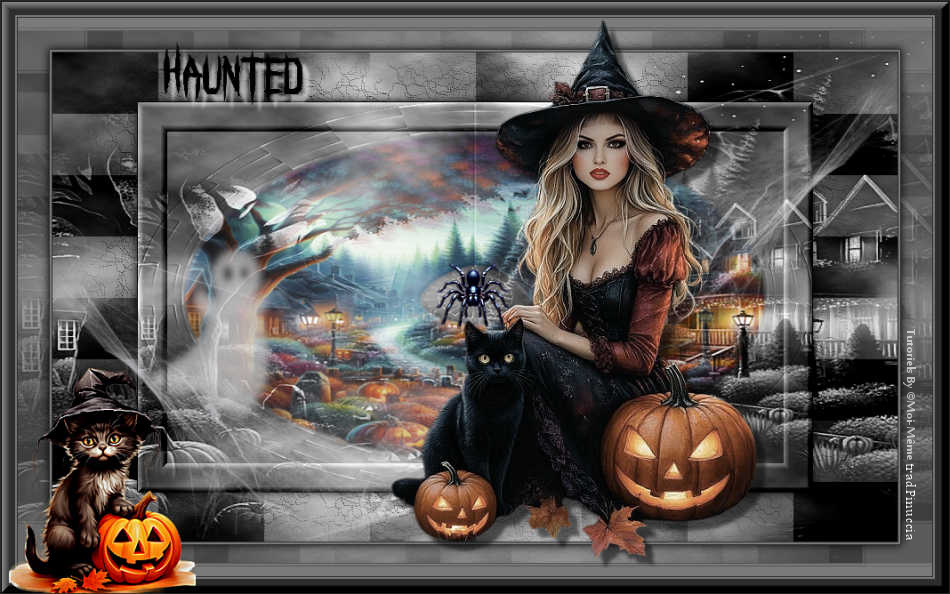
HAUNTED


Thanks Irene for the invitation to translate your tutorials

This tutorial was written with PSPX8 and translated with PSPX9 and PSP2020, but it can also be made using other versions of PSP.
Since version PSP X4, Image>Mirror was replaced with Image>Flip Horizontal,
and Image>Flip with Image>Flip Vertical, there are some variables.
In versions X5 and X6, the functions have been improved by making available the Objects menu.
In the latest version X7 command Image>Mirror and Image>Flip returned, but with new differences.
See my schedule here
 italian translation here italian translation here
 your versions here your versions here

For this tutorial, you will need:

Material by Moi-Même
Other theme's tubes here
(The links of material creators here).

consult, if necessary, my filter section here
Filters Unlimited 2.0 here
&<Background Designers IV> - @Smoke (da importare in Unlimited) here
Unplugged Shapes - Checkered Flag here
Bordermania, Frame#2 here
Transparency - Eliminate White here
Toadies - What are you here
AP [Lines] - Lines SilverLining here
Mura's Seamless - Emboss at Alpha here
Filters Unplugged, Transparency, Toadies and Mura's Seamless can be used alone or imported into Filters Unlimited.
(How do, you see here)
If a plugin supplied appears with this icon  it must necessarily be imported into Unlimited it must necessarily be imported into Unlimited

You can change Blend Modes according to your colors.

If you have problems with the Alpha Channel,
open a new transparent image 950 x 550 pixels, and use the selections from disk.
1. Set your foreground color to #2e2e2e,
and your background color to #7c7b79.
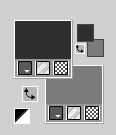
color 3 #000000
2. Open Canal_alpha haunted
This image, that will be the basis of your work, is not empty,
but contains the selections saved to alpha channel.
Selections>Select All.
2. Open the image haunted house AigenMM 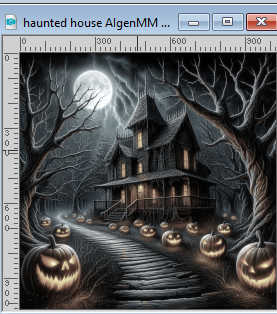
Edit>Copy.
Minimize the image: you'll see it again.
Go back to your work and go to Edit>Paste into Selection.
Selections>Select None.
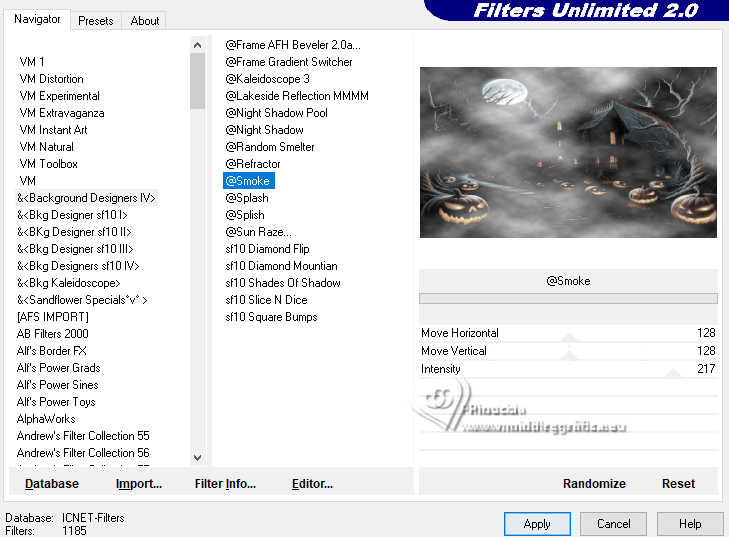
Effects>Plugins>Filters Unlimited 2.0 - &Background Designers IV> - @Smoke, default settings
3. Open déco 1_haunted MM 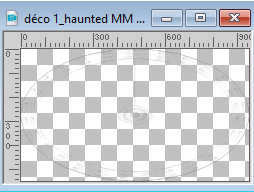
Edit>Copy.
Go back to your work and go to Edit>Paste as new layer.
Change the Blend Mode of this layer to Overlay.
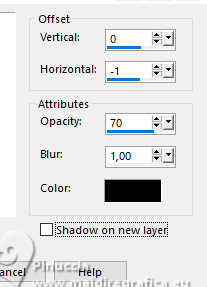
Effects>3D Effects>Drop Shadow, color black.
4. Layers>New Raster Layer.
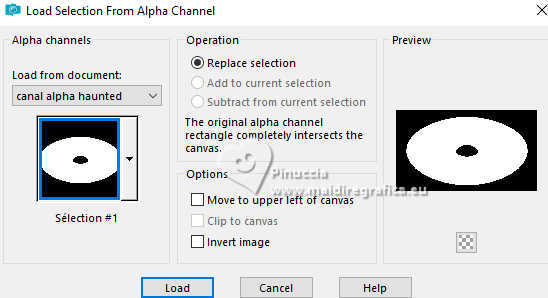
Selections>Load/Save Selection>Load Selection from Alpha Channel.
The selection Sélection #1 is immediately available.
You just have to click Load.
Activate again the image haunted house and go to Edit>Copy.
Go back to your work and go to Edit>Paste into Selection.
Selections>Select None.
5. Selections>Load/Save Selection>Load Selection from Alpha Channel.
Open the selections menu and load the selection sélection 2
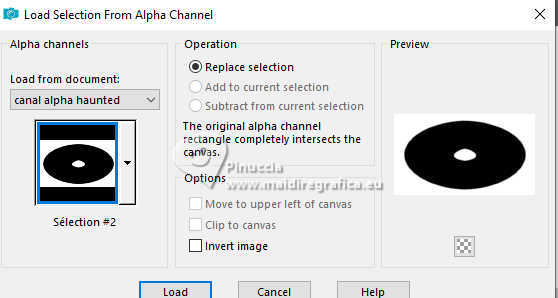
Press 3 times CANC on the keyboard 
Selections>Select None.
Layers>Arrange>Move Down.
Change the Blend Mode of this layer to Overlay,
and reduce the opacity to 70%.
Effects>Plugins>Mura's Seamless - Emboss at Alpha, default settings.
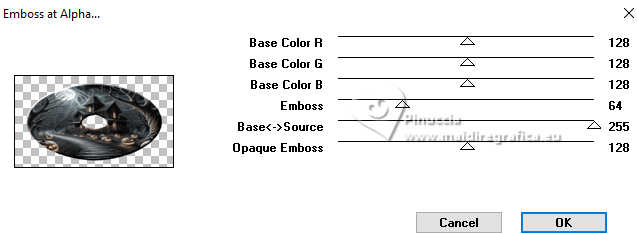
6. Activate your top layer.
Open the tube Déco Fantôme_Aigen MM 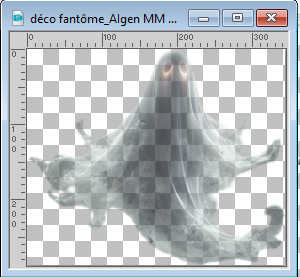
Edit>Copy.
Go back to your work and go to Edit>Paste as new layer.
K key to activate your Pick Tool 
Position X: 15,00 - Position Y: 148,00.

M key to deselect the Tool.
Note: If you use another ghost,
reduce the opacity of the layer, unti you get your prefered effect.
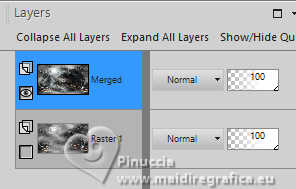
7. Activate the layer Raster 1.
Layers>Duplicate.
Close the original layer Raster 1 and stay on the copy's layer.
Layers>Merge>Merge visible.
8. Image>Resize, to 80%, resize all layers not checked.
Activate your Selection Tool  and click on Layer Opaque and click on Layer Opaque
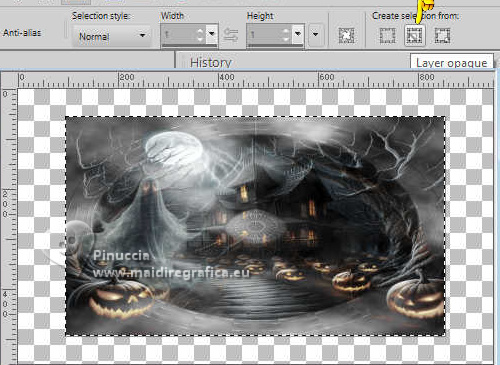
Effects>Plugins>Bordermania - Frame #2
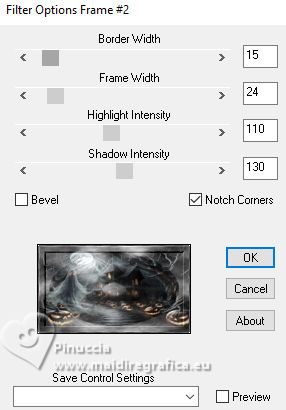
if you use the french version:
Effects>Plugins>Borduremania - Cadre relief n°2.
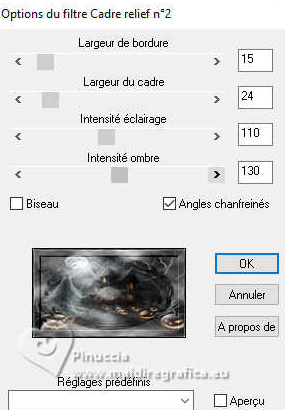
Selections>Select None.
Effects>3D Effects>Drop Shadow, color black.
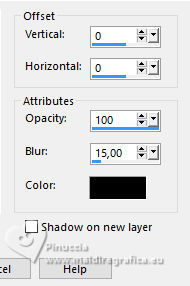
9. Activate the layer Raster 1.
Open the tube déco 2_Haunted MM 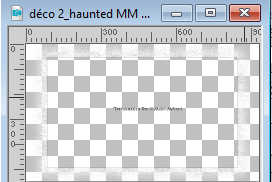
Erase the watermark and go to Edit>Copy.
Go back to your work and go to Edit>Paste as new layer.
Change the Blend Mode of this layer to Multiply.
Adjust>Sharpness>Sharpen.
10. Activate the layer Raster 1.
Layers>Duplicate.
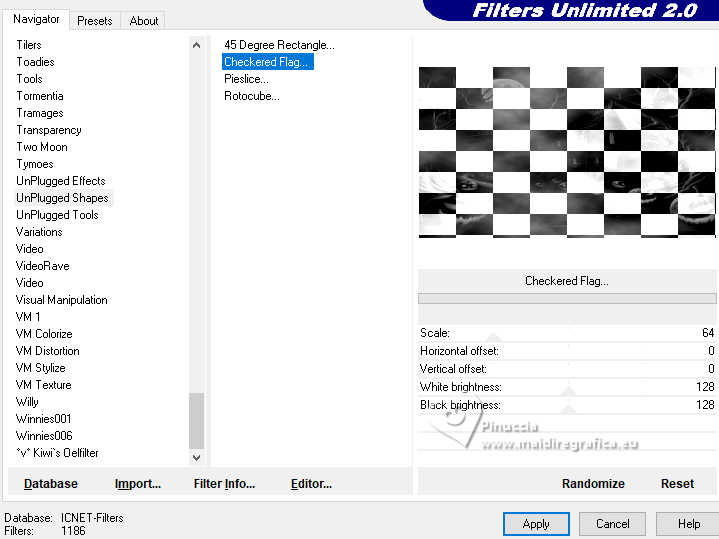
Effects>Plugins>Filters Unlimited 2.0 - Unplugged Shapes - Checkered Flag.
Effects>Plugins>Filters Unlimited 2.0 - Transparency - Eliminate White.
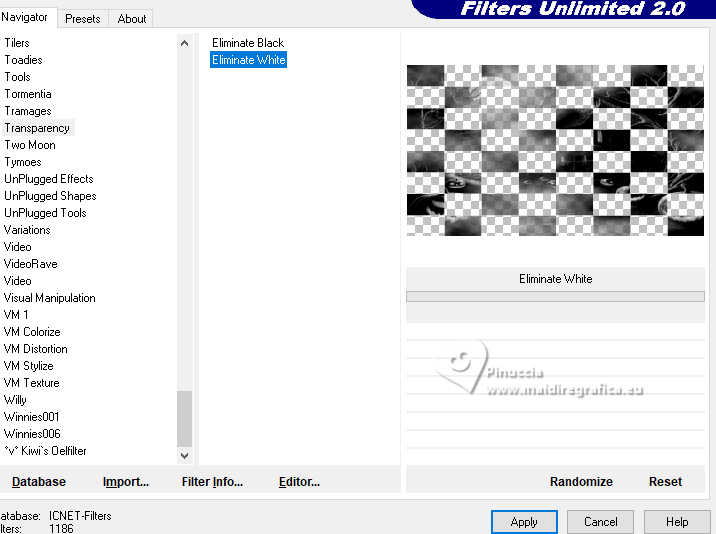
Change the Blend Mode of this layer to Overlay.
11. Activate the layer superiore, Merged.
Apri il tube toileMM 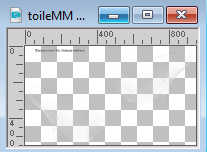
Erase the watermark and go to Edit>Copy.
Go back to your work and go to Edit>Paste as new layer.
Reduce the opacity of this layer to 80%.
12. Open the tube déco araignée 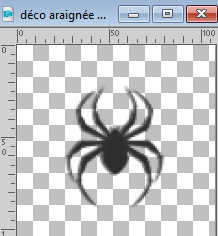
Edit>Copy.
Go back to your work and go to Edit>Paste as new layer.
Don't move it.
Effects>3D Effects>Drop Shadow, color black.

14. Image>Add Borders, 1 pixel, symmetric, foreground color.
Image>Add Borders, 2 pixels, symmetric, background color.
Image>Add Borders, 1 pixel, symmetric, foreground color.
Selections>Select All.
14. Image>Add Borders, 35 pixels, symmetric, background color.
Selections>Invert.
Effects>Plugins>Toadies - What are you, default settings.
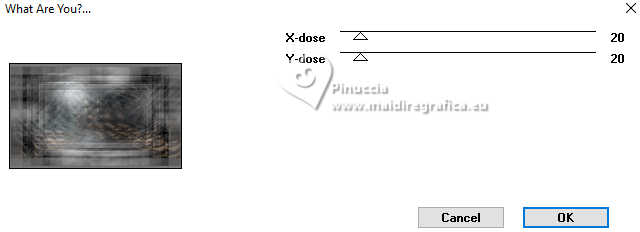
Selections>Invert.
Effects>3D Effects>Drop Shadow, color black.

Selections>Select None.
15. Image>Add Borders, 1 pixel, symmetric, foreground color.
Image>Add Borders, 2 pixels, symmetric, background color.
Image>Add Borders, 1 pixel, symmetric, foreground color.
Selections>Select All.
Image>Add Borders, 15 pixels, symmetric, foreground color.
Selections>Invert.
Effects>Plugins>Bordermania - Frame#2, same settings.
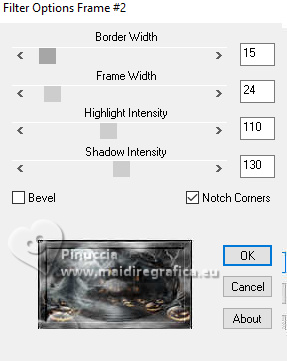
Selections>Select None.
16. Open the tube Mummy-haunted AIgen MM 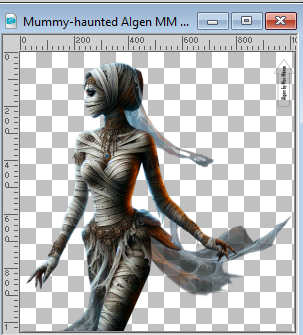
Erase the watermark e vai a Edit>Copy.
Go back to your work and go to Edit>Paste as new layer.
Image>Resize, to 60%, resize all layers not checked.
K key to activate your Pick Tool 
Position X: 425,00 - Posizione Y: 66,00.

M key to deselect the Tool.
Adjust>Sharpness>Sharpen.
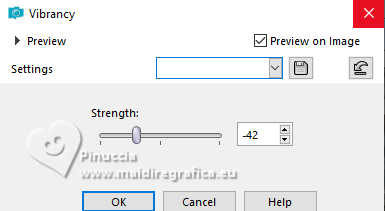
Optional: according to your tube: Adjust>Hue and Saturation>Vibrancy.
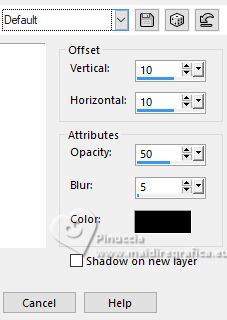
Effetti>Effetti 3D>Sfalsa shadow, default settings, or according to your tube.
16. Open the text titre 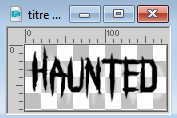
Edit>Copy.
Go back to your work and go to Edit>Paste as new layer.
Move  the text haut, as in my example. the text haut, as in my example.
17. Open the tube corbeau 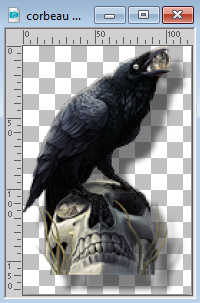
Edit>Copy.
Go back to your work and go to Edit>Paste as new layer.
Move  the tube at the bottom left, as in my example. the tube at the bottom left, as in my example.
18. Sign your work.
Add Firma il tuo lavoro.
Add the author and the translator's watermarks.
19. Image>Add Borders, 1 pixel, symmetric, foreground color.
Image>Resize, 950 pixels width, resize all layers checked.
Save as jpg.
For the scrap elements thanks ElFairy; the tube is mine.

If you have problems or doubts, or you find a not worked link,
or only for tell me that you enjoyed this tutorial, write to me.
13 October 2025

|

