|
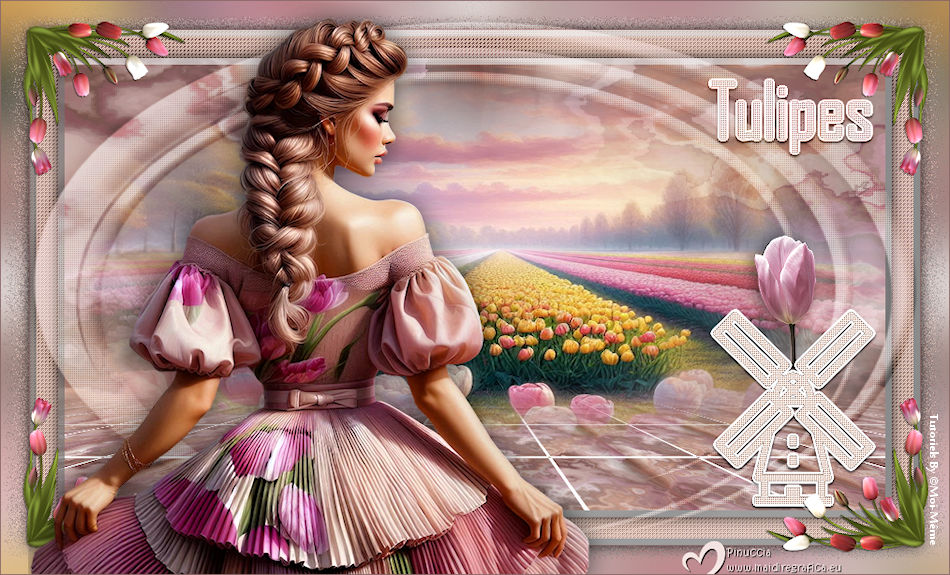
TULIPES


Thanks Irene for the invitation to translate your tutorials

This tutorial was written with PSPX8 and translated with PSPX9 and PSP2020, but it can also be made using other versions of PSP.
Since version PSP X4, Image>Mirror was replaced with Image>Flip Horizontal,
and Image>Flip with Image>Flip Vertical, there are some variables.
In versions X5 and X6, the functions have been improved by making available the Objects menu.
In the latest version X7 command Image>Mirror and Image>Flip returned, but with new differences.
See my schedule here
 italian translation here italian translation here
 your versions here your versions here

For this tutorial, you will need:

Other theme tubes here and here
Don't use for other tutorials.
(The links of material creators here).

consult, if necessary, my filter section here
Filters Unlimited 2.0 here
&<Background Designers IV> - @Random Smelter, @Frame AFS Beveler (to import Unlimited) here
&<Bkg Designer sf10I> - Blur-em! (to import in Unlimited) here
Mura's Mesiter - Perspective Tiling here

You can change Blend Modes according to your colors.

Open the mask in PSP and minimize it with the rest of the material.
Colors

Set your foreground color to #8a6968,
and your background color to white #ffffff.

Color 3: #ffe5d1.
1. Open a new transparent image 950 x 550 pixels.
Selections>Select All.
2. Open the tube Femme tulipes 1_Aigen & tube MM 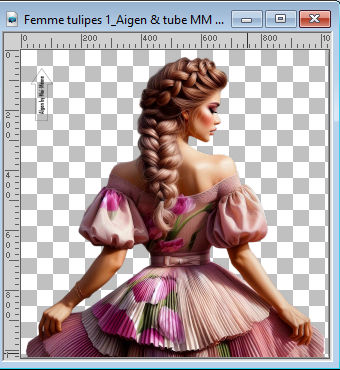
Erase the watermark and go to Edit>Copy.
Minimize the tube: you'll use it again.
Go back to your work and go to Edit>Paste into Selection.
Selections>Select None.
3. Effects>Image Effects>Seamless Tiling, default settings.

Adjust>Blur>Radial Blur.
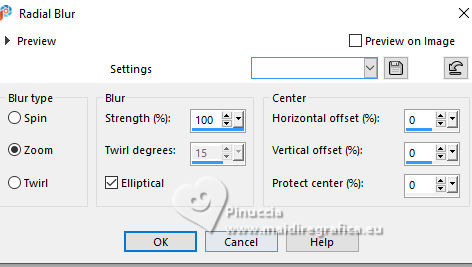
Layers>Merge>Merge All.
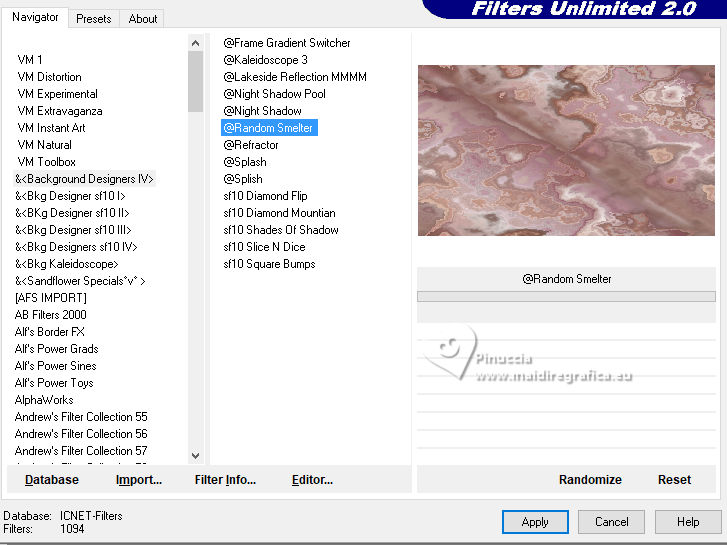
Effects>Plugins>Filters Unlimited 2.0 - &<Background Designers IV> - @Random Smelter
the result of this effect is random, for that you can get a different result;
and you can get a different result evey time you'll use this effect
4. Layers>Duplicate.
Image>Resize, to 30%, resize all layers not checked.
Activate your Selection Tool 
and click on Layer opaque

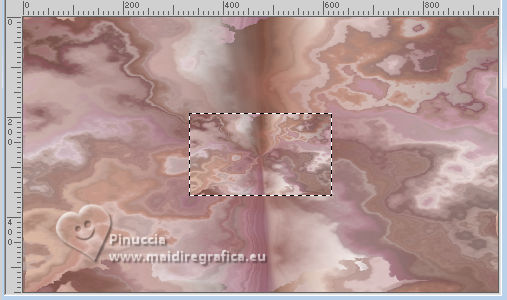
Selections>Modify>Select Selection Borders.
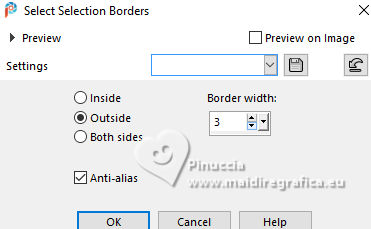
Flood Fill  the selection with your white background color. the selection with your white background color.
Selections>Select None.
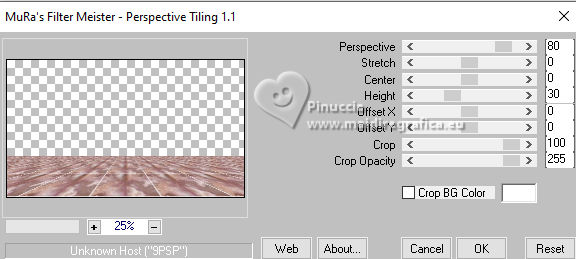
Effects>Plugins>Mura's Meister - Perspective Tiling.
5. Activate your Magic Wand Tool  feather 60, feather 60,
and click in the top transparent part to select it.
Press 5 times CANC on the keyboard 
Selections>Select None.
Set again the feather of your Magic Wand Tool to 0.
6. Activate your background layer.
Selections>Select All.
Layers>New Raster Layer.
Open the landscape paysage tulipes 1_Aigen & misted MM 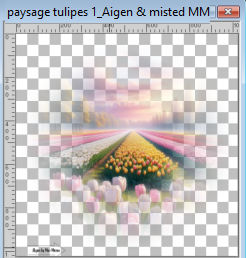
Erase the watermark and go to Edit>Copy.
Go back to your work and go to Edit>Paste into Selection.
Layers>Duplicate.
Adjust>Sharpness>Sharpen.
Layers>Merge>Merge visible.
Keep selected.
7. Selections>Modify>Contract - 30 pixels.
Selections>Promote Selection to Layer.
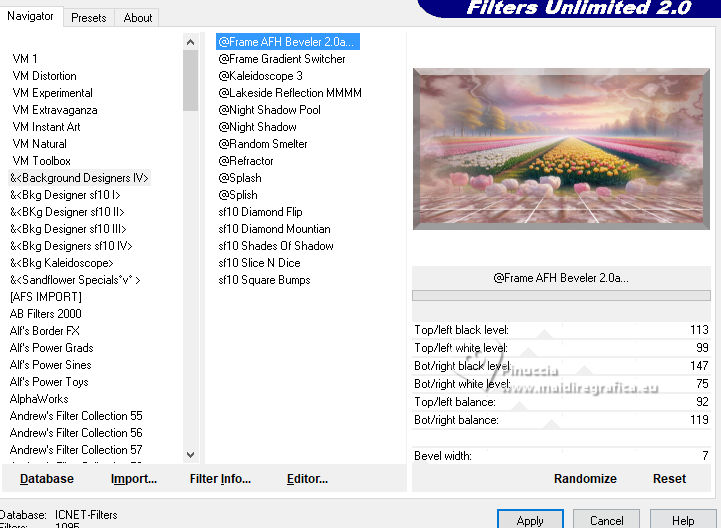
Effects>Plugins>Filters Unlimited 2.0 - &<Background Designer IV> - @frame AFH Beveler 2.0a, default settings.
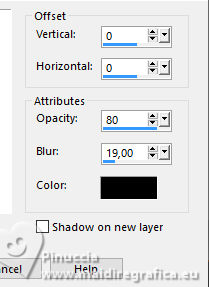
Effects>3D Effects>Drop Shadow, color black.
Selections>Select None.
8. Activate your bottom Layer, Merged.
Adjust>Blur>Gaussian Blur - radius 30.

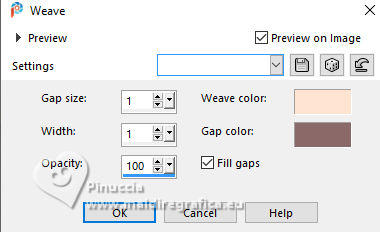
Effects>Texture Effects>Weave
weave color: color 3 #ffe5d1
gap color: foreground color.
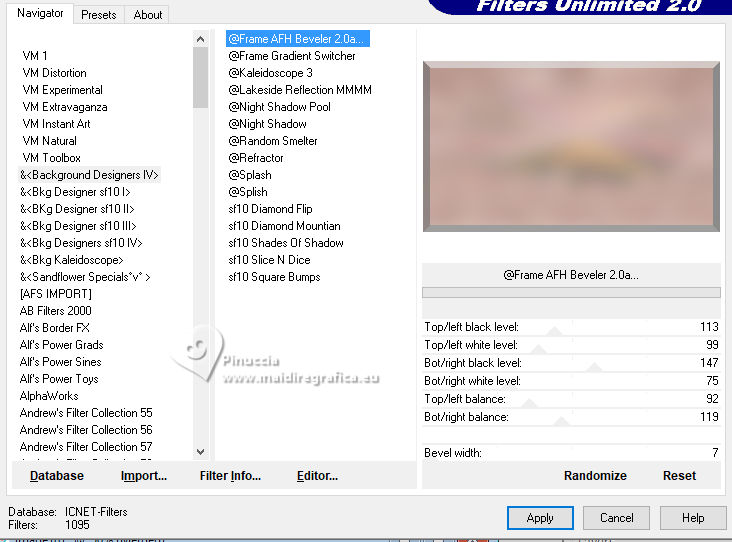
Effects>Plugins>Filters Unlimited 2.0 - &<Background Designer IV> - @frame AFH Beveler 2.0a, default settings.
9. Image>Add borders, 1 pixel, symmetric, foreground color.
Selections>Select All.
Image>Add borders, 30 pixels, symmetric, color white.
Effects>Image Effects>Seamless Tiling, default settings.

10. Selections>Invert.
Adjust>Blur>Gaussian Blur, same settings.
Effects>Plugins>Filters Unlimited 2.0 - &<Bkg Designer sf10I> - Blur'em!, default settings.
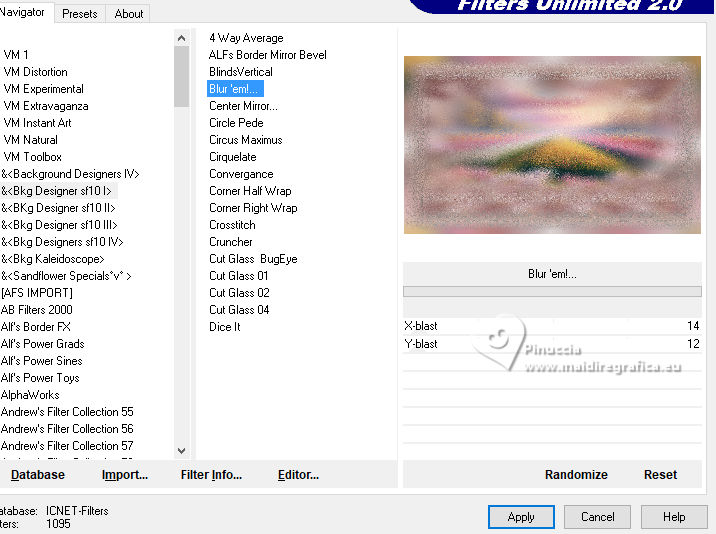
Selections>Invert.
Effects>3D Effects>Drop Shadow, same settings.
Selections>Select None.
11. Open déco moulin 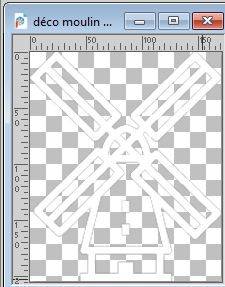
Edit>Copy.
Go back to your work and go to Edit>Paste as new layer.
Selections>Select All.
Selections>Float.
Selections>Defloat.
Effects>Texture Effects>Weave, same settings.
Selections>Modify>Select Selection Borders, same settings.
Flood Fill  the selection with color white (zoom if necessary). the selection with color white (zoom if necessary).
Selections>Select None.
Effects>3D Effects>Drop Shadow, color black.
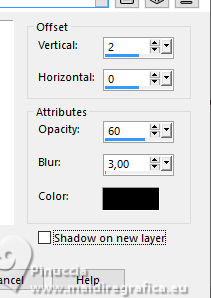
K key to activate your Pick Tool 
Position X: 755,00 - Position Y: 328,00.

M key to deselect the tool.
Change the Blend Mode of this layer to Luminance (legacy).
12. Open the text txt 1 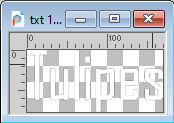
Edit>Copy.
Go back to your work and go to Edit>Paste as new layer.
Effects>Texture Effects>Weave, same settings.
Selections>Select All.
Selections>Float.
Selections>Defloat.
Selections>Modify>Select Selection Borders, same settings.
Flood Fill  the selection with color white. the selection with color white.
Selections>Select None.
K key to activate your Pick Tool 
Position X: 755,00 - Position Y: 82,00.

M key to deselect the Tool.
Effects>3D Effects>Drop Shadow, same settings.
Change the Blend Mode of this layer to Luminance (legacy).
13. Activate your bottom layer.
Open the tube tulipe_tube MM 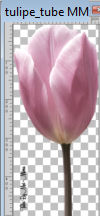
Erase the watermark and go to Edit>Copy.
Go back to your work and go to Edit>Paste as new layer.
Image>Resize, to 30%, resize all layers not checked.
Adjust>Sharpness>Sharpen.
Effects>3D Effects>Drop Shadow, color black.
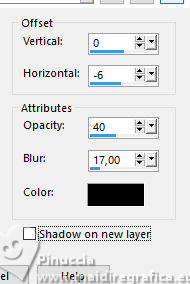
K key to activate your Pick Tool 
Position X: 786,00 - Position Y: 238,00.

M key to deselect the Tool.
14. Activate again your bottom layer.
Layers>New raster layer.
Flood Fill  the layer with color white. the layer with color white.
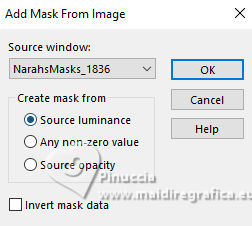
Layers>New Mask layer>From image
Open the menu under the source window and you'll see all the files open.
Select the mask NarahsMasks_1836
Layers>Duplicate.
Layers>Merge>Merge Group.
Change the Blend Mode of this layer to Overlay and reduce the opacity to 50%.
Image>Resize, to 80%, resize all layers not checked.
Image>Mirror>Mirror Vertical (Image>Flip).
Effects>Texture Effects>Weave, same settings.
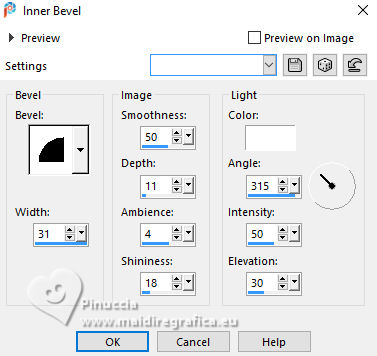
Effects>3D Effects>Inner Bevel.
Effects>3D Effects>Drop Shadow, same settings.
15. Activate your top layer.
Open déco coins 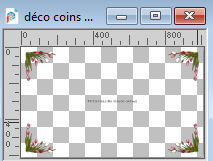
Erase the signature and go to Edit>Copy.
Go back to your work and go to Edit>Paste as new layer.
Don't move it.
16. Activate again the woman's tube and go to Edit>Copy.
Go back to your work and go to Edit>Paste as new layer.
Image>Resize, to 60%, resize all layers not checked.
Move  the tube at the bottom left. the tube at the bottom left.
Effects>3D Effects>Drop Shadow, color black
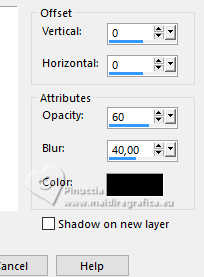
(or according to your tube)
17. Sign your work.
Add the author and the translator's watermarks.
18. Image>Add borders, 1 pixel, symmetric, foreground color.
Image>Resize, 950 pixels width, resize all layers checked.
Adjust>Sharpness>Unsharp Mask (if necessary).
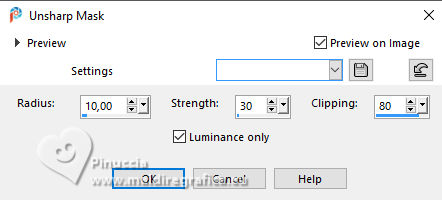
Save as jpg.


If you have problems or doubts, or you find a not worked link,
or only for tell me that you enjoyed this tutorial, write to me.
22 March 2025

|

