|
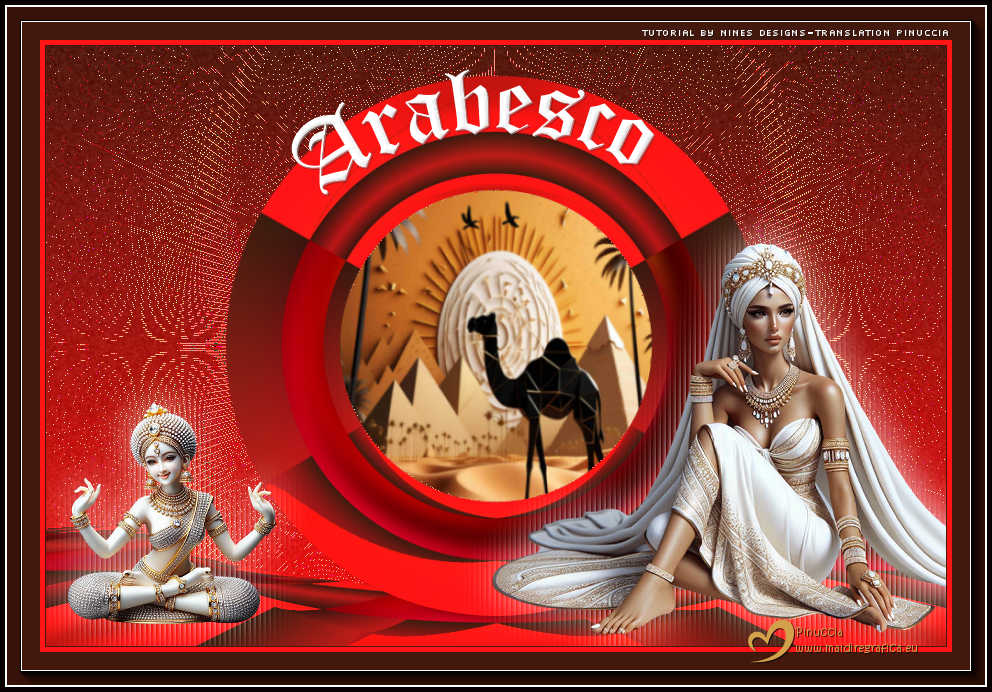
TAG ARABESCO


This tutorial was translated with PSPX9 and PSP2020, but it can also be made using other versions of PSP.
Since version PSP X4, Image>Mirror was replaced with Image>Flip Horizontal,
and Image>Flip with Image>Flip Vertical, there are some variables.
In versions X5 and X6, the functions have been improved by making available the Objects menu.
In the latest version X7 command Image>Mirror and Image>Flip returned, but with new differences.
See my schedule here
 French translation here French translation here
 Your versions here Your versions here
For this tutorial, you will need:

Thanks for the tubes Gerda and Kamil.
(you find here the links to the material authors' sites)

consult, if necessary, my filter section here
Filters Unlimited 2.0 here
Simple - Zoom Out and Flip here
Factory Gallery P - Frame 21 Seamless here
AAA Frames - Foto Frame here
Flaming Pear - Flexify 2 here
Mura's Meister - Perspective Tiling here
Filters Simple and Factory Gallery can be used alone or imported into Filters Unlimited.
(How do, you see here)
If a plugin supplied appears with this icon  it must necessarily be imported into Unlimited it must necessarily be imported into Unlimited

You can change Blend Modes according to your colors.
In the newest versions of PSP, you don't find the foreground/background gradient (Corel_06_029).
You can use the gradients of the older versions.
The Gradient of CorelX here

1. Open a new transparent image 900 x 600 pixels.
2. Set your foreground color to #ff1314,
and your background color to #541b10.
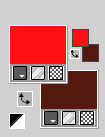
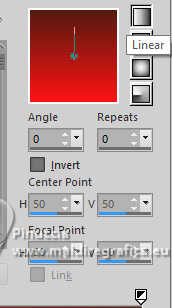
Set your foreground color to a Foreground/Background Gradient, style Linear.
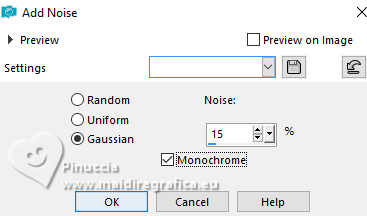
3. Adjust>Add/Remove Noise>Add Noise.
4. Selections>Select All.
Layers>New Raster Layer.
5. Open the image 06 backoo8 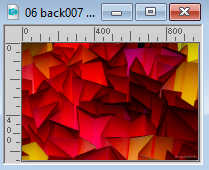
Edit>Copy.
Go back to your work and go to Edit>Paste into Selection.
Selections>Select None.
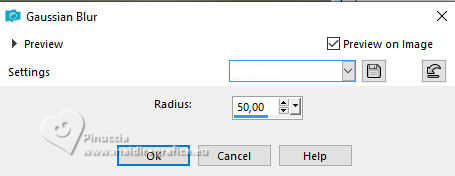
6. Adjust>Blur>Gaussian Blur - radius 50.
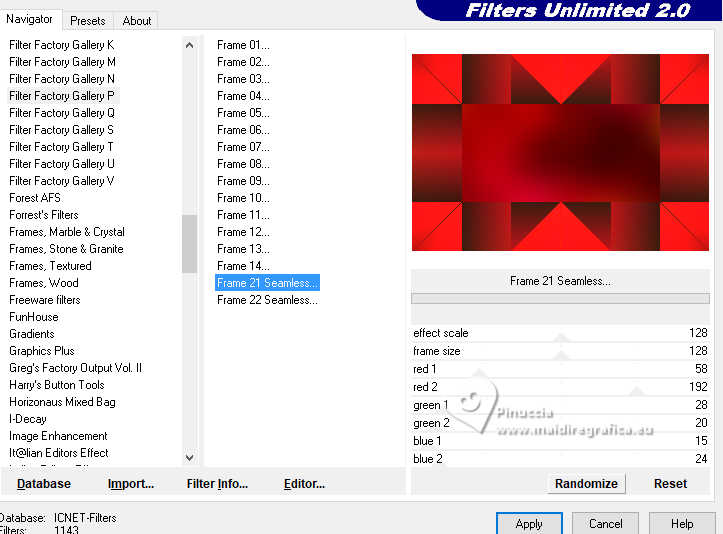
7. Effects>Plugins>Filters Unlimited 2.0 - Factory Gallery P - Frame 21 Seamless, default settings.
8. Layers>Duplicate.
Close this layer for the moment and work on the layer below of the original.
9. Effects>Plugins>Flaming Pear - Flexify 2.
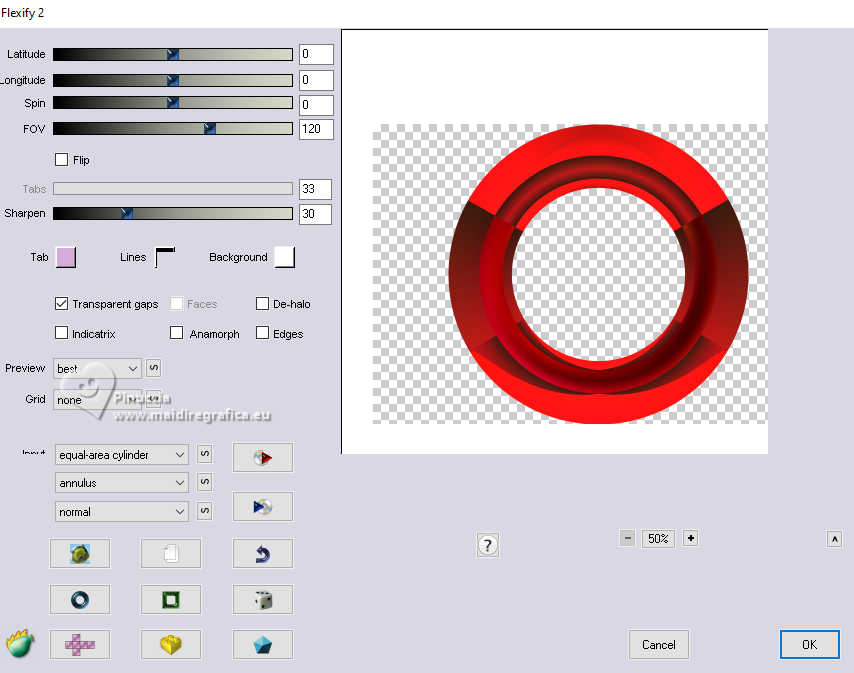
10. Activate your Magic Wand Tool 
and click in the circle to select it.
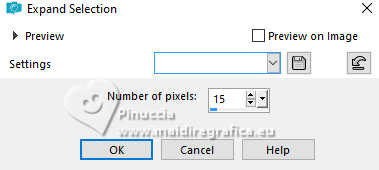
11. Selections>Modify>Expand - 15 pixels.
12. Layers>New Raster Layer.
Open KamilTube-4392-BG 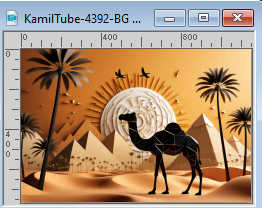
Edit>Copy.
Go back to your work and go to Edit>Paste into Selection.
Layers>Arrange>Move Down.
Selections>Select None.
13. Activate the layer above of the circle.
Layers>Merge>Merge Down.
14. Effects>3D Effects>Drop Shadow, color #000000.

Edit>Repeat Drop Shadow.
15. Image>Resize, to 90%, resize all layers not checked.
16. Open the closed layer and work on this layer.
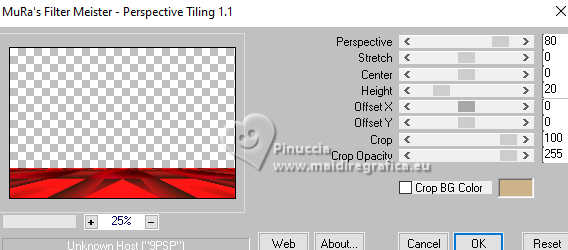
Effects>Plugins>Mura's Meister - Perspective Tiling.
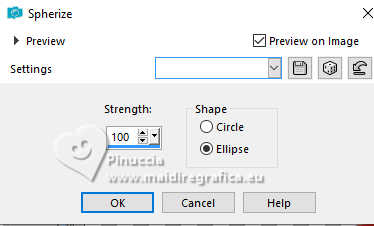
17. Effects>Geometric Effects>Spherize.
Layers>Arrange>Move Down.
18. Layers>Duplicate.
Effects>Plugins>Filters Unlimited 2.0 - Simple - Zoom Out and Flip.
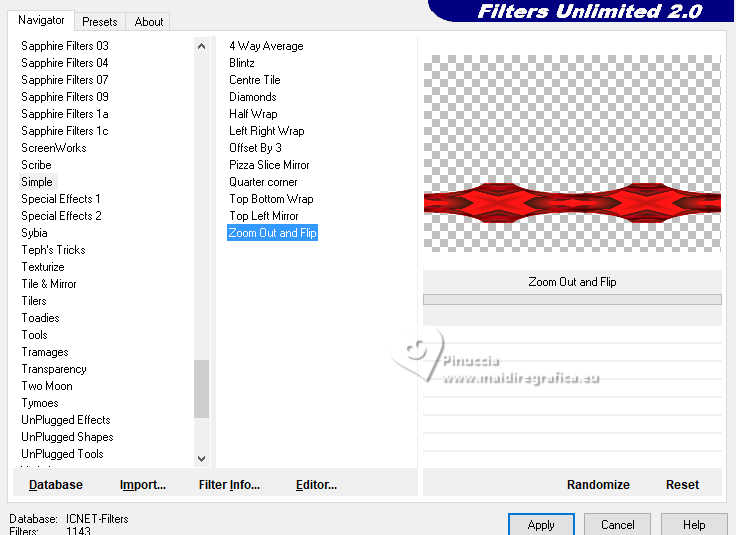
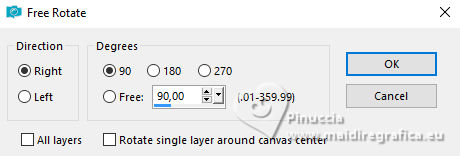
19. Image>Free Rotate - 90 degrees to right.
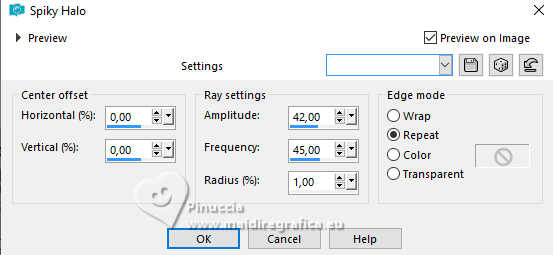
20. Effects>Distortion Effects>Spicky Halo.
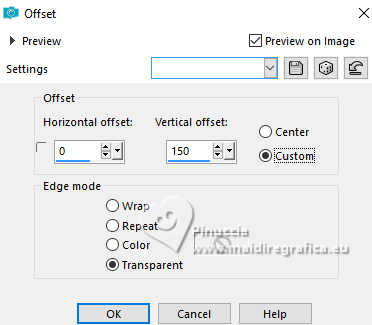
21. Effects>Image Effects>Offset.
Effects>Edge Effects>Enhance More.
22. Activate your top layer.
Open the tube Frauen-100-18 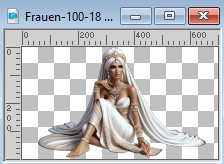
Edit>Copy.
Go back to your work and go to Edit>Paste as new layer.
Move  the tube at the bottom right. the tube at the bottom right.
23. Layers>Duplicate.
Layers>Arrange>Move Down.
24. Adjust>Blur>Gaussian Blur - radius 20.

25. Effects>Texture Effects>Blinds - color #ffffff.
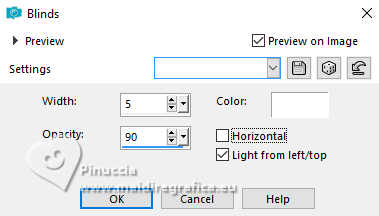
26. Change the Blend Mode of this layer to Hard Light and reduce the opacity to 70%.
27. Open the tube Frauen-100-25 
Edit>Copy.
Go back to your work and go to Edit>Paste as new layer.
Move  the tube at the bottom left. the tube at the bottom left.
28. Layers>Duplicate.
Layers>Arrange>Move Down.
29. Adjust>Blur>Gaussian Blur - radius 20.

30. Effects>Texture Effects>Blinds - color #ffffff.

31. Change the Blend Mode of this layer to Hard Light and reduce the opacity to 70%.
32. Layers>Merge>Merge All.
33. Image>Add Borders, 1 pixel, symmetric, color #43190e.
Image>Add Borders, 5 pixels, symmetric, color #ff1515.
Image>Add Borders, 40 pixels, symmetric, color #43190e.
34. Activate your Magic Wand Tool 
Click in the last border to select it.
35. Effects>Plugins>AAA Frames - Foto Frame
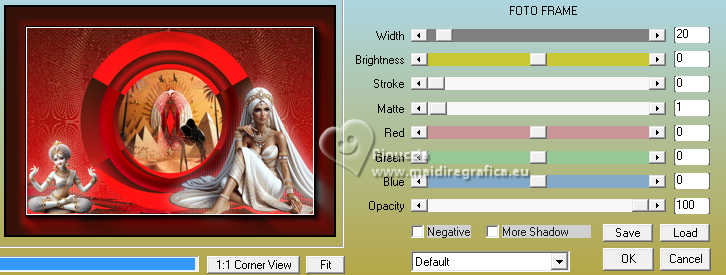
36. Repeat Effets>Modules Externes>AAA Frames - Foto Frame, width 4, matte 2.
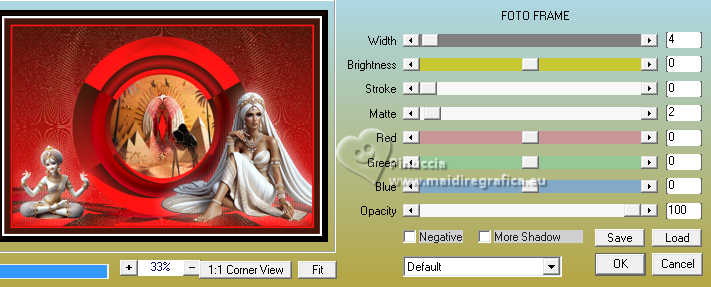
37. Open Texto_Arabesco 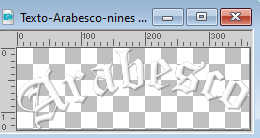
Edit>Copy.
Go back to your work and go to Edit>Paste as new layer.
Place  the text on the arc of the circle. the text on the arc of the circle.
38. Sign your work on a new layer.
Add the author and the translator's watermarks.
39. Layers>Merge>Merge All and save as jpg.
For the tubes of this version thanks Kamil.
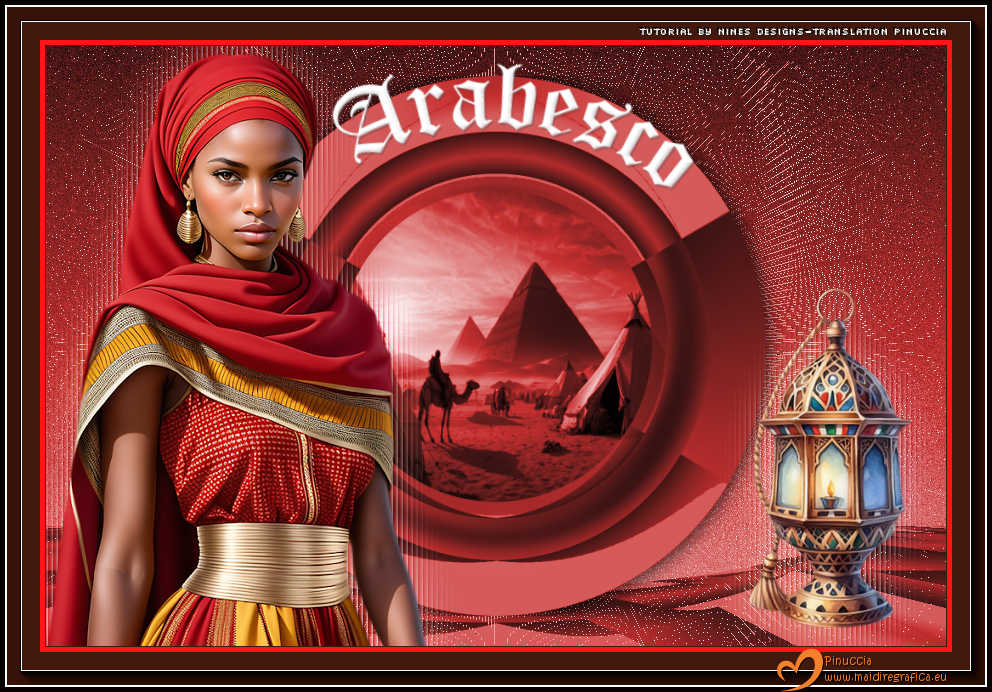
 Your versions here Your versions here

If you have problems or doubts, or you find a not worked link, or only for tell me that you enjoyed this tutorial, write to me.
12 June 2025

|

