|
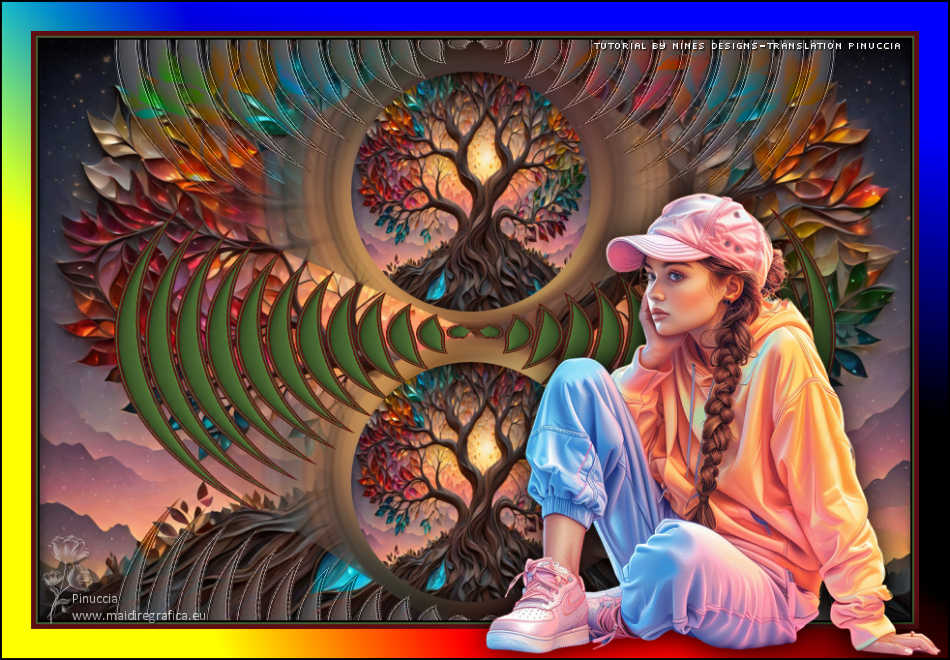
TAG BOSQUE FANTASY


This tutorial was translated with PSP09 but it can also be made using other versions of PSP.
Since version PSP X4, Image>Mirror was replaced with Image>Flip Horizontal,
and Image>Flip with Image>Flip Vertical, there are some variables.
In versions X5 and X6, the functions have been improved by making available the Objects menu.
In the latest version X7 command Image>Mirror and Image>Flip returned, but with new differences.
See my schedule here
 French translation here French translation here
 Your versions here Your versions here
For this tutorial, you will need:

For the tube thanks Kamil.
(you find here the links to the material authors' sites)

consult, if necessary, my filter section here
Filters Unlimited 2.0 here
Sandflower Special "v" - Color Flourish (to import in Unlimited) ici

You can change Blend Modes according to your colors.

Copy the Selections in the Selections Folder.
1. Set your foreground color to #5d0e13,
and your background color to #43602e.

Open a new transparent image 900 x 600 pixels.
2. Selections>Select All.
Open the tube KamilTube-2773-BG 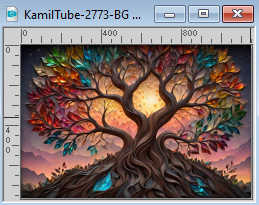
Edit>Copy.
Go back to your work and go to Edit>Paste into Selection.
Selections>Select None.
3. Selections>Load/Save Selection>Load Selection from Disk.
Look for and load the selection sel.443.nines

Selections>Promote Selection to Layer.
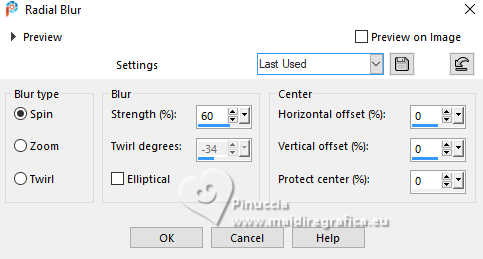
4. Adjust>Blur>Radial Blur.
5. Layers>Duplicate.
Image>Mirror>Mirror Vertical (Image>Flip).
6. Selections>Load/Save Selection>Load Selection from Disk.
Look for and load the selection sel.443.1nines

7. Layers>New Raster Layer.
Flood Fill  the layer with your foreground color #5d0e13. the layer with your foreground color #5d0e13.
8. Selections>Modify>Contract - 2 pixels.
Press CANc on the keyboard 
Flood Fill  the selection with your background color #43602e. the selection with your background color #43602e.
9. Selections>Modify>Contract - 2 pixels.
Press CANC on the keyboard.
Flood Fill  the selection with your foreground color #5d0e13. the selection with your foreground color #5d0e13.
10. Selections>Modify>Contract - 2 pixels.
Press CANC on the keyboard.
Flood Fill  with your background color #43602e. with your background color #43602e.
11. Effects>3D Effects>Inner Bevel - color couleur #ffffff.

Selections>Select None.
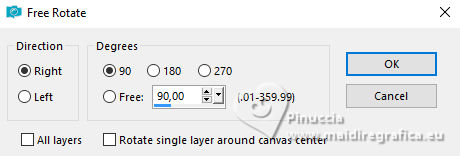
12. Image>Free Rotate - 90 degrees to right.
13. Effects>Distortion Effects>Polar Coordinates.
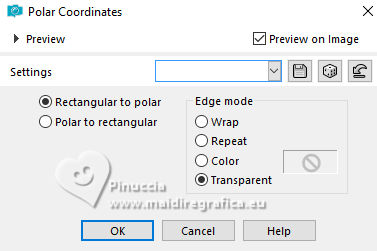
14. Layers>Duplicate.
Image>Mirror>Mirror Horizontal (Image>Mirror).
Layers>Merge>Merge Down.
15. Layers>Duplicate.
Effects>Image Effects>Seamless Tiling.
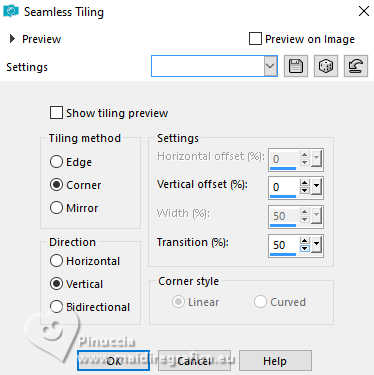
16. Change the Blend Mode of this layer to (legacy).
Effects>Edge Effects>Enhance.
Layers>Arrange>Move Down.

17. Layers>Merge>Merge visible.
18. Selections>Load/Save Selection>Load Selection from Disk.
Look for and load the selection sel.443.2nines
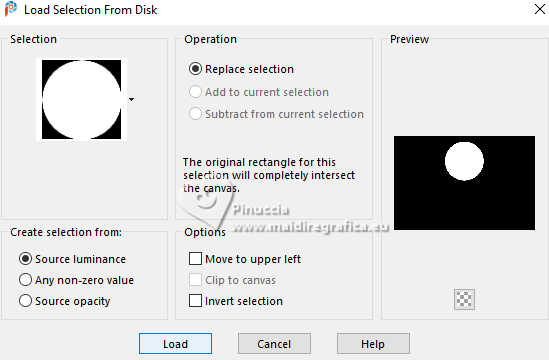
19. Layers>New Raster Layer.
Edit>Paste into Selection (the tube KamilTube-2773-BHG is still in memory).
Selections>Select None.
20. Layers>Duplicate.
Effects>Image Effects>Offset.

21. Layers>Merge>Merge All.
22. Image>Add borders, 2 pixels, symmetric, color #000000.
Image>Add borders, 2 pixels, symmetric, background color #43602e.
Image>Add borders, 5 pixels, symmetric, foreground color #5d0e13.
Image>Add borders, 30 pixels, symmetric, colo #19bccb  . .
23. Activate your Magic Wand Tool 
and click in the last border to select it.
24. Effects>Plugins>Filters Unlimited 2.0 - Sandflower Special "v" - Color Flourish, default settings.
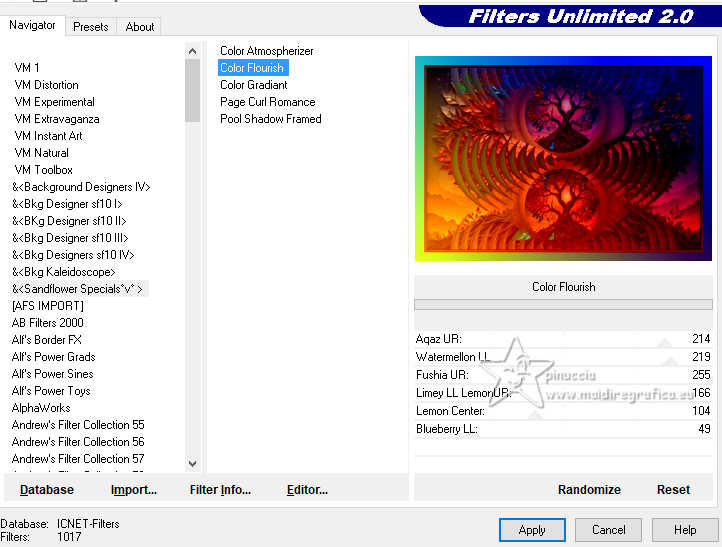
Selections>Select None.
25. Open Spring Adventure Tube (8) 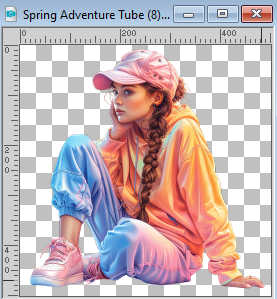
Edit>Copy.
Go back to your work and go to Edit>Paste as new layer.
Move  the tube at the bottom right. the tube at the bottom right.
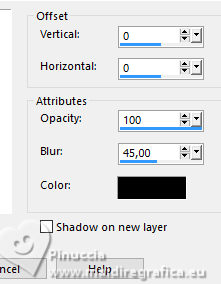
26. Effects>3D Effects>Drop Shadow, color #000000.
27. Sign your work on a new layer.
Add the author and translator's watermarks.
28. Image>Add borders, 2 pixels, symmetric, color #000000.
Save as jpg.
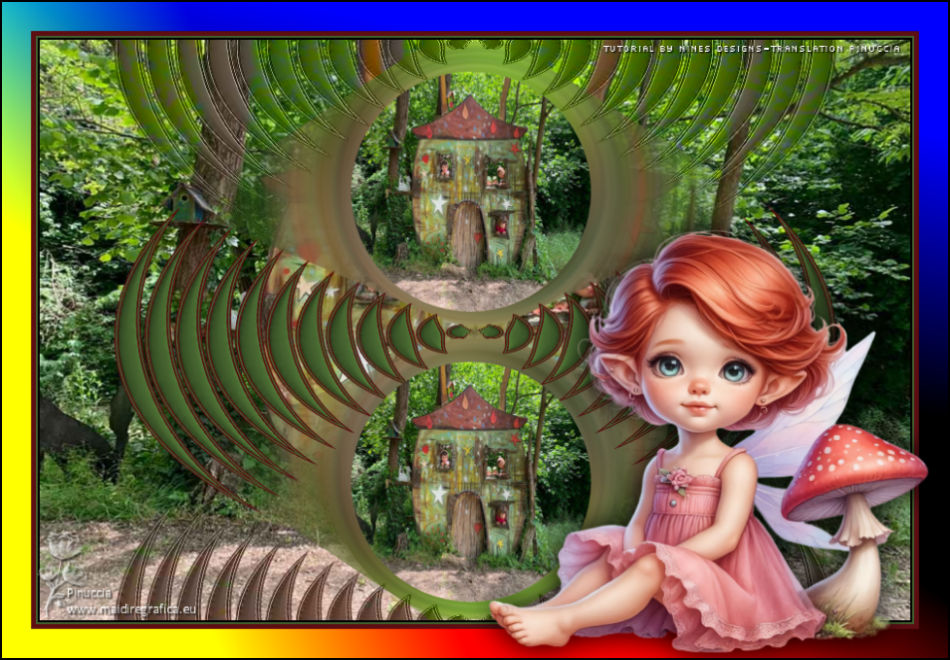
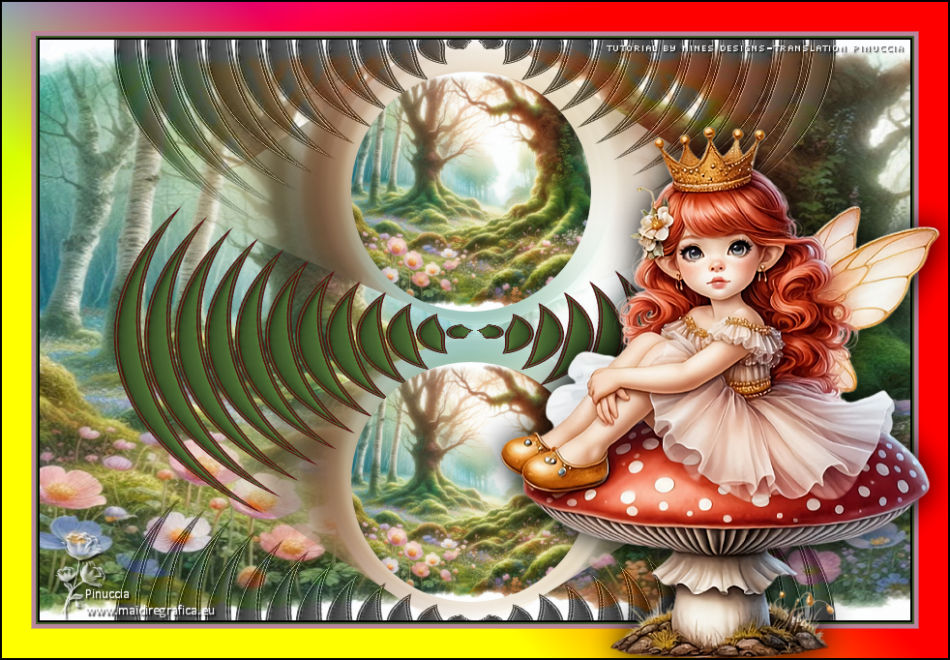
For the tubes of these versions thanks Elfairy .

If you have problems or doubts, or you find a not worked link, or only for tell me that you enjoyed this tutorial, write to me.
3 January 2025

|

