|
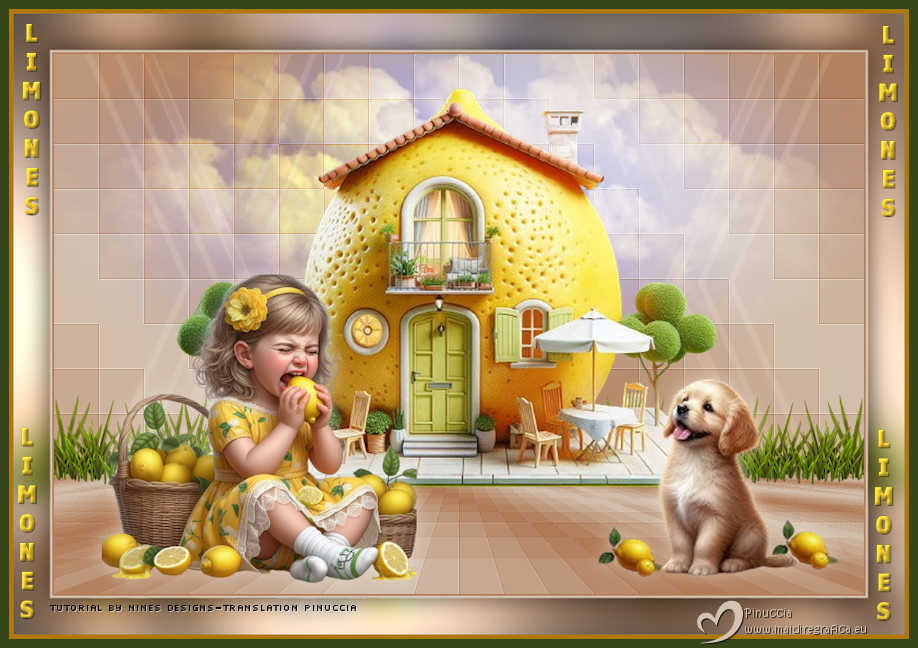
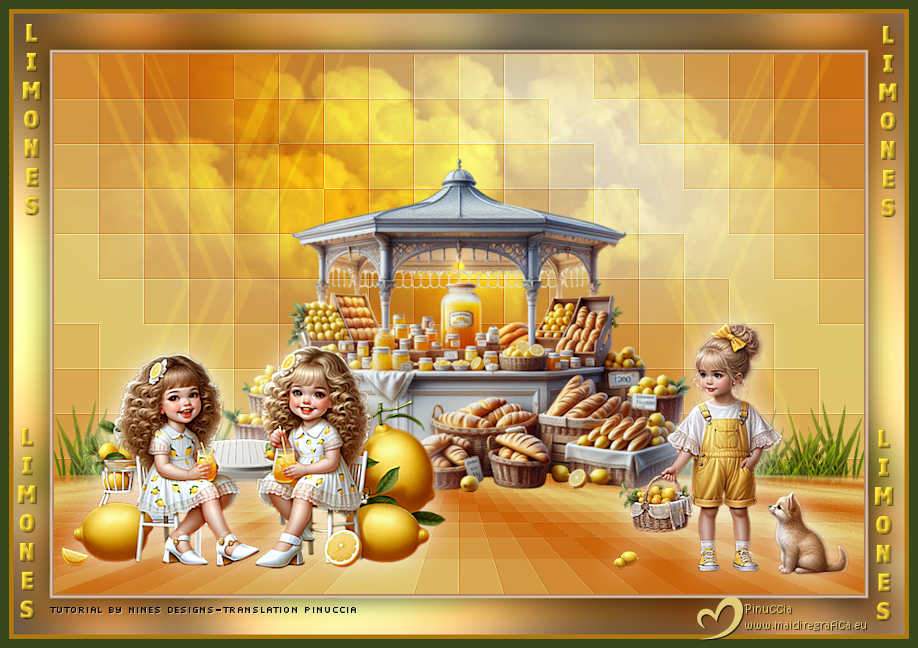
TAG LIMONES


This tutorial was translated with PSP09 but it can also be made using other versions of PSP.
Since version PSP X4, Image>Mirror was replaced with Image>Flip Horizontal,
and Image>Flip with Image>Flip Vertical, there are some variables.
In versions X5 and X6, the functions have been improved by making available the Objects menu.
In the latest version X7 command Image>Mirror and Image>Flip returned, but with new differences.
See my schedule here
 French translation here French translation here
 Your versions here Your versions here
For this tutorial, you will need:

Thanks for the tubes Gerda, Logane and for the mask Narah.
(you find here the links to the material authors' sites)

consult, if necessary, my filter section here
Filters Unlimited 2.0 here
Mura's Meister - Perspective Tiling here
Tramages - Pool Shadow here
Filters Tramages can be used alone or imported into Filters Unlimited.
(How do, you see here)
If a plugin supplied appears with this icon  it must necessarily be imported into Unlimited it must necessarily be imported into Unlimited

You can change Blend Modes according to your colors.
In the newest versions of PSP, you don't find the foreground/background gradient (Corel_06_029).
You can use the gradients of the older versions.
The Gradient of CorelX here

Open the mask in PSP and minimize it with the rest of the material.
1. Open a new transparent image 900 x 600 pixels.
2. Set your foreground color to #af7752,
and your background color to #d4c3b2.
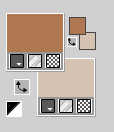
Set your foreground color to a Foreground/Background Gradient, style Linear.
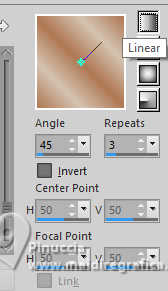
Flood Fill  the transparent image with your Gradient. the transparent image with your Gradient.
3. Effects>Distortion Effects>Pixelate.
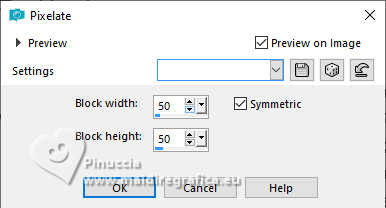
Effects>Edge Effects>Enhance More.
4. Layers>Duplicate.
Effects>Plugins>Mura's Meister - Perspective Tiling.
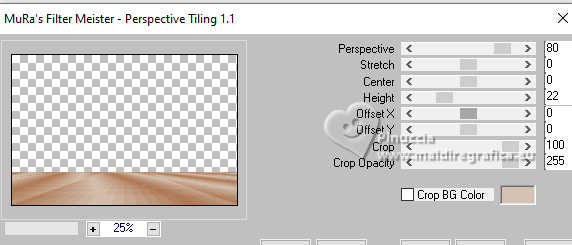
5. Activate your Magic Wand Tool  , with these settings , with these settings

click in the transparent part to select it.
Press 6 times CANC on the keyboard 
Selections>Select None.
6. Layers>New Raster Layer.
Flood Fill  the layer with your background color #d4c3b2. the layer with your background color #d4c3b2.
7. Layers>New Mask layer>From image
Open the menu under the source window and you'll see all the files open.
Select the mask NarahsMasks_1822.
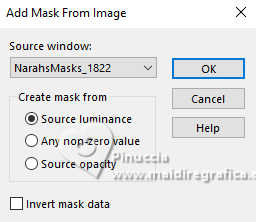
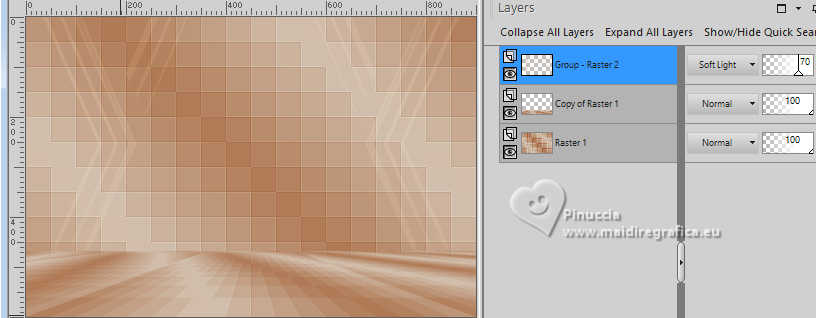
Layers>Merge>Merge Group.
8. Change the Blend Mode of this layer to Soft Light and reduce the opacity to 70%.
9. Open logane_mistednuage1_09avril2012 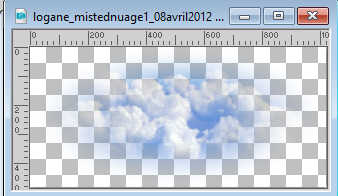
Edit>Copy.
Go back to your work and go to Edit>Paste as new layer.
10. Effects>Image Effects>Offset.
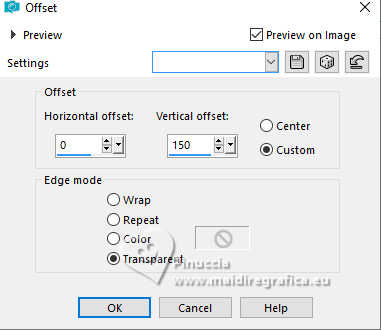
Change the Blend Mode of this layer to Overlay.
11. Open Zitronen-Kinder-21-02 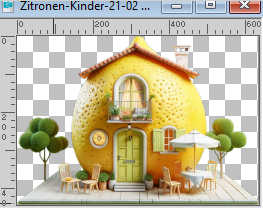
Edit>Copy.
Go back to your work and go to Edit>Paste as new layer.
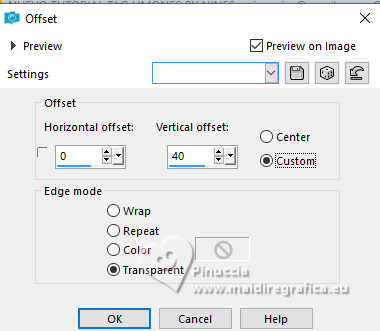
12. Effects>Image Effects>Offset.
13. Open MC_SpringMedley_E31 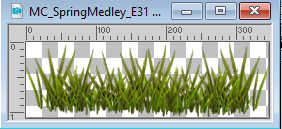
Edit>Copy.
Go back to your work and go to Edit>Paste as new layer.
Move  the tube to the left, under the house. the tube to the left, under the house.
14. Layers>Arrange>Move Down (under the layer of Mura's effect).
15. Layers>Duplicate.
Image>Mirror>Mirror Horizontal.
16. Activate your top layer.
Open Zitronen-Kinder-06-06 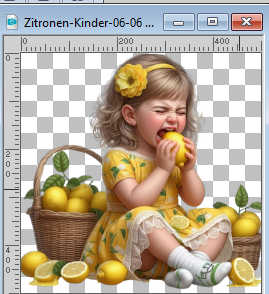
Edit>Copy.
Go back to your work and go to Edit>Paste as new layer.
Image>Resize, to 70%, resize all layers not checked.
Move  the tube at the bottom left. the tube at the bottom left.
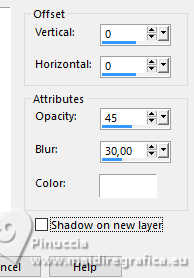
17. Effects>3D Effects>Drop Shadow, color white #ffffff.
18. Open Zitronen-Kinder-10-01 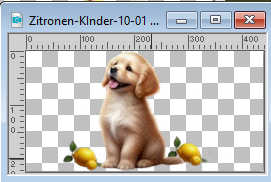
Edit>Copy.
Go back to your work and go to Edit>Paste as new layer.
Move  the tube at the bottom right. the tube at the bottom right.
Effects>3D Effects>Drop Shadow, same settings.
19. Layers>Merge>Merge All.
20. Image>Add Borders, 2 pixels, symmetric, color #b3805d.
Image>Add Borders, 3 pixels, symmetric, color #d4c3b2.
21. Edit>Copy
22. Image>Add Borders, 40 pixels, symmetric, color white #ffffff.
Activate your Magic Wand Tool  , tolerance and feather 0, , tolerance and feather 0,
and click in the white border to select it.
23. Edit>Paste into Selection
24. Adjust>Blur>Gaussian Blur - radius 15.

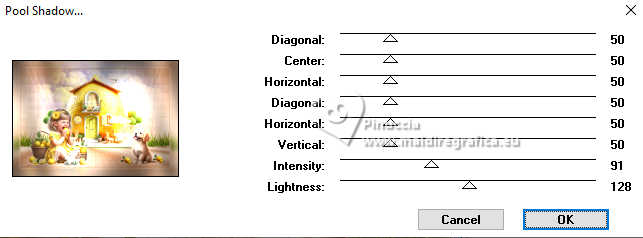
25. Effects>Plugins>Tramages - Pool Shadow.
26. Selections>Invert.
27. Effects>3D Effects>Drop Shadow, color #000000.
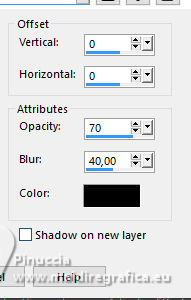
Selections>Select None.
28. Image>Add Borders, 5 pixels, symmetric, color #b07910.
Image>Add Borders, 10 pixels, symmetric, color #364719.
29. Open Adorno-cuadro-limones-nines 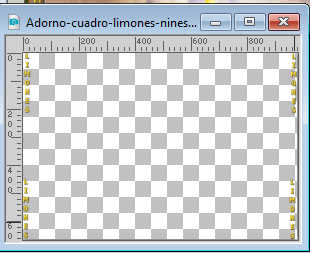
Edit>Copy.
Go back to your work and go to Edit>Paste as new layer.
30. Sign your work on a new layer.
Add the watermark of the author. In this case, don't forget the translator's one.
31. Layers>Merge>Merge All.
Image>Resize, to 90%, resize all layers checked.
32. Save as jpg.
For the tubes of this version thanks Gerda

If you have problems or doubts, or you find a not worked link, or only for tell me that you enjoyed this tutorial, write to me.
21 May 2025


|

