|
TAG PASCUA 2025


This tutorial was translated with PSP09 but it can also be made using other versions of PSP.
Since version PSP X4, Image>Mirror was replaced with Image>Flip Horizontal,
and Image>Flip with Image>Flip Vertical, there are some variables.
In versions X5 and X6, the functions have been improved by making available the Objects menu.
In the latest version X7 command Image>Mirror and Image>Flip returned, but with new differences.
See my schedule here
 French translation here French translation here
 Your versions here Your versions here
For this tutorial, you will need:

For the tubes thanks Gerda.
(you find here the links to the material authors' sites)

consult, if necessary, my filter section here
Filters Unlimited 2.0 here
Toadies - What are you here
Mura's Meister - Perspective Tiling here
AAA Frames - Foto Frame here
Filters Toadies can be used alone or imported into Filters Unlimited.
(How do, you see here)
If a plugin supplied appears with this icon  it must necessarily be imported into Unlimited it must necessarily be imported into Unlimited

You can change Blend Modes according to your colors.
In the newest versions of PSP, you don't find the foreground/background gradient (Corel_06_029).
You can use the gradients of the older versions.
The Gradient of CorelX here

Open the pattern patrôn and minimize it with the rest of the material.
1. Open a new transparent image 900 x 600 pixels.
2. Set your foreground color to #efebec,
and your background color to #d8a091.

Set your foreground color to a Foreground/Background Gradient, style Linear.
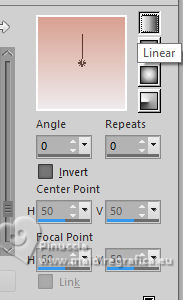
Flood Fill  the transparent image with your Gradient. the transparent image with your Gradient.
3. Selections>Select All.
Open Ostern-144-17 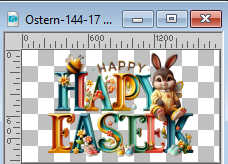
Edit>Copy.
Go back to your work and go to Edit>Paste into Selection.
Selections>Select None.
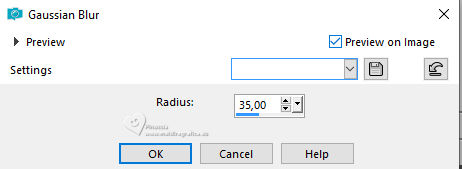
4. Adjust>Blur>Gaussian Blur - radius 35.
5. Effects>Distortion Effects>Pixelate
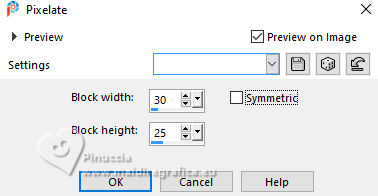
Effects>Edge Effects>Enhance More.
6. Layers>Duplicate.
Effects>Plugins>AAA Frames - Foto Frame.
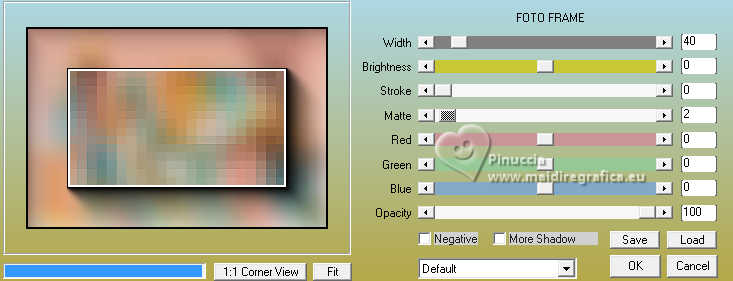
7. Effects>Plugins>Mura's Meister - Perspective Tiling.

8. Selection Tool 
(no matter the type of selection, because with the custom selection your always get a rectangle)
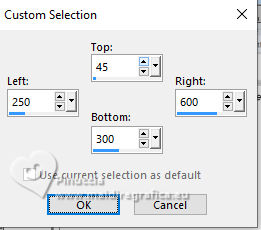
clic on the Custom Selection 
and set the following settings.
9. Activate your bottom layer, Raster 1.
Selections>Promote Selection to Layer.
Layers>Arrange>Bring to Top.
10. Adjust>Blur>Gaussian Blur - radius 35.

11. The tube Ostern-144-17 is still in memory:
Edit>Paste into Selection.
12. Selections>Modify>Select Selection Borders.

13. Layers>New Raster Layer.
Flood Fill  the selection with your Gradient. the selection with your Gradient.
14. Effects>3D Effects>Inner Bevel.
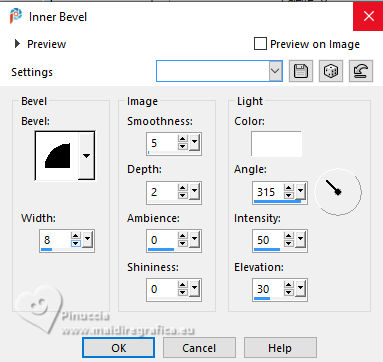
Selections>Select None.
15. Layers>Duplicate.
Effects>Image Effects>Seamless Tiling, Side by side

16. Effects>Plugins>Toadies - What are you, default settings.
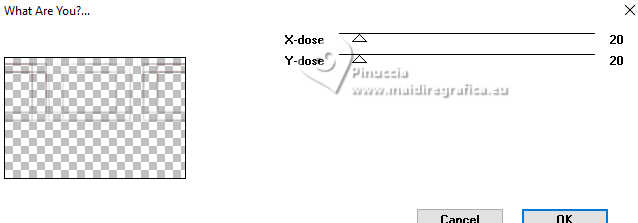
Effects>Edge Effects>Enhance More.
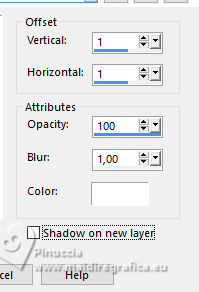
17. Effects>3D Effects>Drop shadow, color #ffffff.
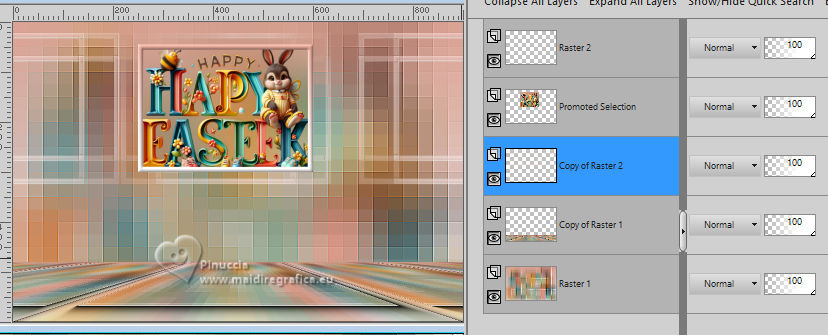
18. Layers>Arrange>Move Down - 2 times (under the layer of the original border
19. Activate your top layer.
Open the tube Ostern-147-14 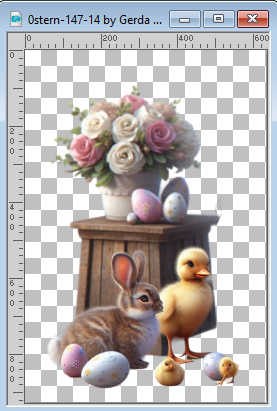
Edit>Copy.
Go back to your work and go to Edit>Paste as new layer.
Image>Resize, 2 times to 70%, resize all layers not checked.
Move  the tube to the left. the tube to the left.
20. Effects>3D Effects>Drop Shadow, color #000000.
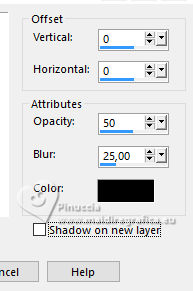
Adjust>Sharpness>Sharpen More.
21. Open Ostern-147-09 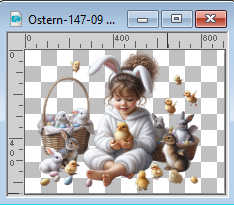
Edit>Copy.
Go back to your work and go to Edit>Paste as new layer.
Image>Resize, to 70%, resize all layers not checked.
Move  the tube to the right. the tube to the right.
Effects>3D Effects>Drop Shadow, same settings.
Ajust>Sharpness>Sharpen

22. Layers>Merge>Merge visible.
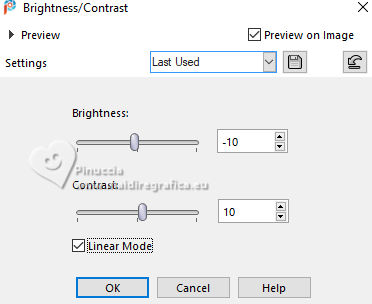
Adjust>Brightness and Contrast>Brightness and Contrast
23. Sign your work.
Add the author's watermark without forgetting the translator's.
24. Layers>Merge>Merge All.
25. Image>Add Borders, 2 pixels, symmetric, color #93605c.
Image>Add Borders, 2 pixels, symmetric, color #70cbcf.
Image>Add Borders, 2 pixels, symmetric, color #ffe24b.
Image>Add Borders, 30 pixels, symmetric, color #fbffff.
26. Activate your Magic Wand Tool 
and click in the last border to select it.
27. Set your foreground color to Pattern and select the pattern patrón
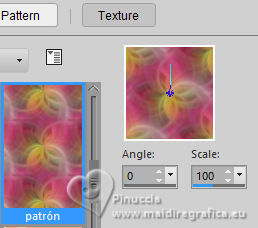
Flood Fill  the selection with your foreground Pattern. the selection with your foreground Pattern.
28. Effets>Modules Externes>AAA Frames - Foto Frame.

29. Selections>Invert.
Effects>3D Effects>Drop Shadow, color #000000.

Selections>Select None.
30. Image>Add borders, 2 pixels, symmetric, color #93605c.
Save as jpg.
For the tubes of this version thanks Gerda and Dreamworld Design (left tube)


If you have problems or doubts, or you find a not worked link, or only for tell me that you enjoyed this tutorial, write to me.
26 March 2025


|


