|
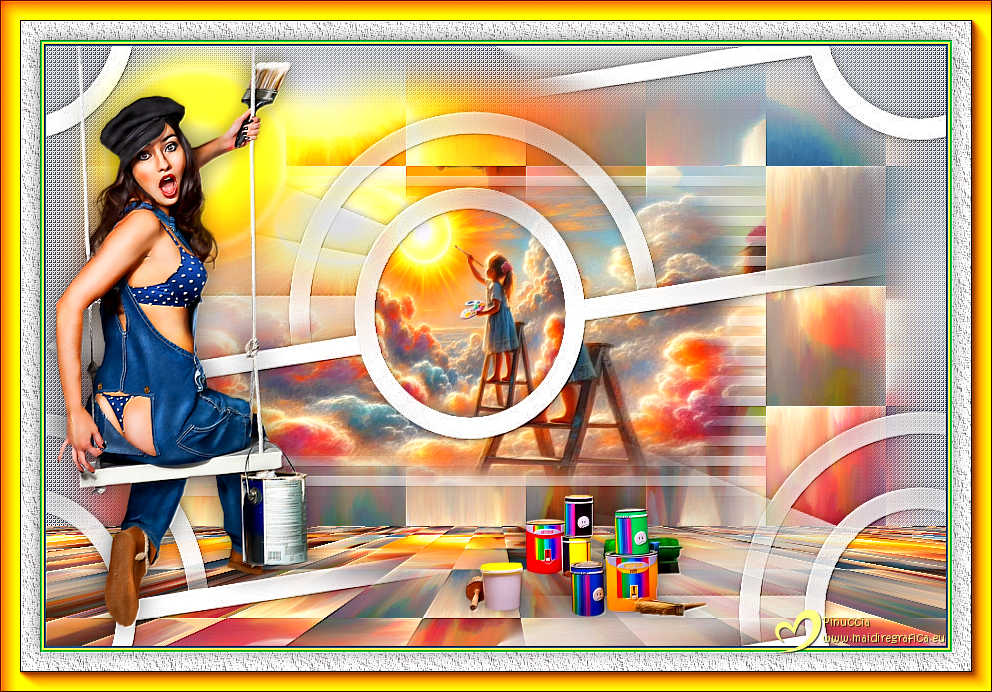
TAG PINTANDO EL SOL


This tutorial was translated with PSPX9 and PSP2020, but it can also be made using other versions of PSP.
Since version PSP X4, Image>Mirror was replaced with Image>Flip Horizontal,
and Image>Flip with Image>Flip Vertical, there are some variables.
In versions X5 and X6, the functions have been improved by making available the Objects menu.
In the latest version X7 command Image>Mirror and Image>Flip returned, but with new differences.
See my schedule here
 French translation here French translation here
 Your versions here Your versions here
For this tutorial, you will need:

For the tubes and 1 mask thanks DBK, Lana, Grisi and Narah.
(you find here the links to the material authors' sites)

consult, if necessary, my filter section here
Mehdi - Sorting Tiles here
Mura's Meister - Perspective Tiling here
FM Tile Tools - Saturation Emboss here
AAA Frames - Texture Frame, Foto Frame here

You can change Blend Modes according to your colors.

Open the masks in PSP and minimize them with the rest of the material.
1. Open a new transparent image 900 x 600 pixels.
2. Selections>Select All.
Open Fondo pintando el sole_nines 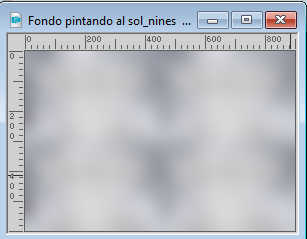
Edit>Copy.
Go back to your work and go to Edit>Paste into Selection.
Selections>Select None.
3. Effects>Texture Effects>Weave
weave color #ffffff
gap color #bfbfbf.
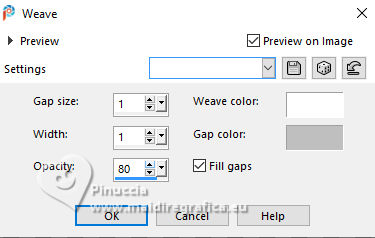
Adjust>Sharpness>Sharpen.
4. Layers>New Raster Layer.
Selections>Select All.
5. Open LD-misted child painting 
Erase the watermark and go to Edit>Copy.
Go back to your work and go to Edit>Paste into Selection.
Selections>Select None.
6. Effects>Plugins>Mehdi - Sorting Tiles.
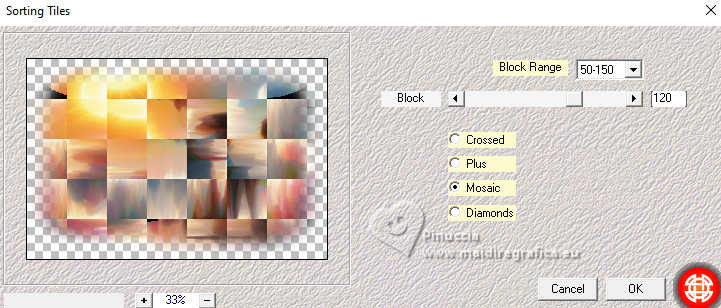
7. Layers>Duplicate.
Effects>Plugins>Mura's Meister - Perspective Tiling.
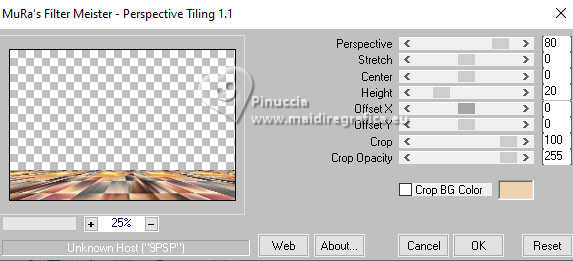
8. Activate your Selection Tool 
(no matter the type of selection, because with the custom selection your always get a rectangle)
clic on the Custom Selection 
and set the following settings.
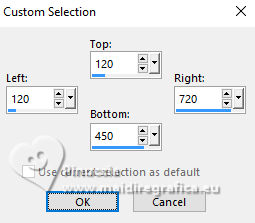
9. Layers>New Raster Layer.
Set your foreground color to #ffffff.
Reduce the opacity of your Flood Fill Tool to 50%.
Flood Fill  the layer with color #ffffff. the layer with color #ffffff.
10. Layers>New Mask layer>From image
Open the menu under the source window and you'll see all the files open.
Select the mask monti20blinds20mask.
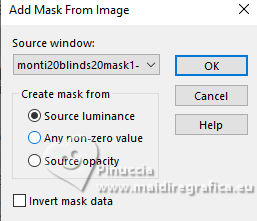
Layers>Merge>Merge Group.
Keep selected.
11. Layers>New Raster Layer.
Edit>Paste into Selection - the tube LD-misted child painting is still in memory.
Selections>Select None.
12. Layers>New Raster Layer.
Set again the opacity of your Flood Fill Tool to 100
Flood Fill  the layer with color #ffffff. the layer with color #ffffff.
13. Layers>New Mask layer>From image
Open the menu under the source window
and select the mask NarahsMask_1823
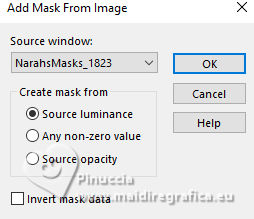
Layers>Merge>Merge Group.
14. Effects>Image Effects>Seamless Tiling, default settings.

Adjust>Sharpness>Sharpen More.
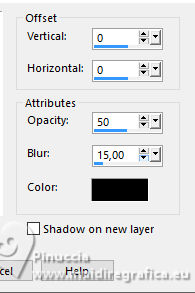
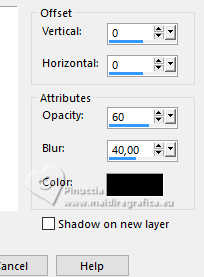
15. Effects>3D Effects>Drop Shadow, color #000000.
16. Activate your Magic Wand Tool 
and click in the center of the mask to select it.

17. Selections>Modify>Expand - 30 pixels

18. Layers>New Raster Layer.
Layers>Arrange>Move Down (under the mask).
19. Edit>Paste into Selection - the tube LD-misted child painting is always in memory.
Selections>Select None.
20. Activate again your top layer.
Open Tube Sol by Nines 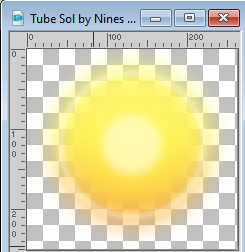
Edit>Copy.
Go back to your work and go to Edit>Paste as new Layer.
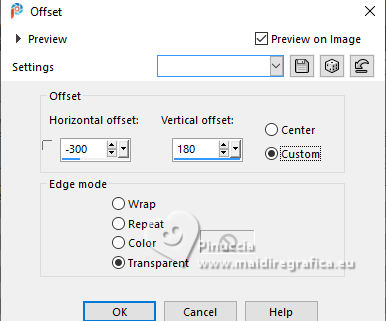
21. Effects>Image Effects>Offset.
22. Open DBK Ethnic-MODEL-A167-168 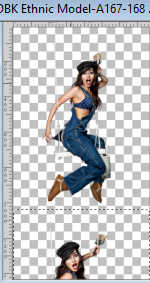
The bottom tube is selected: Edit>Copy.
Go back to your work and go to Edit>Paste as new Layer.
Image>Resize, to 65%, resize all layers not checked.
Move  the tube to the left. the tube to the left.
23. Effects>3D Effects>Drop Shadow, color #000000.
24. Open Grisi_Woman_891_pintura 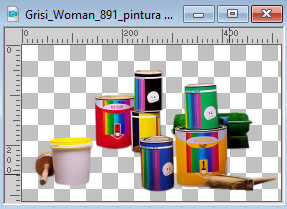
Edit>Copy.
Go back to your work and go to Edit>Paste as new Layer.
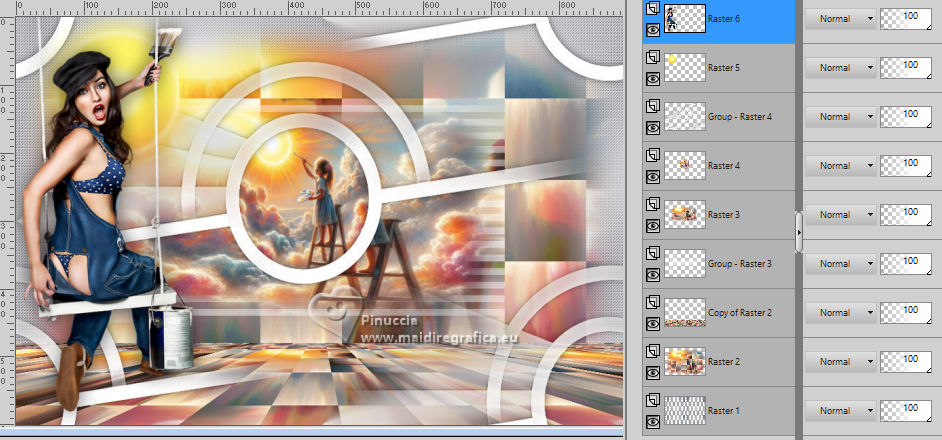
Image>Resize, to 50%, resize all layers not checked.
Move  the tube down, see my example. the tube down, see my example.
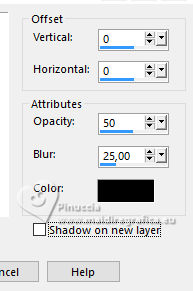
25. Effects>3D Effets>Drop Shadow, color #000000.
26. Layers>Merge>Merge All.
27. Image>Add Borders, 2 pixels, symmetric, color #28476a.
Image>Add Borders, 2 pixels, symmetric, color #f9e168.
Image>Add Borders, 2 pixels, symmetric, color #05a34d.
Image>Add Borders, 40 pixels, symmetric, color #ffffff.
28. Activate your Magic Wand Tool 
and click in the white border to select it.
29. Effects>Plugins>AAA Frames - Texture Frame
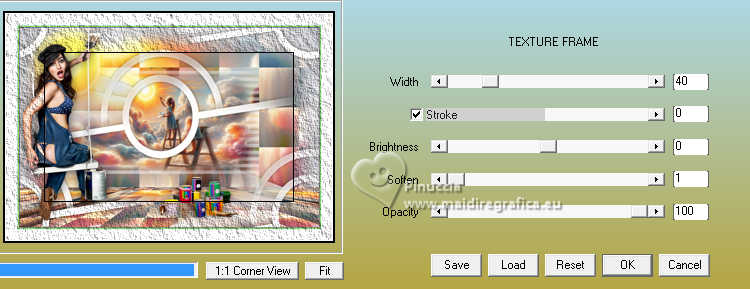
Keep selected.
30. Effects>Plugins>AAA Frames - Foto Frame - preset Transparente Orange.

31. Selections>Select All.
Selections>Modify>Contract - 40 pixels.
32. Effects>3D Effects>Drop Shadow, last settings.

Selections>Select None.
33. Effects>Plugins>FM Tile Tools - Saturation Emboss, default settings.

34. Sign your work.
Add the author and the translator's watermarks.
35. Layers>Merge>Merge All and save as jpg.
Version with images by Pinterest
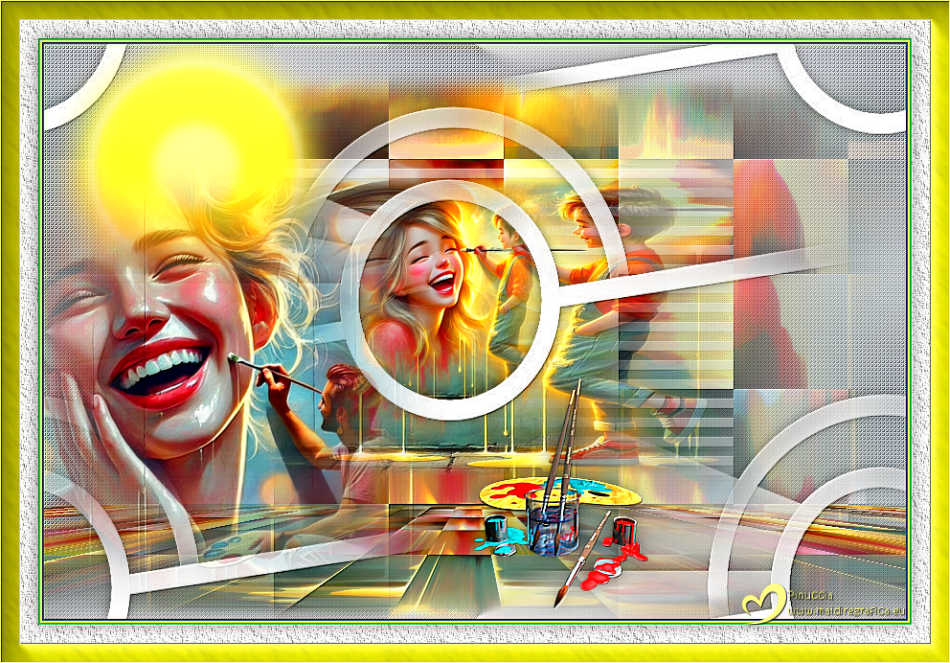
 Your versions here Your versions here

If you have problems or doubts, or you find a not worked link, or only for tell me that you enjoyed this tutorial, write to me.
23 September 2025

|

