ALEXANDRA

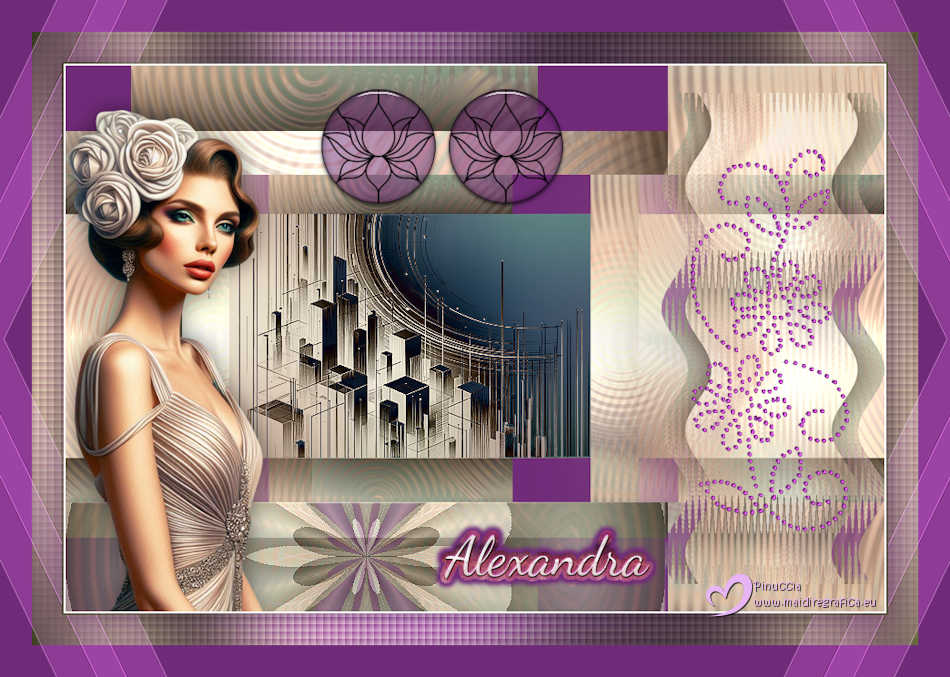
Thanks Brigitte for your invitation to translate

Clic and move the brush to follow the tutorial.

To print


|
This tutorial was translated with PSPX9 and PSP2020, but it can also be made using other versions of PSP.
Since version PSP X4, Image>Mirror was replaced with Image>Flip Horizontal,
and Image>Flip with Image>Flip Vertical, there are some variables.
In versions X5 and X6, the functions have been improved by making available the Objects menu.
In the latest version X7 command Image>Mirror and Image>Flip returned, but with new differences.
See my schedule here
 italian translation here italian translation here
 your versions here your versions here

Necessary

Material by Pink.
(The links of the tubemakers here).

consult, if necessary, my filter section here
Filters Unlimited 2.0 here
Alien Skin Eye Candy 5 Impact - Glass here
Graphics Plus - Cross Shadow here
Toadies - What are you here
VM1 - Web Weaver here
Photo Tools - Frosted Edger, Color here
&<Bkg Kaleidoscope> - Kaleidoscope Butterfly (da importare in Unlimited) here
Filters Graphics Plus, Toadies, VM and Photo Tools can be used alone or imported into Filters Unlimited.
(How do, you see here)
If a plugin supplied appears with this icon  it must necessarily be imported into Unlimited it must necessarily be imported into Unlimited

You can change Blend Modes according to your colors.

Copy the preset Emboss 3 in the Presets folder.
Copy the selections in the Selections Folder.
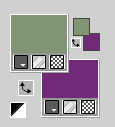
Set your foreground color to the light color #809576,
and your background color to the dark color #702b78.
1. Open a new transparent image 900 x 600 pixels.
Flood Fill  the transparent image with your foreground color. the transparent image with your foreground color.
2. Selections>Select All.
Open your main tube Tube les 118 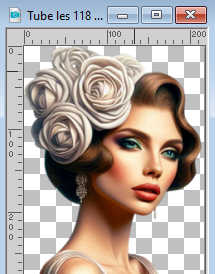
Edit>Copy.
Go back to your work and go to Edit>Paste into Selection.
Selections>Select None.
3. Effects>Image Effects>Seamless Tiling, default settings.

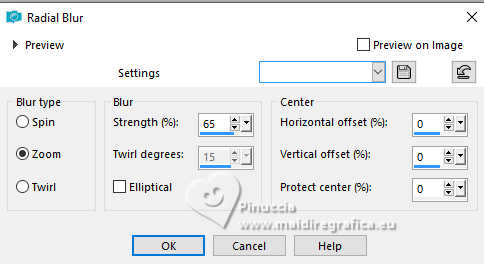
4. Adjust>Blur>Radial Blur.
5. Effects>Distortion Effects>Ripple.
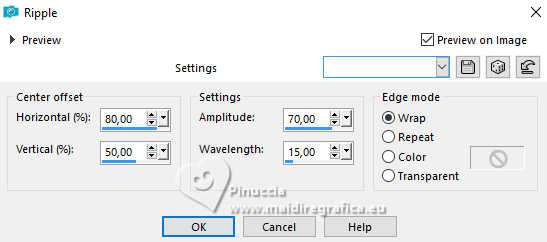
6. Effects>Image Effects>Seamless Tiling, last settings.

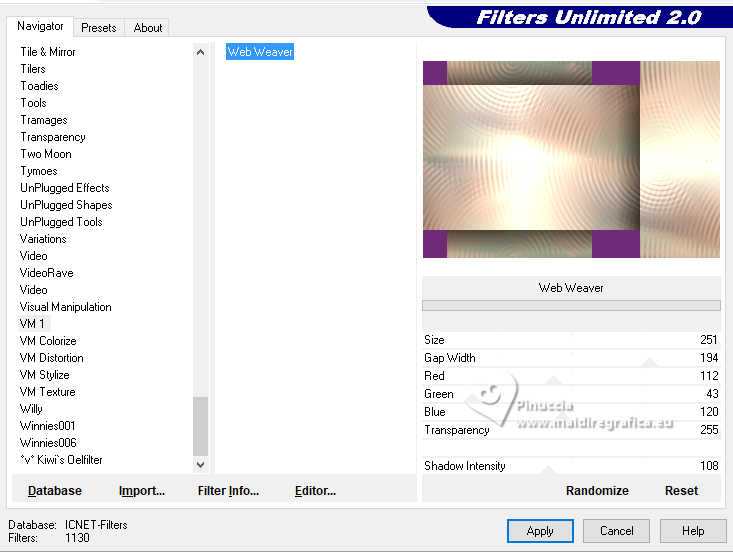
Effects>Plugins>Filters Unlimited 2.0 - VM1 - Web Weaver
adapt Red,Green,Blue to your colors)
7. Layers>Duplicate.
Image>Resize, to 60%, resize all layers not checked.
8. Effects>Image Effects>Seamless Tiling, Horizontal checked.

9. Layers>Duplicate.
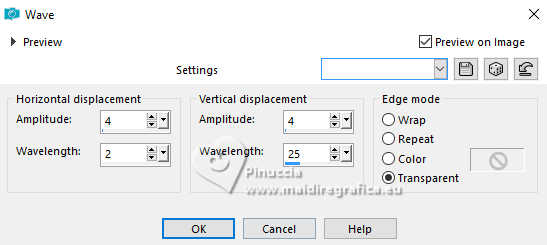
Effects>Distortion Effects>Wave.
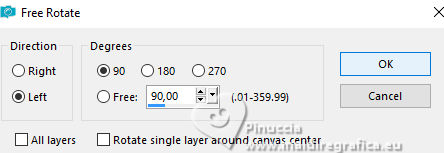
10. Image>Free Rotate - 90 degrees to left.
Image>Resize, to 60%, resize all layers not checked.
Objects>Align>Right.
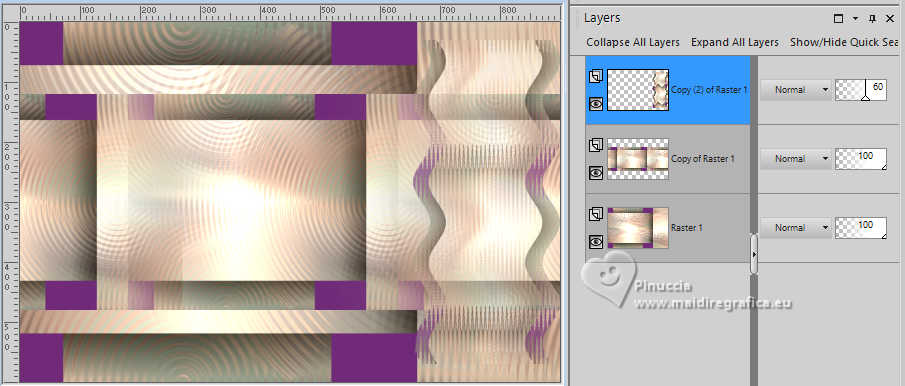
Reduce the opacity of this layer to 60%.
You should have this
11. Activate your central layer.
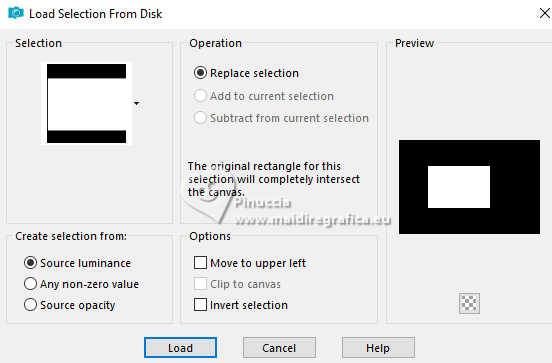
Selections>Load/Save Selection>Load Selection from Disk.
Look for and load the selection Sel1-les 118
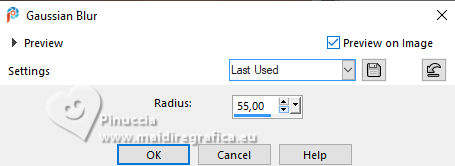
Adjust>Blur>Gaussian Blur - radius 55.
12. Layers>New Raster Layer.
Open Achtergrond les 118 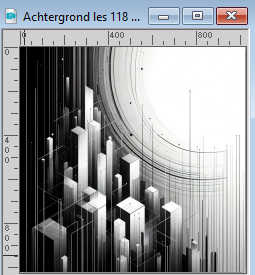
Edit>Copy.
Go back to your work and go to Edit>Paste into Selection.
Selections>Select None.
Change the Blend Mode of this layer to Difference (or according to your colors).
Effects>Edge Effects>Enhance.
13. Layers>New Raster Layer.
Layers>Arrange>Bring to Top.
Selections>Load/Save Selection>Load Selection from Disk.
Look for and load the selection Sel2-les 118
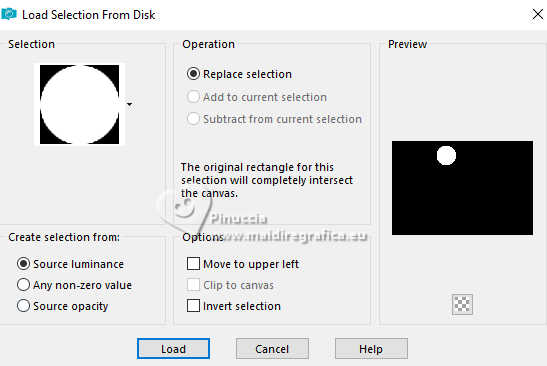
Reduce the opacity of your Flood Fill to 50,
Flood Fill  the selection with your background color. the selection with your background color.
Set again the opacity of your Flood Fill Tool to 100.
Keep selected.
14. Open the tube deco les 118 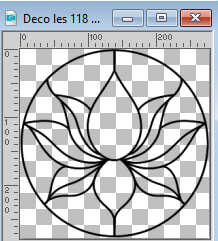
Edit>Copy.
Go back to your work and go to Edit>Paste into Selection.
15. Effects>Plugins>Alien Skin Eye Candy 5 Impact - Glass.
Select the preset Clear with these settings.
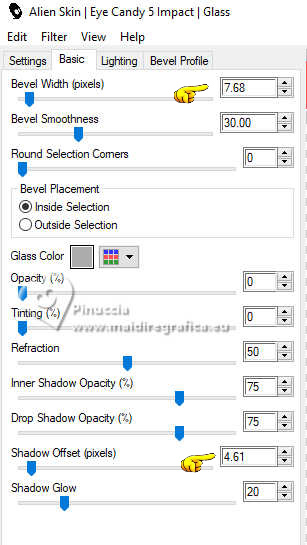
Selections>Select None.
15. Layers>Duplicate.
Effects>Image Effects>Offset.
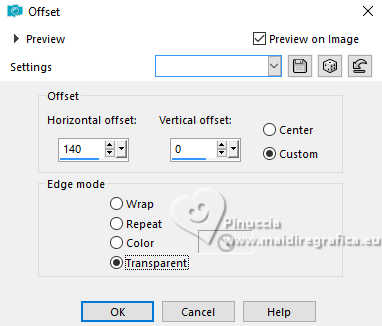
16. Layers>New Raster Layer.
Selections>Load/Save Selection>Load Selection from Disk.
Look for and load the selection Sel3-les 118
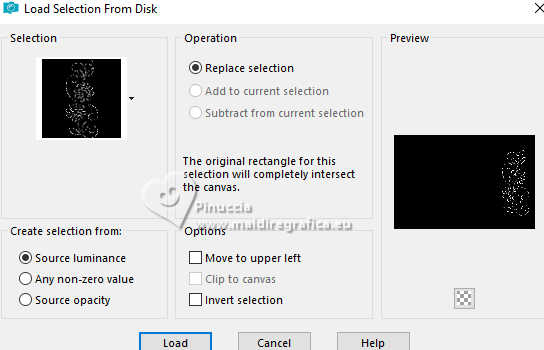
Flood Fill  the selection with your background color. the selection with your background color.
Selections>Select None.
17. Layers>Duplicate.
Effects>User Defined Filter - Emboss 3.

18. Activate your bottom layer
Selections>Load/Save Selection>Load Selection from Disk.
Look for and load the selection Sel4-les 118
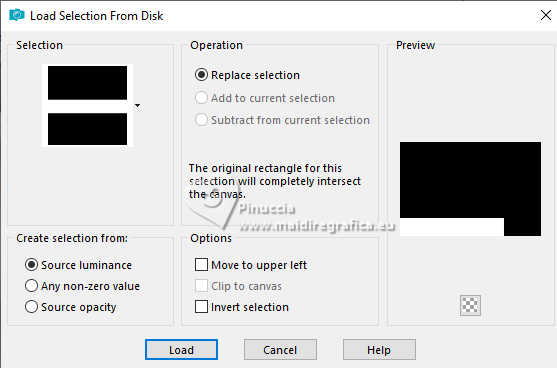
Selections>Promote Selection to Layer.
Layers>Arrange>Bring to top.
19. Effects>Plugins>Filters Unlimited 2.0 - &<Bkg Kaleidoscope> - Kaleidoscope Butterfly.
(When using other colors and tubes it will look a bit different)
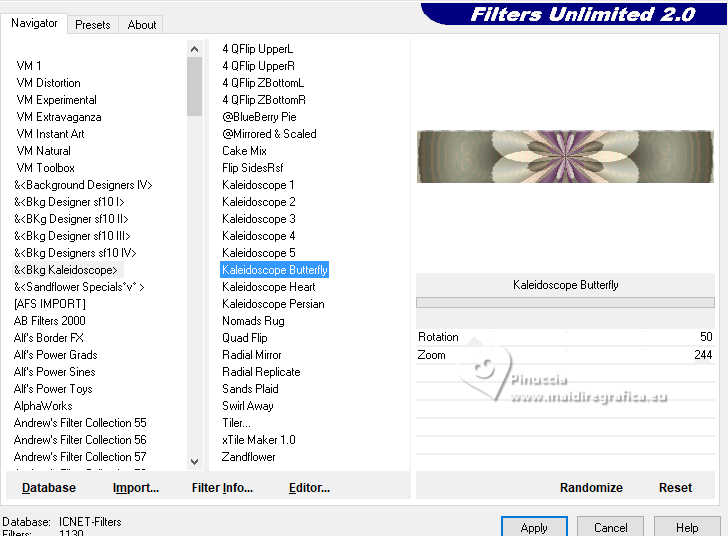
Selections>Select None.
Reduce the opacity of this layer to 75%.
Adjust>Sharpness>Sharpen.
You should have this:
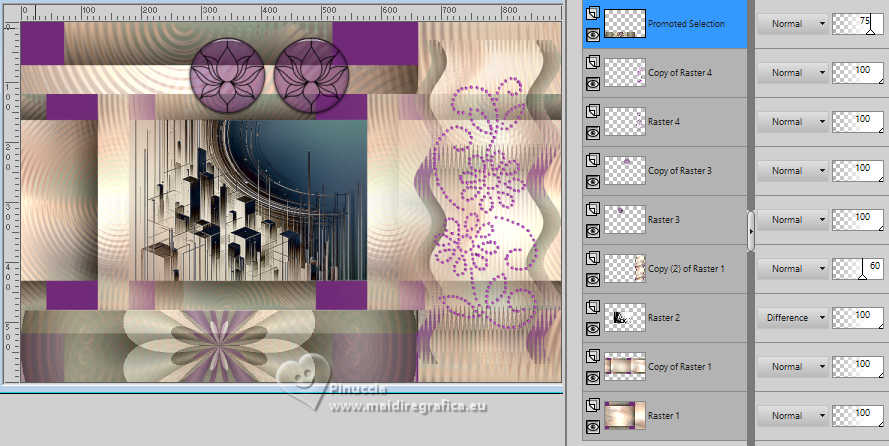
20. Activate again your main tube and go to Edit>Copy.
Go back to your work and go to Edit>Paste as new layer.
Objects>Align>Bottom.
Objects>Align>Left.
Effects>3D Effects>Drop Shadow, color black.

21. Open the text tekst les 118 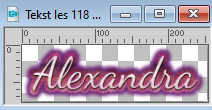
Edit>Copy.
Go back to your work and go to Edit>Paste as new layer.
Move  the text to your liking. the text to your liking.
with other colors, change the Blend Mode to Luminance (legacy)
22. Image>Add Borders, 2 pixels, symmetric, color white.
Selections>Select All.
Image>Add Borders, 35 pixels, symmetric, background color.
Selections>Invert.
Effects>Texture Effects>Blinds - color #ffffff.
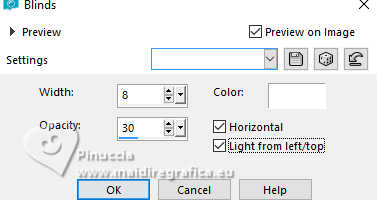
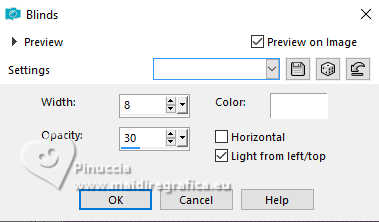
Repeat Effects>Texture Effects>Blinds - horizontal not checked.
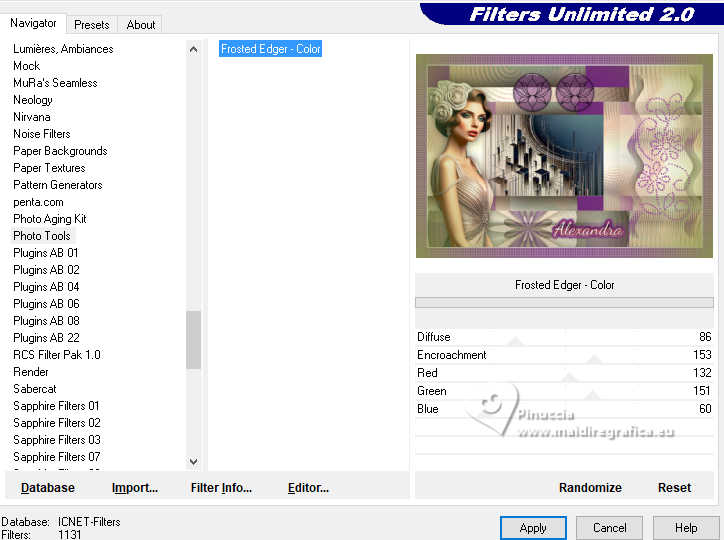
23. Effects>Plugins>Filters Unlimited 2.0 - Photo Tools - Frosted Edger-Color
(adapt Red,Green e Blue to your colors)
24. Effects>Plugins>Graphics Plus - Cross Shadow.

25. Selections>Invert.
Effects>3D Effects>Drop Shadow, last settings.
Selections>Select None.
26. Selections>Select All.
Image>Add Borders, 35 pixels, symmetric, background color.
Selections>Invert.
Selections>Promote Selection to Layer.
Selections>Select None.
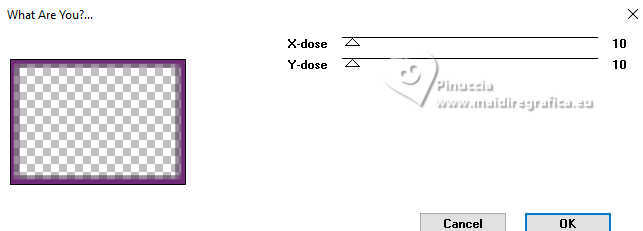
27. Effects>Plugins>Toadies - What are you
28. Effects>Edge Effects>Enhance More.
Change the Blend Mode of this layer to Screen and reduce the opacity to 70%.
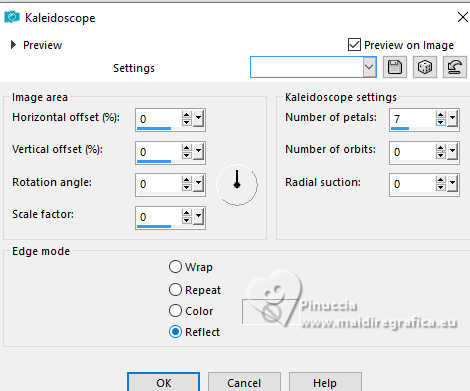
29. Effects>Reflection Effects>Kaleidoscope.
30. Effects>Reflection Effects>Rotating Mirror.

31. Selections>Select All.
Selections>Modify>Contract - 68 pixels.
Press CANC on the keyboard 
Selections>Select None.
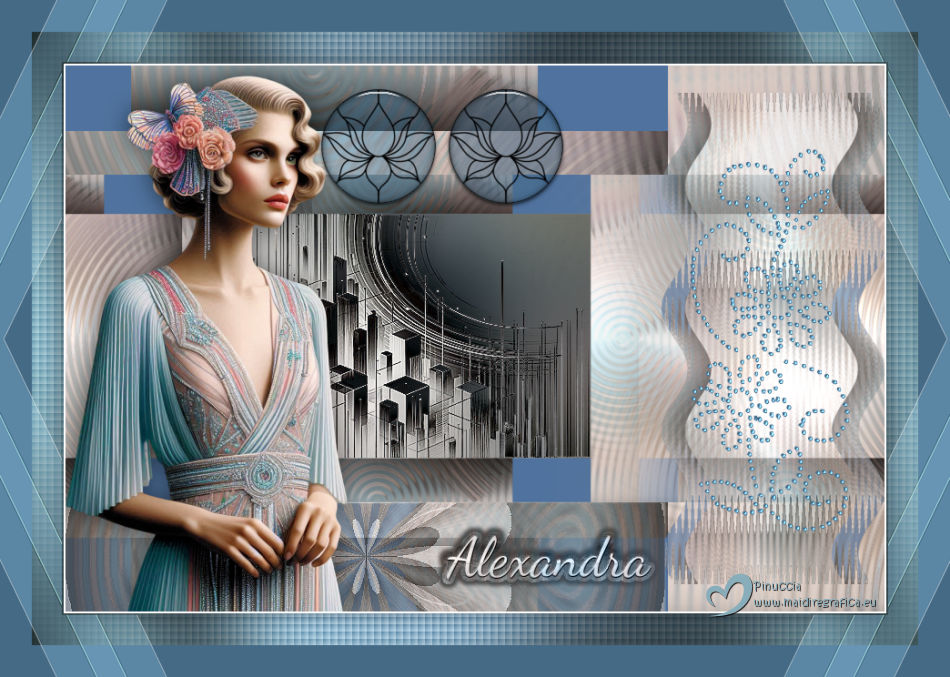
32. Sign your work on a new layer.
Layers>Merge>Merge All.
Resize if you want, and save as jpg.
For the tube of this version thanks Pink

If you have problems or doubts, or you find a not worked link,
or only for tell me that you enjoyed this tutorial, write to me.
25 May 2025

|

