HERFST

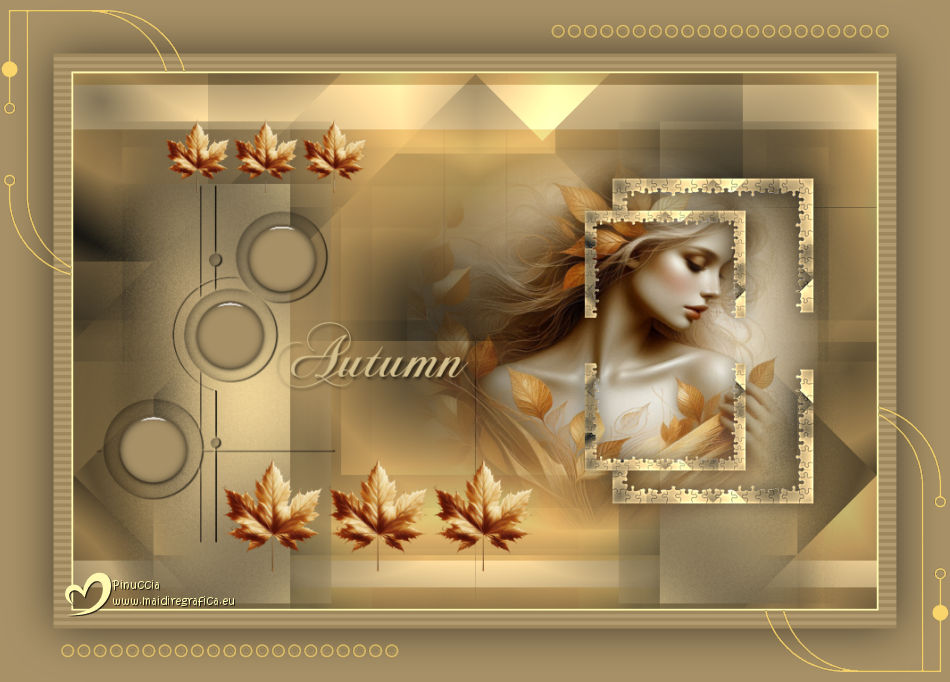
Thanks Brigitte for your invitation to translate

Clic and move the brush to follow the tutorial.

To print


|
This tutorial was translated with PSPX9 and PSP2020, but it can also be made using other versions of PSP.
Since version PSP X4, Image>Mirror was replaced with Image>Flip Horizontal,
and Image>Flip with Image>Flip Vertical, there are some variables.
In versions X5 and X6, the functions have been improved by making available the Objects menu.
In the latest version X7 command Image>Mirror and Image>Flip returned, but with new differences.
See my schedule here
 italian translation here italian translation here
 your versions here your versions here

Necessary

Tube and background image created by Pink with AI; the rest with PSP.
Animation by Simone.
(The links of the tubemakers here).

consult, if necessary, my filter section here
Filters Unlimited 2.0 here
Toadies - What are you here
Alien Skin Eye Candy 5 Impact - Glass here
Simple - Blintz here
Alien Skin Xenofex 2 - Puzzle here
Carolaine and Sensibility - CS-HLines here
Andrew's Filter 22 - Overlap 4 here
Filters Simple, Toadies and Andrew's can be used alone or imported into Filters Unlimited.
(How do, you see here)
If a plugin supplied appears with this icon  it must necessarily be imported into Unlimited it must necessarily be imported into Unlimited

You can change Blend Modes according to your colors.
In the newest versions of PSP, you don't find the foreground/background gradient (Corel_06_029).
You can use the gradients of the older versions.
The Gradient of CorelX here

Copy the preset in the Presets Folder.
Copy the selections in the Selections Folder.
Colors

Set your foreground color to #000509,
and your background color to #a89167
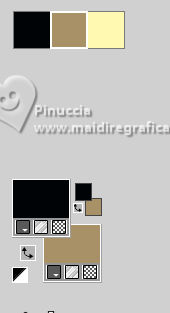
color 3: #fff8b1.
Set your foreground color to a Foreground/Background Gradient, style Sunburst.
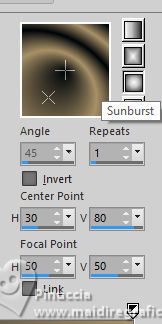
1. Open a new transparent image 900 x 600 pixels.
Flood Fill  the transparent image with your Gradient. the transparent image with your Gradient.
2. Layers>Duplicate.
Image>Mirror>Mirror Horizontal.
Image>Mirror>Mirror Vertical (Image>Flip).
Image>Resize, to 50%, resize all layers not checked.
Objects>Align>Bottom.
Objects>Align>Left.
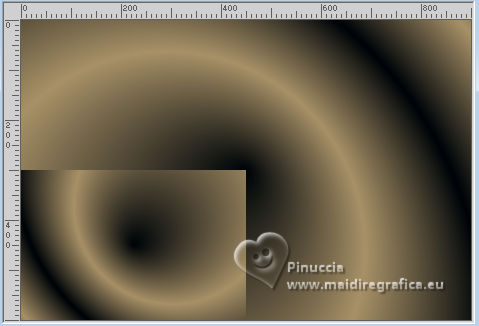
3. Layers>Duplicate.
Image>Resize, to 80%, resize all layers not checked.
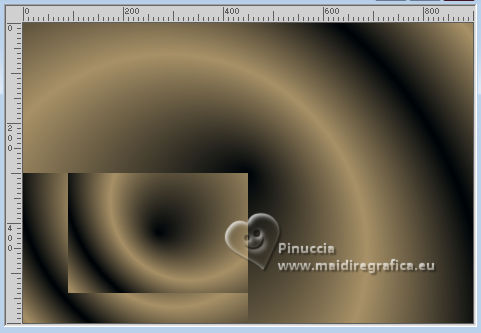
Layers>Merge>Merge visible.
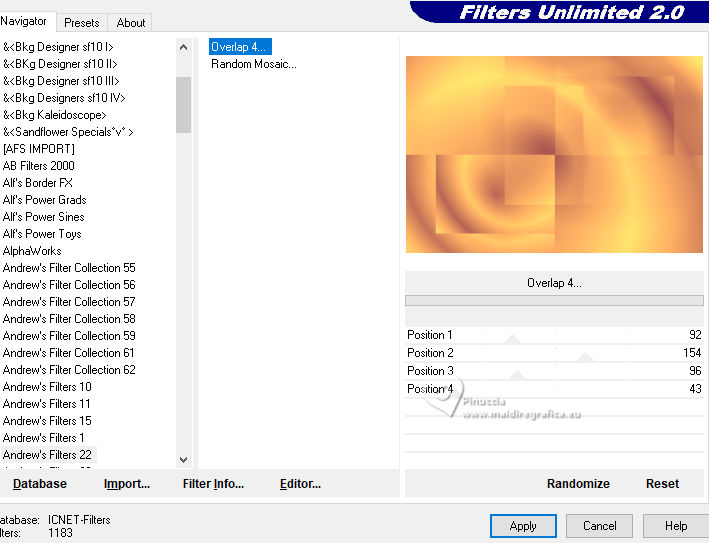
4. Effects>Plugins>Filters Unlimited 2.0 - Andrew's Filter 22 - Overlap 4.

if you use other colors, adjust the settings according to these colors.
In my second version, I set Position 3 tu 96, which gave a better result
5. Effects>Reflection Effects>Rotating Mirror.

6. Selections>Load/Save Selection>Load Selection from Disk.
Look for and load the selection Sel1-Herfst 2025
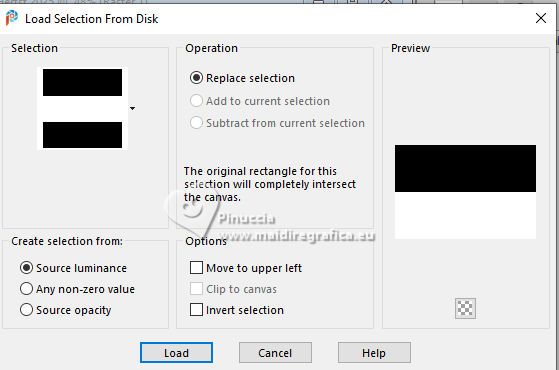
Selections>Promote Selection to Layer.
Selections>Select None.
7. Adjust>Blur>Gaussian Blur - radius 40.

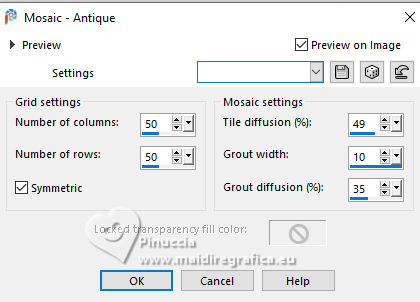
Effects>Texture Effects>Mosaic Antique
8. Image>Resize, to 60%, resize all layers not checked.
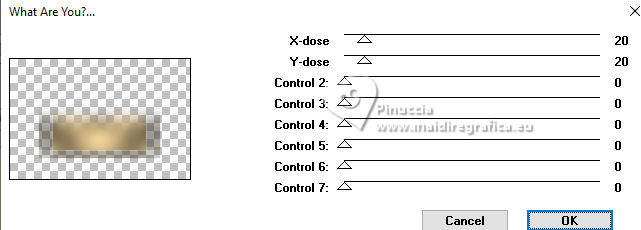
Effects>Plugins>Toadies - What are you
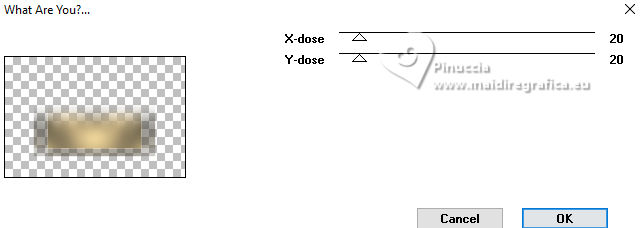
if you are using the version with more items, keep all Control to 0
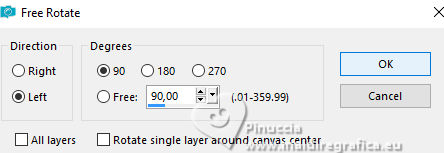
9. Image>Free Rotate - 90 degrees to left.
Objects>Align>Left.
Effects>3D Effects>Drop shadow, color black.

Layers>Duplicate.
Image>Mirror>Mirror Horizontal.
10. Activate your bottom layer.
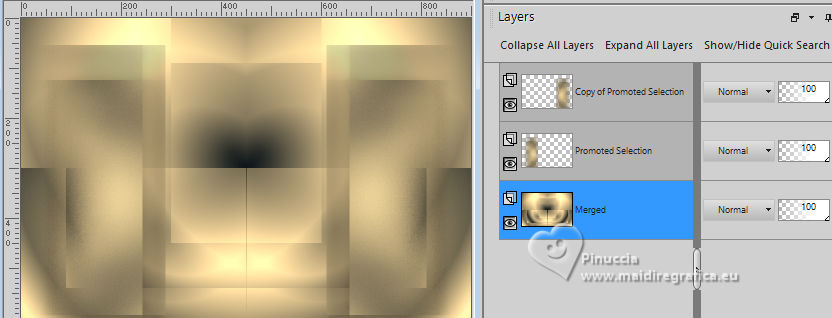
Layers>Duplicate.
Effects>Plugins>Toadies - What are you, same settings.
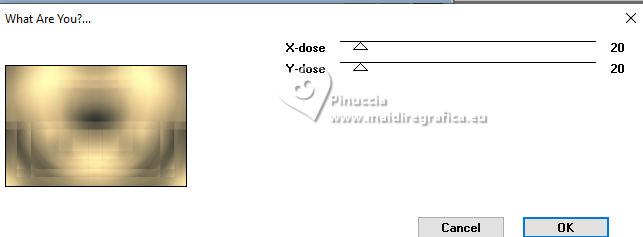
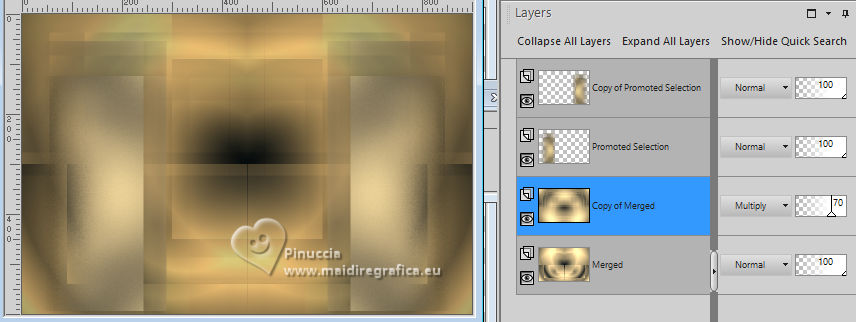
Image>Mirror>Mirror vertical (Image>Flip).
Change the Blend Mode of this layer to Multiply and reduce the opacity to 70%
(or according to your colors).
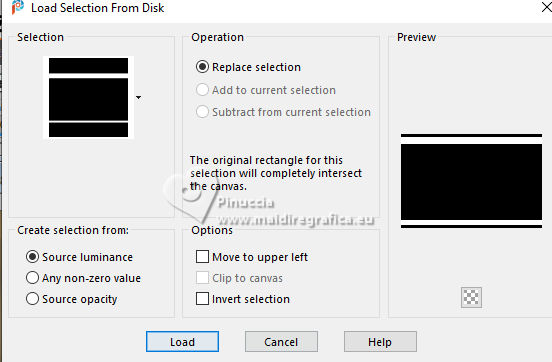
11. Selections>Load/Save Selection>Load Selection from Disk.
Look for and load the selection Sel2-Herfst 2025
Press CANC on the keyboard 
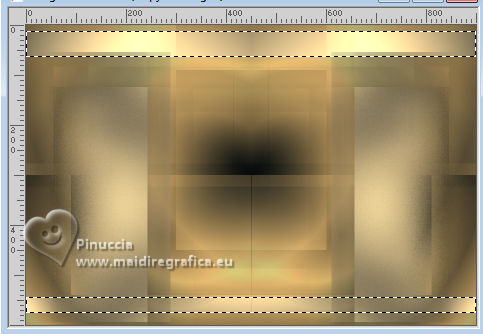
Selections>Select None.
12. Layers>New Raster Layer.
Layers>Arrange>Bring to Top.
Selections>Load/Save Selection>Load Selection from Disk.
Look for and load the selection Sel3-Herfst 2025

Effects>3D Effects>Cutout.
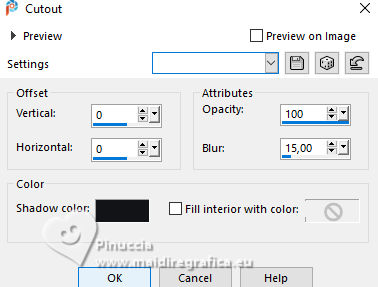
Selections>Select None.
13. Effects>User Defined Filter - preset Emboss 3

14. Layers>New Raster Layer.
Selections>Load/Save Selection>Load Selection from Disk.
Look for and load the selection Sel4-Herfst 2025
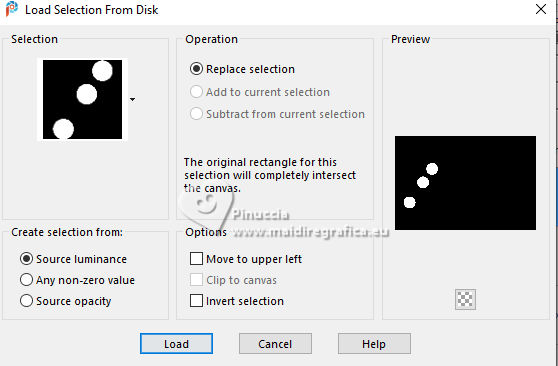
Flood Fill  the selection with your background color. the selection with your background color.
Effects>Plugins>Alien Skin Eye Candy 5 Impact - Glass - preset Clear with these settings.
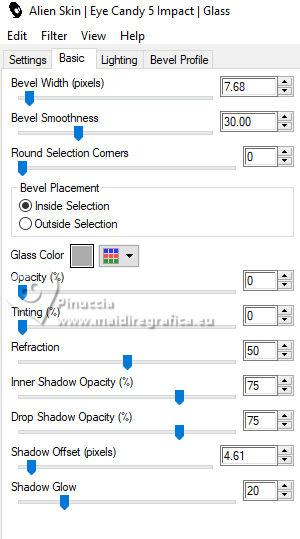
Selections>Select None.
15. Activate your bottom layer.

Effects>Plugins>Simple - Blintz.
Edit>Repeat Blintz.
16. Layers>Duplicate.
Layers>Arrange>Bring to Top.
Effects>Plugins>Alien skin Xenofex 2 - Puzzle - preset Thin Frame.
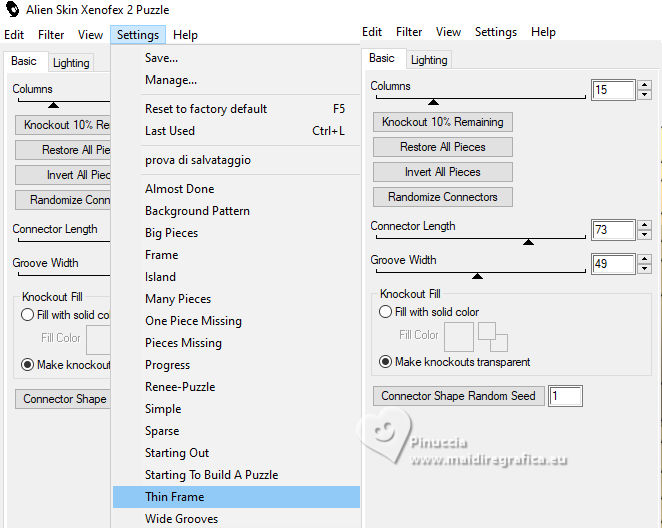
17. Image>Resize, to 25%, resize all layers not checked.
Adjust>Sharpness>Sharpen More.
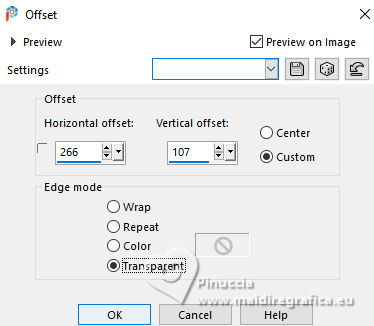
Effects>3D Effects>Offset.
18. Layers>Duplicate.
Image>Mirror>Mirror Vertical (Image>Flip).
Layers>Merge>Merge Down.
19. Layers>Duplicate.
Image>Resize, to 80%, resize all layers not checked.
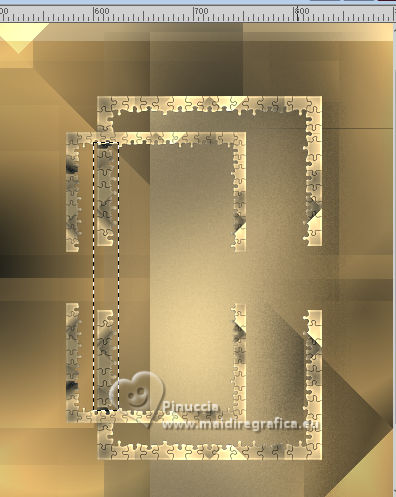
Activate your Selection Tool  , rectangle, tolerance and feather 0, , rectangle, tolerance and feather 0,
and draw a selection as below.
Activate the layer below

Press CANC on the keyboard.
Selections>Select None.
20. Activate your top layer.
Layers>Merge>Merge Down.
Effects>3D Effects>Drop shadow, same settings.

21. Layers>New Raster Layer.
Selections>Load/Save Selection>Load Selection from Disk.
Look for and load the selection Sel5-Herfst 2025

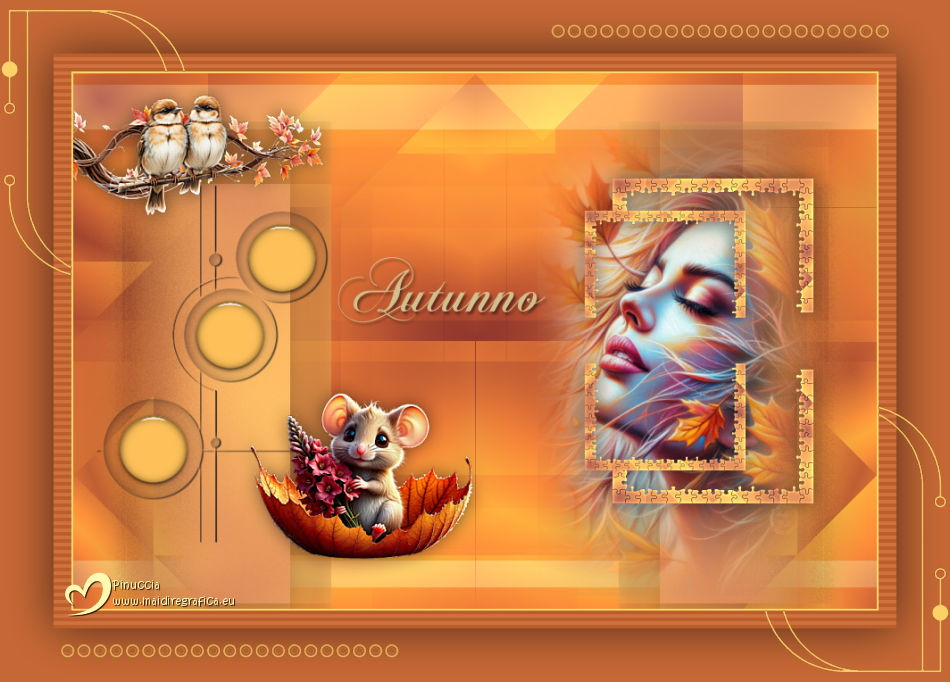
Open the misted Misted tube les Herfst 2025 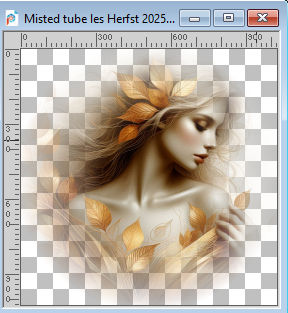
Edit>Copy.
Go back to your work and go to Edit>Paste into Selection.
Selections>Select None.
Layers>Arrange>Move Down.
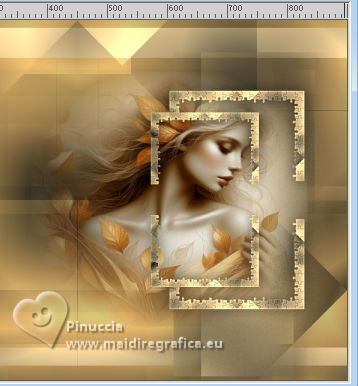
Move  the tube slightly to the left, the tube slightly to the left,
so that the face falls within the front frame.
(For your own tube, move the tube to your liking)
Optional.
If you want your tube to stand out more in the frame,
you can create a selection rectangle within the small frame
and then create a layer from the selection.
This is how I created the selection in my other example
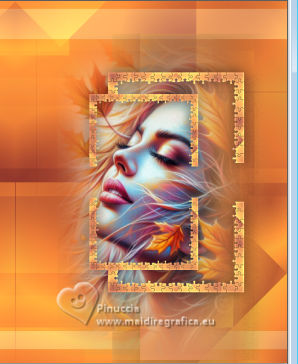
22. Open the tube Tube les Herfst 2025 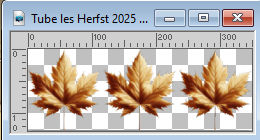
Edit>Copy.
Go back to your work and go to Edit>Paste as new layer.
Move  the tube at the bottom left. the tube at the bottom left.
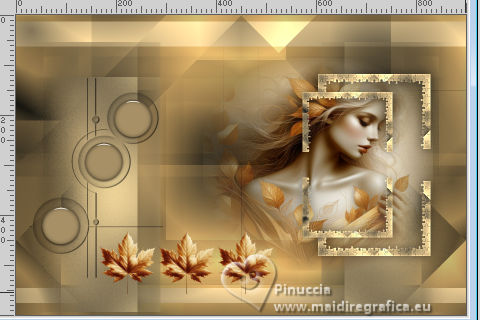
Layers>Duplicate.
Image>Resize, to 65%, resize all layers not checked.
Move  the tube up the tube up
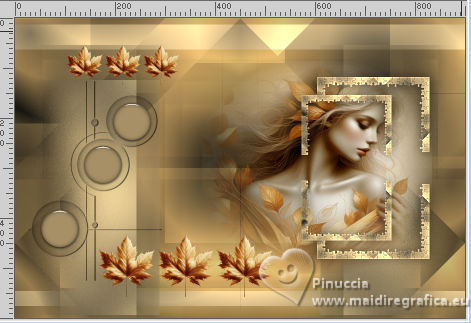
23. Open the text Autumn 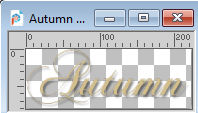
(in the folder the text is in multiple languages, but you can also create your own text with the added font)
Edit>Copy.
Go back to your work and go to Edit>Paste as new layer.
Move  the text to the left, or to your liking. the text to the left, or to your liking.
24. Set your foreground color to color 3 #fff8b1
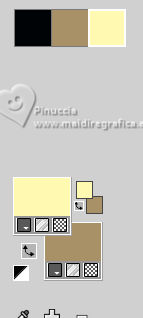
Image>Add Borders, 2 pixels, symmetric, foreground color (color 3).
Selections>Select All.
Image>Add Borders, 20 pixels, symmetric, background color.
Selections>Invert.
Effects>Plugins>Carolaine and Sensibility - CS-HLines

25. Selections>Select All.
Image>Add Borders, 60 pixels, symmetric, background color.
Effects>3D Effects>Drop shadow, color black.
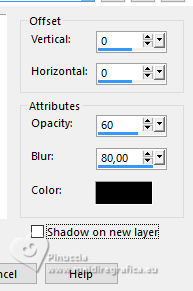
Selections>Select None.
26. Layers>New Raster Layer.
Selections>Load/Save Selection>Load Selection from Disk.
Look for and load the selection Sel6-Herfst 2025
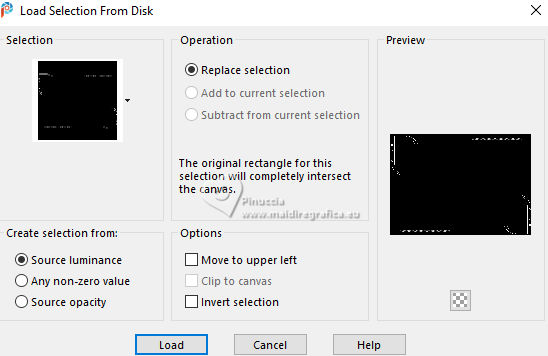
Flood Fill  the selection with your foreground color (color 3). the selection with your foreground color (color 3).
27. Sign your work on a new layer.
Layers>Merge>Merge All and save as jpg.
Misted and birds from Internet; for the mouse tube thanks Silvie

If you have problems or doubts, or you find a not worked link,
or only for tell me that you enjoyed this tutorial, write to me.
13 October 2025

|

