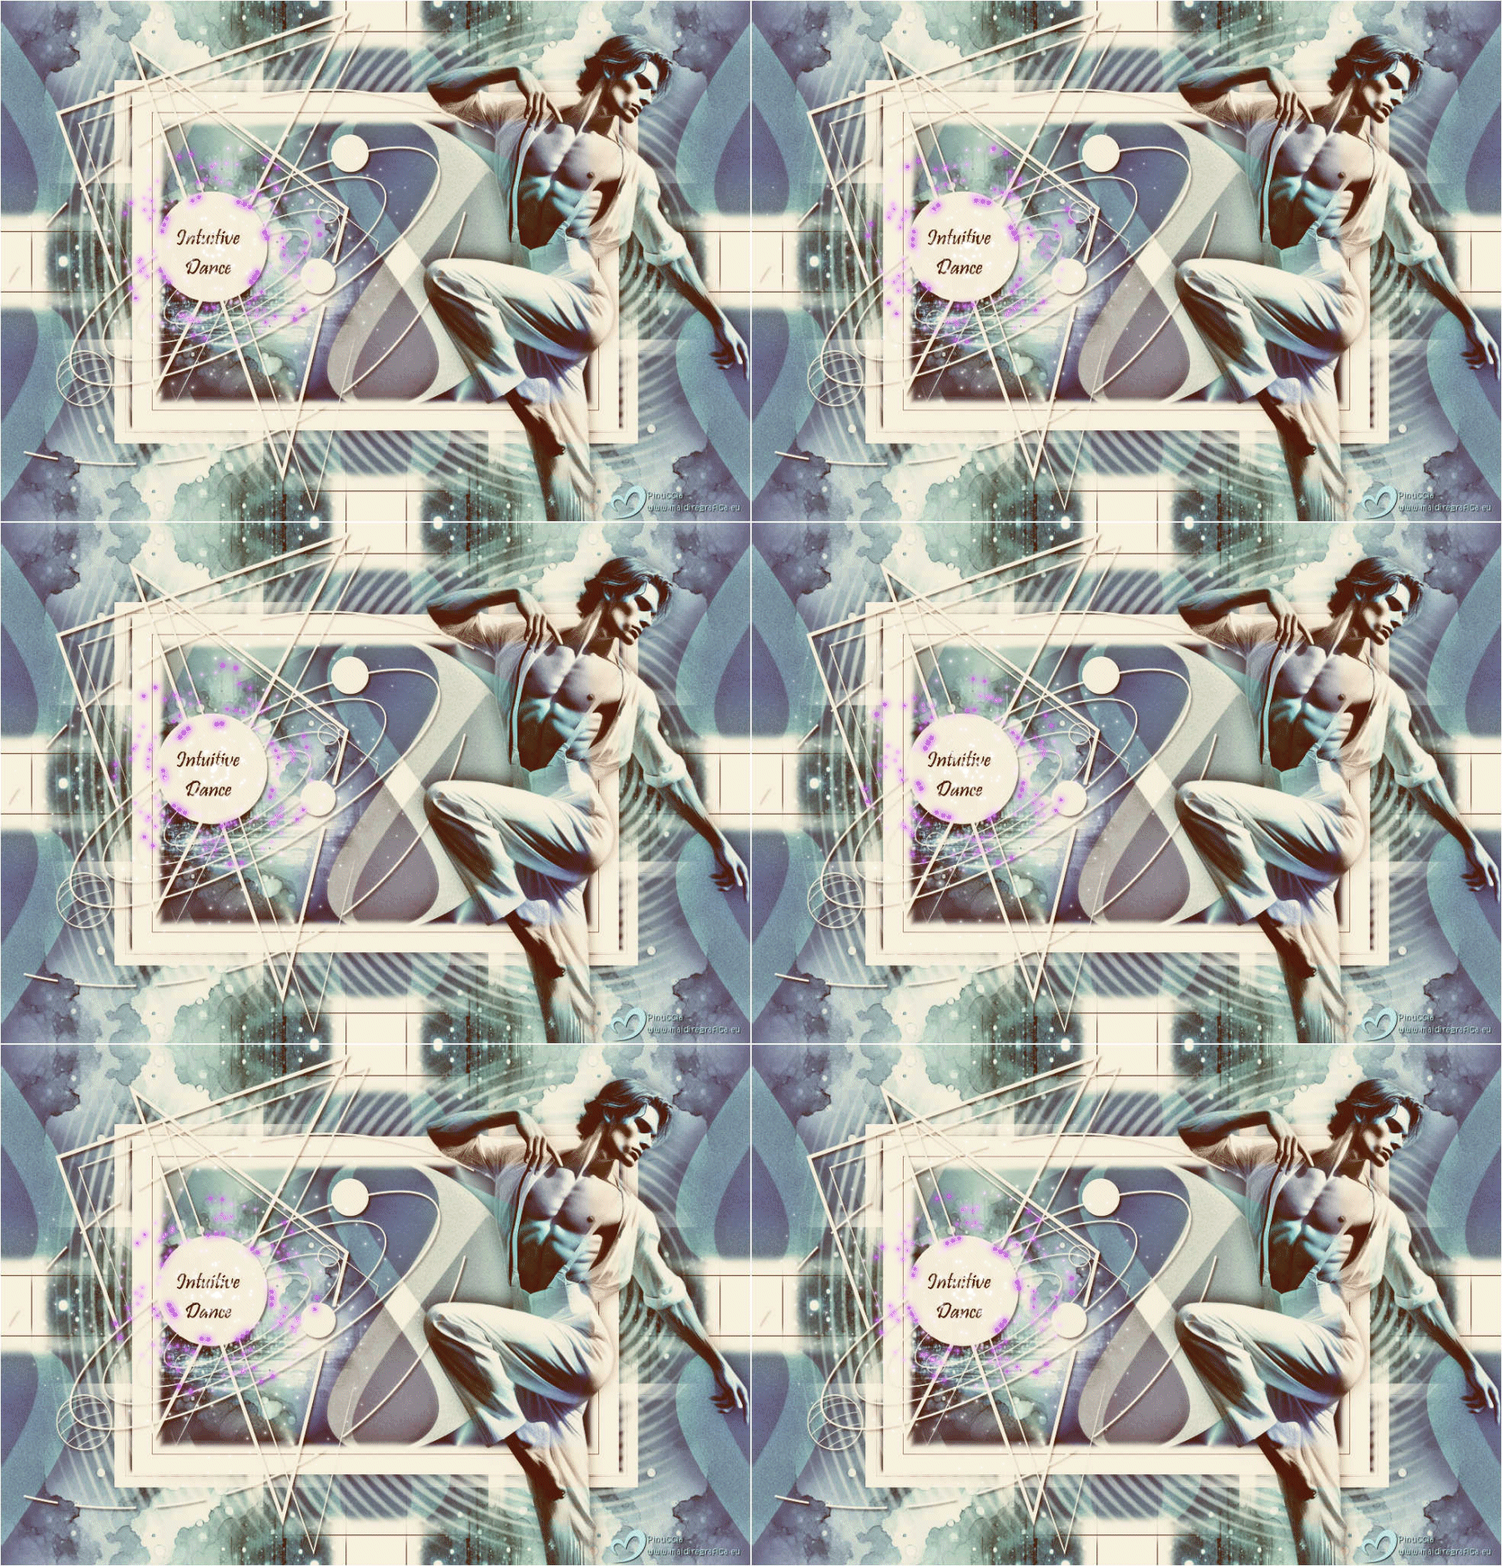
INTUITIVE DANCE

Thanks Brigitte for your invitation to translate

Clic and move the brush to follow the tutorial.

To print


|
This tutorial was translated with PSPX9 and PSP2020, but it can also be made using other versions of PSP.
Since version PSP X4, Image>Mirror was replaced with Image>Flip Horizontal,
and Image>Flip with Image>Flip Vertical, there are some variables.
In versions X5 and X6, the functions have been improved by making available the Objects menu.
In the latest version X7 command Image>Mirror and Image>Flip returned, but with new differences.
See my schedule here
 italian translation here italian translation here
 your versions here your versions here

Necessary

Tube and background image created by Pink with AI; the rest with PSP.
Animation by Simone.
(The links of the tubemakers here).

consult, if necessary, my filter section here
Filters Unlimited 2.0 here
&<Bkg Kaleidoscope> - 4 QFlip UpperL (to import in Unlimited) here
Simple - 4 Way Average here
Nik Software - Color Efex here
Filters Simple can be used alone or imported into Filters Unlimited.
(How do, you see here)
If a plugin supplied appears with this icon  it must necessarily be imported into Unlimited it must necessarily be imported into Unlimited

You can change Blend Modes according to your colors.
In the newest versions of PSP, you don't find the foreground/background gradient (Corel_06_029).
You can use the gradients of the older versions.
The Gradient of CorelX here

Copy the selection in the Selections Folder.
Set your foreground color to #c0eae9,
and your background color to #365073
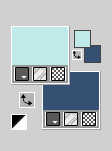
Set your foreground color to a Foreground/Background Gradient, style Radial.
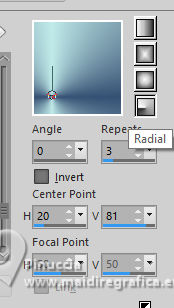
1. Open a new transparent image 900 x 600 pixels.
Flood Fill  the transparent image with your Gradient. the transparent image with your Gradient.
2. Layers>Duplicate.
Image>Mirror>Mirror horizontal.
Image>Mirror>Mirror vertical (Image>Flip).
Change the Blend Mode of this layer to Overlay and reduce the opacity to 65%.
Layers>Merge>Merge visible.
3. Layers>Duplicate.
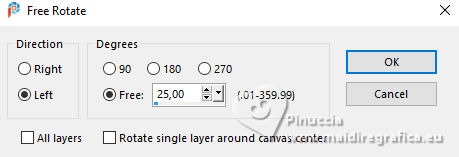
Image>Free Rotate - 25 degrees to left.
Layers>Duplicate.
Image>Mirror>Mirror horizontal.
Change the Blend Mode of this layer to Overlay.
We have this
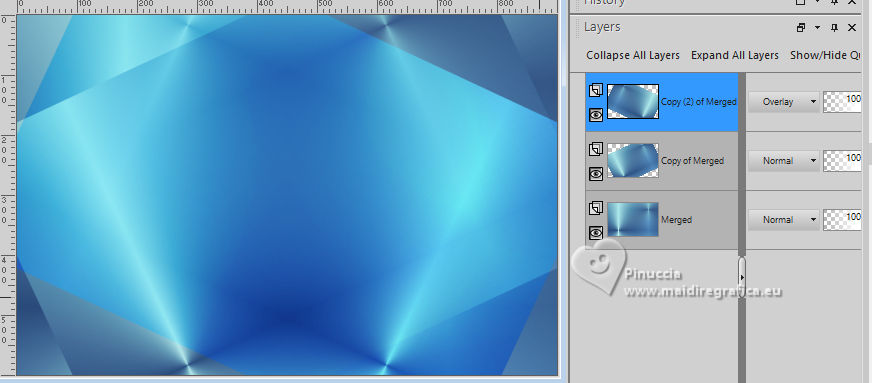
Layers>Merge>Merge visible.
4. Layers>New Raster Layer.
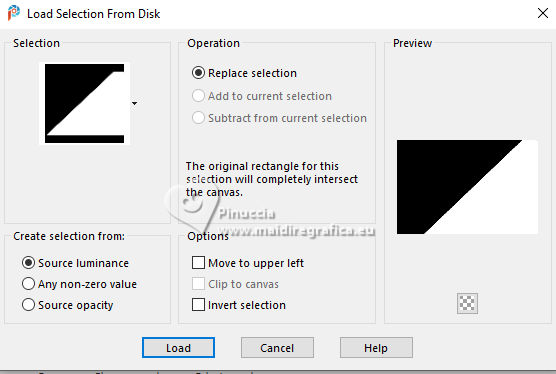
Selections>Load/Save Selection>Load Selection from Disk.
Look for and load the selection Sel les 212
Set your foreground color to Color.
Flood Fill  the selection with your foreground color. the selection with your foreground color.
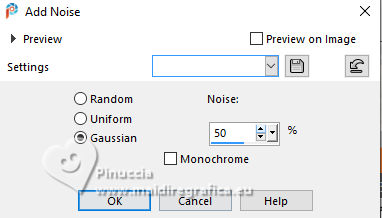
Adjust>Add/Remove Noise>Add Noise.
5. Keep selected.
Effects>Plugins>Simple - 4 Way Average
This effect works without window: result
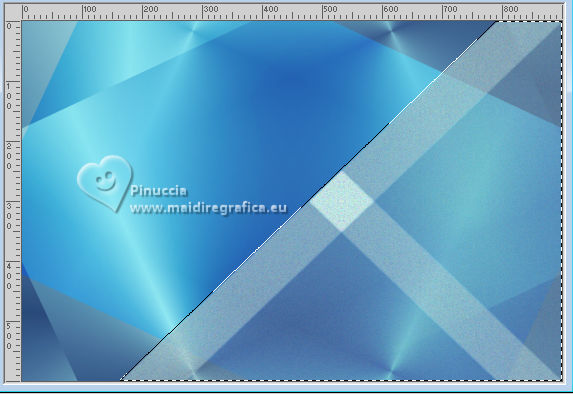
Selections>Select None.
Effects>3D Effects>Drop shadow, color white.
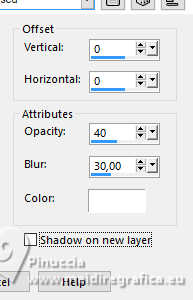
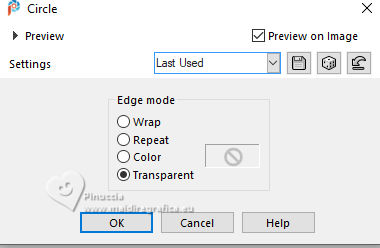
6. Effects>Geometric Effects>Circle.
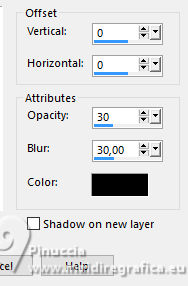
Effects>3D Effects>Drop Shadow, color black.
Layers>Duplicate.
Image>Mirror>Mirror vertical (Image>Flip).
Change the Blend Mode of this layer to Overlay.
You should have this:
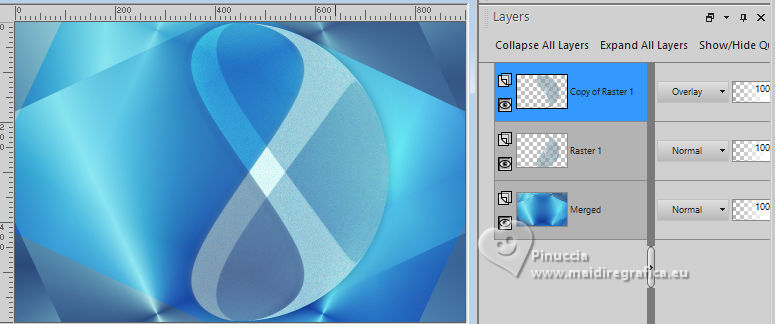
Layers>Merge>Merge visible.
7. Open the misted Misted tube les 121_Pink 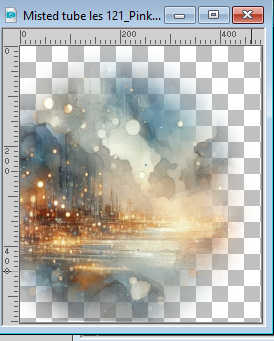
Edit>Copy.
Go back to your work and go to Edit>Paste as new layer.
Objects>Align>Left.
Change the Blend Mode of this layer to Luminance (legacy).
Layers>Merge>Merge visible.
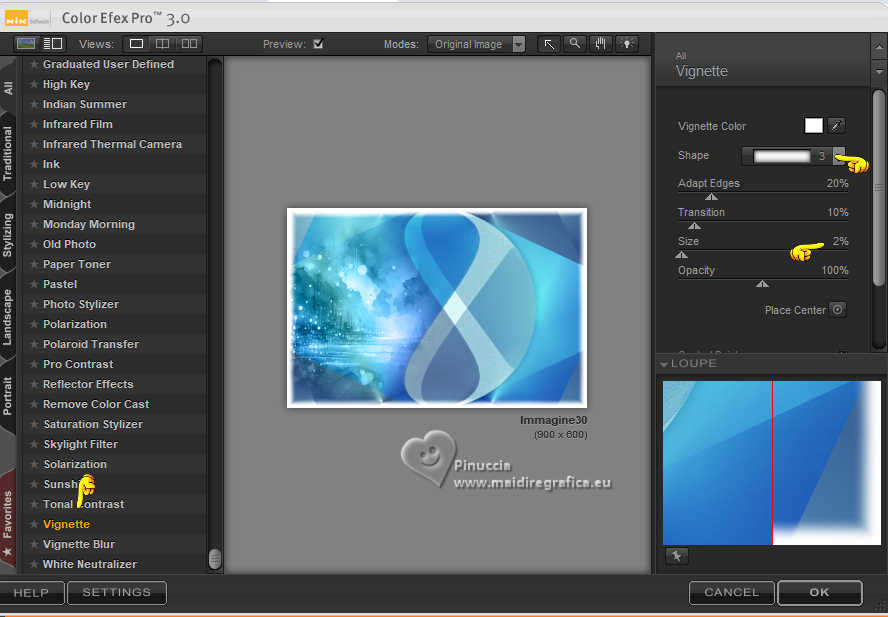
8. Effects>Plugins>Nik Software - Color Efex Pro 3.0 Complete - Vignette
9. Image>Add Borders, 1 pixel, symmetric, color black.
Image>Add Borders, 40 pixels, symmetric, color white.
10. Layers>Duplicate.
Edit>Repeat Duplicate layer.
Image>Resize, to 35%, resize all layers not checked.
Objects>Align>Top.
Objects>Align>Left.
11. Layers>Merge>Merge Down.
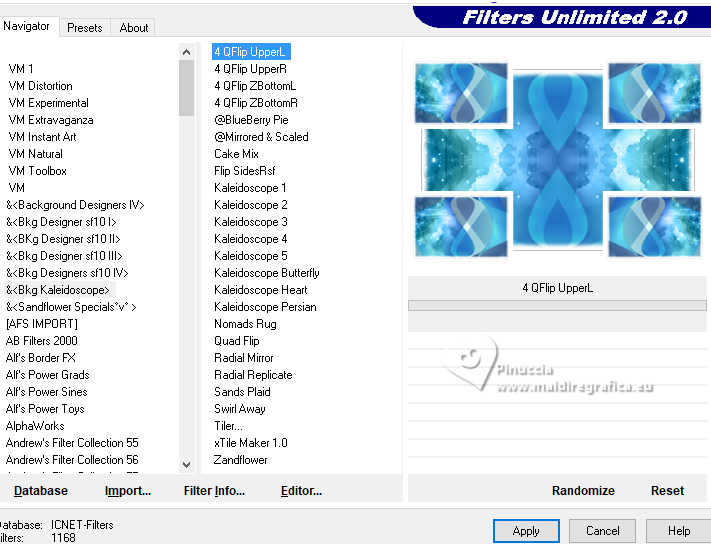
Effects>Plugins>Filters Unlimited 2.09 - &<Bkg Kaleidoscope> - 4 QFlip UpperL
12. Effects>Image Effects>Seamless Tiling, default settings.

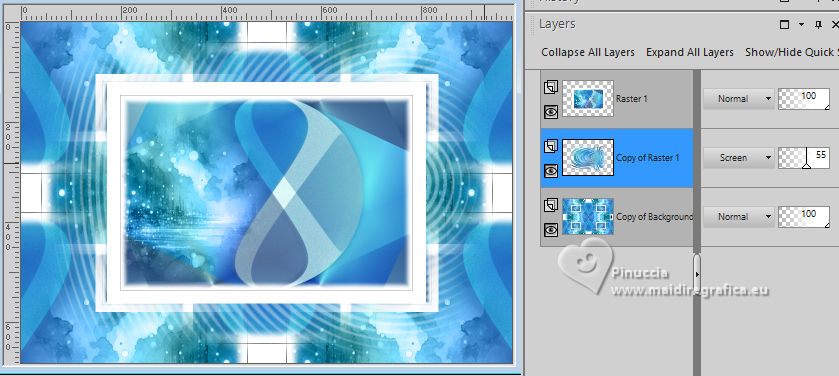
13. Activate your bottom layer.
Layers>>Promote Background Layer.
Layers>Arrange>Bring to top.
Image>Resize, to 65%, resize all layers not checked.
14. Layers>Duplicate.
Agjust>Blur>Gaussian Blur - radius 30.

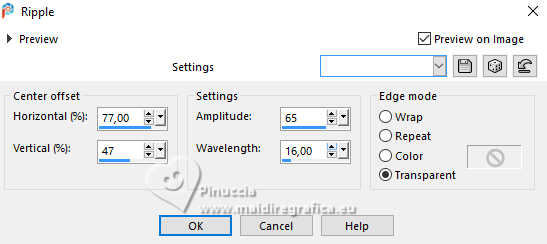
Effects>Distortion Effects>Ripple.
Change the Blend Mode of this layer to Screen and reduce the opacity to 55%.
Layers>Arrange>Move Down.
15. Activate your top layer.
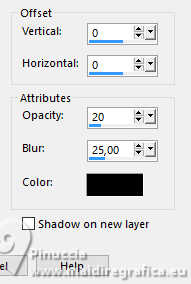
Effects>3D Effects>Drop Shadow, color black.
16. Open the text tekst decoratie 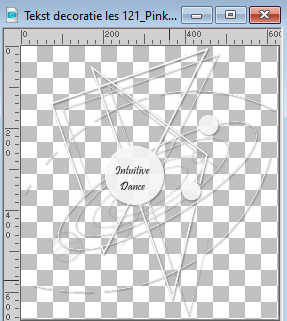
Edit>Copy.
Go back to your work and go to Edit>Paste as new layer.
Objects>Align>Left.
17. Open the tube Tube les 121_Pink 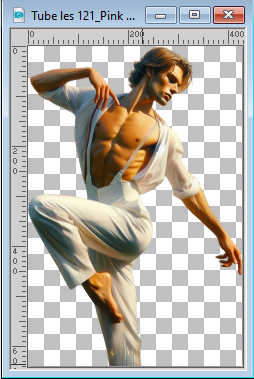
Edit>Copy.
Go back to your work and go to Edit>Paste as new layer.
Objects>Align>Right.
Objects>Align>Bottom.
Effects>3D Effects>Drop Shadow, color black.

Change the Blend Mode of this layer to Luminance (legacy).
Layers>Merge>Merge visible.
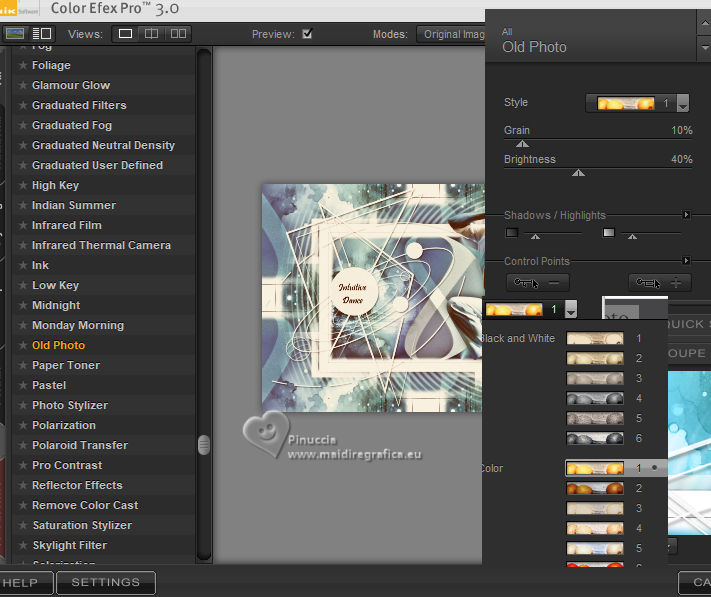
18. Effects>Plugins>Nik Software - Color Efex Pro3.0 Complete - Old Photo
Style: Choose Color 1 per Stile or other according to your work
(Option: You can also duplicate the layer before applying the filter,
then apply the filter and reduce the layer's opacity,
until you get the desired result.)
Image>Add Borders, 1 pixel, symmetric, color white.
19. Sign your work on a new layer.
Layers>Merge>Merge All and save as jpg.
*****
If you want to add animation:
Edit>Copy.
Open Animation Shop and go to Edit>Paste>Paste as new image.
Edit>Duplicate Selected or click Duplicate on the toolbar 
and repeat until you have a 16-frame animation.
clicking Duplicate 5 times, you'll have 17 frames;
Click on the last frame and click Cut 
Now you have 16 frames.
Click on the first frame to select it.
Open the animation SimoneAni517-MNG 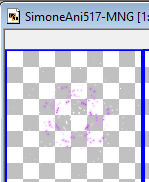 , ,
which also consists of 16 frames.
Edit>Select All.
Edit>Copy.
Activate your work and go to Edit>Paste>Paste into Selected Frame
or click Paste into Selected Frame in the toolbar

Position the animation over the text and when you're sure you've found the correct position,
left-click.
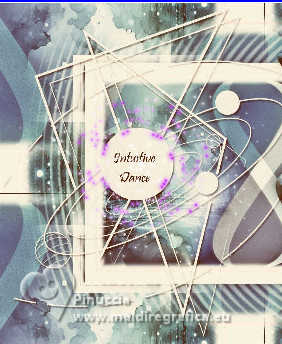
Check the animation clicking on View animation 
and save as a GIF.

If you have problems or doubts, or you find a not worked link,
or only for tell me that you enjoyed this tutorial, write to me.
16 September 2025

|

