YVONNE

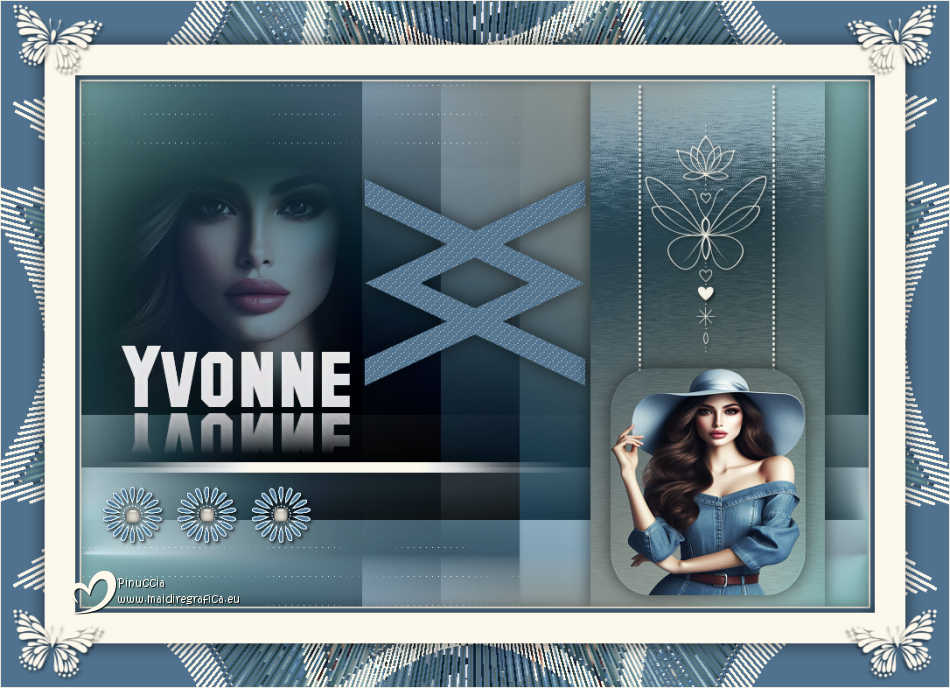
Thanks Brigitte for your invitation to translate

Clic and move the brush to follow the tutorial.

To print


|
This tutorial was translated with PSPX9 and PSP2020, but it can also be made using other versions of PSP.
Since version PSP X4, Image>Mirror was replaced with Image>Flip Horizontal,
and Image>Flip with Image>Flip Vertical, there are some variables.
In versions X5 and X6, the functions have been improved by making available the Objects menu.
In the latest version X7 command Image>Mirror and Image>Flip returned, but with new differences.
See my schedule here
 italian translation here italian translation here
 your versions here your versions here

Necessary

(The links of the tubemakers here).

consult, if necessary, my filter section here
Filters Unlimited 2.0 here
&<Bkg Designer sf10III> (da importare in Unlimited) - Radial Reflections 04 here
Plugin Galaxy - Grid here
Tramages - Wee Scratches here
L&K's - L&K's Zitah here
Alien Skin Eye Candy 5 Impact - Glass here
Filters Tramages can be used alone or imported into Filters Unlimited.
(How do, you see here)
If a plugin supplied appears with this icon  it must necessarily be imported into Unlimited it must necessarily be imported into Unlimited

You can change Blend Modes according to your colors.
In the newest versions of PSP, you don't find the foreground/background gradient (Corel_06_029).
You can use the gradients of the older versions.
The Gradient of CorelX here

Copy the selections in the Selections Folder.
Set your foreground color to #fdf8ec,
and your background color to #50728e
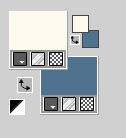
Set your foreground color to a Foreground/Background Gradient, style Radial.
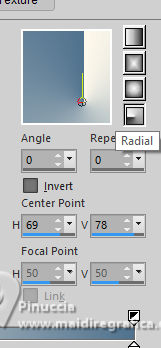
1. Open a new transparent image 900 x 600 pixels.
Flood Fill  the transparent image with your Gradient. the transparent image with your Gradient.
2. Layers>Duplicate.
Image>Mirror>Mirror Horizontal.
Change the Blend Mode of this layer to Overlay (or according to your colors).
3. Layers>New Raster Layer.
Selections>Select All.
Open the tube Tube les123_Pink 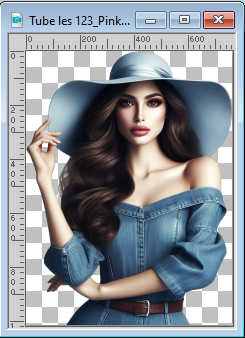
Edit>Copy.
Go back to your work and go to Edit>Paste into Selection.
Selections>Select None.
Change the Blend Mode of this layer to Luminance.
Layers>Merge>Merge visible.
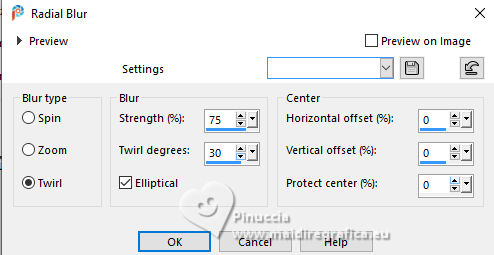
4. Adjust>Blur>Radial Blur.
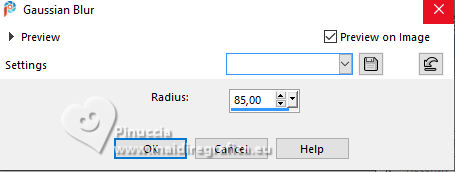
Adjust>Blur>Gaussian Blur - radius 85.
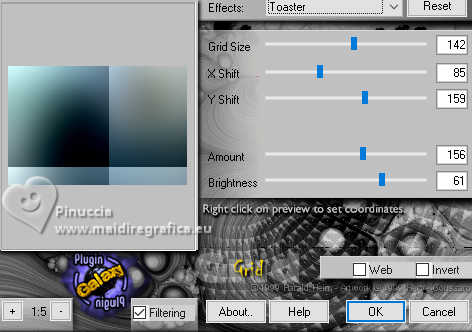
5. Effects>Plugins>Plugin Galaxy - Grid
6. Effects>Image Effects>Seamless Tiling - Stutter Diagonal
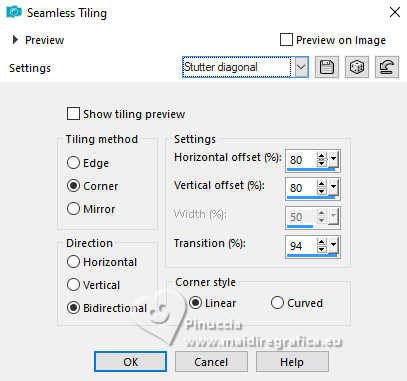
Edit>Repeat Seamless Tiling.
7. Selections>Load/Save Selection>Load Selection from Disk.
Look for and load the selection Sel-1 les 123
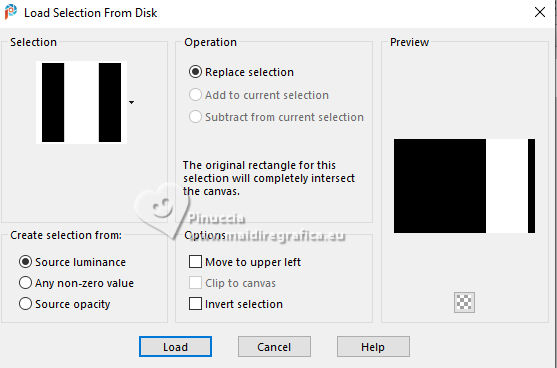
Selections>Promote Selection to Layer.
Adjust>Blur>Gaussian Blur - radius 30.

Selections>Select None.
8. Image>Mirror>Mirror Vertical (Image>Flip)
Effects>Plugins>Tramages - Wee Scratches.
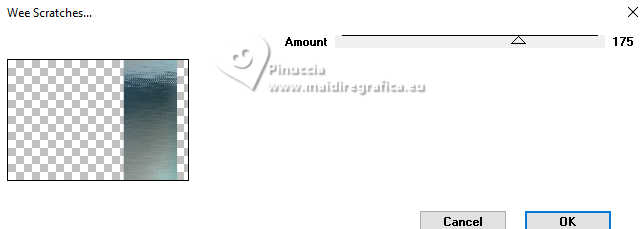
Effects>3D Effects>Drop Shadow, color black.

9. Open Deco-1 les 123_Pink 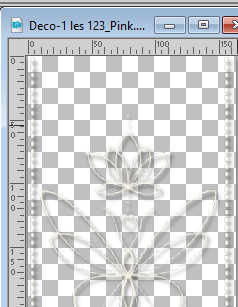
Edit>Copy.
Go back to your work and go to Edit>Paste as new layer.
Effects>Image Effects>Offset.
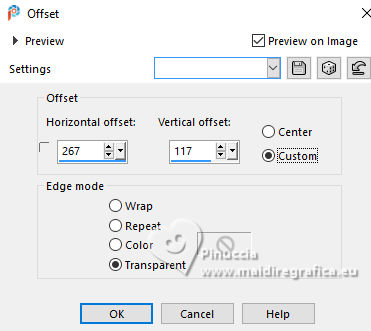
10. Activate the central layer.
Selections>Load/Save Selection>Load Selection from Disk.
Look for and load the selection Sel-2 les 123
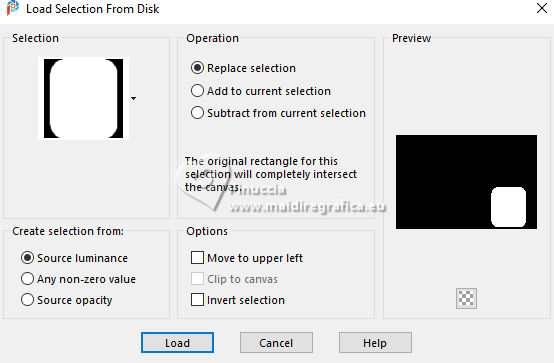
Selections>Promote Selection to Layer.
Layers>Arrange>Bring to top.
Activate again your tube and go to Edit>Copy.
Go back to your work and go to Edit>Paste into Selection.
Adjust>Sharpness>Sharpen.
Selections>Select None.
Effects>3D Effects>Drop Shadow, last settings.
11. Activate your bottom layer.
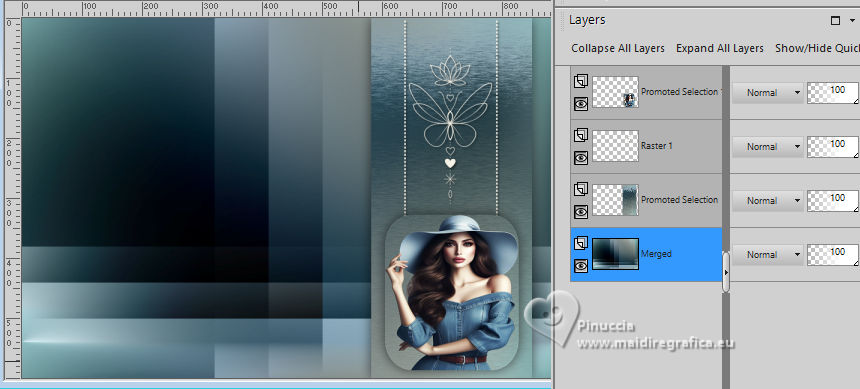
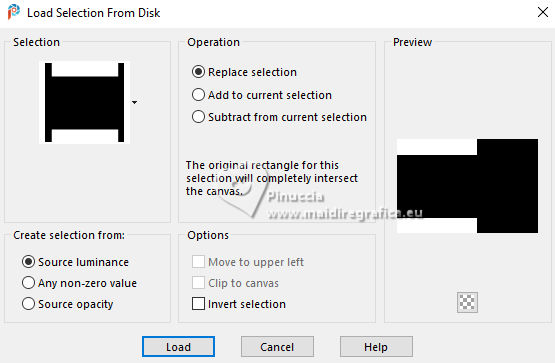
Selections>Load/Save Selection>Load Selection from Disk.
Look for and load the selection Sel-3 les 123
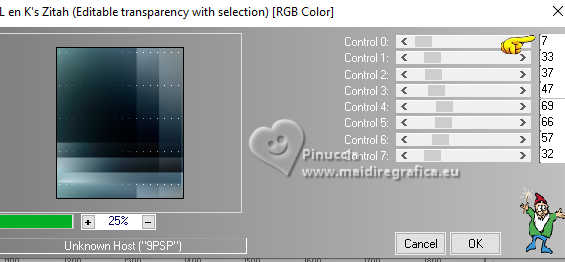
Effects>Plugins>L&K's - L&K's Zitah
Selections>Select None.
12. Layers>New Raster Layer.
Selections>Load/Save Selection>Load Selection from Disk.
Look for and load the selection Sel-4 les 123
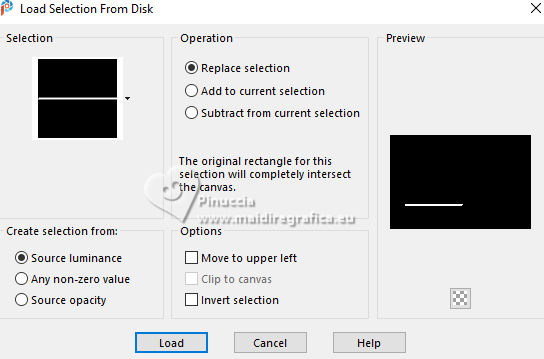
Set your foreground color to Color.
Flood Fill  the selection with your foreground color. the selection with your foreground color.
Selections>Select None.
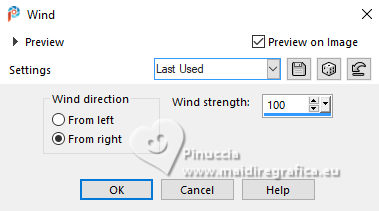
13. Effects>Distortion Effects>Wind - from left, strenght 100.
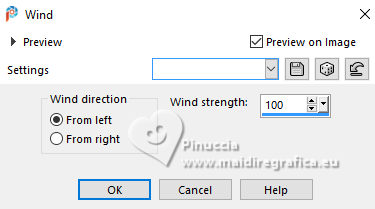
Effects>Distortion Effects>Wind - from right, strenght 100.
Effects>3D Effects>Drop Shadow, last settings.
14. Layers>New Raster Layer.
Selections>Load/Save Selection>Load Selection from Disk.
Look for and load the selection Sel-5 les 123
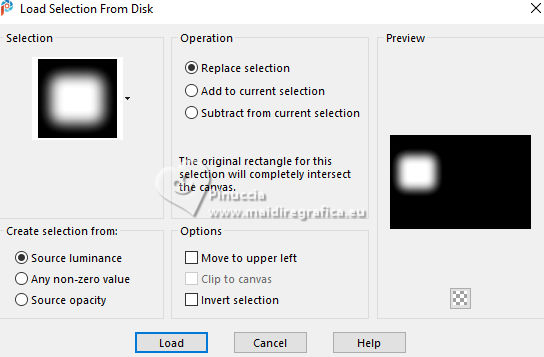
Reduce the opacity of your Flood Fill Tool to 60%.
Flood Fill  the selection with your background color. the selection with your background color.
Set again the opacity of your Flood Fill Tool to 100.
15. Edit>Paste as new layer - your tube is still in memory.
Move  the tube with the face in the selection. the tube with the face in the selection.
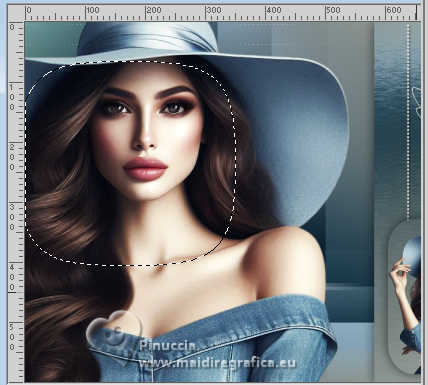
Selections>Invert.
Press CANC on the keyboard 
Selections>Select None.
Change the Blend Mode of this layer to Soft Light.
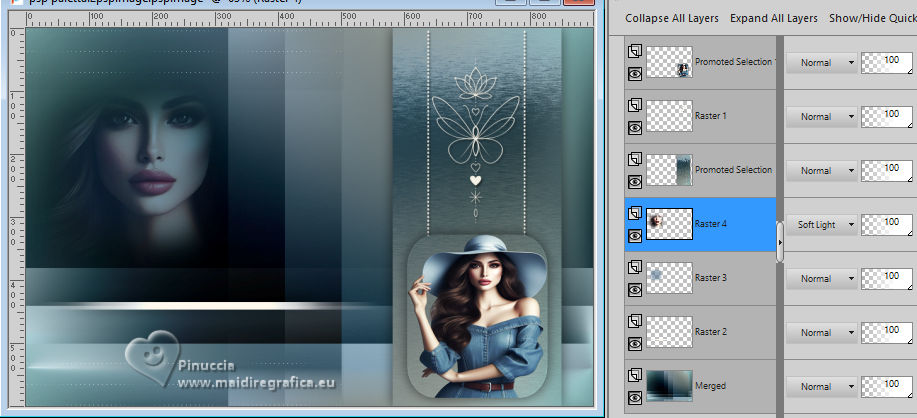
16. Open the Tekst les 123_Pink 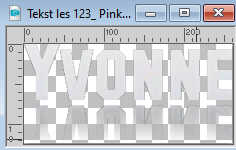
Edit>Copy.
Go back to your work and go to Edit>Paste as new layer.
Place  the text as below the text as below
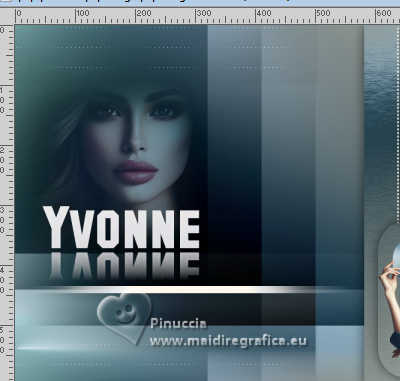
17. Layers>New Raster Layer.
Selections>Load/Save Selection>Load Selection from Disk.
Look for and load the selection Sel-6 les 123
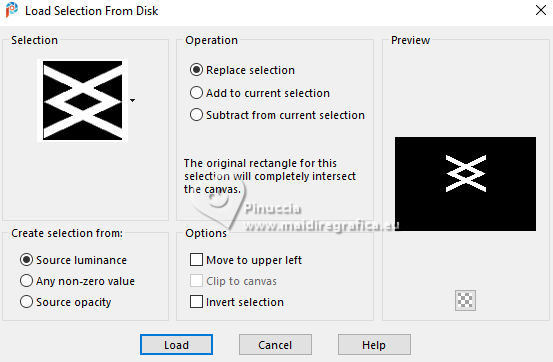
Flood Fill  the selection with your background color. the selection with your background color.
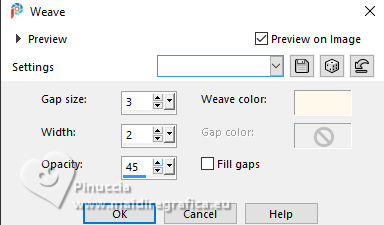
Effects>Texture Effects>Weave
weave color: foreground color.
Selections>Select None.
Effects>3D Effects>Drop Shadow, last settings.
18. Layers>New Raster Layer.
Selections>Load/Save Selection>Load Selection from Disk.
Look for and load the selection Sel-7 les 123

Flood Fill  the selection with your background color. the selection with your background color.
Selections>Select None.
19. Effects>Edge Effects>Enhance More.
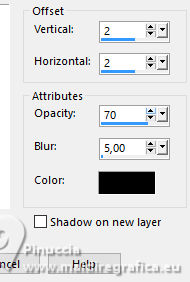
Effects>3D Effects>Drop Shadow, color black.
20. Layers>New Raster Layer.
Selections>Load/Save Selection>Load Selection from Disk.
Look for and load the selection Sel-8 les 123

Flood Fill  the selection with your foreground color. the selection with your foreground color.
Selections>Select None.
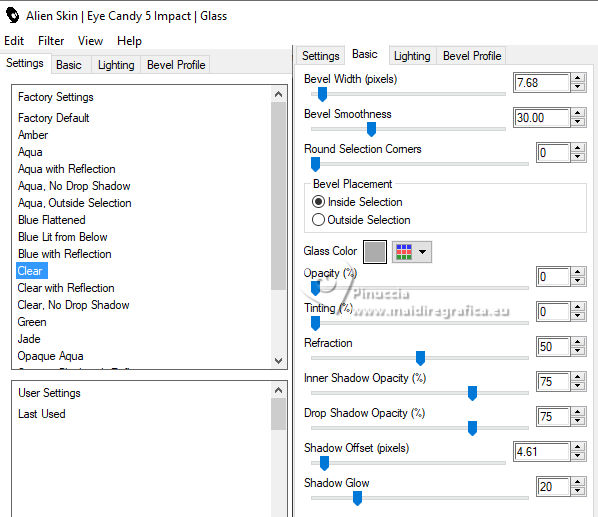
Effects>Plugins>Alien Skin Eye Candy 5 Impact - Glass
select the preset Clear.
21. Image>Add Borders, 2 pixels, symmetric, foreground color.
Image>Add Borders, 5 pixels, symmetric, background color.
Selections>Select All.
Image>Add Borders, 35 pixels, symmetric, foreground color.
Selections>Invert
Effects>3D Effects>Drop Shadow, color black.

22. Selections>Select All.
Image>Add Borders, 50 pixels, symmetric, background color.
Selections>Invert.
Effects>Plugins>Filters Unlimited 2.0 - &<Bkg Designer sf10III> - Radial Reflexion 04.
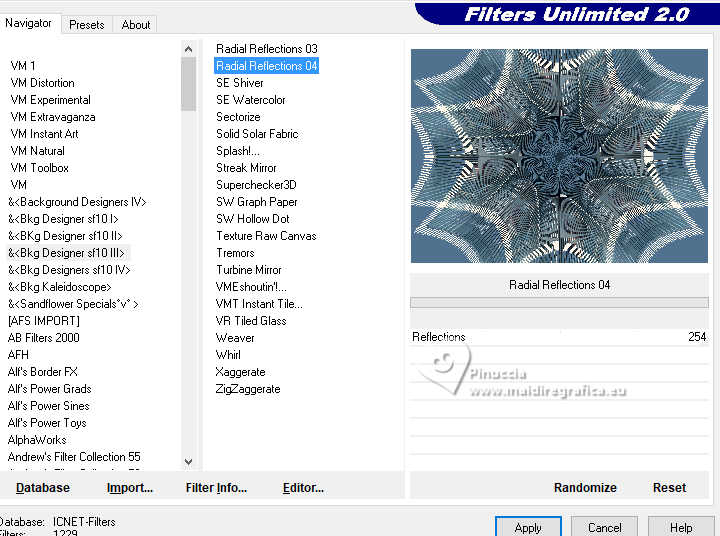
Selections>Invert.
Effects>3D Effects>Drop Shadow, last settings.
Selections>Select None.
23. Open Deco-2 les 123_Pink 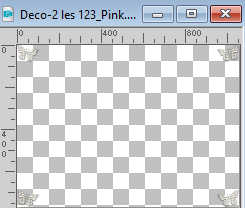
Edit>Copy.
Go back to your work and go to Edit>Paste as new layer.
Don't move it.
24. Sign your work on a new layer.
Immagine>Aggiungi bordatura, 1 pixel, symmetric, foreground color.
Resize, if you wand, and save as jpg.br>
Version with my tubes from Pinterest images
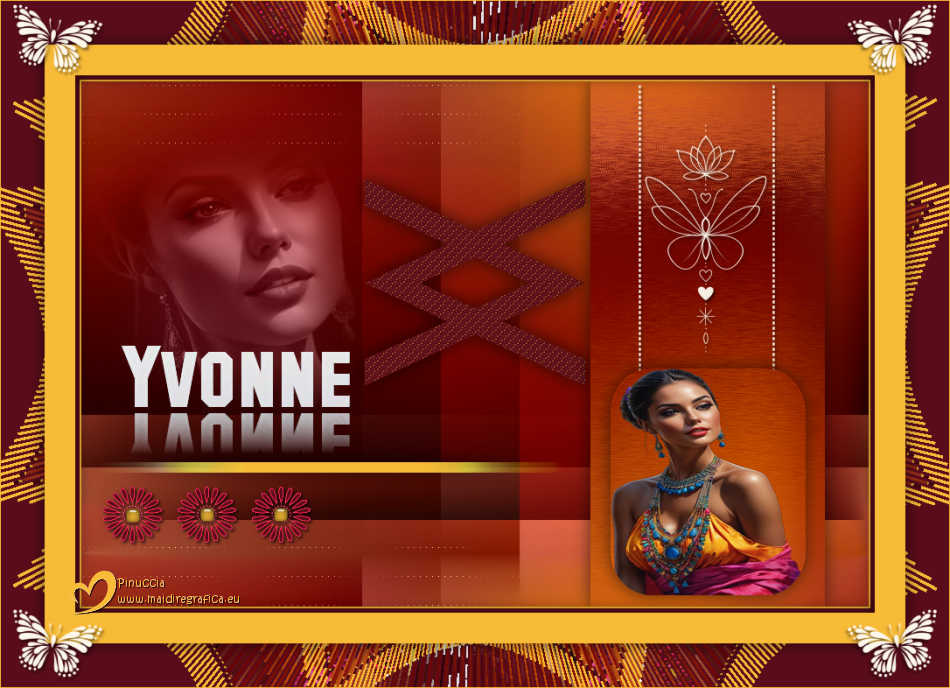
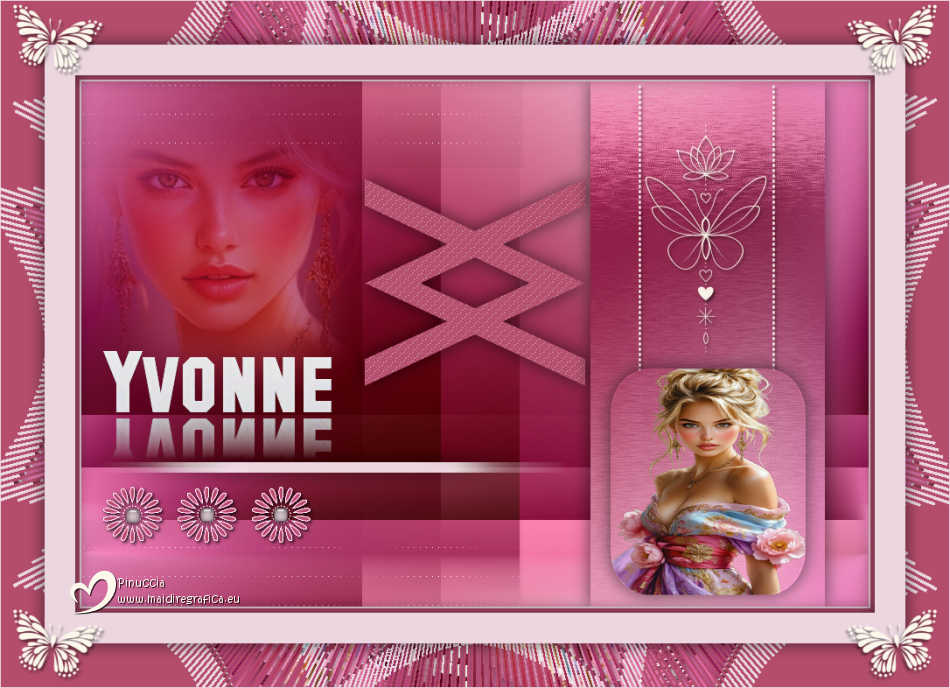

If you have problems or doubts, or you find a not worked link,
or only for tell me that you enjoyed this tutorial, write to me.
21 January 2026

|

