|
WONDERFUL MEMORIES  

This tutorial. written with PSP2020 and Psp2022. was translated with Psp2020, but it can also be made using other versions of PSP.
For this tutorial, you will need:  The material is by Roberta Maver. (The links of the tubemakers here). Plugins consult, if necessary, my filter section here Filters Unlimited 2.0 here L&&K's - L&K's Elvida here FM Tile Tools - Blend Emboss here Funhouse - Seismic - in the material. Filters Funhouse can be used alone or imported into Filters Unlimited. (How do, you see here) If a plugin supplied appears with this icon  You can change Blend Modes according to your colors. In the newest versions of PSP, you don't find the foreground/background gradient (Corel_06_029). You can use the gradients of the older versions. The Gradient of CorelX here  1. Choose 2 colors from your misted. For me: Set your foreground color to the light color #7fa4b6, and your background color to the dark color #163b65. 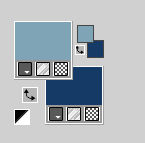 third color: #000000 Set your foreground color to a Foreground/Background Gradient, style Sunburst. 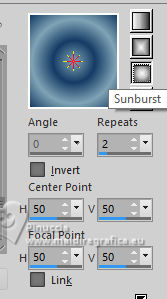 2. Open a new transparent image 950 x 600 pixels. Flood Fill  the transparent image with your Gradient. the transparent image with your Gradient.3. Layers>New Raster Layer. Selections>Select All. Open your main tube Tube01_byRobertaMaver 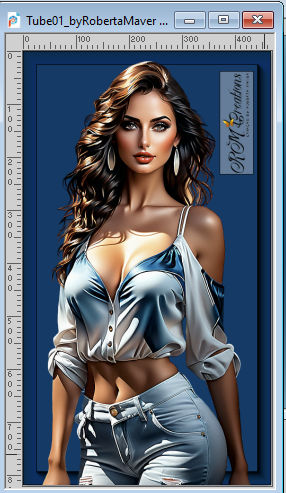 Edit>Copy. Minimize the tube Go back to your work and go to Edit>Paste Into Selection. Selections>Select None. 4. Effects>Image Effects>Seamless Tiling, default settings.  5. Adjust>Blur>Radial Blur. 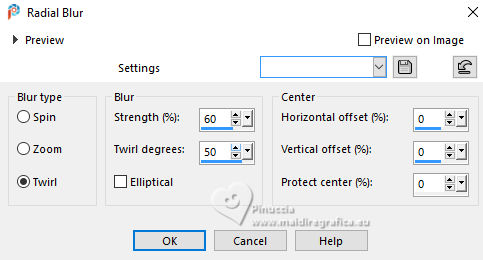 6. Effects>Image Effects>Seamless Tiling, default settings.  7. Effects>Edge Effects>Enhance More. Effects>Plugins>Filters Unlimited 2.0 - FunHouse - Seismic, default settings. 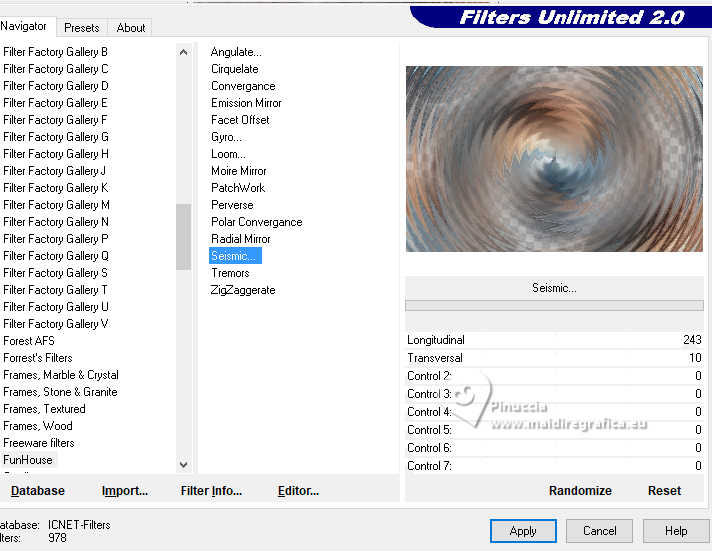 8. Effects>Plugins>L&&K's - L&K's Elvida. 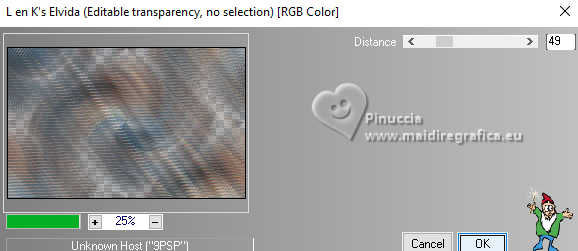 9. Change the Blend Mode of this layer to Hard Light, Opacity: 100% 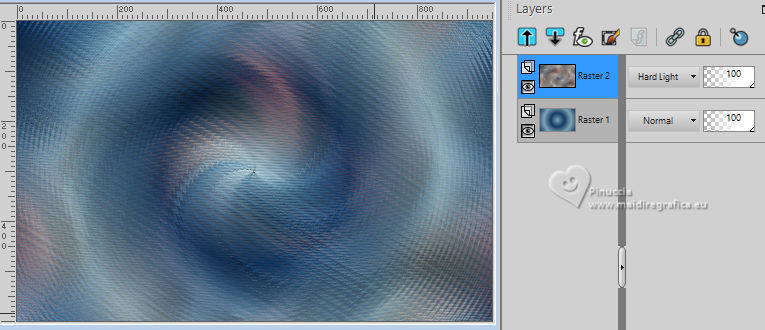 Layers>Duplicate. Change the Blend Mode of this layer to Overlay, opacity 100% 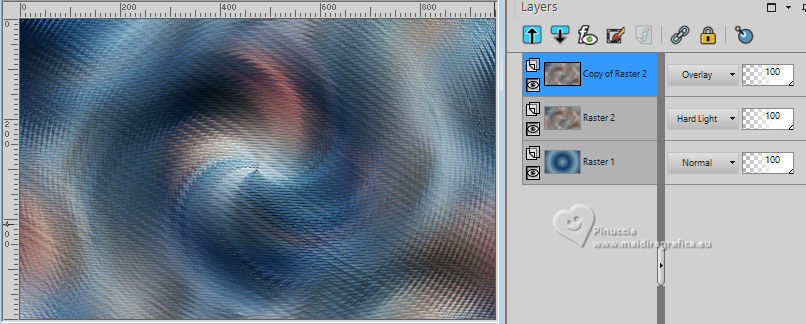 Layers>Merge>Merge Visible. 10. Adjust>Add/Remove Noise>Add Noise. 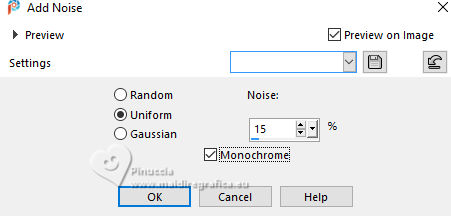 11. Open Decor_byRobertaMaver 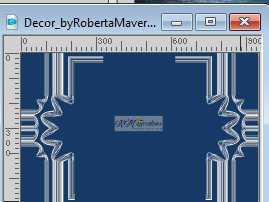 Edit>Copy. Go back to your work and go to Edit>Paste as New Layer. Layers>Duplicate. 12. Adjust>Blur>Gaussian Blur - radius 20  Change the Blend Mode of this layer to Dissolve and reduce the opacity to 30%. Layers>Arrange>Move Down. 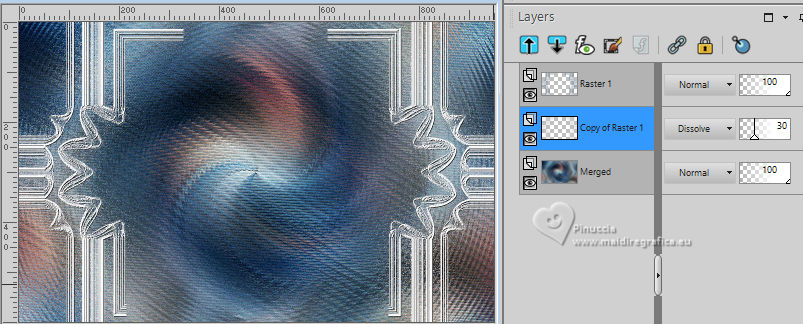 13. Activate the layer Merged. Layers>Duplicate. Layers>Arrange>Bring to Top. 14. Effects>Plugin>Mura's Meister - Perspective Tiling 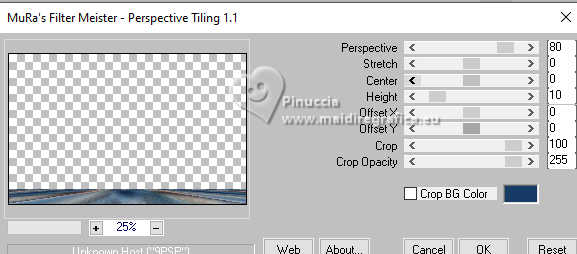 Repeat Perspective Tiling another time. 15. Activate your Magic Wand Tool  Tolerance 0, Feather 50, Tolerance 0, Feather 50, and click in the transparent part to select it. Press 3 times CANC on the keyboard  Selections>Select None. don't forget to set again the feather of your Magic Wand Tool to 0 16. Open the misted Paisagem01_byRobertaMaver 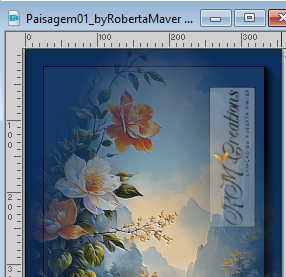 Edit>Copy. Go back to your work and go to Edit>Paste as New Layer. Adjust>Sharpness>Sharpen. 17. Objects>Align>Left. Layers>Duplicate. Image>Mirror>Mirror Horizontal. 18. Activate again your main tube Tube01_byRobertaMaver and go to Edit>Copy. Go back to your work and go to Edit>Paste as New Layer. Image>Resize, to 70%, resize all layers not checked. Adjust>Sharpness>Sharpen. Effects>3D Effects>Drop Shadow, at your choice. 19. Image>Add Borders, 2 pixels, symmetric, foreground color. Image>Add border, 5 pixels, symmetric, background color. Image>Add Borders, 2 pixels, symmetric, foreground color. 20. Selections>Select All. Image>Add Bordes - 50 pixels, symmetric, background color. Selections>Invert. 21. Adjust>Add/Remove Noise>Add Noise, same settings  22. Effects>Plugins>FM Tile Tools - Blend Emboss, default settings.  Selections>Invert. Effects>3D Effects>Drop Shadow, color black #000000.  Selections>Select None. 23. Open Decor2_byRobertaMaver 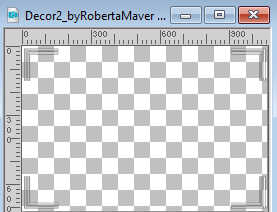 Edit>Copy. Go back to your work and go to Edit>Paste as new layer. Effects>3D Effects>Drop Shadow, colot black #000000. 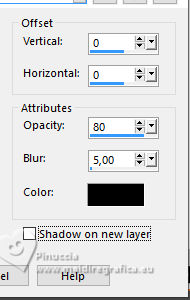 24. Open Decor3_byRobertaMaver 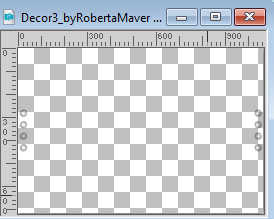 Edit>Copy. Go back to your work and go to Edit>Paste as new layer. 25. Open Titulo_WonderfulMemories_by7RobertaMaver-Marcinha 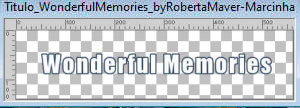 Activate the Raster 1, and colorize it with the dark color of your work. If you want, also colorize the Raster 2 layer with the light color of your work. Or invert the colors, dark color in white and light color in dark blue. Edit>Copy Special>Copy Merged. Go back to your work and go to Edit>Paste as New Layer. Effects>3D Effects>Drop Shadow, color black #000000.  Objects>Align>Top, or move it  on the top border. on the top border.26. Image>Add Borders, 2 pixels, symmetric, foreground color. 27. Sign your work on a new layer. Layers>Merge>Merge All and save as jpg. For the tubes of this version thanks Adrienne. 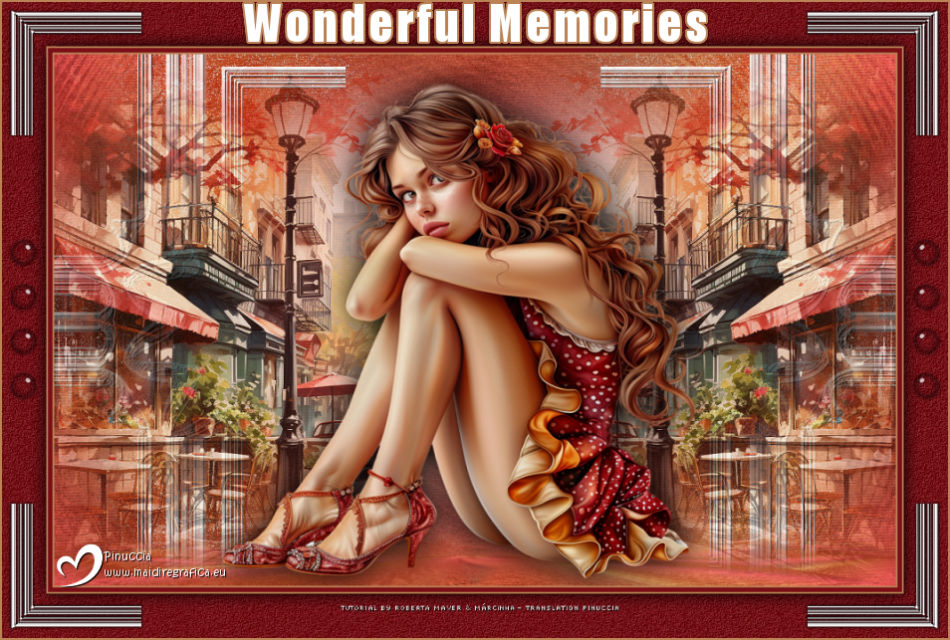   Your versions. Thanks Your versions. Thanks Sue  Marion   If you have problems or doubts, or you find a not worked link, or only for tell me that you enjoyed this tutorial, write to me. |


