|
ÂME VOILÉE  VEILED SOUL VEILED SOUL 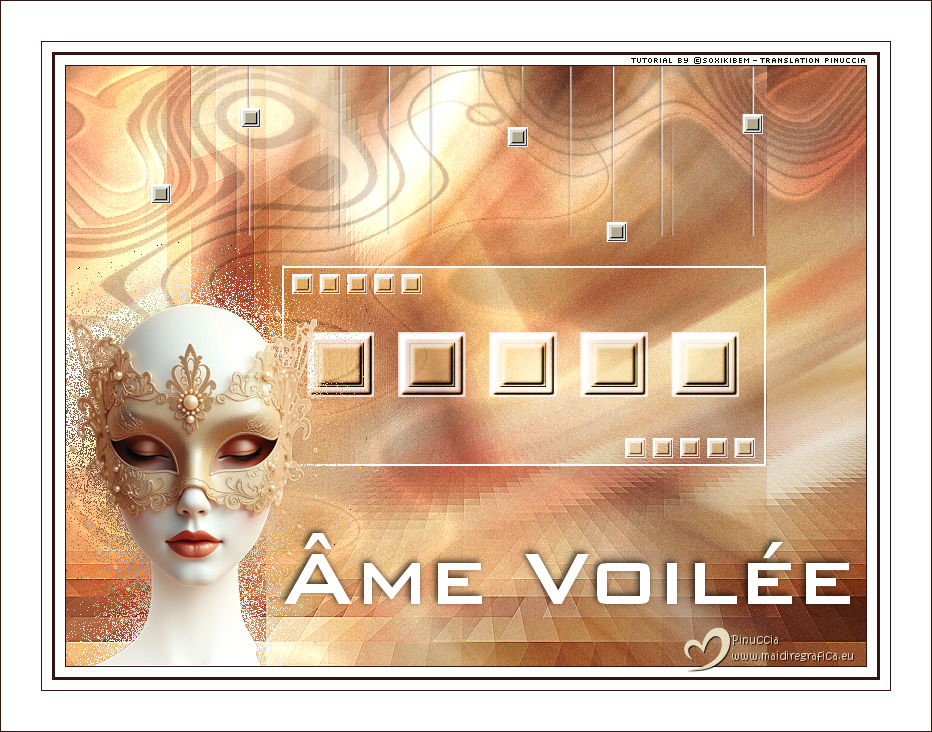
 Veiled Soul - Behind the mask, closed eyes preserve secrets, emotions, and the silent beauty of a soul that dances between light and shadow.
This tutorial was written with Psp2022 and translated with PspX2020, but it can also be made using other versions of PSP.
For this tutorial, you will need:  (The links of the tubemakers here).  consult, if necessary, my filter section here Frischluft - Mosaic Plane here Mura's Meister - Copies here You can also follow the video tutorial created by Soxikibem   You can change Blend Modes according to your colors. In the newest versions of PSP, you don't find the foreground/background gradient (Corel_06_029). You can use the gradients of the older versions. The Gradient of CorelX here  Copy the selection in the Selections Folder. Open the mask in PSP and minimize it with the rest of the material. 1.Choose 3 colors to work. Foreground: #34150f Background: #e8dcc0 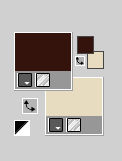 Color 3: #ffffff 2. Open a new transparent image 800 x 600 pixels. Flood Fill  the transparent image with your foreground color. the transparent image with your foreground color.Selections>Select All. 3. Open your tube or misted in the Carnival theme 018_TubeA_carnaval 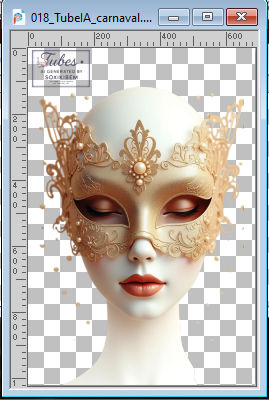 Erase the watermark and go to Edit>Copy. Go back to your work and go to Edit>Paste into Selection. Selections>Select None. 4. Effects>Image Effects>Seamless Tiling, default settings  5. Adjust>Blur>Radial Blur. 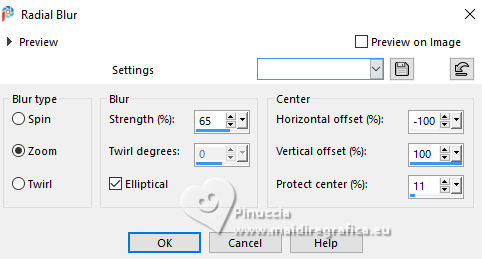 6. Effects>Plugins>Frischluft - Mosaic Plane V1.1 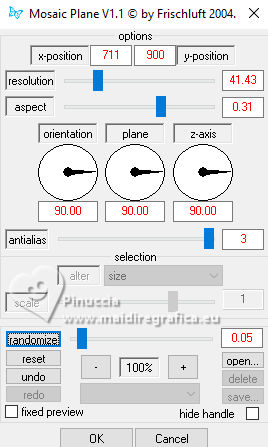 7. Effects>Edge Effects>Enhance. 8. Layers>Duplicate. Effects>Plugins>Mura's Meister - Copies. 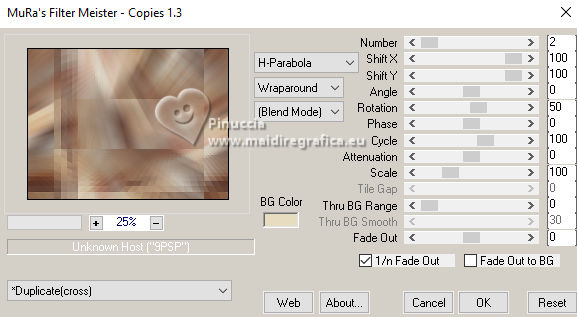 9. Layers>Properties>General>Blend Mode: Hard Light. author's note: in the second version I used Dodge  10. Activate the layer Raster 1. Adjust>Add/Remove Noise>Add Noise. 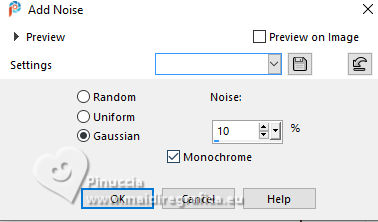 11. Activate the layer Copy of Raster 1. 12. Activate your Selection Tool  (no matter the type of selection, because with the custom selection your always get a rectangle) clic on the Custom Selection  and set the following settings. 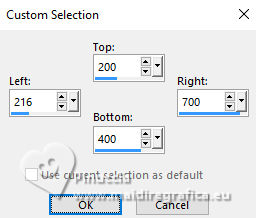 13. Layers>New Raster Layer. Set your foreground color to white  Flood Fill the layer with color white.14. Selections>Modify>Contract - 2 pixels. Press CANC on the keyboard  Selections>Select None. 15. Layers>New Raster Layer. Selections>Load/Save Selections>Load Selection From Disk. Look for and load the selection 19Fest_xiki1 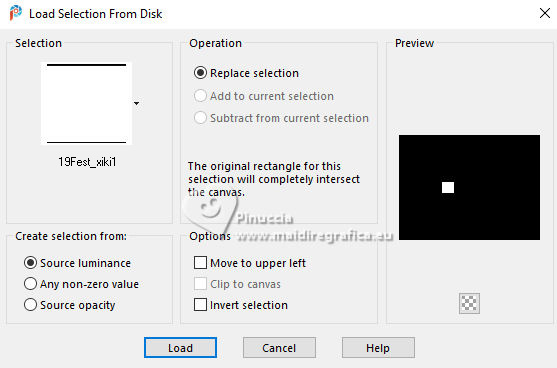 16. Flood Fill the selection with color white.Selections>Modify>Contract - 10 pixels. Flood Fill the selection with your background color.17. Effects>3D Effects>Inner Bevel. 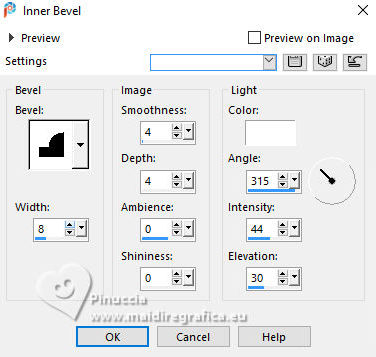 Selections>Select None. 18. Effects>3D Effects>Inner Bevel, same settings. 19. Effects>Plugins>Mura's Meister - Copies.  20. Layers>Properties>General>Blend Mode: Hard Light.  21. Layers>Duplicate. Image>Resize, 30%, resize all layers not checked. Adjust>Sharpness>Sharpen. Pick Tool  Position X: 226,00 - Position Y: 208,00.  22. Layers>Duplicate. Position X: 559,00 - Position Y: 372,00.  23. Activate the layer Copy of Raster 1.  Layers>New Raster Layer. Flood Fill the selection with color white.24. Layers>New Mask layer>From image Open the menu under the source window and you'll see all the files open. Select the mask P&A_Mask045.  Layers>Merge>Merge Group. Layers>Properties>General>Blend Mode: Dodge - Opacity: 70%.  25. Activate your top layer, Copy (2) of Raster 3. Edit>Paste as New Layer - your tube is still in memory. 26. Image>Resize, if necessary, for the supplied tube to 40%. Adjust>Sharpness>Sharpen. Move  the tube to your liking the tube to your likingfor me: Pick Tool Position X: 3,00 - Position Y: 237,00.  27. Layers>Duplicate. Adjust>Blur>Gaussian Blur - radius 30.  Layers>Arrange>Move Down. Layers>Properties>General>Blend Mode: Dissolve or to your liking. 28. Activate your top layer. Open 19Fest_titulo_Xiki or 19Fest_tituloPT_Xiki  Erase the watermark and go to Edit>Copy. Go back to your work and go to Edit>Paste as New Layer. I've included the title in both French and Portuguese, but I've also included the source. If you'd like to write your own title... 29. Pick Tool Position X: 218,00 - Position Y: 467,00.  30. Effects>3D Effects>Drop Shadow, color black.  31. Open 19Fest_Decor1  Erase the watermark and go to Edit>Copy. Go back to your work and go to Edit>Paste a New Layer. 32. Pick Tool Position X: 78,00 - Position Y: 0,00.  33. For the borders, set again your foreground color to #34150f. Image>Add Borders, 1 pixel, symmetric, foreground color. Image>Add Borders, 10 pixels, symmetric, color white. Image>Add Borders, 3 pixels, symmetric, foreground color. Image>Add Borders, 10 pixels, symmetric, color white. Image>Add Borders, 1 pixel, symmetric, foreground color. Image>Add Borders, 40 pixels, symmetric, color white. Image>Add Borders, 1 pixel, symmetric, foreground color. 34. Open Credit-Tutorial_bySoxikibem and go to Edit>Copy. Go back to your work and go to Edit>Paste as new layer. Don't forget your translator's watermark. Sign your work on a new layer. Layers>Merge>Merge All and save as jpg. Version with my tube from Pinterest 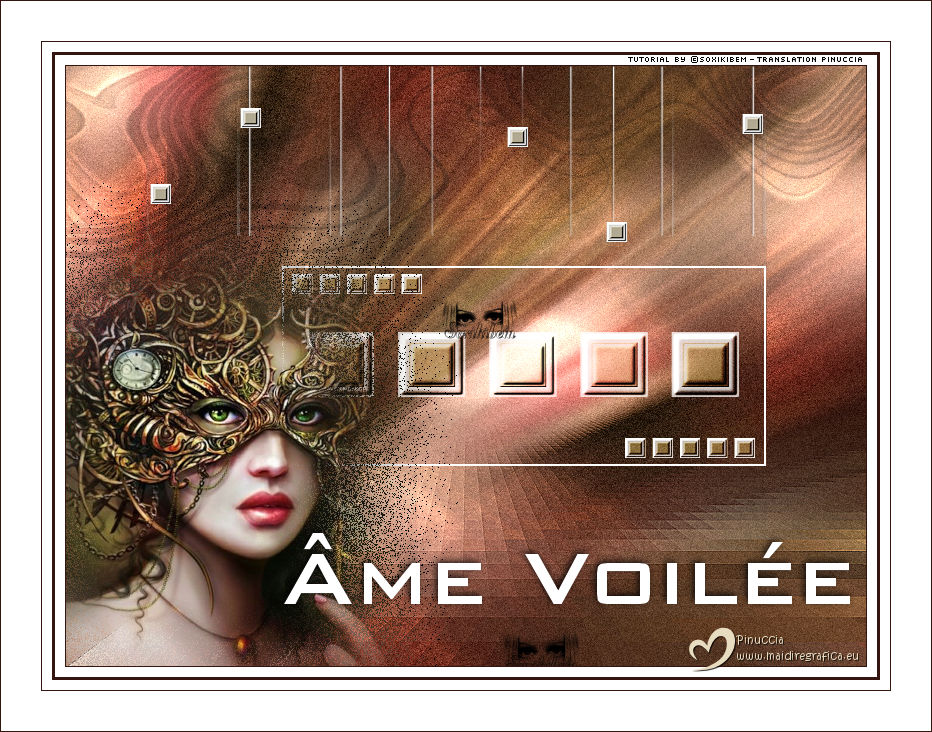  Your versions. Thanks 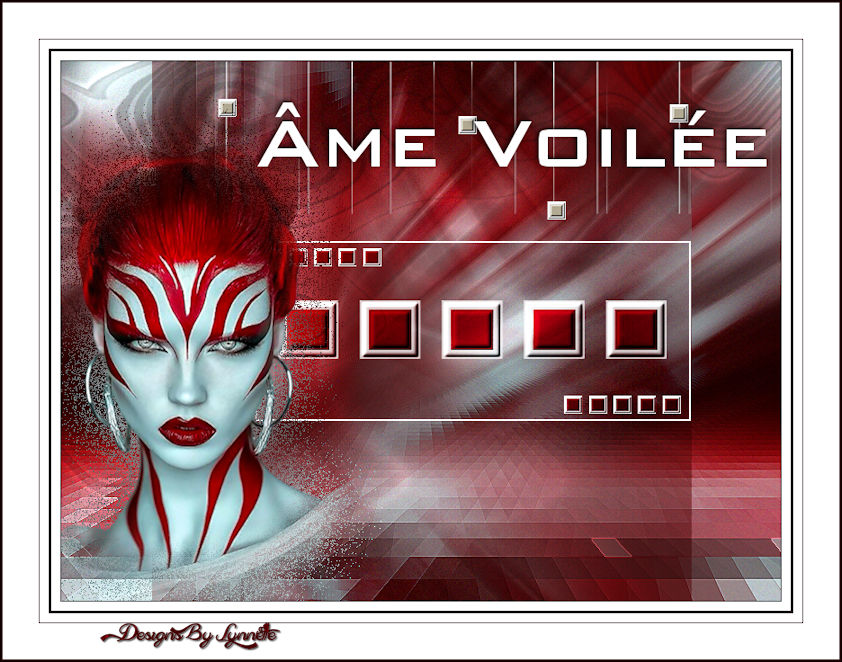 Lynnette  Marygraphics  Aria  If you have problems or doubts, or you find a not worked link, or only for tell me that you enjoyed this tutorial, write to me. 20 Janvier 2025 |