|
BOTANICAL SOUL  
 midst shades of green and nature's whispers, your soul blooms like a leaf in the wind. Serenity and life intertwine in a single breath, where birds sing secrets and the essence of the earth reflects in your gaze.
This tutorial was written with Psp2022 and translated with PspX2020, but it can also be made using other versions of PSP.
For this tutorial, you will need:  Thanks for the tube PqnaAlice. (The links of the tubemakers here).  consult, if necessary, my filter section here Filters Unlimited 2.0 here Alien Skin Eye Candy 5 Impact - Backlight here Carolaine and Sensibility - CS_HLines, CS_LDots here Filter Factory Gallery A - Spotlight, Weave, Zoom in here Toadies - Weaver here AAA Filters - AAA Framer here Filters Factory Gallery and Toadies can be used alone or imported into Filters Unlimited. (How do, you see here) If a plugin supplied appears with this icon  it must necessarily be imported into Unlimited it must necessarily be imported into Unlimited You can change Blend Modes according to your colors. In the newest versions of PSP, you don't find the foreground/background gradient (Corel_06_029). You can use the gradients of the older versions. The Gradient of CorelX here  Copy the selections in the Selections Folder. 1. Choose 4 colors to work. Foreground: #2b442d Background: #c5ce9f 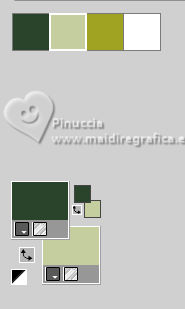 Color 3: #9fa322 Color 4: #ffffff Set your foreground color to a Foreground/Background Gradient, style Sunburst. 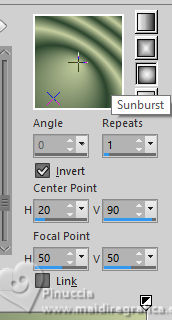 2. Open a new transparent image 850 x 600 pixels. Flood Fill  the transparent image with your Gradient. the transparent image with your Gradient.3. Layers>Duplicate. Image>Mirror>Mirror Horizontal. Layers>Properties>General>Blend Mode: Soft Light. Layers>Merge>Merge Down. 4. Layers>Duplicate. Adjust>Blur>Gaussian Blur, radius 25. 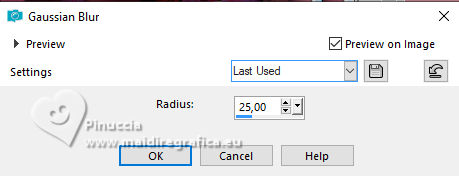 Effects>Plugins>Filters Factory Gallery A - Weave 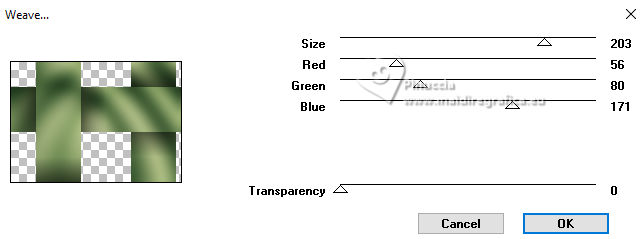 5. Effects>Reflection Effects>Rotating Mirror. 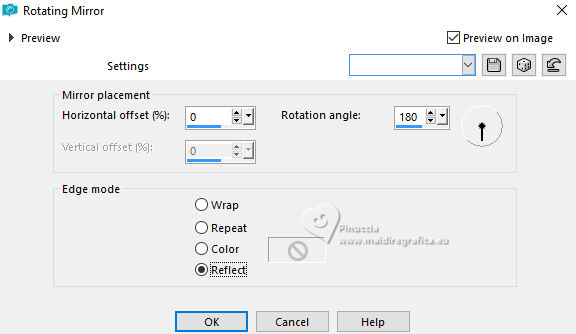 6. Activate your Selection Tool  (no matter the type of selection, because with the custom selection your always get a rectangle) clic on the Custom Selection 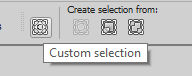 and set the following settings. 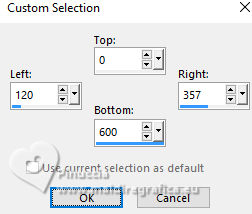 Selections>Promote Selection to Layer. Selections>Select None. 7. Effects>Plugins>Filters Factory Gallery A - Spotlight 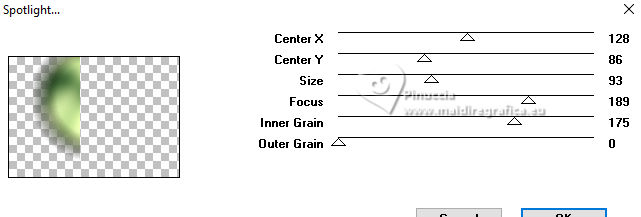 8. Layers>Duplicate. Image>Mirror>Mirror Horizontal. Image>Mirror>Mirror Vertical. Layers>Merge>Merge Down. Effects>Plugins>Toadies - Weaver 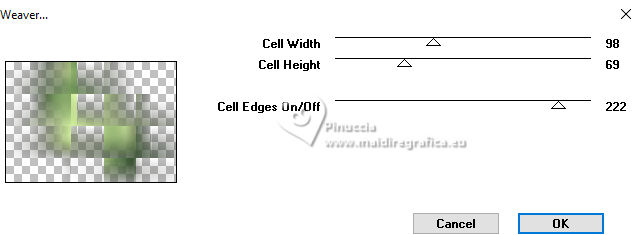 9. Effects>Plugins>Carolaine and Sensibility - CS_LDots. 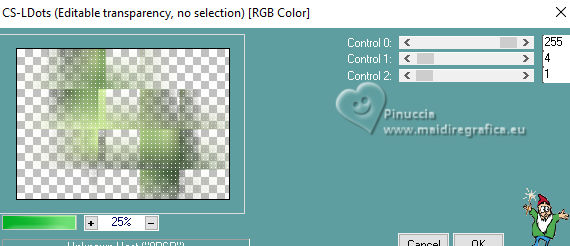 Layers>Properties>General>Blend Mode: Overlay. 10. Activate the layer Copy of Raster 1. Effects>Geometric Effects>Skew.  11. Effects>Image Effect>Seamless Tiling - Default.  Effects>Plugins>Carolaine and Sensibility - CS_HLines. 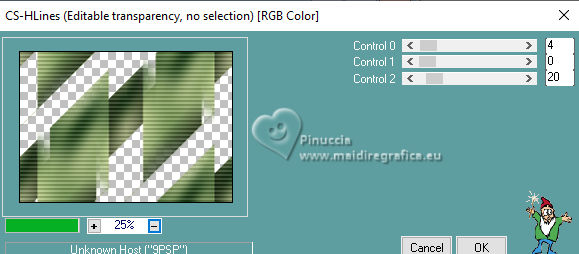 Layers>Properties>General>Blend Mode: Lighten. Adjust>Sharpeness>Sharpen More. 12. Activate the layer Raster 1. Effects>Reflection Effects>Kaleidoscope. 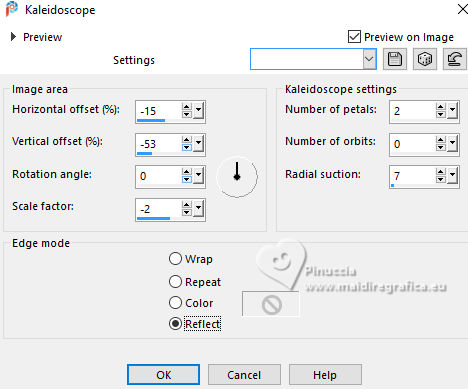 13. Effects>Artistic Effects>Halftone. 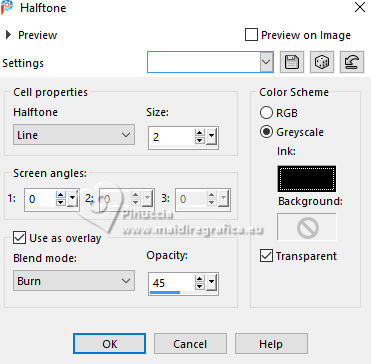 14. Activate your top layer, Promoted Selection. Layers>New Raster Layer. Selections>Load/Save Selections>Load Selection From Alpha Channel. Open the selection menu and load the selection 296_Xiki1 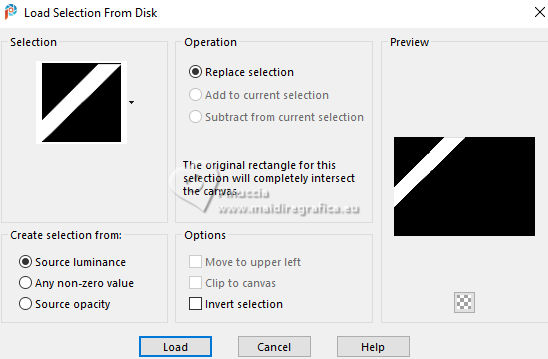 Set your foreground color to the color 3, and your background color to white 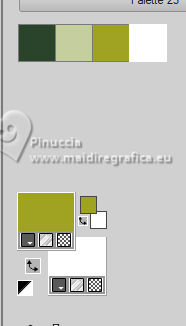 Flood Fill the selection with the new foreground color.Selections>Modify>Contract - 2 pixels. 15. Reduce the opacity of your Flood Fill Tool to 40%. Flood Fill the selection with your white background color.Selections>Select None. Layers>Duplicate. Image>Mirror>Mirror Horizontal. Image>Mirror Mirror Vertical. Layers>Merge>Merge Down. 16. Effects>Plugins>Alien Skin Eye Candy 5 Impact - Backlight. 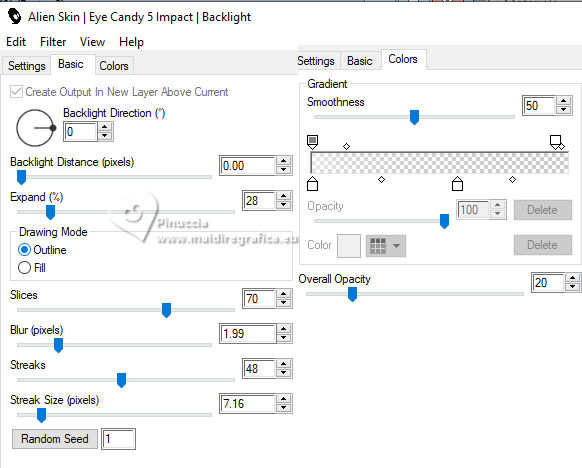 Layers>Properties>General>Blend Mode: Luminance (L). 17. Open the tube 1283MulherByPqnaAlice  Erase the watermark and go to Edit>Copy. Go back to your work and go to Edit>Paste as new layer. Image>Resize, if necessary, for the provided tube to 65%. Apply the effect which you prefer; I only used Sharpen because I needed to resize it. 18. Edit>Copy Special>Copy Merged. Layers>New Raster Layer. Selections>Load/Save Selections>Load Selection From Alpha Channel. Open the selection menu and load the selection 296_Xiki2  Set again the opacity of your Flood Fill to 100. Flood Fill the selection with your white background color.Selections>Modify>Contract - 2 pixels. Press CANC on the keyboard. Selections>Modify>Contract - 10 pixels. Reduce the opacity of your Flood Fill tool to 50%. Flood Fill the selection with your white background color.Selections>Modify>Contract - 10 pixels. Press CANC on the keyboard. Selections>Modify>Contract - 2 pixels. Set again the opacity of your Flood Fill Tool to 100. Flood Fill the selection with your white background color.Selections>Modify>Contract - 2 pixels. Edit>Paste Into Selection Adjust>Sharpness>Sharpen. Selections>Select None. 19. Layers>Duplicate. Image>Resize, to 60%, resize all layers not checked. Adjust>Sharpness>Sharpen. Pick Tool  Position X: 191,00 - Position Y: 73,00.  20. Open Decor296_Xiki  Erase the watermark and go to Edit>Copy. Go back to your work and go to Edit>Paste as New Layer. Pick Tool Position X: 113,00 - Position Y: 76,00.  21. Image>Add Borders, 1 pixels, symmetric, color 3 (now foreground color). Image>Add Borders, 8 pixels, symmetric, color white Image>Add Borders, 1 pixels, symmetric, color 3 (now foreground color). Image>Add Borders, 3 pixels, symmetric, color white Image>Add Borders, 1 pixels, symmetric, color 3 (now foreground color). 22. Layers>Duplicate. Image>Resize, to 85%, resize all layers not checked. Adjust>Sharpness>Sharpen. 23. Activate your background layer. Effects>Plugins>Filters Factory Gallery A - Zoom In  24. Effects>Plugins>AAA Filters - AAA Framer  25. Activate your top layer, Copy of Background. Open TituloBS_Xiki  Erase the watermark and go to Edit>Copy. Go back to your work and go to Edit>Paste as New Layer. Pick Tool Position X: 493,00 - Position Y: 263,00.  26. Sign your work and save as jpg. Version with my tube from a Pinterest image 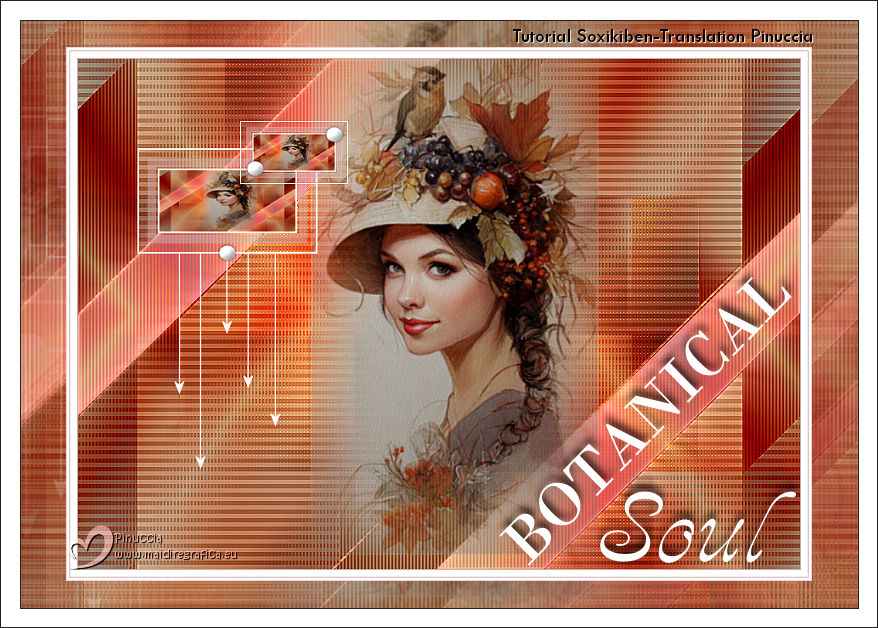  Your versions. Thanks  Luna  Jolcsi  If you have problems or doubts, or you find a not worked link, or only for tell me that you enjoyed this tutorial, write to me. 4 November 2025 |


