|
COQUETTE  
 Charming, vain... She is the detail. Elle est le détail. In the curve of her smile, in the murmur of her gaze, in the silence that dresses her with elegance. She doesn't need to shine brighter. son éclat est discret, mais inoubliable. Each gesture has the lightness of a breath, each step, the precision of a ballet. She doesn't compete. She inhabits. Her tones are soft, but leave a perfume - of red, of mystery, of presence. In the midst of the world's noise, she enchants like a whisper in French. Because true charm doesn't shout. Elle murmure: regarde-moi bien. And so, without haste, without fanfare, she becomes art. Simply… Coquette. 
This tutorial was written with Psp2022 and translated with PspX2020,
For this tutorial, you will need:  For the tube thanks PqnaAlice and for the mask thanks Narah. The rest of the material is by Soxikibem. (The links of the tubemakers here).  consult, if necessary, my filter section here Filters Unlimited 2.0 here Alien Skin Eye Candy 5 Impact. Glass here Italian Editors. Effetto Fantasma here L&K's. L&K's Palmyre here L&K's. L&K's Zitah here Mura's Meister. Copies here Filters Italian Editors and Toadies can be used alone or imported into Filters Unlimited. (How do, you see here) If a Effects>Plugins>supplied appears with this icon  it must necessarily be imported into Unlimited it must necessarily be imported into Unlimited You can change Blend Modes according to your colors. In the newest versions of PSP, you don't find the foreground/background gradient (Corel_06_029). You can use the gradients of the older versions. The Gradient of CorelX here Copy the preset  in the folder of the plugin Alien Skin Eye Candy 5 Impact>Settings>Glass. in the folder of the plugin Alien Skin Eye Candy 5 Impact>Settings>Glass.One or two clic on the file (it depends by your settings), automatically the preset will be copied in the right folder. why one or two clic see here  Copy the selections in the Selections Folder. Open the mask in PSP and minimize it with the rest of the material. 1. Choose 2 colors to work. Foreground: #921010 Background: #1d1c21 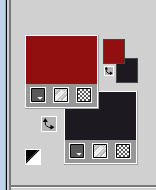 color 3: #ffffff Set your foreground color to a Foreground/Backgroung Gradient, style Linear 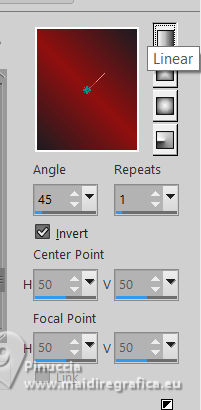 2. Open a new transparent image 850 x 500 pixels. Flood Fill  the transparent image with your Gradient. the transparent image with your Gradient.3. Layer>New Raster Layer. Selections>Select All. Open 1503MulherByPqnaAlice 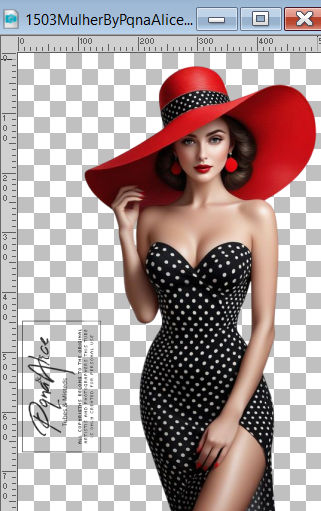 Erase the watermark and go to Edit>Copy. minimize the tube Go back to your work and go to Edit>Paste Into Selection. Selections>Select None. 4. Effects>Image Effects>Seamless Tiling, default settings  Adjust>Blur>Radial Blur. 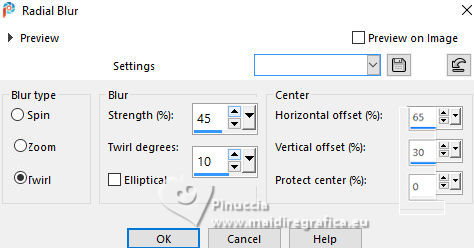 Effects>Edge Effects>Enhance. Layers>Merge>Merge Down. 5. Selections>Load/Save Selections>Load Selection From Disk. Look for and load the selection 311_Xiki1 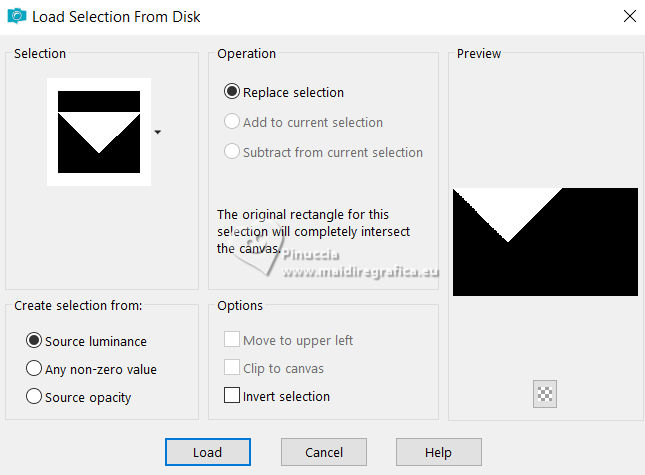 Layers>New Raster Layer. Set your foreground color to white #ffffff. Flood fill the layer with your foreground color.6. Effects>Plugins>L&K's - L&K's Palmyre. 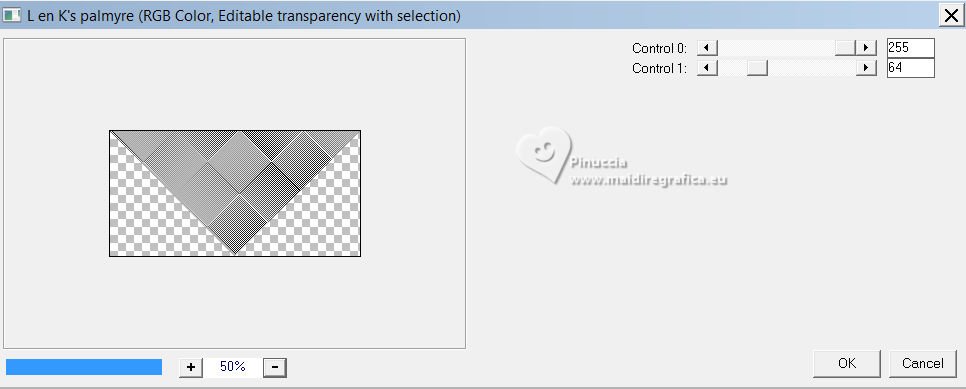 Selections>Select None. 7. Effects>Reflection Effects>Rotating Mirror. 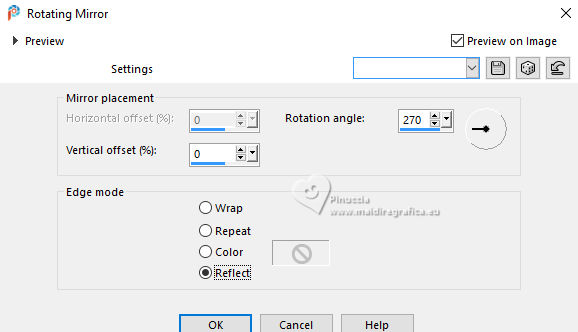 8. Effects>Plugins>Italian Editor Effects - Effetto Fantasma. 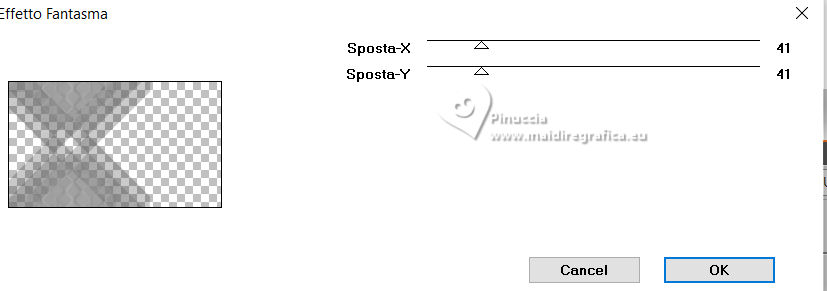 Layers>Properties>General>Blend Mode: Dodge. 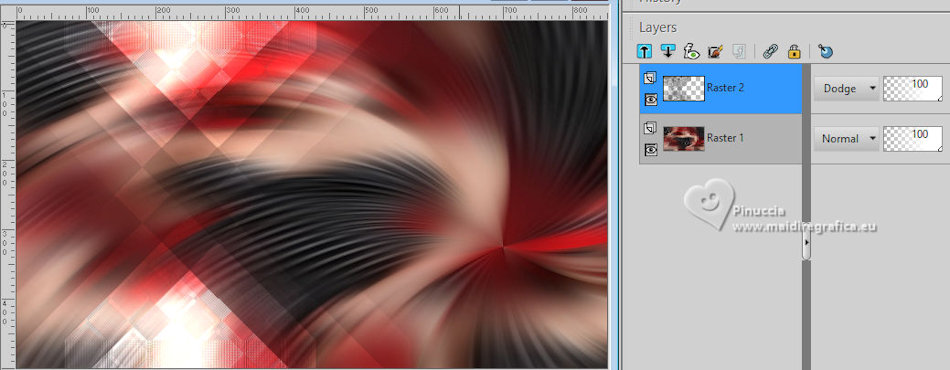 9. Layers>New Raster Layer. Selections>Load/Save Selections>Load Selection From Disk. Look for and load the selection 311_Xiki2 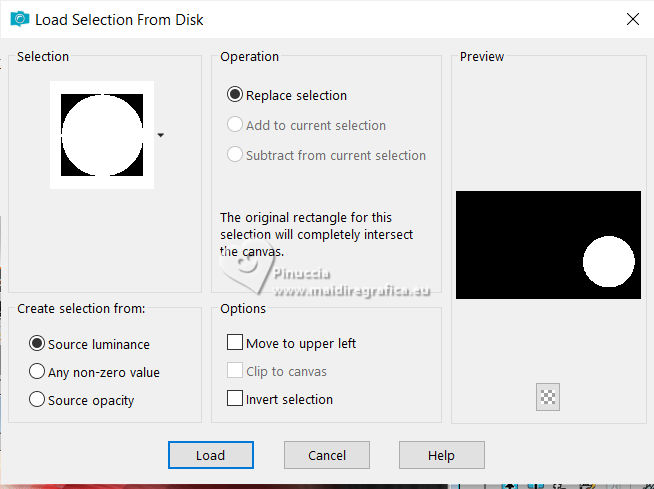 Flood Fill the selection with your background color.Selections>Modify>Contract - 20 pixels. 10. Open the misted 222FlorByPqnaAlice 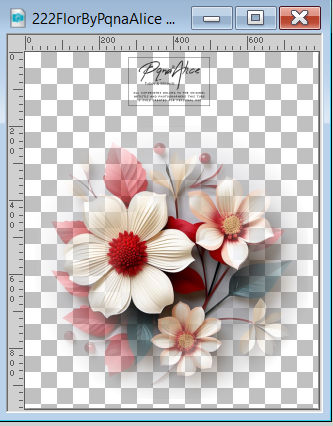 Erase the watermark and go to Edit>Copy. Go back to your work and go to Edit>Paste Into Selection. Adjust>Sharpness>Sharpen. 11. Selections>Modify>Select Selections Borders. 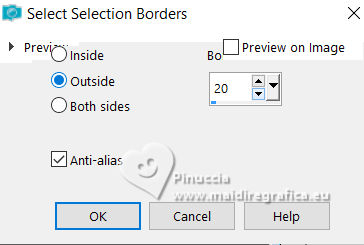 12. Effects>Texture Effects>Weave. Weave color: white #ffffff  13. Effects>Plugins>Alien Skin Eye Candy 5 Impact - Glass Select the preset 311_GlassXiki. 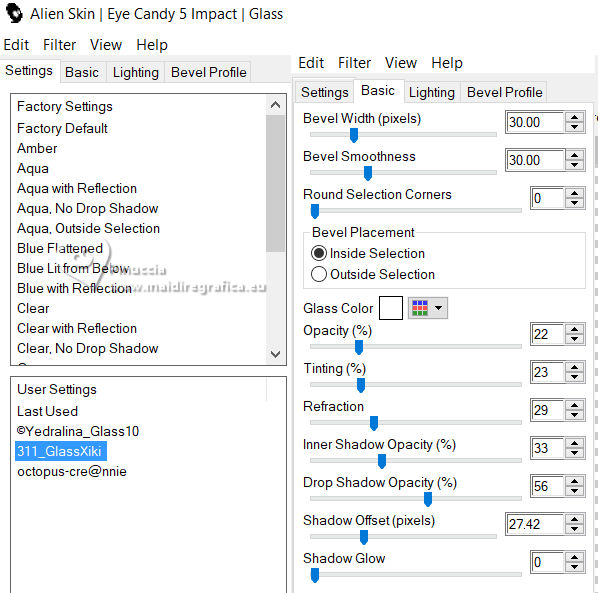 14. Selections>Select None. Layers>Duplicate. Image>Resize, à 40%, resize all layers not checked. Layers>Arrange>Move Down. 15. Effects>Plugins>Mura's Meister - Copies. 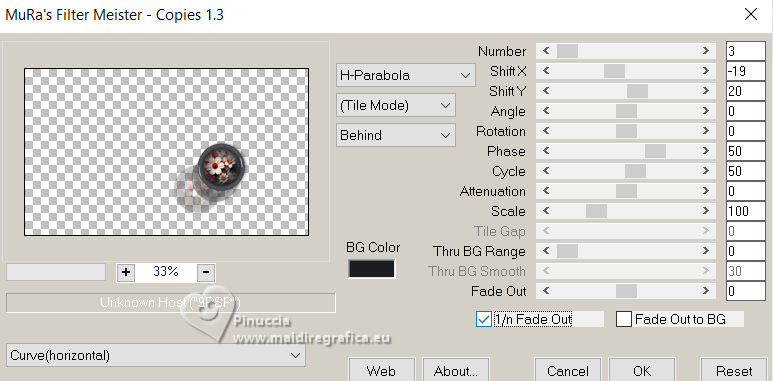 Pick Tool  Position X: 427,00 - Position Y: 137,00. 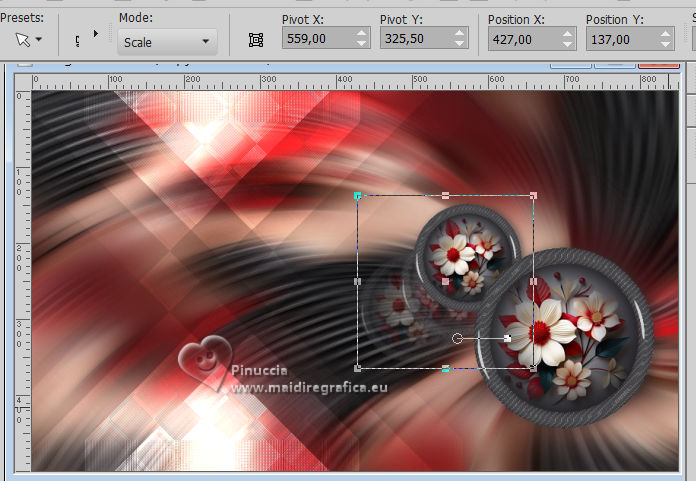 16. Activate the layer Raster 1. Edit>Paste As New Layer - the flower misted is still in memory. Image>Resize, if necessary - for the supplied tube to 60%, resize all layers not checked. Objects>Align>Top. Objects>Align>Right. Adjust>Sharpness>Sharpen. Layers>Properties>General>Opacity: 70%. 17. Layers>New Raster Layer. Flood Fill the layer with your white foreground color.Layers>New Mask Layer>From Image Open the menu under the source window and you'll see all the files open. Select the mask Narah_Mask_1240 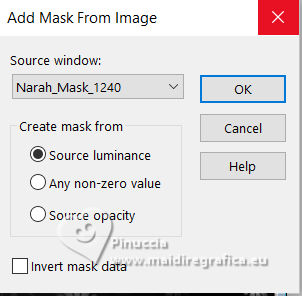 Effects>Image Effects>Seamless Tiling. 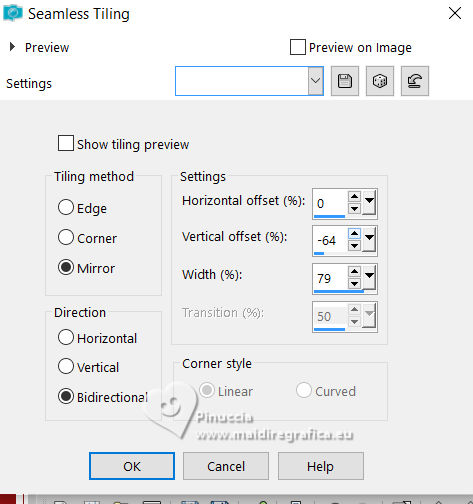 Layers>Merge>Merge Group. 18. Layers>New Raster Layer. Selections>Load/Save Selections>Load Selection From Disk. Look for and load the selection 311_Xiki3 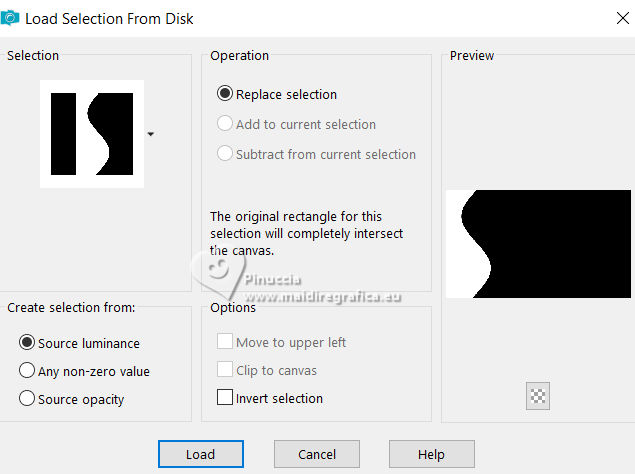 Reduce the opacity of your Flood Fill Tool to 40%. Flood Fill the selection with your white foreground color.Selections>Select None. 19. Selections>Load/Save Selections>Load Selection From Disk. Look for and load the selection 311_Xiki4 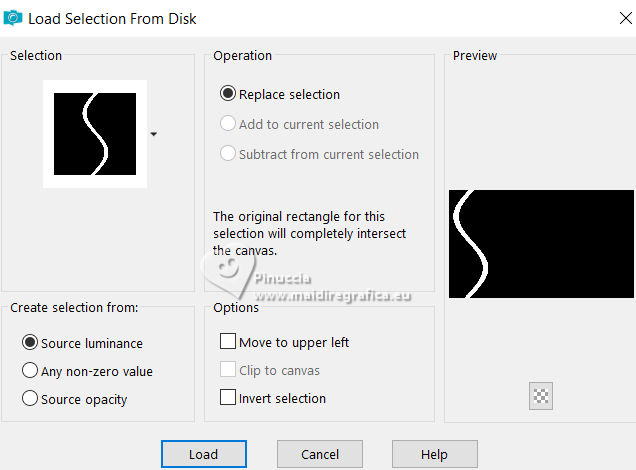 Opacity of your Flood Fill Tool to 80%. Flood Fill the selection with your white foreground color.Selections>Select None. 20. Effects>Plugins>Italian Editor Effects - Effetto Fantasma. 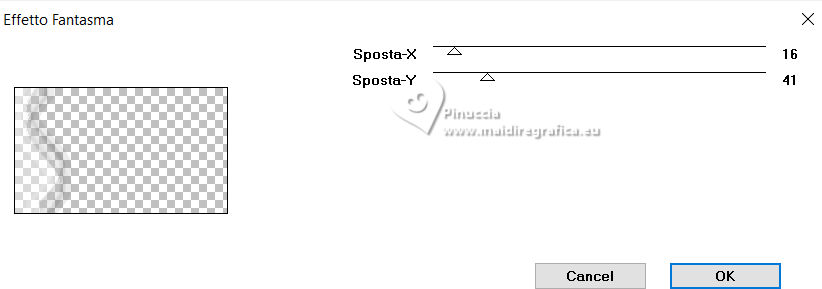 21. Effects>Plugins>L&K's - L&K's Zitah. 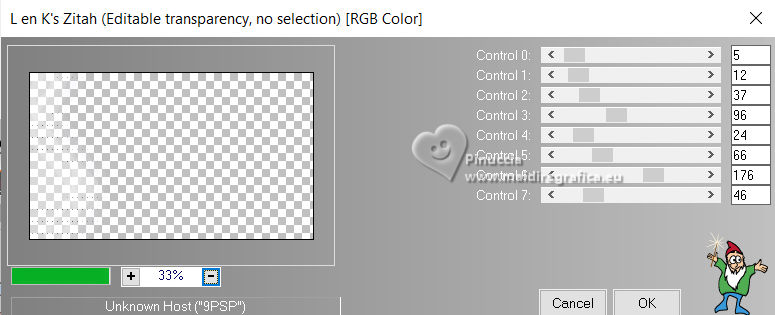 22. Activate your top layer, Raster 3.  Activate again your main tube and go to Edit>Copy. Go back to your work and go to Edit>Paste As New Layer. Position the tube and apply the Drop Shadow to your liking. 23. Open Decor311_Xiki  Erase the watermark and go to Edit>Copy. Go back to your work and go to Edit>Paste As New Layer. Pick Tool Position X: 0,00 - Position Y: 12,00.  24. Open Decor311_Xiki2  Erase the watermark and go to Edit>Copy. Go back to your work and go to Edit>Paste As New Layer. Pick Tool Position X: 569,00 - Position Y: 0,00.  25. Edit>Copy Special>Copy Merged. Image>Add Borders, 1 pixel, symmetric, background color. Image>Add Borders, 3 pixels, symmetric, color #ffffff. Selections>Select All. 26. Image>Add Borders, 20 pixels, symmetric, whatever color. Selections>Invert. Edit>Paste Into Selection. Adjust>Blur>Gaussian Blur - radius 10.  27. Effects>Reflection Effects>Rotating Mirror, last settings. 28. Selections>Invert. Effects>3D Effects>Drop Shadow, color black.  29. Selections>Select All. Image>Add Borders, 50 pixels, symmetric, color white #ffffff. Effects>3D Effects>Drop Shadow, last settings Selections>Select None. 30. Layers>New Raster Layer. Selections>Load/Save Selections>Load Selection From Disk. Look for and load the selection 311_Xiki5  Set your Flood Fill opacity to 100. Flood Fill the selection with your background color.Selections>Modify>Contract - 2 pixels. Press CANC on the keyboard  31. Selections>Modify>Contract - 10 pixels. Flood Fill the selection with your background color.Selections>Modify>Contract - 2 pixels. Press CANC on the keyboard. 32. Selections>Load/Save Selections>Load Selection From Disk. Look for and load the selection 311_Xiki6 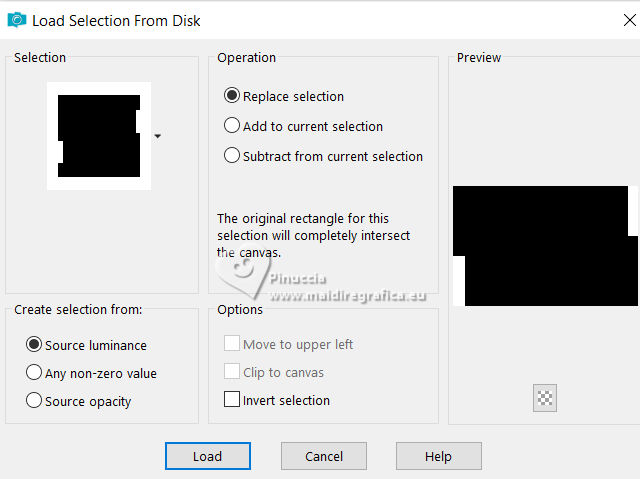 Press CANC on the keyboard. Selections>Select None. 31. Open Titulo331_Xiki  Erase the watermark and go to Edit>Copy. Go back to your work and go to Edit>Paste As New Layer. Pick Tool Position X: 1,00 - Position Y: 8,00.  34. Selections>Select All. Image>Add Borders, 20 pixels, symmetric, color #ffffff. Effects>3D Effects>Drop Shadow, last settings. Selections>Select None. 35. Image>Resize, 950 pixels width, resize all layers checked.  Adjust>Sharpness>Sharpen. 36. Edit>Copy the Creditos-bySoxikibem. Go back to your work and go to Edit>Paste As New Layer. Position  to your liking. to your liking.Don't forget the credit of your translator. 37. Sign your work on a new layer. Layers>Merge>Merge All and save as jpg. Author's note Because every detail makes a difference... I've prepared an exclusive Coquette tutorial signature as a special little gift for you to use in your artwork. Click on the image to download yours. 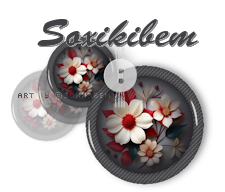 Versions with my tube from Pinterest image   Your versions. Thanks  Margit  Melodi  Louise  Baby  Baby  Pia  If you have problems or doubts, or you find a not worked link, or only for tell me that you enjoyed this tutorial, write to me. 30 May 2026 |


