|
DIVA  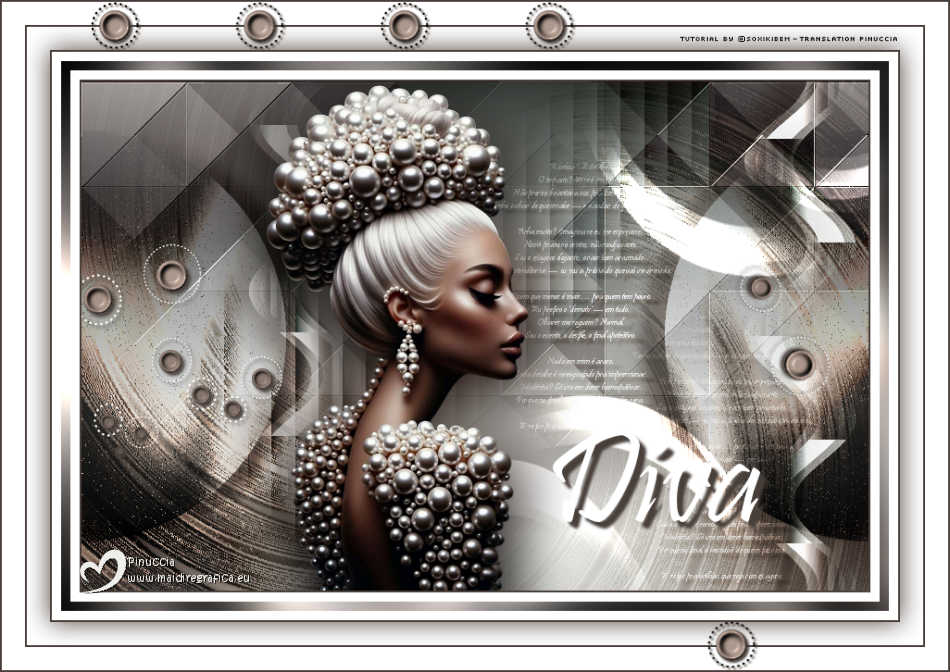
 Nothing is by chance. Every detail is choreographed to impress. Modesty? Use it only in homeopathic doses. Because in the end, the world belongs to those who put on a show. And if you're going to shine, shine brightly. 
This tutorial was written with Psp2022 and translated with PspX2020, but it can also be made using other versions of PSP.
For this tutorial, you will need:  A tube at your choice The rest of the material is by Soxikibem. (The links of the tubemakers here).  consult, if necessary, my filter section here Filters Unlimited 2.0 here &<Bkg Designer sf10III> - VMT Trimosaic CG, Twister (to import in Unlimited) here Mehdi - Wavy Lab 1.1. here Alf's Power Grads - Abs Linear Grads here FM Tile Tools Blend Emboss here Italian Editors Effect - Effetto Fantasma here Tramages - Perforator I, Pool Shadow here Filters Alf's Power, Italian Editors and Tramages can be used alone or imported into Filters Unlimited. (How do, you see here) If a plugin supplied appears with this icon  it must necessarily be imported into Unlimited it must necessarily be imported into Unlimited You can change Blend Modes according to your colors. In the newest versions of PSP, you don't find the foreground/background gradient (Corel_06_029). You can use the gradients of the older versions. The Gradient of CorelX here Copy the selections in the Selections Folder. 1. Choose 4 colors to work. 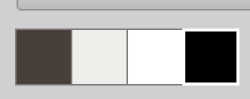 Foreground: #483f3a Background: #eeefea  color 3: #ffffff color 4: #000000 Set your foreground color to a Foreground/Backgroung Gradient, style Linear 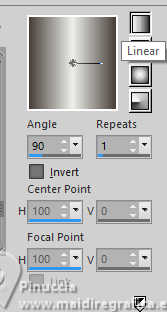 2. Open a new transparent image 850 x 550 pixels. Flood Fill  the transparent image with your Gradient. the transparent image with your Gradient.3. Layers>New Raster Layer. Effects>Plugins>Mehdi - Wavy Lab 1.1. Colors sequence: Foreground, Background, color 4 black, color 3 white 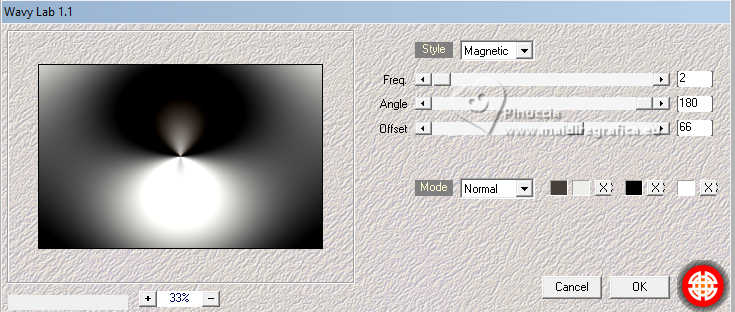 4. Effects>Plugins>Filters Unlimited 2.0 - &<Bkg Designer sf10III> - VMT Trimosaic CG 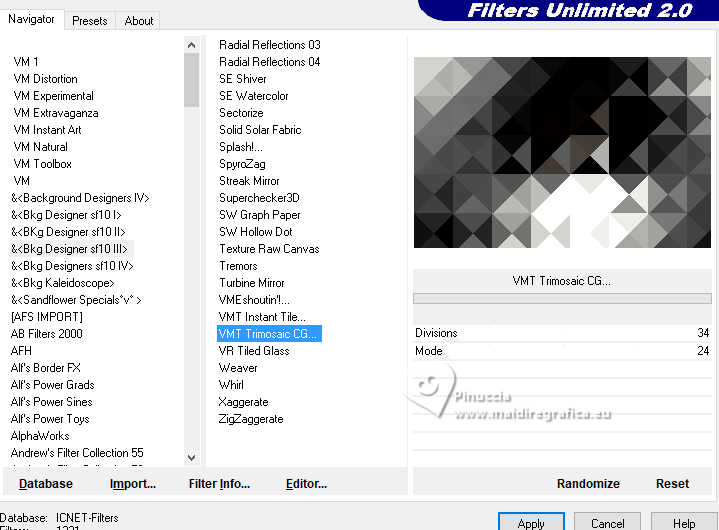 5. Effects>Plugins>Filters Unlimited 2.0 - Alf's Power Grads - Abs Linear Grads.  6. Effects>Plugins>FM Tile Tools - Blend Emboss, default setting 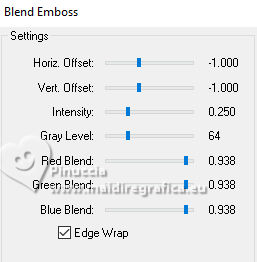 Edit>Repeat Blen Emboss. 7. Layers>New Raster Layer. Selections>Load/Save Selections>Load Selection from Disk. Look for and load the selection 306_xiki1 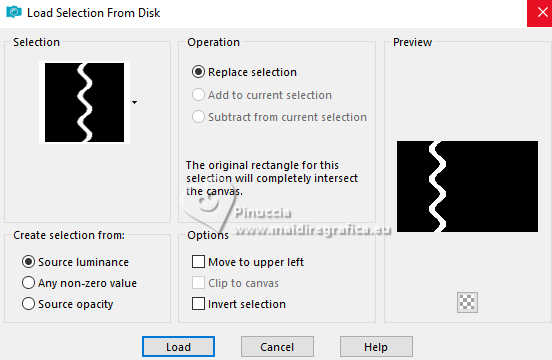 Reduce the opacity of your Flood Fill Tool to 40% Flood Fill the selection with your background color.don't forget to set again the opacity of your Flood Fill Tool to 100 Effects>Plugins>Tramages - Perforator I 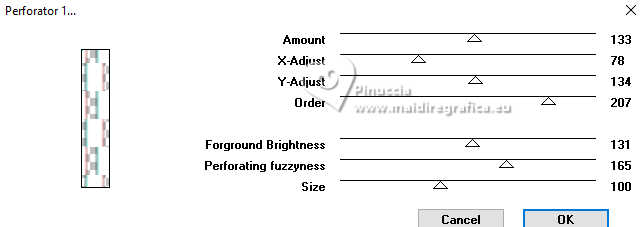 8. Selections>Select None. Effects>Plugins>Italian Editors Effect - Effetto Fantasma. 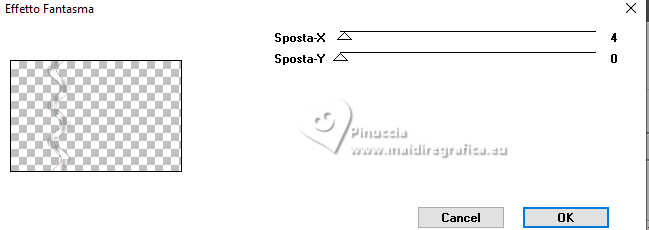 Layers>Properties>General>Blend Mode: Hard Light.  Effects>3D Effects>Drop Shadow, foreground color. 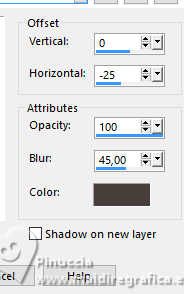 9. Activate the layer Raster 1. Open DecorDiva1_Xiki 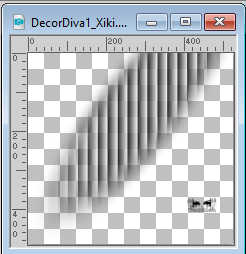 Erase the watermark and go to Edit>Copy. Go back to your work and go to Edit>Paste as new layer. 10. Pick Tool  Position X: 225,00 - Position Y: 0,00  Layers>Properties>General>Blend Mode: Overlay.  11. Layers>Duplicate. Image>Mirror>Mirror Vertical (Image>Flip) Pick Tool Position X: 1,00 - Position Y: 59,00  12. Activate the layer Raster 1. Selections>Load/Save Selections>Load Selection from Disk. Look for and load the selection 306_xiki2  Effects>Plugins>Tramages - Pool Shadow, default settings 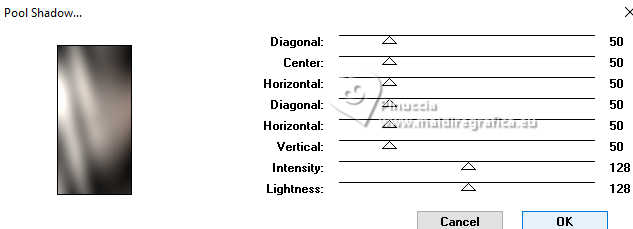 Edit>Repeat Pool Shadow. 13. Adjust>Add/Remove Noise>Add Noise.  Effects>3D Effects>Drop Shadow, foreground color.  Selections>Select None. 14. Effects>Reflection Effects>Rotating Mirror, default settings  15. Layers>Duplicate. Effects>Plugins>Filters Unlimited 2.0 - &<Bkg Designer sf10III> - Twister 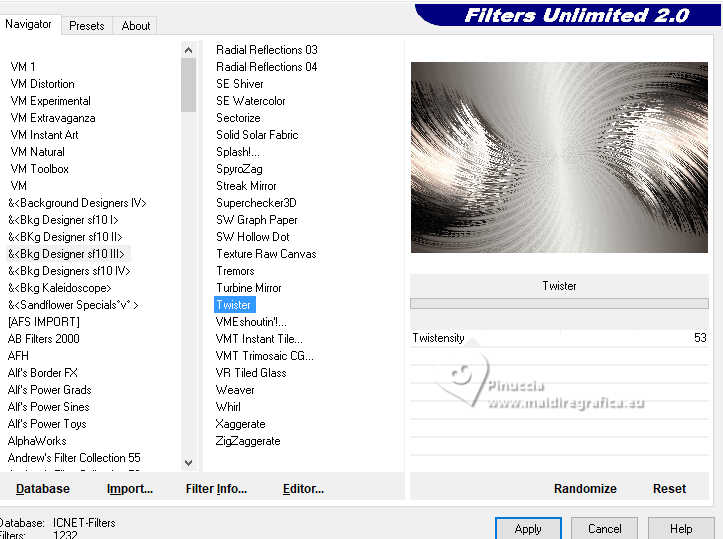 16. Selections>Load/Save Selections>Load Selection from Disk. Look for and load the selection 306_xiki3  Press CANC on the keyboard  Selections>Select None. Layers>Properties>General>Blend Mode: Overlay. 17. Activate your top layer, Raster 3. Open TextDiva_Xiki  Erase the watermark and go to Edit>Copy. Go back to your work and go to Edit>Paste as new layer. Pick Tool Position X: 440,00 - Position Y: 87,00  Layers>Properties>General>Blend Mode: Overlay. 18. Activate the layer Raster 3. Effects>Image Effects>Seamless Tiling.  19. Open DecorDiva2_Xiki  Erase the watermark and go to Edit>Copy. Go back to your work and go to Edit>Paste as new layer. Layers>Properties>General>Blend Mode: Dodge. Pick Tool Position X: 438,00 - Position Y: 0,00  Author's Note: In the second version, since I was working with dark colors, I clicked on Image>Negative Image to be able to enhance it in the work. 20. Activate your top layer. Open DecorDiva3_Xiki  Erase the watermark and go to Edit>Copy. Go back to your work and go to Edit>Paste as new layer. Pick Tool Position X: 0,00 - Position Y: 175,00  21. Open the tube 1393MulherByPqnaAlice  Erase the watermark and go to Edit>Copy. Go back to your work and go to Edit>Paste as new layer. Image>Resize - for the provided tube to 45%, resize all layers not checked. Adjust>Sharpness>Sharpen. Pick Tool Position X: 199,00 - Position Y: 4,00  22. Layers>Duplicate. Adjust>Blur>Gaussian Blur - radius 35  Layers>Arrange>Move Down. Layers>Properties>General>Blend Mode: Multiply. 23. Activate your top layer. Open TituloDiva_Xiki  Erase the watermark and go to Edit>Copy. Go back to your work and go to Edit>Paste as new layer. Pick Tool Position X: 509,00 - Position Y: 372,00  24. Image>Add Borders - 2 pixels, symmetric, foreground color. Edit>Copy Image>Add Borders, 10 pixels, symmetric, color 3 (white) Selections>Select All 25. Image>Add Borders, 10 pixels, whatever color. Selections>Invert. Edit>Paste Into Selection Adjust>Blur>Gaussian Blur - radius 20  26. Effects>Plugins>Tramages - Pool Shadow, default settings.  Edit>Repeat Pool Shadow. Selections>Select None. 27. Image>Add Borders, 10 pixels, symmetric, color 3 (white). Image>Add Borders, 2 pixels, symmetric, foreground color. Selections>Select All 28. Image>Add Borders, 25 pixels, symmetric, color 3 (white). Effects>3D Effects>Drop Shadow, foreground color  Selections>Select None. 29. Image>Add Borders, 2 pixels, symmetric, foreground color. Image>Add Borders, 25 pixels, symmetric, color 3 (white) Image>Add Borders, 2 pixels, symmetric, foreground color. 30. Open DecorDiva4_Xiki  Edit>Copy. Go back to your work and go to Edit>Paste as new layer. Pick Tool Position X: 98,00 - Position Y: 2,00  31. Image>Resize, if you want. Sign your work and save as jpg. Version with my tube from Pinterest image   Your versions. Thanks  Marysol  Jolcsi  Sonia  If you have problems or doubts, or you find a not worked link, or only for tell me that you enjoyed this tutorial, write to me. 30 March 2026 |


