|
ECHO OF WOMAN  
 The voices of women transcend time, resonating with strength, resilience, and transformation.
They are echoes that tell stories, shape the present, and inspire the future. Their voice does not fade - it expands, rises, and becomes eternity.
This tutorial was written with Psp2022 and translated with PspX2020, but it can also be made using other versions of PSP.
For this tutorial, you will need:  For the tube thanks PqnaAlice. The rest of the material is by Soxikibem. (The links of the tubemakers here).  consult, if necessary, my filter section here Filters Unlimited 2.0 here &<Background Designers IV> - sf10 Square Bumps (to import in Unlimited) here &<Bkg Designer sf10III> - Texture Raw Canvas (to import in Unlimited) here Mehdi - Wavy Lab 1.1 here Mehdi - Sorting Tiles here AAA Frames - Foto Frame here  You can change Blend Modes according to your colors.  Copy the Selections in the Selections Folder. 1. Choose 4 colors to work. Set your foreground color to #4b6d84, and your background color to #fcba66. 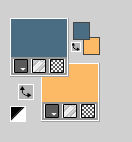 Color 3 #57050b Color 4 #fffff1  2. Open a new transparent image 800 x 400 pixels. Before the filter, invert your colors palette  Effects>Plugins>Mehdi - Wavy Lab 1.1. This filter creates gradients with the colors of your Materials palette. The first is your background color, the second is your foreground color. Change the last two colors created by the filtre: the third color with #57050b and the fourth color with #fffff1. 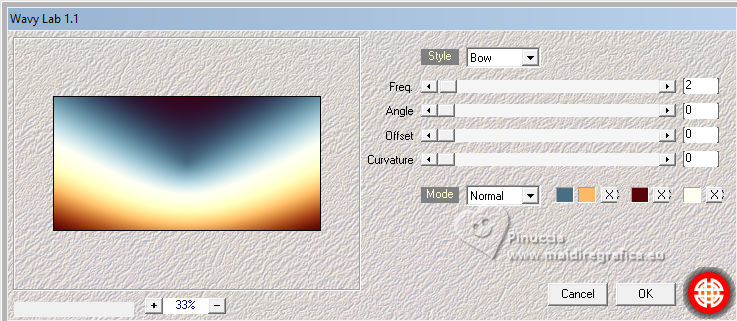 3. Effects>Plugins>Filters Unlimited 2.0 - &<Background Designers IV> - sf10 Square Bumps. 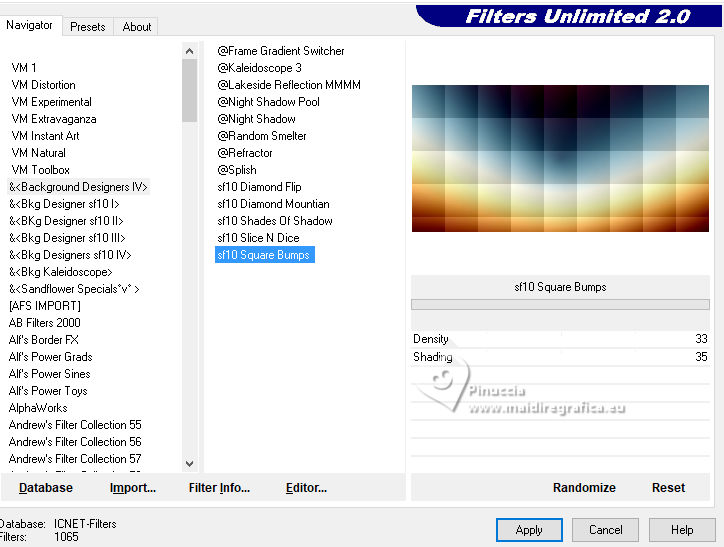 4. Effects>Plugins>Mehdi - Sorting Tiles. 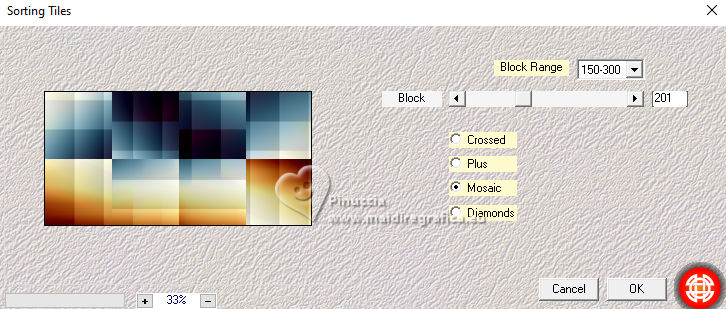 5. Effects>Reflection Effects>Feedback. 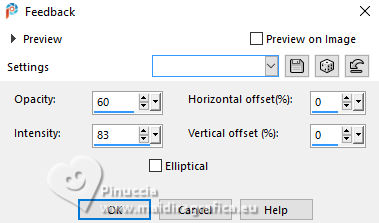 6. Layers>Duplicate. Image>Resize, to 70%, resize all layers not checked. Effects>Image Effects>Seamless Tiling. 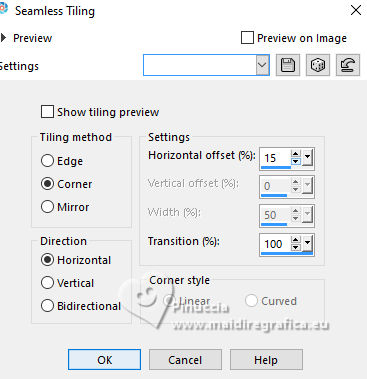 7. Effects>Plugins>Mehdi - Sorting Tiles. 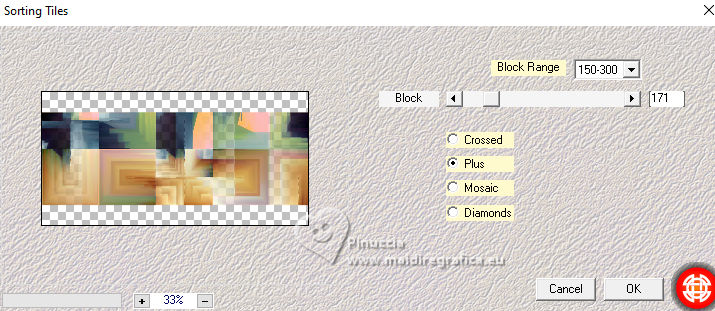 8. Effects>Distortion Effects>Wind - from left, strength 100. 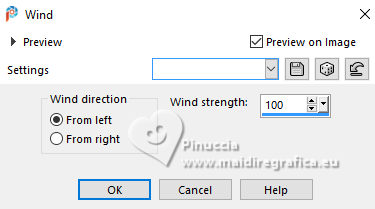 9. Effects>Edge Effects>Enhance. Effects>Texture Effects>Weave - weave color: color 4 #fffff1. 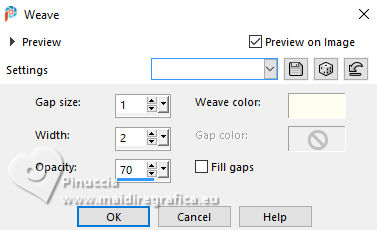 10. Activate your Magic Wand Tool, Mode Add, tolerance and feather 0,  and click the top and the bottom of this effect.  11. Selections>Invert. Layers>New Raster Layer. Effects>3D Effects>Drop Shadow, color black #000000.  Repeat Effects>3D Effects>Drop Shadow, vertical -12. 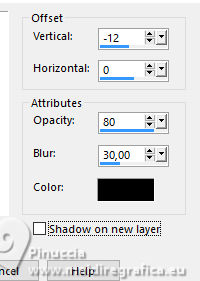 Selections>Select None. 12. Layers>New Raster Layer. Selection Tool  (no matter the type of selection, because with the custom selection your always get a rectangle) clic on the Custom Selection 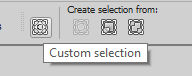 and set the following settings. 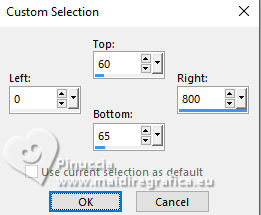 Set your foreground color to the color 4 #fffff1. 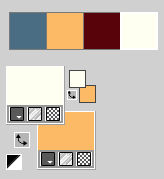 Flood Fill  the selection with your foreground color. the selection with your foreground color.Selections>Select None. 13. Layers>Duplicate. Image>Mirror>Mirror Vertical (Image>Flip) Layers>Merge>Merge Down. 14. Layers>New Raster Layer. Custom Selection 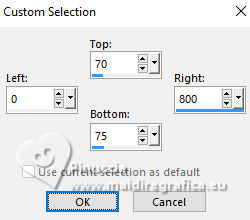 Set again your foreground color to the color 1 #4b6d84 Flood Fill the selection with your foreground color.Selections>Select None. 15. Effects>Distortion Effects>Wave. 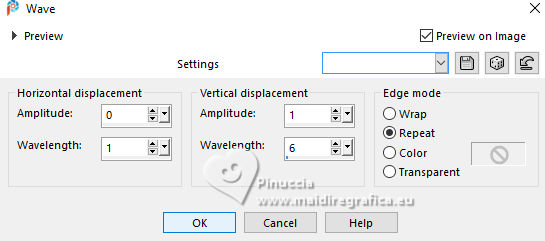 16. Effects>3D Effects>Drop Shadow, color black #000000. 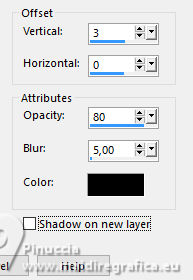 Layers>Duplicate. Image>Mirror>Mirror Vertical (Image>Flip). Layers>Merge>Merge Down. 17. Activate the layer Raster 1. Effects>Plugins>Filters Unlimited 2.0 - &<Bkg Designer sf10III> - Texture Raw Canvas. 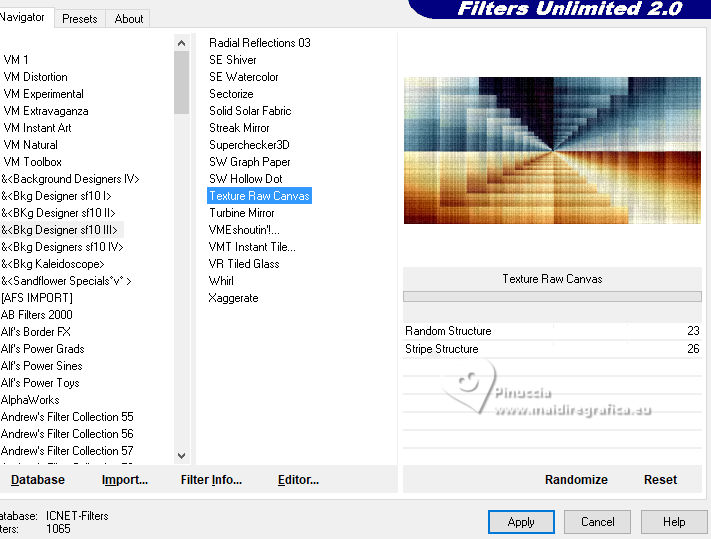 18. Your tag and the layer.  19. Activate your top layer, Raster 4. Open your main tube 1196MulherByPqnaAlice  Erase the watermark and go to Edit>Copy. Go back to your work and go to Edit>Paste as New Layer. Move  the tube to the right. the tube to the right.20. Open TituloVoice_Xiki  Erase the watermark and go to Edit>Copy. Go back to your work and go to Edit>Paste as New Layer. Pick Tool  Position X: 75,00 - Position Y: 356,00.  21. Open TituloVoice2_Xiki  Erase the watermark and go to Edit>Copy. Go back to your work and go to Edit>Paste as New Layer. Pick Tool Position X: 11,00 - Position Y: 134,00.  22. Image>Add Borders - 4 pixels, symmetric, foreground color. Selections>Select All. Image>Add Borders - 50 pixels, symmetric, color 4 #fffff1. 23. Selections>Invert. Effects>Plugins>AAA Frames - Foto Frame.  Selections>Select None. 24. Sign your work and save as jpg. For this tube thanks Mentali   Your versions. Thanks  Kika  Di@ne  Marion  Louise  Jolcsi  Carmen Darder   If you have problems or doubts, or you find a not worked link, or only for tell me that you enjoyed this tutorial, write to me. 16 February 2025 |


