|
LIGHT BREEZE  

This tutorial was written with Psp2022 and translated with PspX2020, but it can also be made using other versions of PSP.
For this tutorial, you will need:  For the tubes and the mask thanks PqnaAlice and Narah. (The links of the tubemakers here).  consult, if necessary, my filter section here Filters Unlimited 2.0 here Alien Skin Eye Candy 5 Impact - Glass, Perspective Shadow here VM Distortion - Sausage here Mura's Meister - Copies here FM Tile Tools - Blend Emboss here Filters VM Distortion can be used alone or imported into Filters Unlimited. (How do, you see here) If a plugin supplied appears with this icon  it must necessarily be imported into Unlimited it must necessarily be imported into Unlimited You can change Blend Modes according to your colors. Copy the presets  in the folders of the plugins Alien Skin Eye Candy 5 Impact>Settings>Shadow/Glass. in the folders of the plugins Alien Skin Eye Candy 5 Impact>Settings>Shadow/Glass.One or two clic on the file (it depends by your settings), automatically the preset will be copied in the right folder. why one or two clic see here  Copy the Selections in the Selections Folder. Open the mask in PSP and minimize it with the rest of the material. 1. Choose 4 color to work. For the example: 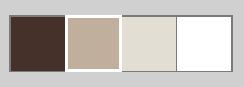 Set your foreground color to #46312b, and your background color to #c0af9d.  color 3 #e2ded3 color 4 #ffffff 2. Open a new transparent image 800 x 500 pixels. Flood Fill  the transparent image with your foreground color. the transparent image with your foreground color.Selections>Select All. Open the misted 173PaisagemByPqnaAlice 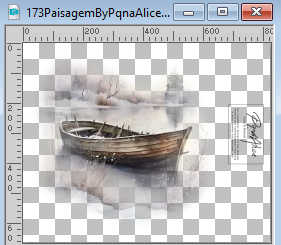 Erase the watermark and go to Edit>Copy Go back to your work and go to Edit>Paste Into Selection. Selections>Select None. 3. Effects>Image Effects>Seamless Tiling - default settings.  Adjust>Blur>Radial Blur. 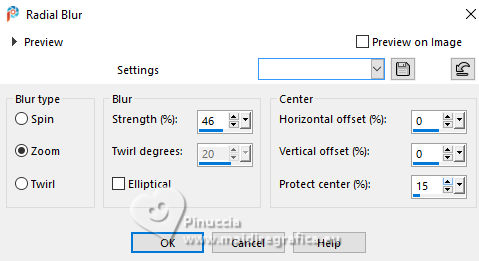 Edit>Repeat Radial Blur. Effects>Edge Effects>Enhance. 4. Effects>Plugins>VM Distortion - Sausage. 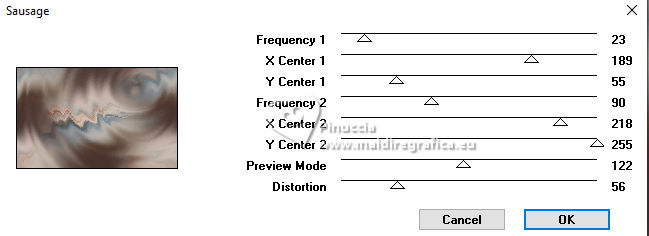 Adjust>Add/Remove Noise>Add Noise. 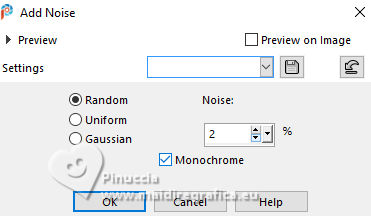 5. Layers>Duplicate. Effects>Geometric Effects>Circle  Image>Resize, to 70%, resize all layers not checked. 6. Selections>Select All. Selections>Float. Selections>Defloat. Selections>Modify>Contract - 25 pixels. Edit>Cut or Press CANC on the keyboard. attention, your are still in memory the landscape misted, that you will use again. If you do Edit>Cut, you will lose the misted from memory Activate the bottom layer, Raster 1. 7. Layers>New Raster Layer. Selections>Modify>Expand - 3 pixels. Edit>Paste into Selection - the landscape misted is still in memory. Adjust>Sharpness>Sharpen. Layers>Duplicate. (Optional). Keep selected. 8. Layers>New Raster Layer. Effects>Plugins>alien Skin Eye Candy 5 Impact - Glass. Select the preset LBreeze_xiki 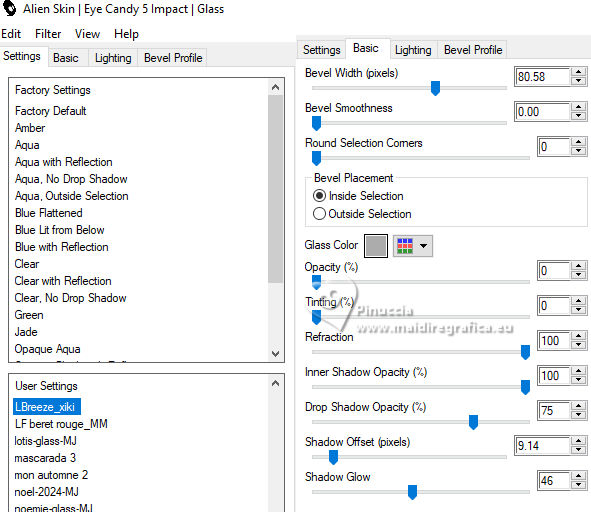 Selections>Select None. 9. Activate your top layer, Copy of Raster 1. Activate your Magic Wand Tool  , tolerance and feather 0, Mode Add (Shift) , tolerance and feather 0, Mode Add (Shift) Click out and outside the circle to select it. 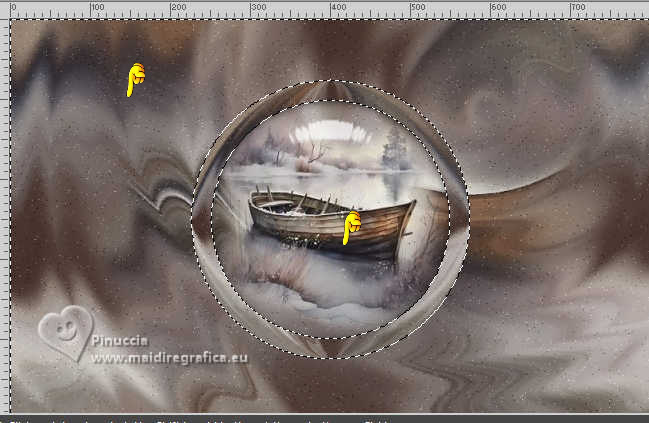 10. Selections>Invert. Effects>Texture Effects>Fur 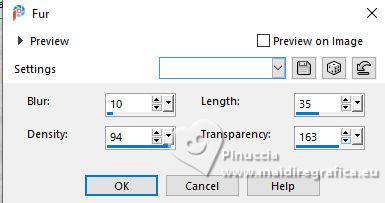 11. Effects>3D Effects>Inner Bevel. 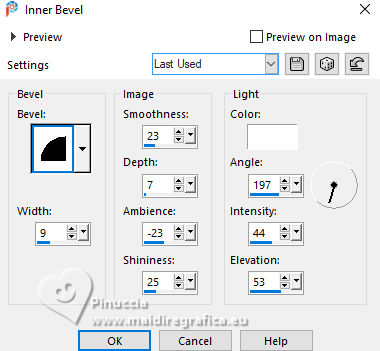 12. Effects>Plugins>Alien Skin Eye Candy 5 Impact - Perspective Shadow. Select the preset ShadowLB_Xiki 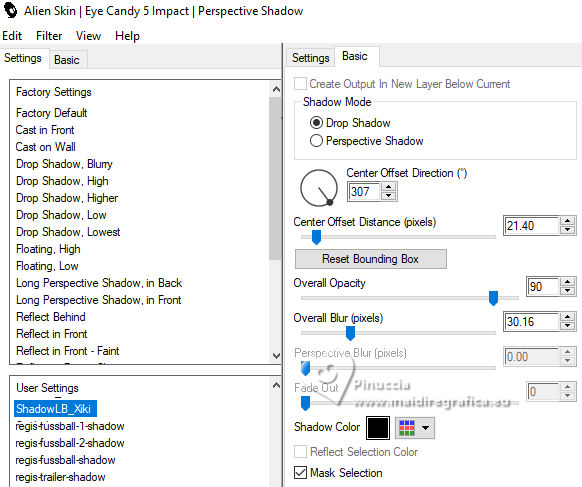 Selections>Select None. 13. Close the layer Raster 1. Layers>Merge>Merge Visible. Open the layer Raster 1, and stay on the layer Merged. Activate your Pick Tool  Position X: 5,00 - Position Y: 5,00.  14. Activate the layer Raster 1. Layers>New Raster Layer. Selections>Select All. Your landscape misted is always in memory: Edit>Paste Into Selection. Selections>Select None. 15. Effects>Image Effects>Seamless Tiling, default settings. Adjust>Blur>Radial Blur. Effects>Edge Effects>Enhance More. 16. Effects>Geometric Effects>Perspective - Horizontal.  Repeat Effects>Geometric Effects>Perspective - Horizontal - 100.  17. Effects>Distortion Effects>Wave.  Image>Mirror>Mirror Horizontal. Pick Tool Position X: 0,00 - Position Y: 220,00.  18. Activate the layer Raster 1. Layers>New Raster Layer. Selections>Select All. The landscape misted should be still in memory: Edit>Paste Into Selection.  Selections>Select None. 19. Effects>Image Effects>Seamless Tiling, default settings. Adjust>Blur>Gaussian Blur - radius 30.  Effects>Plugins>Filters Unlimited 2.0 - Paper Textures - Canvas, Fine.  Layers>Properties>General>Blend Mode: Overlay. 20. Effects>Plugins>FM Tile Tools - Blend Emboss, default settings.  21. Activate the layer Raster 2. Activate your Magic Wand Tool , Tolerance and Feather 0,and click in the top zone of the effect to select it.  Selections>Modify>Expand - 2 pixels. 22. Activate the layer Raster 3. Layers>New Raster Layer. The landscape misted should be still in memory: Edit>Paste Into Selection. Keep selected. 23. Adjust>Blur>Motion Blur.  Edit>Repeat Motion Blur. Effects>Edge Effects>Enhance More. Effects>3D Effects>Drop Shadow, color black.  Selections>Select None. 24. Activate the layer Raster 2. Layers>Duplicate. Effects>Plugins>Mura's Meister - Copies.  Image>Resize, to 50%, resize all layers not checked. Layers>Arrange>Move Down - 2 times. Pick Tool Position X: 401,00 - Position Y: 231,00.  25. Adjust>Sharpness>Sharpen. Effects>3D Effects>Drop Shadow, color black.  26. Activate your top layer, Merged. Open DecorLB_Xiki  Erase the watermark and go to Edit>Copy. Go back to your work and go to Edit>Paste as New Layer. Pick Tool Position X: 0,00 - Position Y: 197,00.  27. Open TituloLBreeze_Xiki  Erase the watermark and go to Edit>Copy. Go back to your work and go to Edit>Paste as New Layer. Pick Tool Position X: 238,00 - Position Y: 364,00.  Layers>Properties>General>Blend Mode: Overlay. (Optional) 28. Activate the layer Raster 3. Open the tube 029CasalByqnaAlice  Erase the watermark and go to Edit>Copy. Go back to your work and go to Edit>Paste as New Layer. Move  the tube to the right. the tube to the right.29. Effects>Plugins>Filters Unlimited 2.0 - Paper Textures - Canvas Fine.  Adjust>Sharpness>Sharpen. Layers>Properties>General>Blend Mode: Overlay, Opacity: 80%. 30. You should have this  31. Image>Add Borders, 1 pixel, symmetric, foreground color. Image>Add Borders, 4 pixels, symmetric, color 3 #e2ded3. Image>Add Borders, 1 pixel, symmetric, foreground color Image>Add Borders, 25 pixels, symmetric, color 4 #ffffff. Image>Add Borders, 1 pixel, symmetric, foreground color Image>Add Borders, 2 pixels, symmetric, background color Image>Add Borders, 1 pixel, symmetric, foreground color Image>Add Borders, 4 pixels, symmetric, color 3 #e2ded3. Image>Add Borders, 1 pixel, symmetric, foreground color Image>Add Borders, 2 pixels, symmetric, background color Image>Add Borders, 1 pixel, symmetric, foreground color Image>Add Borders, 45 pixels, symmetric, color 4 #ffffff. Image>Add Borders, 1 pixel, symmetric, foreground color 32. Open DecorLB_Xiki2  Erase the watermark and go to Edit>Copy. Go back to your work and go to Edit>Paste as New Layer. Pick Tool Position X: 107,00 - Position Y: 30,00.  Layers>Duplicate. Image>Mirror>Mirror Horizontal (Image>Mirror) Image>Mirror>Mirror Vertical (Image>Flip) 33. Image>Resize, if you want. Sign your work. 34. Add the credits Creditos-bySoxikibem and of the translator's too. Save as jpg. Version with my tubes 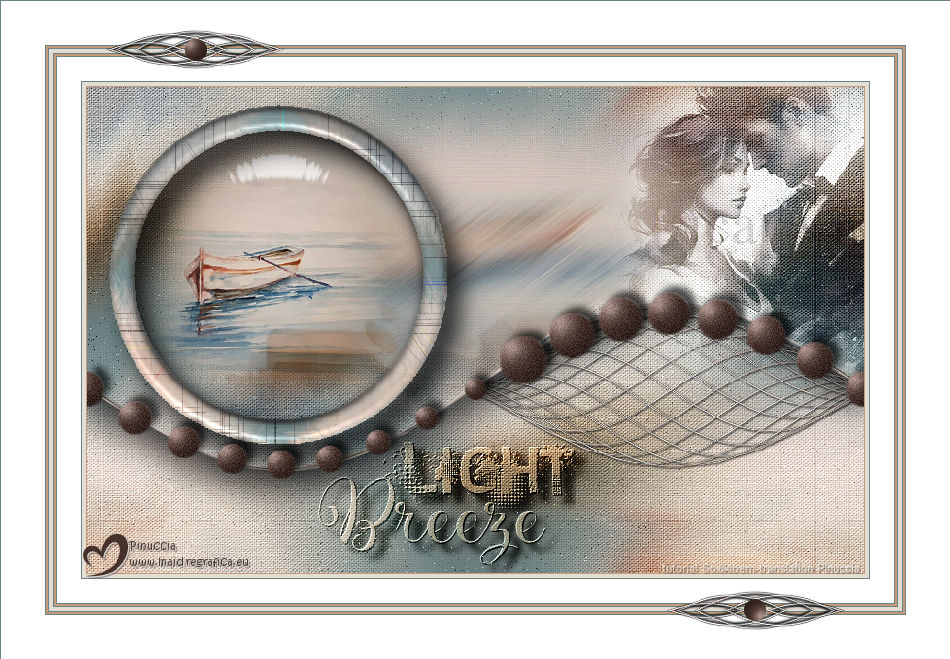  Your versions. Thanks 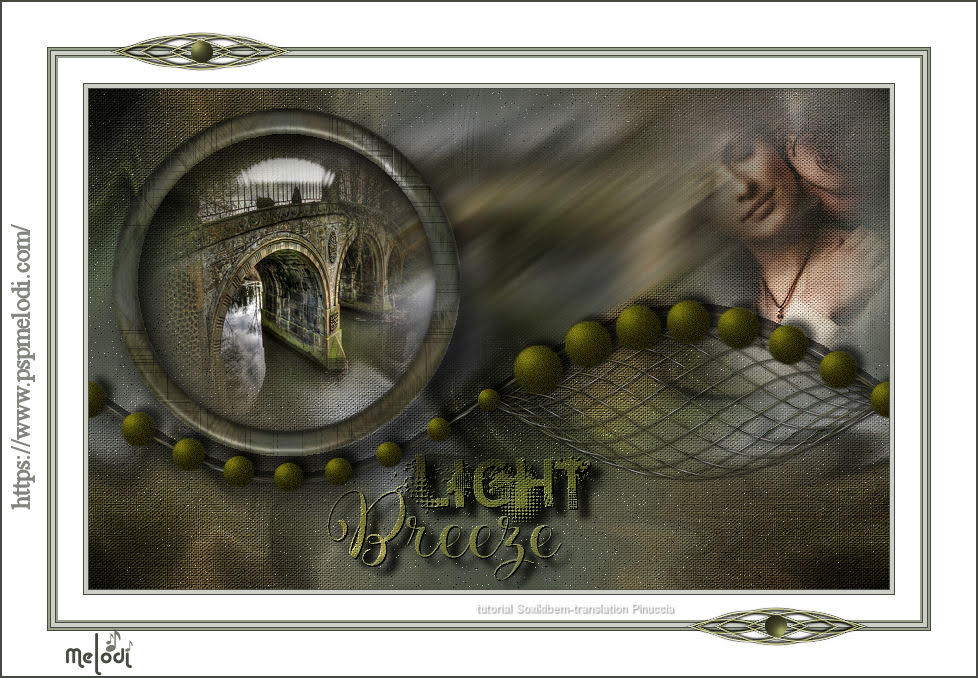 Melodi 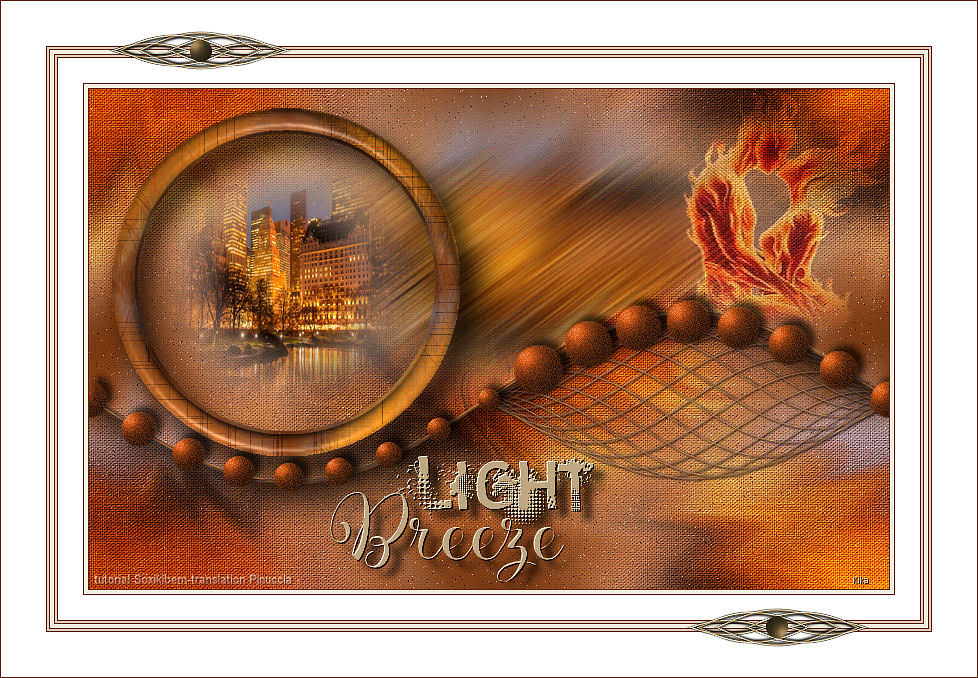 Kika  Louise 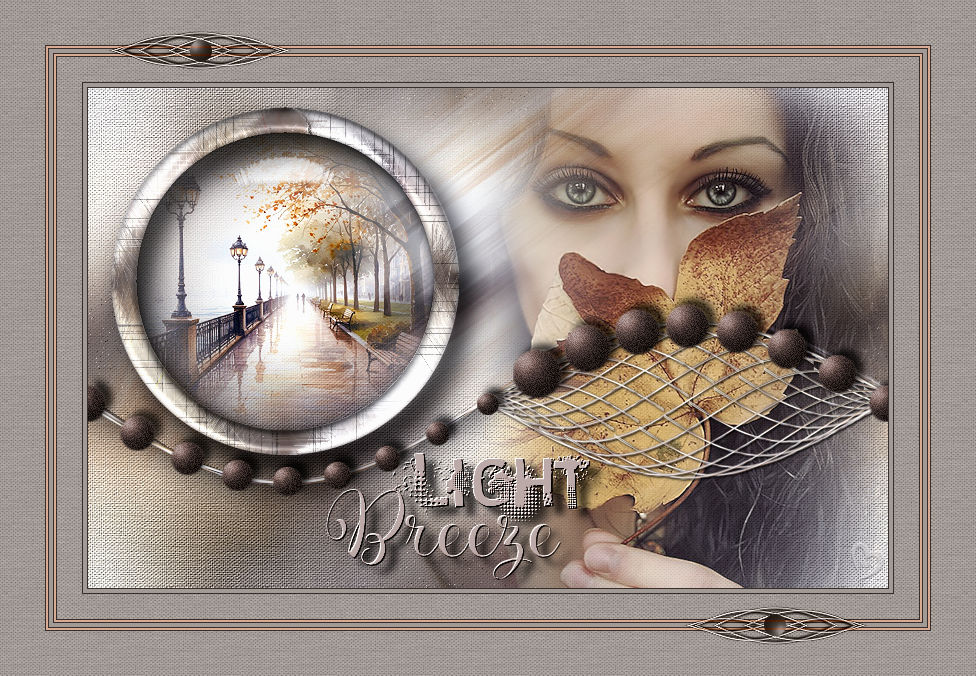 Kamelius  If you have problems or doubts, or you find a not worked link, or only for tell me that you enjoyed this tutorial, write to me. 20 April 2025 |


