|
MYSTIC GLOW  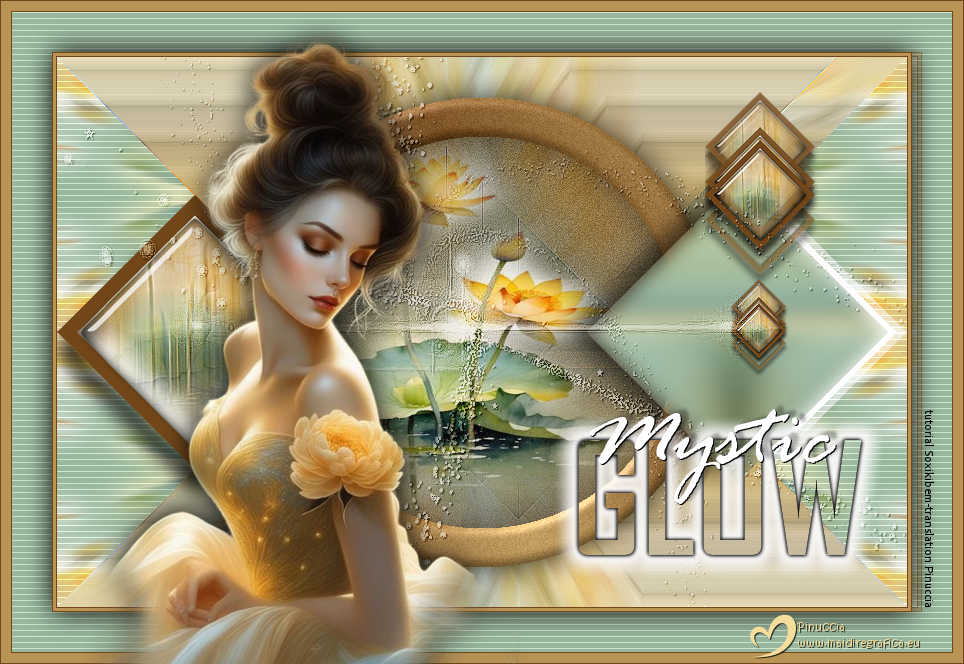
 Like an ethereal whisper, it illuminates the path of dreams, reflecting beauty and mystery in a perfect balance between light and fantasy.
This tutorial was written with Psp2022 and translated with PspX2020, but it can also be made using other versions of PSP.
For this tutorial, you will need:  Thanks for the tubes PqnaAlice and Inacia Neves and for the mask Narah. (The links of the tubemakers here).  consult, if necessary, my filter section here Filters Unlimited 2.0 here &<Bkg Kaleidoscope> - BlueBerryPie, Mirrored&Scaled here Alien Skin Eye Candy 5 Impact - Glass here Carolaine and Sensibility - CS-Texture here Mura's Meister - Copies here RCS Filter Pack 1.0 - RCS Triple Exposure here VanDerLee - Unplugged-X here Filters RCS Filter Pack can be used alone or imported into Filters Unlimited. (How do, you see here) If a plugin supplied appears with this icon  it must necessarily be imported into Unlimited it must necessarily be imported into Unlimited You can change Blend Modes according to your colors. In the newest versions of PSP, you don't find the foreground/background gradient (Corel_06_029). You can use the gradients of the older versions. The Gradient of CorelX here  Copy the Selections in the Selections Folder. Open the mask in PSP and minimize it with the rest of the material. 1. Choose 3 colors to work. For the example: 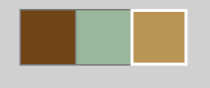 Set your foreground color to #714619, and your background color to #99b79d. 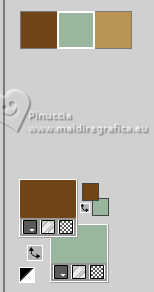 color 3 #ba9455 2. Open a new transparent image 850 x 550 pixels. Flood Fill  the transparent image with your background color. the transparent image with your background color.Selections>Select All. Open your misted 211FlorByPqnaAlice 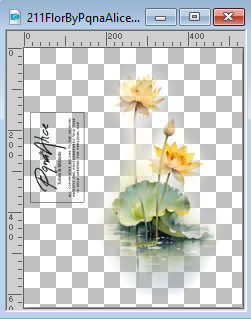 Erase the watermark and go to Edit>Copy. Go back to your work and go to Edit>Paste Into Selection. Selections>Select None. 3. Effects>Image Effects>Seamless Tiling, default settings.  Adjust>Blur>Radial Blur.  4. Effects>Plugins>Filters Unlimited 2.0 - &<Bkg Kaleidoscope> - @BlueBerry Pie. 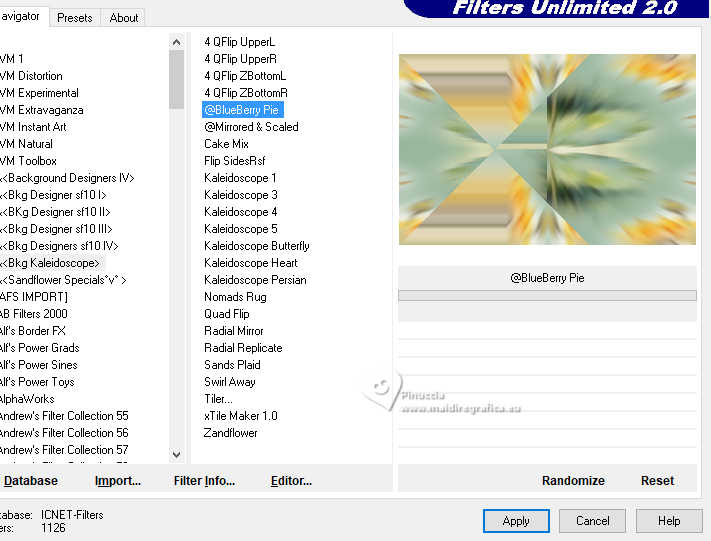 5. Effects>Reflection Effects>Rotating Mirror. 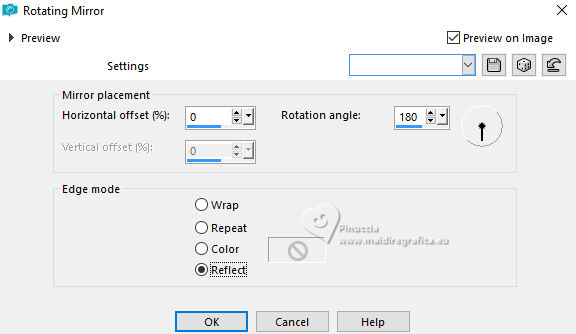 6. Selections>Load/Save Selections>Load Selection From Disk. Look for and load the selection 283_Xixi1  Selections>Promote Selection to Layer. Effects>Plugins>Filters Unlimited 2.0 - &<Kaleidoscope> - @Mirrored & Scaled.  Selections>Select None. 7. Activate your Magic Wand Tool  , tolerance and feather 0, , tolerance and feather 0,and click in the white part to select it. 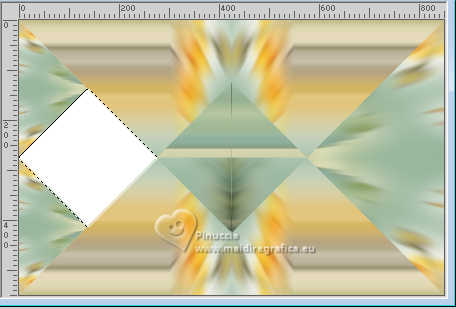 Layers>New Raster Layer. Flood Fill the selection with your foreground color.8. Selections>Modify>Contract - 15 pixels. Edit>Cut or press CANC on the keyboard  be careful, remember that you have the misted in memory, which you will have to use again. If you use Edit>Cut you will lose the tube from memory. Layers>New Raster Layer. Set your background color with color 3 #ba9455 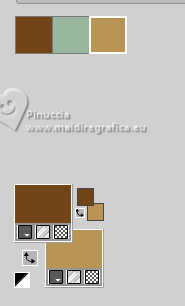 Flood Fill the layer with your background color.Edit>Paste into Selection - your flowers misted is still in memory. 9. Adjust>Blur>Motion Blur 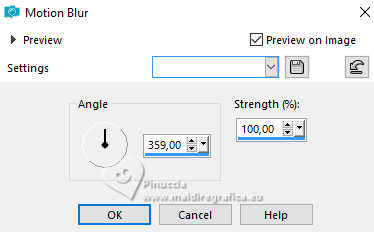 Effects>Edge Effects>Enhance More. 10. Effects>Plugins>Alien Skin Eye Candy 5 Impact - Glass 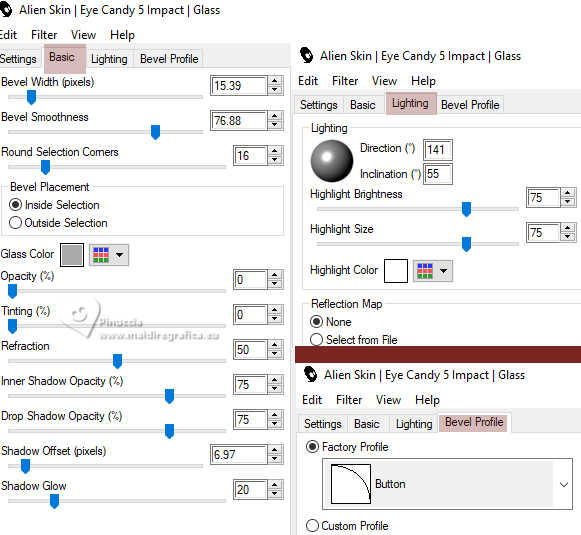 Selections>Select None. 11. Activate the layer below, Raster 2. Effects>3D Effects>Drop Shadow, color black #000000.  12. Activate the layer below, Promoted Selection.  Effects>Plugins>Carolaine and Sensibility - CS_Texture. 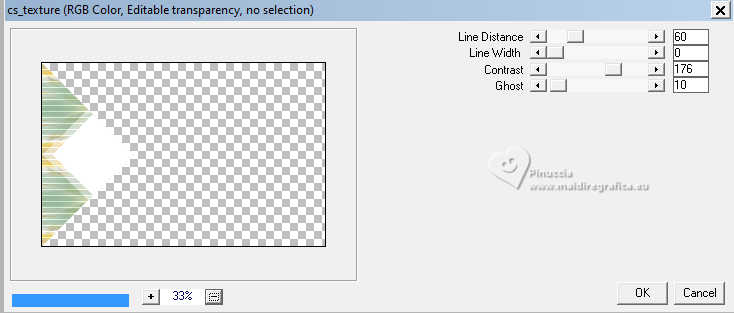 Layers>Duplicate. Image>Mirror>Mirror Horizontal. 13. Activate your top layer, Raster 3. Layers>Merge>Merge Down. Layers>Duplicate. Image>Resize, to 40%, resize all layers not checked. Effects>Plugins>Mura's Meister - Copies.  note: the result with these settings is random. For this reason it cannot be the same as mine, nor the result of a second version of yours. If you want to change the result, you can click on the preview window until you are satisfied. 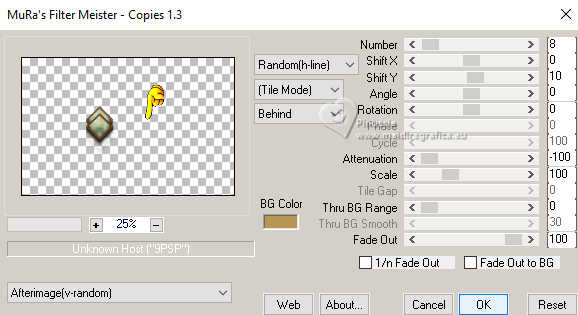 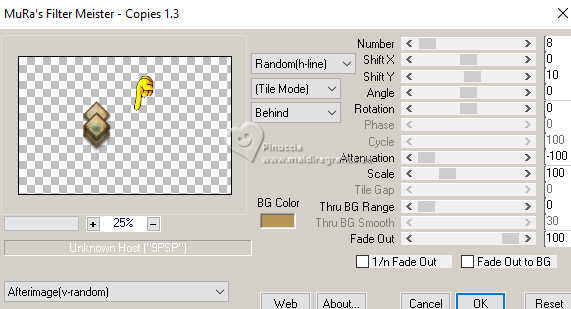 Adjust>Sharpness>Sharpen. Pick Tool  Position X: 648,00 - Position Y: 35,00.  14. Layers>Duplicate. Image>Resize, to 50%, resize all layers not checked. Adjust>Sharpness>Sharpen. Pick Tool Position X: 674,00 - Position Y: 222,00.  15. Activate the layer Raster 1.  Selections>Load/Save Selections>Load Selection From Disk. Look for and load the selection 283_Xixi2  Selections>Promote Selection to Layer. Adjust>Blur>Gaussian Blur - radius 10. 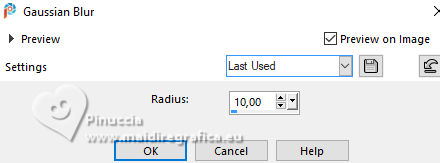 Selections>Select None. Position X: 529,00 - Position Y: 124,00. 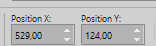 Layers>Arrange>Move Up - 2 times. 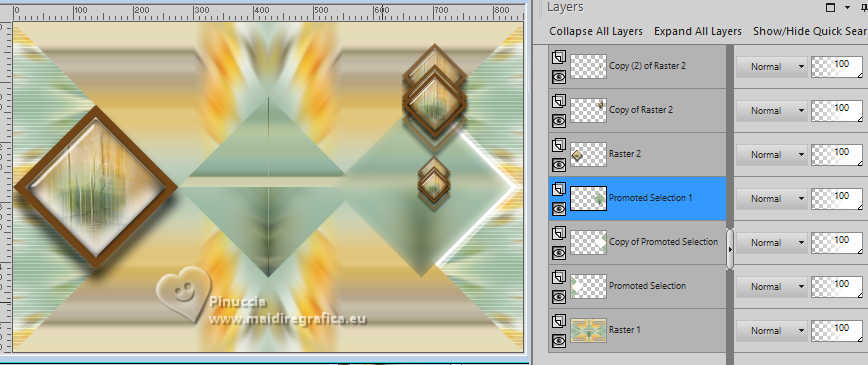 Effects>3D Effects>Drop Shadow, color black #000000.  17. Activate again the layer Raster 1. Effects>Plugins>RCS Filter Pack 1.0 - RCS-TripleExposure. 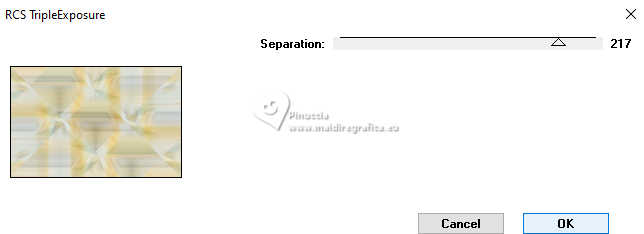 Effects>Edge Effects>Enhance More. 18. Layers>New Raster Layer. Effects>Plugins>VanDerLee - Unplugged-X - Round Button  19. Activate your Magic Wand Tool , tolerance and feather 0,and click in the black border to select it. 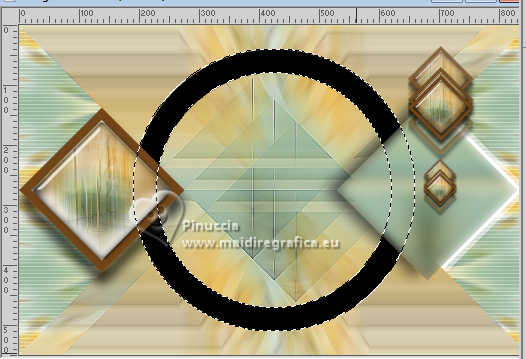 Edit>Cut or press CANC on the keyboard (it would be better to use the CANC key because you still need the tube in memory). Keep your background color with the color 3 #ba9455. Set your foreground color to a Foreground/Background Gradient, style Linear. 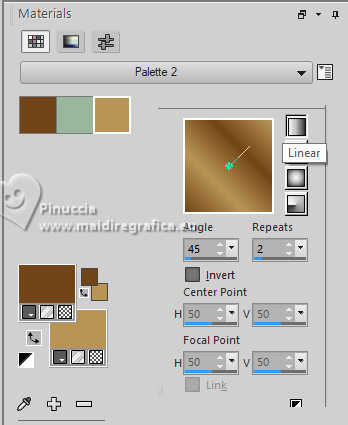 Flood Fill the selection with your Gradient.20. Adjust>Add/Remove Noise>Add Noise.  21. Effects>3D Effects>Inner Bevel.  Selections>Select None. 22. Layers>New Raster Layer. Selections>Load/Save Selections>Load Selection from Disk. Look for and load the selection 283_Xixi3 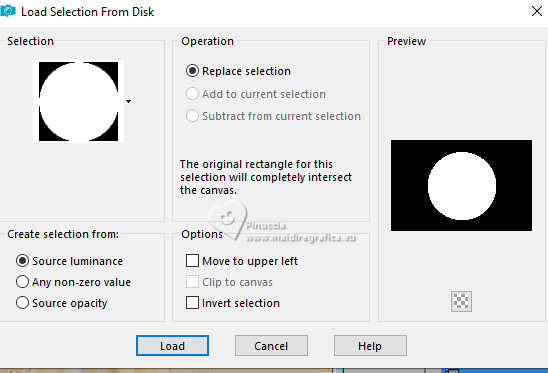 Set your foreground color to Color. Reduce the opacity of your Flood Fill Tool to 40%, Flood Fill the selection with your foreground color.don't forget to set again the opacity of your Flood Fill Tool to 100 Adjust>Add/Remove Noise>Add Noise. 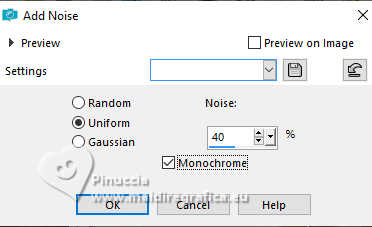 23. Your misted should be still in memory (if it is not, activate and copy it) Edit>Paste into Selection. 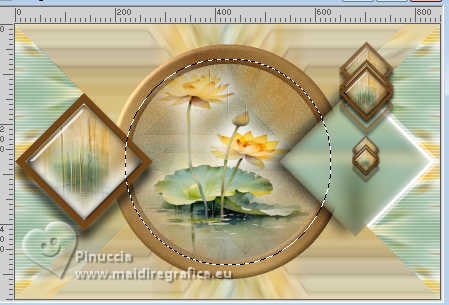 Adjust>Sharpness>Sharpen. Selections>Select None. Layers>Arrange>Move Down. Activate the layer of the circle. 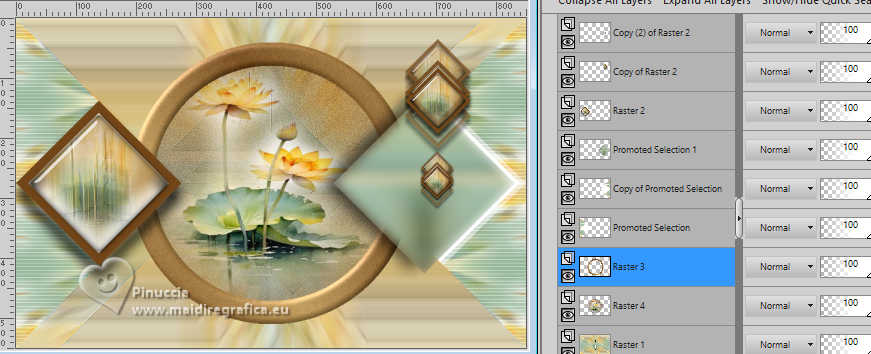 Layers>Merge>Merge Down. 24. Effects>3D Effects>Drop Shadow, color black #000000. 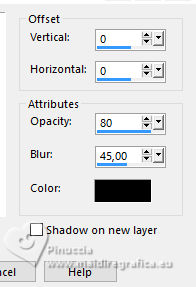 25. Activate your top layer. Set your foreground color to the color white #ffffff. Layers>New Raster Layer. Flood Fill the layer with the color white.Layers>New Mask Layer>from Image. Open the menu under the source window and you'll see all the files open. Select the mask NarahsMasks_1782  Layers>Merge>Merge Group. Effects>3D Effects>Drop Shadow, color black. 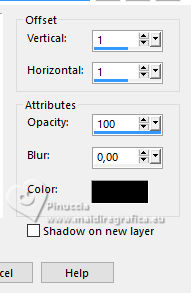 Effects>Edge Effects>Enhance. Edit>Repeat Enhance Edges. Layers>Properties>General>Blend Mode: Soft Light. Layers>Duplicate. 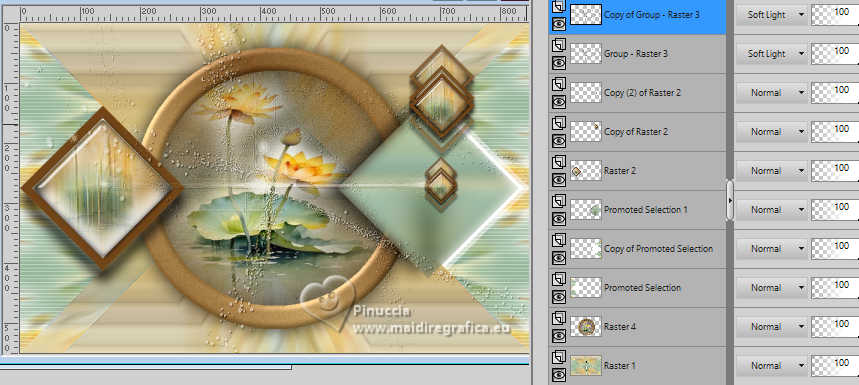 26. For the borders, set again your foreground color to #714619 Image>Add Borders, 1 pixel, symmetric, foreground color #714619. Image>Add Borders, 3 pixels, symmetric, color 3 #ba9455. Image>Add Borders, 1 pixel, symmetric, foreground color #714619. Selections>Select All. Image>Add Borders, 40 pixels, symmetric, background color, color 2 #99b79d. Selections>Invert. 27. Effects>Plugins>Carolaine and Sensibility - CS_Texture. 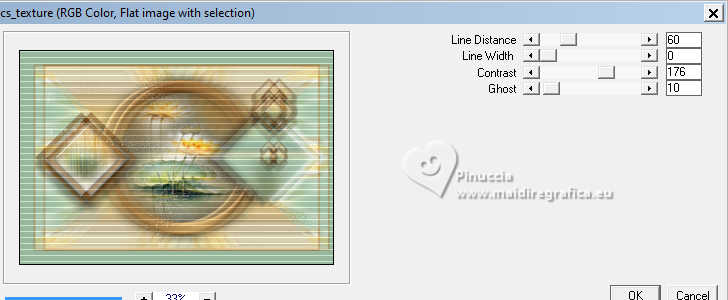 28. Selections>Invert. Effects>3D Effects>Drop Shadow, color black #000000. 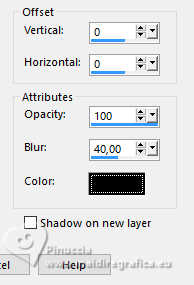 Selections>Select None. 29. Image>Add Borders, 1 pixel, symmetric, foreground color #714619. Image>Add Borders, 10 pixels, symmetric, color 3 #ba9455 Image>Add Borders, 1 pixel, symmetric, foreground color #714619. 30. Open the woman's tube IN_045_Mulheramarelo 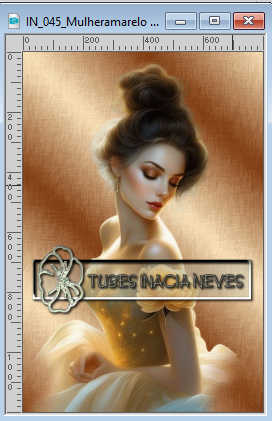 Edit>Copy. Go back to your work and go to Edit>Paste as New Layer. Image>Resize, is necessary, for the supplied tube I did 55%, resize all layers not checked. Move  the tube to the left, or to your liking. the tube to the left, or to your liking.Effects>3D Effects>Drop Shadow, at your choice. 31. Open TituloMG_Xiki  Erase the watermark and go to Edit>Copy. Go back to your work and go to Edit>Paste as New Layer. Move the text to your liking.32. Sign your work and save as jpg. For the tubes of this version thanks PqnaAlice and Jewel 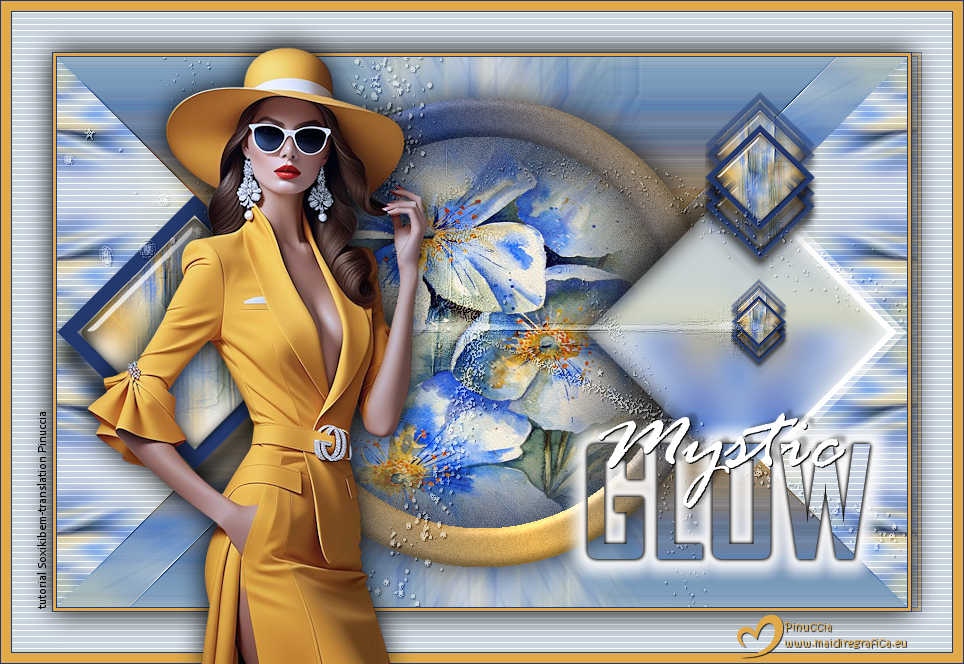  Your versions. Thanks 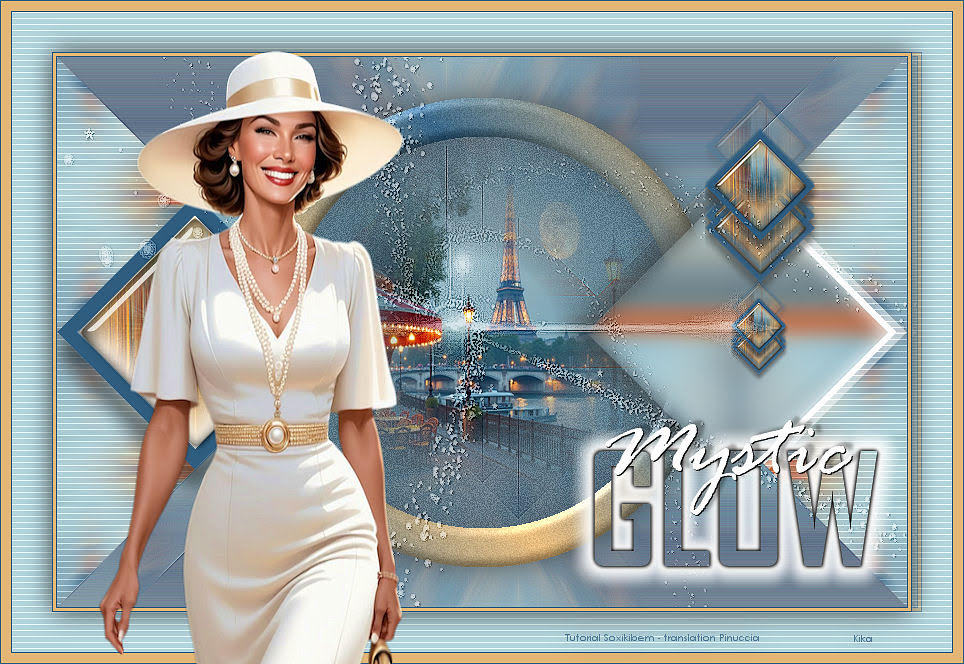 Kika 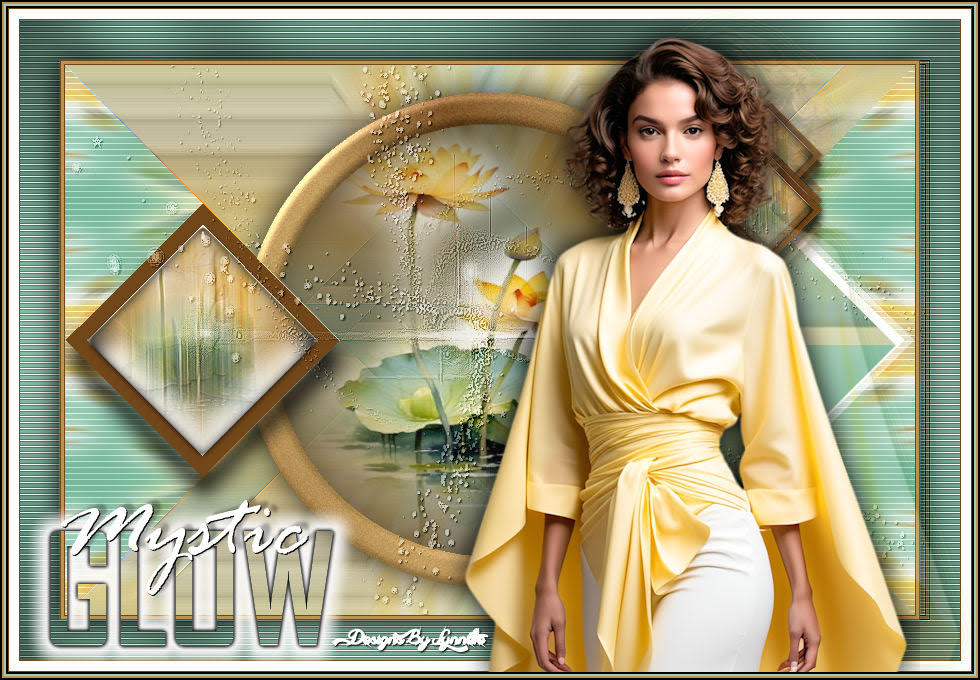 Lynnette 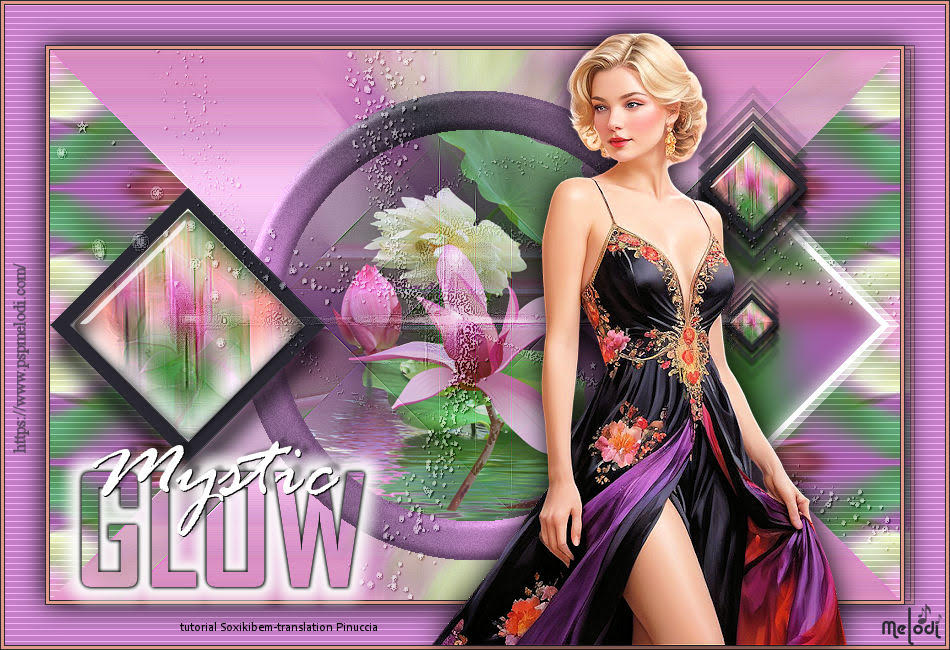 Melodi  Marion  Jolcsi  If you have problems or doubts, or you find a not worked link, or only for tell me that you enjoyed this tutorial, write to me. 19 May 2025 |


