|
PUMPKIN SPELLS & COFFEE BREWS  
 When the moon rises and the leaves whisper, witches wake up early... just for the coffee! Blended with pumpkin essence and a dash of mischief, each cup is a liquid spell. Careful: one sip and you might fall in love... or turn into a cat.
This tutorial was written with Psp2022 and translated with PspX2020, but it can also be made using other versions of PSP.
For this tutorial, you will need:  Thanks for the tubes and the mask PqnaAlice and Narah. (The links of the tubemakers here).  consult, if necessary, my filter section here Filters Unlimited 2.0 here &<Bkg Designer sf10I> - Cruncher (to import in Unlimited) here Alien Skin Eye Candy 5 Nature - Drip here AP Lines - Lines SilverLining here Borduremania - Ondulation here Mura's Meister - Copies, Perspective Tiling here Namesuppressed - Plaid Lite here  You can change Blend Modes according to your colors. In the newest versions of PSP, you don't find the foreground/background gradient (Corel_06_029). You can use the gradients of the older versions. The Gradient of CorelX here Copy the preset  in the folder of the plugin Alien Skin Eye Candy 5 Impact>Settings>Shadow. in the folder of the plugin Alien Skin Eye Candy 5 Impact>Settings>Shadow.One or two clic on the file (it depends by your settings), automatically the preset will be copied in the right folder. why one or two clic see here  Copy the Selections in the Selections Folder. 1. Choose 3 colors to work. 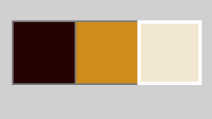 Set your foreground color to #270400, and your background color to #d08c1c 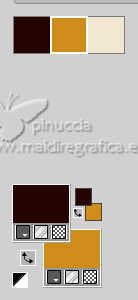 color 3 #f1e6cf Set your foreground color to a Foreground/Background Gradient, style Radial. 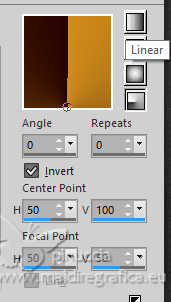 2. Open a new transparent image 850 x 500 pixels. Flood Fill  the transparent image with your Gradient. the transparent image with your Gradient.3. Effects>Plugins>Filters Unlimited 2.0 - &<Bkg Designer sf10 I> - Cruncher. 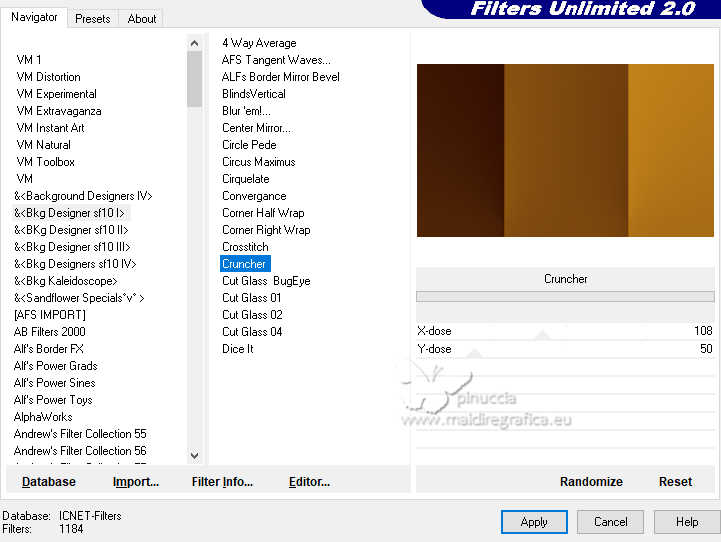 4. Effects>Geometric Effects>Skew.  5. Effects>Plugins>Borduremania (nvr) - Ondulation Color: foreground color. 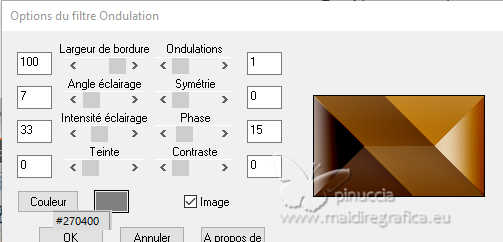 6. Effects>Plugins>AP Lines - Lines SilverLining. 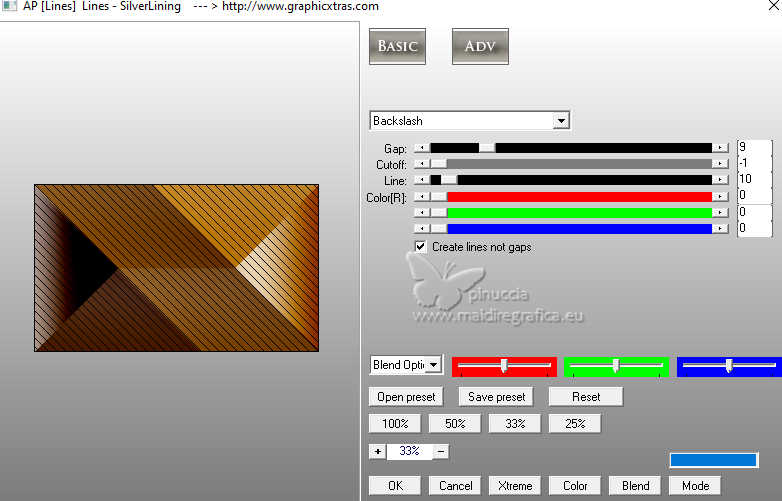 7. Effects>Plugins>Filters Unlimited 2.0 - &<Bkg Designer sf10 I> - Cruncher, default settings. 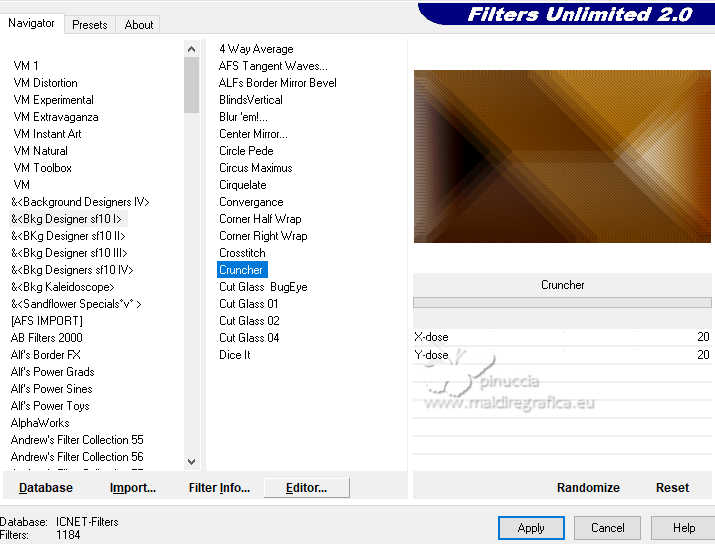 8. Selections>Load/Save Selections>Load Selection From Disk. Look for and load the selection Fest17_Xiki1 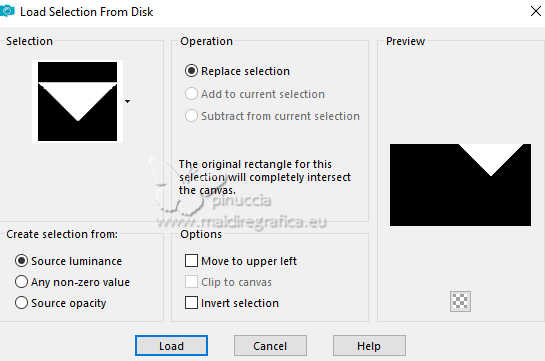 Selections>Promote Selection to Layer. Open the tube 126DiversosByPqnaAlice 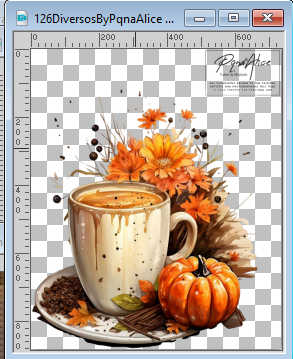 Erase the watermark and go to Edit>Copy. Go back to your work and go to Edit>Paste Into Selection. 9. Adjust>Blur>Motion Blur. 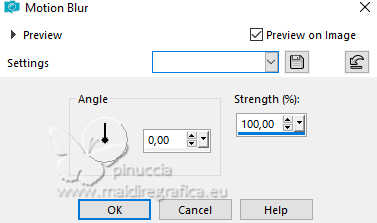 Effects>Edge Effects>Enhance. Edit>Repeat Enhance Edges. Selections>Select None. 10. Effects>Reflection Effects>Rotating Mirror. 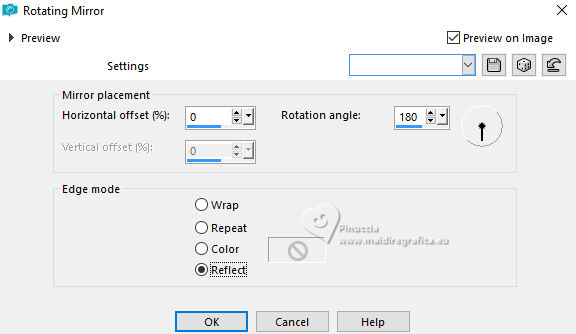 11. Activate the layer Raster 1.  Selections>Load/Save Selections>Load Selection From Disk. Look for and load the selection Fest17_Xiki2  Selections>Promote Selection to Layer. Layers>Arrange>Bring to Top. Selections>Select None. 12. Effects>Geometric Effects>Circle  Pick Tool  Position X: 199,00 - Position Y: 172,00.  Layers>Duplicate. Image>Flip>Flip Horizontal. Position X: 87,00 - Position Y: 172,00.  Layers>Merge>Merge Down. 13. Image>Resize, to 50%, resize all layers not checked. Effects>Plugins>Mura's Meister - Copies  AUTHOR'S NOTE: Since I used Line (random rotate), each time you apply it, even with the same settings, the positions will be random. 14. Image>Free Rotate - 45 degrees to right  Position X: 270,00 - Positon Y: -82,00.  15. Activate your Crop Tool  and click in Merged Opaque, then click on Apply  16. Adjust>Add/Remove Noise>Add Noise. 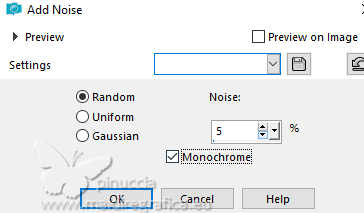 Effects>3D Effects>Drop Shadow, color black #000000. 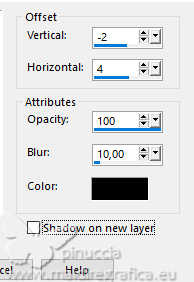 17. Activate the layer Raster 1. 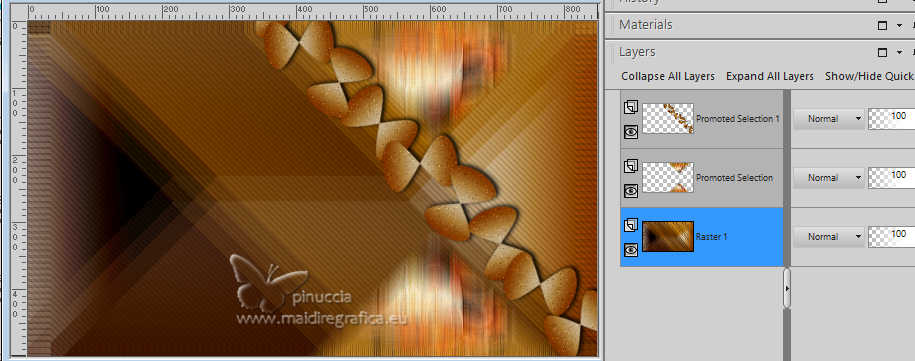 Layers>Duplicate. Layers>Arrange>Bring to Top. Effects>Plugins>Mura's Meister - Perspective Tiling. 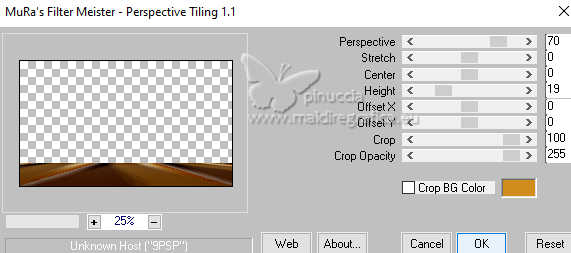 18. Activate your Magic Wand Tool  tolerance 0 and feather 60 tolerance 0 and feather 60 and click in the transparent part to select it. Press 5 times CANC on the keyboard  Selections>Select None. Effects>Reflection Effects>Rotating Mirror, default settings. 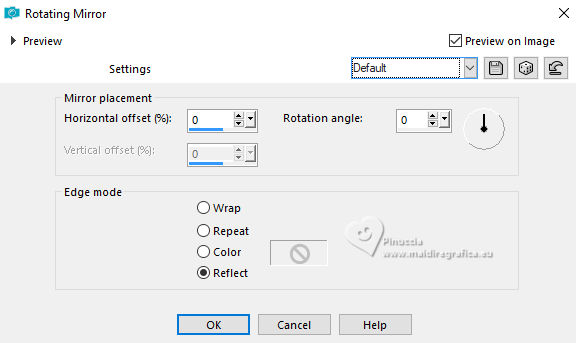 19. Layers>Duplicate. Image>Mirror>Mirror Vertical. 20. Activate the layer Pomoted Selection 1. 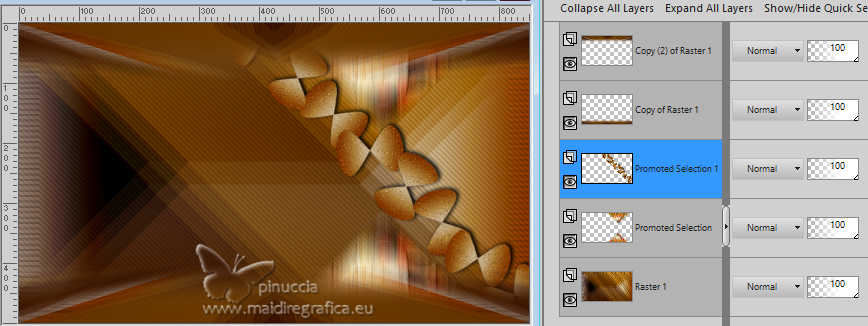 Effects>Plugins>Alien Skin Eye Candy 5 Nature - Drip Select the preset Fest17_Xiki 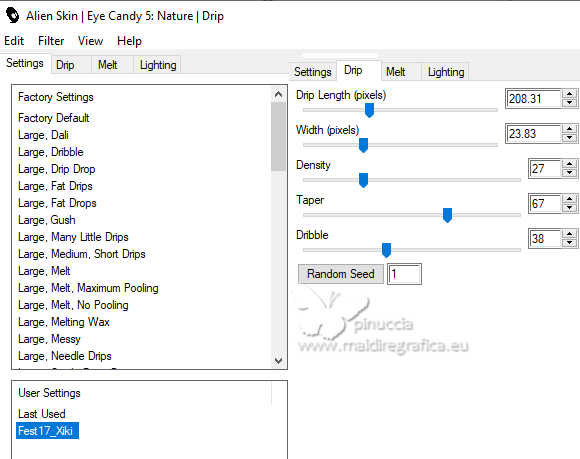 21. Activate the layer below, Promoted Selection. Activate again the tube 126DiversosByPqnaAlice and go to Edit>Copy. Go back to your work and go to Edit>Paste as new layer. Image>Resize, is necessary, for the provided tube to 30%, resize all layers not checked. Image>Mirror>Mirror Horizontal. Adjust>Sharpness>Sharpen. Effects>3D Effects>Drop shadow, at your choice. Position  the tube as shown in the screenshot, the tube as shown in the screenshot, giving the impression that the Drip effect is falling into the cup. Part of the image was below the Copy of Raster 1 layer effect; leave it that way to create a somewhat mysterious feel. 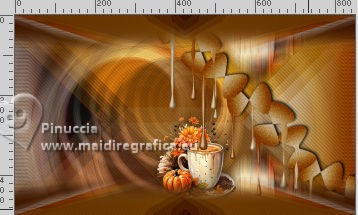 22. Activate the layer Raster 1. Layers>New Raster Layer. Set your foreground color to the color 3  Flood Fill the layer with your foreground color.Layers>New Mask Layer>from Image Open the menu under the source window and you'll see all the files open. Select the mask Narah_Mask_1047  Layers>Merge>Merge Group. Adjust>Sharpness>Sharpen More. Layers>Properties>General>Blend Mode: Overlay. 23. Layers>Duplicate. Effects>Image Effects>Seamless Tiling.  Layers>Arrange>Move Down. Layers>Properties>General>Blend Mode: Luminance (L), Opacity: 60%. author's note: in my second version I used Blend Mode: Dodge. 24. Activate the top layer, Copy (2) of Raster 1. Open the tube 129DiversosByPqnaAlice  Erase the watermark and go to Edit>Copy. Go back to your work and go to Edit>Paste as New Layer. Image>Resize, if necessary, for the provided tube, to 40%. Adjust>Sharpness>Sharpen. Move a little to the left.Effects>3D Effects>Drop Shadow, at your choice. 25. Activate the layer Promoted Selection 1. Open Decor1_Xiki  Erase the watermark and go to Edit>Copy. Go back to your work and go to Edit>Paste as New Layer. Move the deco it so it fits in the middle of the effect.*Note: If you can't get Decor1 to fit correctly, use Decor1_1_Xiki  and duplicate it and fit it in the middle of the effects, as shown in the screenshot below.  26. Activate the tube's layer, Layer Raster 3. Open Decor2_Xiki  Erase the watermark and go to Edit>Copy. Go back to your work and go to Edit>Paste as New Layer. Pick Tool Position X: 0,00 - Position Y: 16,00.  Layers>Arrange>Move Down. This layer must be under the tube's layer. 27. For the borders, set again your foreground color to #270400, and set your background color to the color 3 #f1e6cf  Selections>Select All. Image>Add Borders - 30 pixels, symmetric, foreground color. Selections>Invert. Effects>Plugins>Namesuppressed - Plaid Lite  Adjust>Sharpness>Sharpen More. 28. Selections>Invert. Effects>3D Effects>Drop Shadow, color black #000000.  Selections>Select None. 29. Image>Add Borders, 10 pixels, symmetric, color 3. Selections>Select All. Image>Add Borders, 20 pixels, symmetric, foreground color. Selections>Invert. 30. Effects>Plugins>Namesuppressed - Plaid Lite  Adjust>Sharpness>Sharpen More. 31. Selections>Invert. Effects>3D Effects>Drop Shadow, color black #000000.  Selections>Select None. 32. Open TituloPSCB_Xiki  Erase the watermark and go to Edit>Copy. Go back to your work and go to Edit>Paste as New Layer. Pick Tool Position X: 478,00 - Position Y: 518,00.  Effects>3D Effects>Drop Shadow, color black #000000.  33. Open Decor3_Xiki  Erase the watermark and go to Edit>Copy. Go back to your work and go to Edit>Paste as New Layer. Position X: 5,00 - Position Y: 5,00.  34. Image>Add Borders, 1 pixel, symmetric, foreground color. 35. Open Credit-Tutorial_bySoxikibem  Edit>Copy. Go back to your work and go to Edit>Paste as new layer. Place to your liking.I hope you don't forget the translator's credit  36. Sign your work on a new layer. Layers>Merge>Merge All and save as jpg. I received the tube of this version by sharing, but is not signed   Your versions. Thanks  Lynnette  If you have problems or doubts, or you find a not worked link, or only for tell me that you enjoyed this tutorial, write to me. 14 October 2025 |


