|
SHADOWS OF A LOVE  
 Their eyes no longer recognized each other, as if the distance had clouded their vision and dimmed the light of their shared past. In this quiet space, where words no longer mattered, they drifted further apart, trapped in the shadows of a love that was slowly slipping away.
This tutorial was written with Psp2022 and translated with PspX2020, but it can also be made using other versions of PSP.
For this tutorial, you will need:  For the tubes and the mask thanks PqnaAlice and Narah. (The links of the tubemakers here).  consult, if necessary, my filter section here Filters Unlimited 2.0 here &<Background Designers IV> - sf10 Slice N Dice, @Night Shadow (to import in Unlimited) here Mehdi - Sorting Tiles here  You can change Blend Modes according to your colors. In the newest versions of PSP, you don't find the foreground/background gradient (Corel_06_029). You can use the gradients of the older versions. The Gradient of CorelX here  1. Choose 3 colors to work. For the example:  Set your foreground color to #09293b, and your background color to #168989. 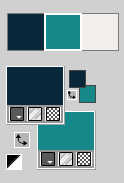 color 3 #f2edea Set your foreeground color to a Foreground/Background Gradient, style Rectangular. 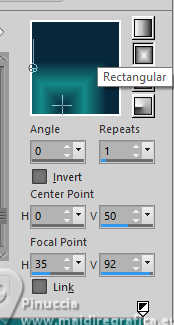 2. Open a new transparent image 800 x 500 pixels. Flood Fill  the transparent image with your foreground color. the transparent image with your foreground color.3. Effects>Plugins>Mehdi - Sorting Tiles. 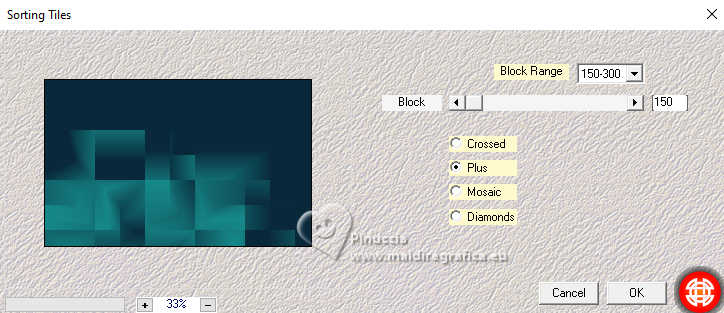 4. Effects>Edge Effects>Enhance More. Effects>Image Effects>Seamless Tiling 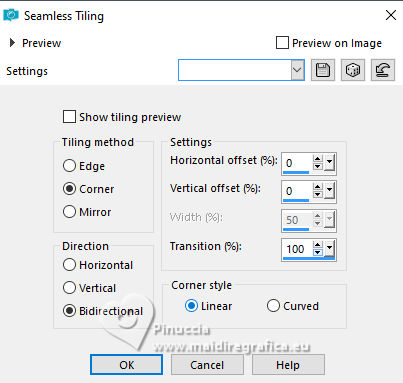 5. Layers>Duplicate. Effects>Plugins>Filters Unlimited 2.0 - &<Background Designers IV> - sf10 Slice N Dice 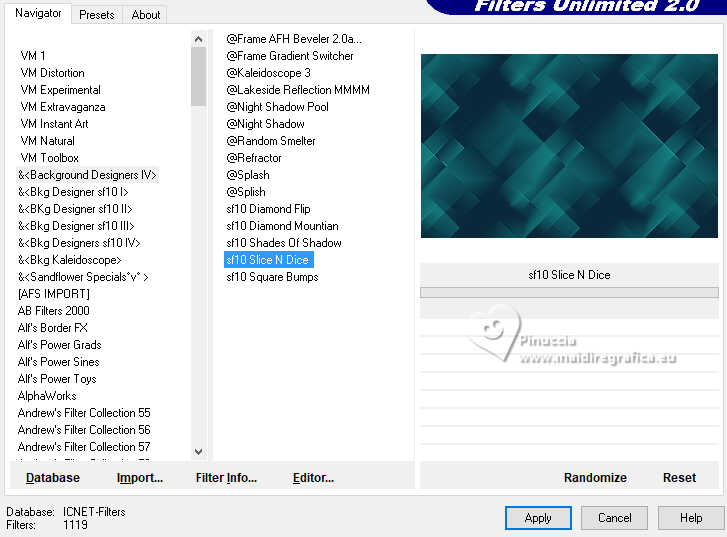 Layers>Properties>General>Blend Mode: Dodge. 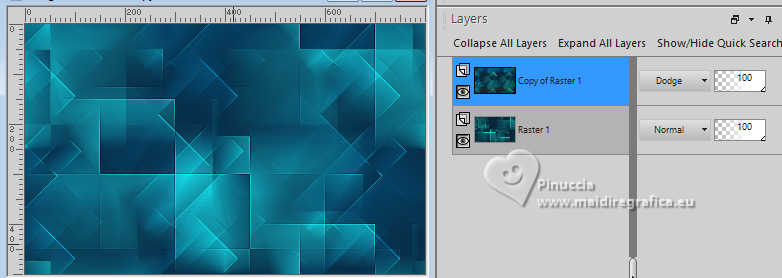 6. Layers>New Raster Layer. Activate your Selection Tool  (no matter the type of selection, because with the custom selection your always get a rectangle) clic on the Custom Selection 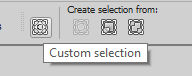 and set the following settings. 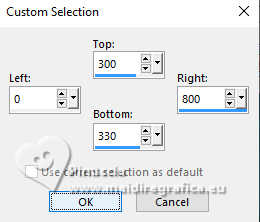 7. Reduce the opacity of your Flood Fill Tool to 50%. Set your background color to the color 3 #f2edea  Flood Fill the selection with your background color (color 3).Selections>Select None. Effects>Geometric Effects>Skew. 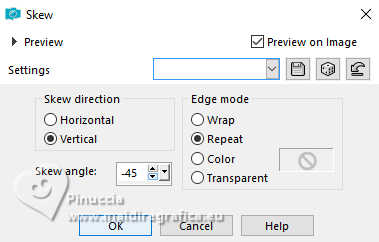 8. Effects>Reflection Effects>Rotating Mirror. 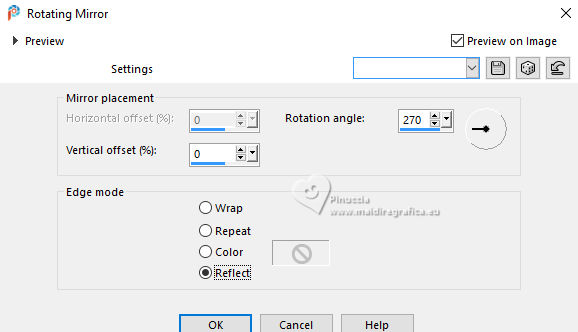 9. Effects>Reflection Effects>Kaleidoscope. 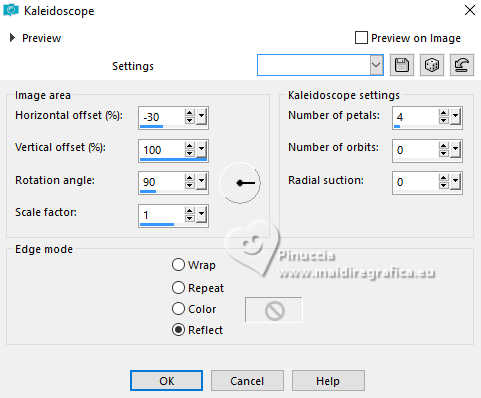 10. Effects>3D Effects>Drop Shadow, shadow on new layer checked. 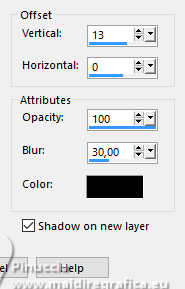 Stay on the Drop shadow's layer. Layers>Properties>General>Blend Mode: Dissolve. 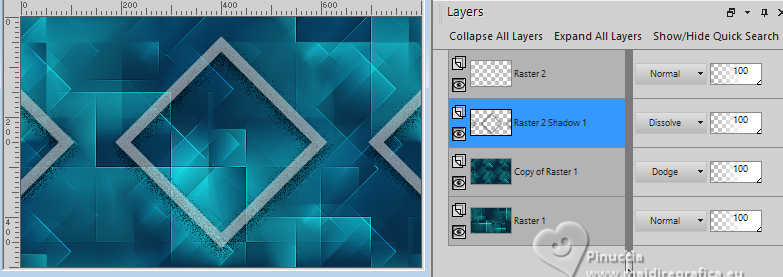 11. Activate your top layer Raster 2. Activate your Magic Wand Tool  , ,Tolerance and Feather 0 - Mode: Add (Shift)  Select the two shapes side. 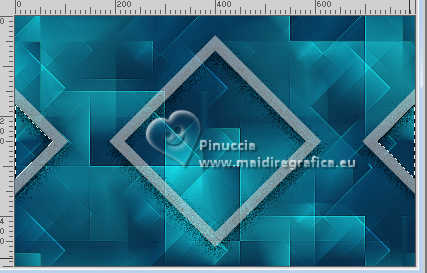 12. Activate the layer Copy of Raster 1. Selections>Promote Selection to Layer. Adjust>Blur>Gaussian Blur - radius 10. 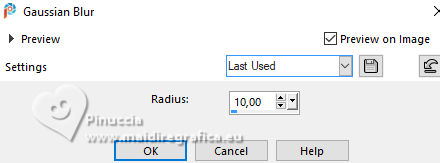 Effects>Texture Effects>Weave weave color: background color (color 3). 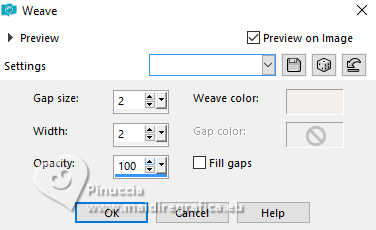 13. Activate your top layer Raster 2. Effects>3D Effects>Drop Shadow, shadow on new layer not checked.  Selections>Select None. 14. Activate again your Magic Wand Tool , tolerance and feather 0,and click in the central shape to select it.  Selections>Modify>Expand - 3 pixels. Activate the layer Copy of Raster 1. 15. Layers>New Raster Layer. Reduce the opacity of your Flood Fill Tool to 40%. Flood Fill the selection with your background color (color 3).Set again the opacity of your Flood Fill Tool to 100 16. Open your misted 088DiversosByPqnaAlice  Erase the watermark and go to Edit>Copy. Go back to your work and go to Edit>Paste into Selection. Adjust>Sharpness>Sharpen. Selections>Select None. 17. Activate your top layer Raster 2. Open DecorSOL_Xiki1  Erase the watermark and go to Edit>Copy. Go back to your work and go to Edit>Paste as new layer. Pick Tool  Position X: 51,00 - Position Y: 0,00.  18. Open DecorSOL_Xiki2  Erase the watermark and go to Edit>Copy. Go back to your work and go to Edit>Paste as new layer. Pick Tool Position X: 160,00 - Position Y: -17,00. 19. Image>Add Borders, 1 pixel, symmetric, foreground color. Edit>Copy. Selections>Select All. 20. Image>Add Borders, 50 pixels, symmetric, whatever color. Selections>Invert. Edit>Paste Into Selection Adjust>Blur>Gaussian Blur - radius 20.  21. Effects>Plugins>Filters Unlimited 2.0 - &<Background Designers IV> - @Night Shadow.  22. Selections>Invert. Effects>3D Effects>Drop Shadow.  Selections>Select None. 23. Image>Add Borders, 1 pixels, symmetric, foreground color. 24. Open TituloSOL_Xiki  Erase the watermark and go to Edit>Copy. Go back to your work and go to Edit>Paste as new layer. Pick Tool Position X: 94,00 - Position Y: 86,00. 25. Optional: Layers>Duplicate. Layers>Properties>General>Blend Mode: Overlay - Opacity: 70%. 26. Sign your work and save as jpg. For the tubes of these versions thanks Luz Cristina  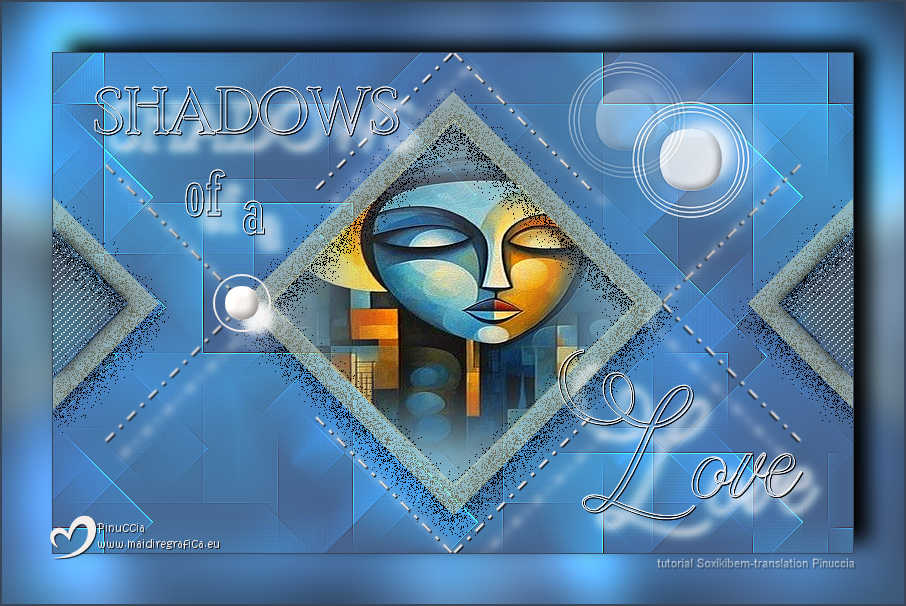 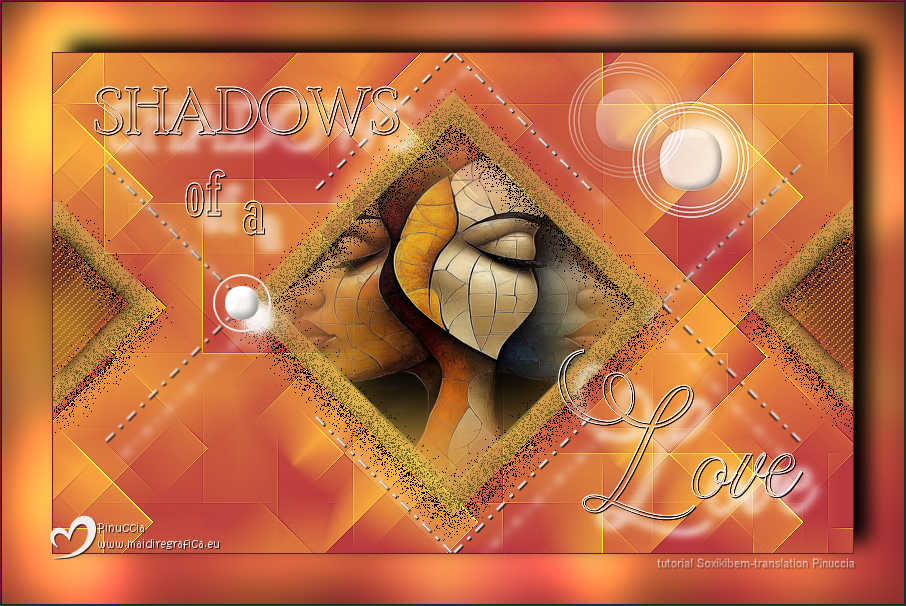  Your versions. Thanks  Melodi  Lynnette  Kika  If you have problems or doubts, or you find a not worked link, or only for tell me that you enjoyed this tutorial, write to me. 26 April 2025 |


