|
SILENT CLOCK  

"Between the hands of time, there is silence that tells stories that words cannot express."
This tutorial was written with Psp2022 and translated with PspX2020, but it can also be made using other versions of PSP.
For this tutorial, you will need:  For the misted thanks PqnaAlice. (The links of the tubemakers here). 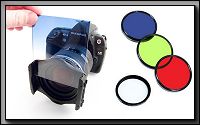 consult, if necessary, my filter section here Filters Unlimited 2.0 here Alien Skin Eye Candy 5 Impact - Glass, Perspective Shadow here &<Bkg Designer sf10II> - Hinzeberg's Mirror (to import in Unlimited) here &<Background Designer IV> - sf10 Diamond Mountain (to import in Unlimited) here Mehdi - Sorting Tiles here FM Tile Tools - Blend Emboss here  You can change Blend Modes according to your colors. In the newest versions of PSP, you don't find the foreground/background gradient (Corel_06_029). You can use the gradients of the older versions. The Gradient of CorelX here Copy the presets One or two clic on the file (it depends by your settings), automatically the preset will be copied in the right folder. why one or two clic see here  Copy the Selections in the Selections Folder. 1. Choose 3 colors to work. For the example: color 1 # 254858 color 2 # 5f7275 color 3 # d8eceb.  Set your foreground color to the color 1 #254858, and your background color to the color 3 #d8eceb. 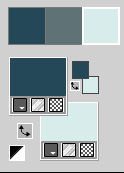 Set your foreground color to a Foreground/Background Gradient, style Sunburst. 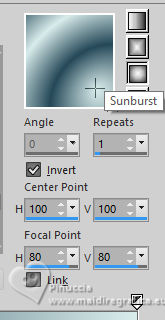 2. Open a new transparent image 800 x 550 pixels. Flood Fill  the transparent image with your Gradient. the transparent image with your Gradient.3. Effects>Plugins>Mehdi - Sorting Tiles 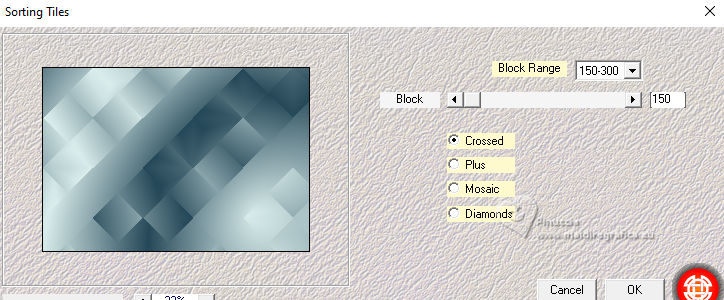 4. Layers>Duplicate. Image>Mirror>Mirror Horizontal. Layers>Properties>General>Blend Mode: Darken, or other, to your liking. 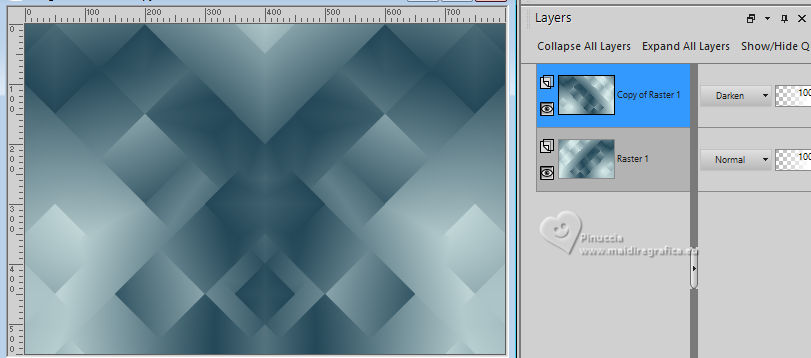 5. Activate the layer Raster 1. Effects>Texture Effects>Fine Leather - background color (color 3) 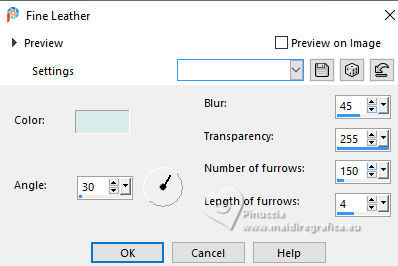 Adjust>Sharpness>Sharpen. 6. Activate again your top layer, Copy of Raster 1. Effects>Plugins>Filters Unlimited 2.0 - &<Bkg Designer sf10II> - Hinzeberg's Mirror 02. 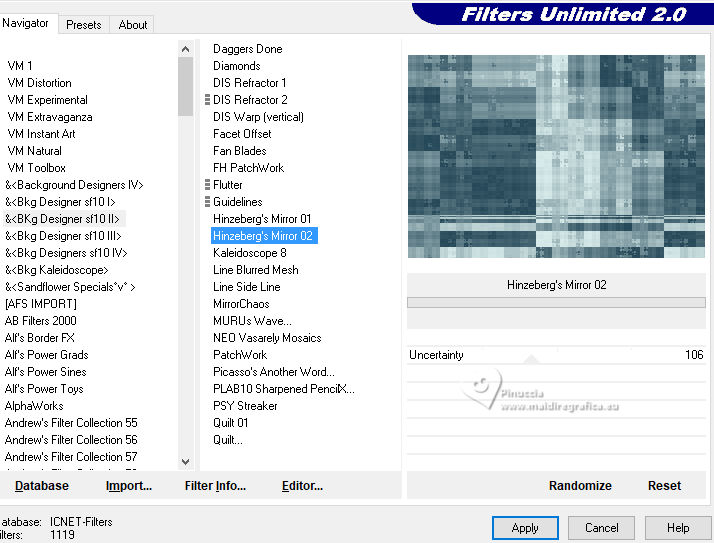 7. Effects>Image Effects>Seamless Tiling.  8. Effects>Plugins>FM Tile Tools - Blend Emboss, default settings.  Effects>Edge Effects>Enhance. 9. Layers>New Raster Layer. Selections>Select All. Open the misted 085DiversosByPqnaAlice 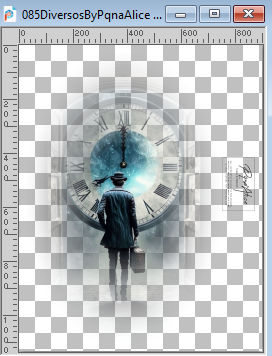 Erase the watermark and go to Edit>Copy. Go back to your work and go to Edit>Paste Into Selection. Selections>Select None. 10. Effects>Image Effects>Seamless Tiling, default settings.  Adjust>Blur>Radial Blur. 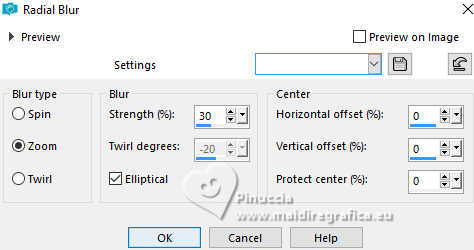 11. Layers>Duplicate. Close the layer Copy of Raster 2. Activate the layer below of the original, Raster 2. Effects>Plugins>Filters Unlimited 2.0 - &<Background Designer IV> - sf10 Diamong Mountain. 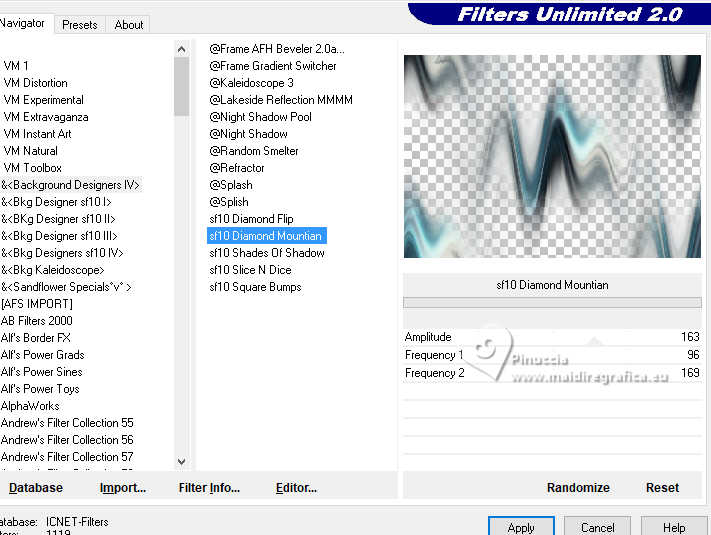 12. Effects>Plugins>Filters Unlimited 2.0 - Buttons & Frames>Round Button. 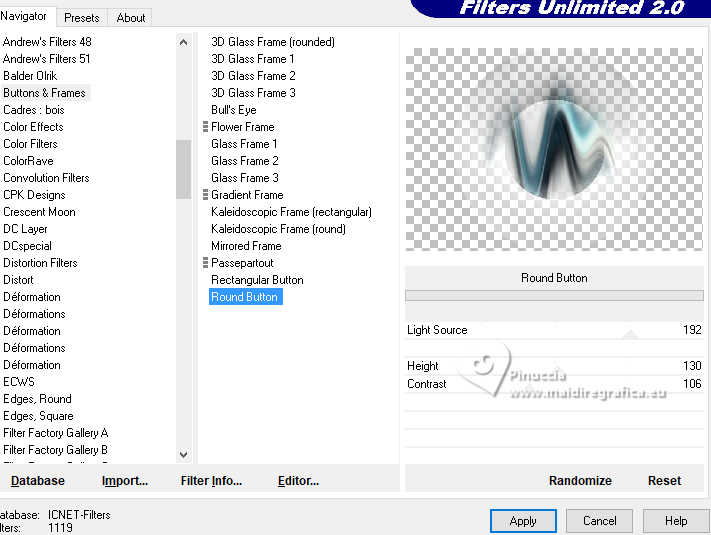 13. Selections>Load/Save Selections>Load Selections From Disk. Look for and load the selection SilentClock_Xiki1 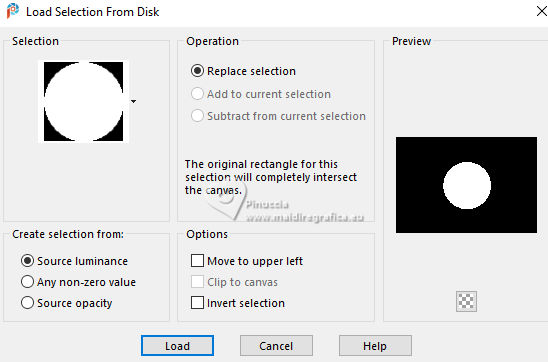 Edit>Cut or press CANC on the keyboard  attention, your are still in memory the landscape misted, that you will use again. If you do Edit>Cut, you will lose the misted from memory Reduce the opacity of your Flood Fill Tool to 60% Set your background color with the color 2 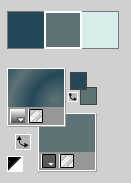 Flood Fill  the selection with your background color. the selection with your background color.Set again the opacity of your Flood Fill Tool to 100 Set again your background color with the color 3 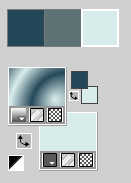 14. Effects>Texture Effects>Blinds, background color (color 3).  15. Effects>Plugins>FM Tile Tools - Blend Emboss, default settings.  16. Layers>New Raster Layer. Edit>Paste into Selection - the misted is still in memory. Effects>Plugins>FM Tile Tools - Blend Emboss, default settings.  17. Layers>New Raster Layer. Effects>Plugins>Alien Skin Eye Candy 5 Impact - Glass Select the preset SilentClockGlass_Xiki 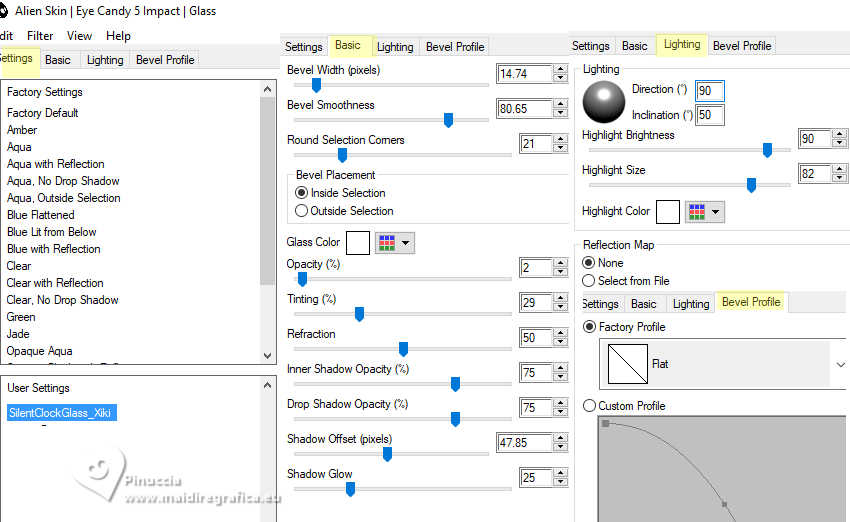 18. Layers>New Raster Layer. Selections>Modify>Select Selections Borders.  Flood Fill  the selection with your background color (color 3). the selection with your background color (color 3).19. Effects>3D Effects>Inner Bevel. 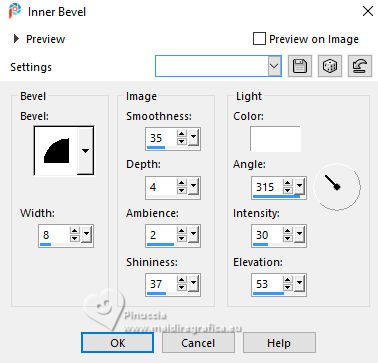 Selections>Select None. 20. Close the layers Raster 1 and Copy of Raster 1. 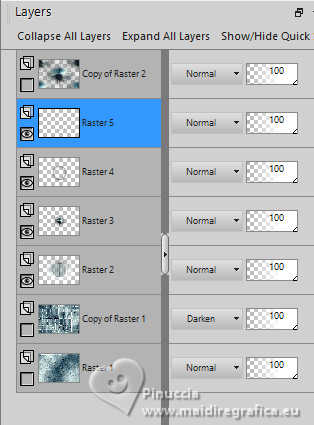 Layers>Merge>Merge Visible. 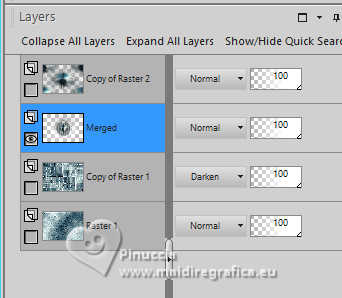 21. Re-open the layer Raster 1 and Copy of Raster 1, and stay on the layer Merged 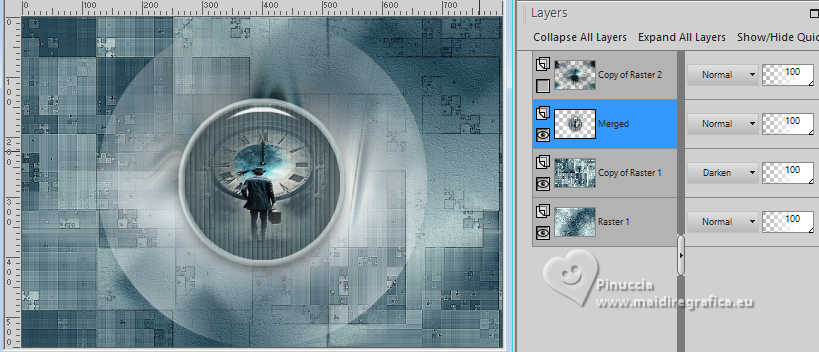 Image>Resize, to 80%, resize all layers not checked. Adjust>Sharpness>Sharpen. Effects>Plugins>Alien Skin Eye Candy 5 Impact - Perspective Shadow Select the preset SilentClockPerspective_Xiki 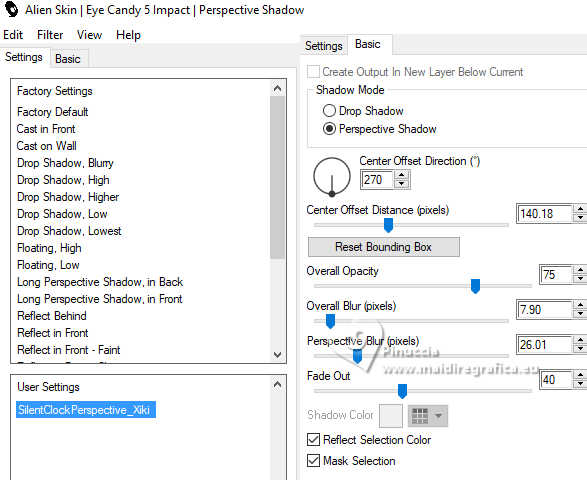 22. Effects>3D Effects>Drop Shadow Shadow on new layer checked.  Layers>Properties>General>Blend Mode: Luminance (L). Layers>Duplicate. 23. Effects>Texture Effects>Blinds, background color (color 3).  Repeat Effects>Texture Effects>Blinds, horizontal checked.  Adjust>Sharpness>Sharpen. Layers>Properties>General>Blend Mode: Luminance (in my second version I used Screen) 24. Open and activate the layer Copy of Raster 2. Effects>Geometric Effects>Perspective Horizontal.  Image>Mirror>Mirror Horizontal. Repeat Effects>Geometric Effects>Perspective Horizontal, same settings. 25. Effects>Distortion Effects>Warp.  Objects>Align>Top. Layers>Duplicate. Image>Mirror>Mirror Vertical (Image>Flip) Layers>Merge>Merge Down. 26. Effects>Distortion Effects>Wave.  Selections>Load/Save Selections>Load Selection From Disk Look for and load the selection SilentClock_Xiki2 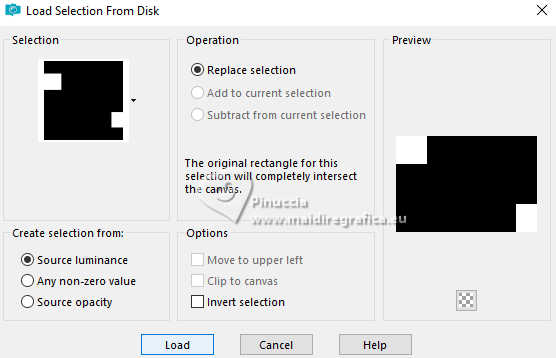 Edit>Cut. Selections>Select None. 27. Effects>3D Effects>Drop Shadow, shadow on new layer not checked. 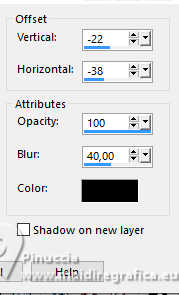 28. Selections>Load/Save Selections>Load Selection From Disk Look for and load the selection SilentClock_Xiki3 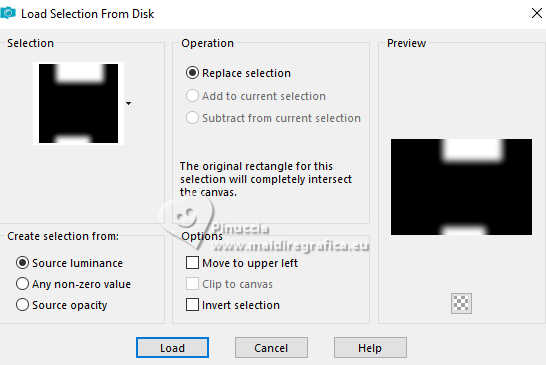 Edit>Cut. Selections>Select None. Your tag and the layers. 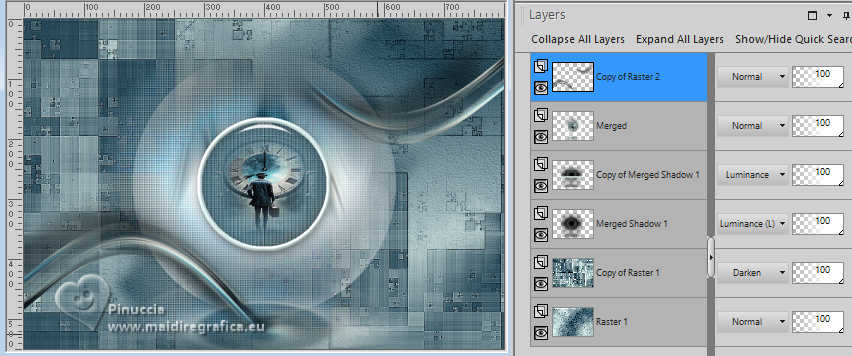 29. Open DecorSC_Xiki 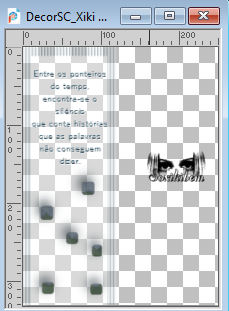 Erase the watermark and go to Edit>Copy. Go back to your work and go to Edit>Paste as New Layer. Pick Tool  Position X: 661,00 - Position Y: 219,00.  In my second version I changed the Blend Mode to Luminance (L). 30. Image>Add Borders, 1 pixel, symmetric, foreground color. Edit>Copy. Image>Add Borders, 45 pixels, symmetric, background color (color 3). Edit>Paste as New Layer Adjust>Blur>Gaussian Blur, gaussian 30.  Adjust>Add/Remove Noise>Add Noise. 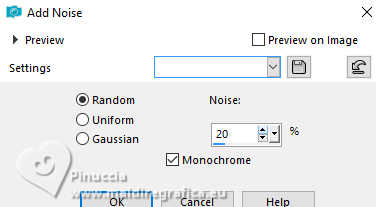 31. Selections>Select All. Selection>Modify>Contract, 55 pixels. Edit>Cut. Layers>New Raster Layer. Effects>3D Effects>Cutout. 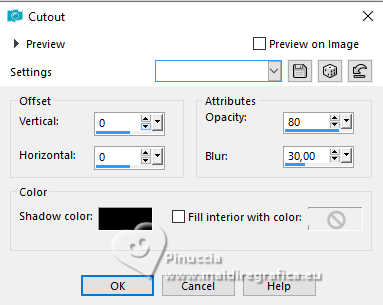 Selections>Select None. 32. Activate the layer Raster 1. 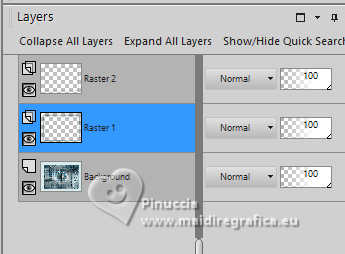 Effects>Plugins>FM Tile Tools - Blend Emboss, default settings.  Edit>Repeat Blend Emboss. 33. Image>Add Borders, 1 pixel, symmetric, foreground color. Open TituloSC_Xiki 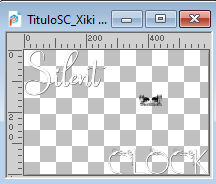 Erase the watermark and go to Edit>Copy. Go back to your work and go to Edit>Paste as New Layer. Pick Tool  Position X: 125,00 - Position Y: 119,00. Effects>3D Effects>Drop Shadow, or the Effect that you like better. Layers>Merge>Merge All. 34. Image>Resize, if you want. Sign your work and save as jpg. The misted of these versions are mine 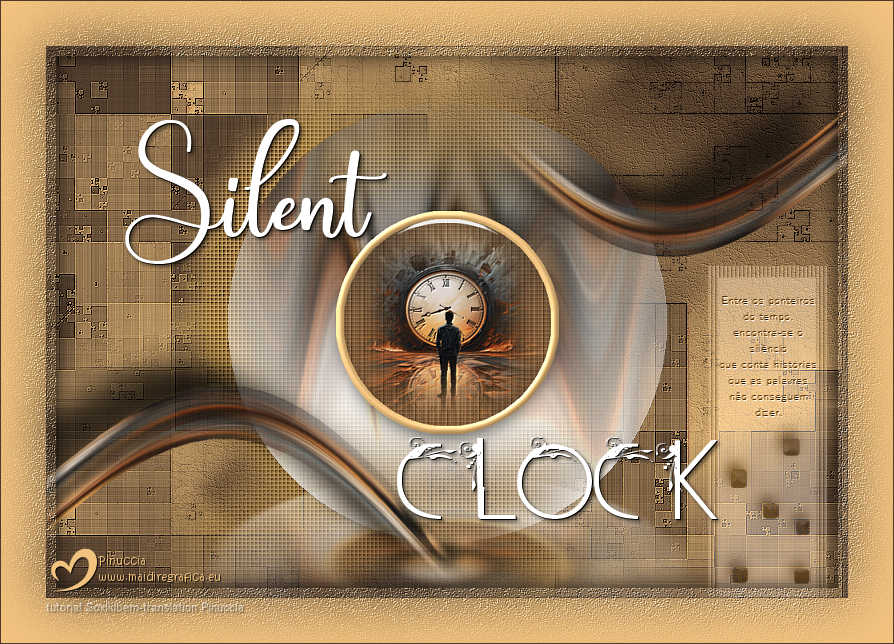   Your versions. Thanks 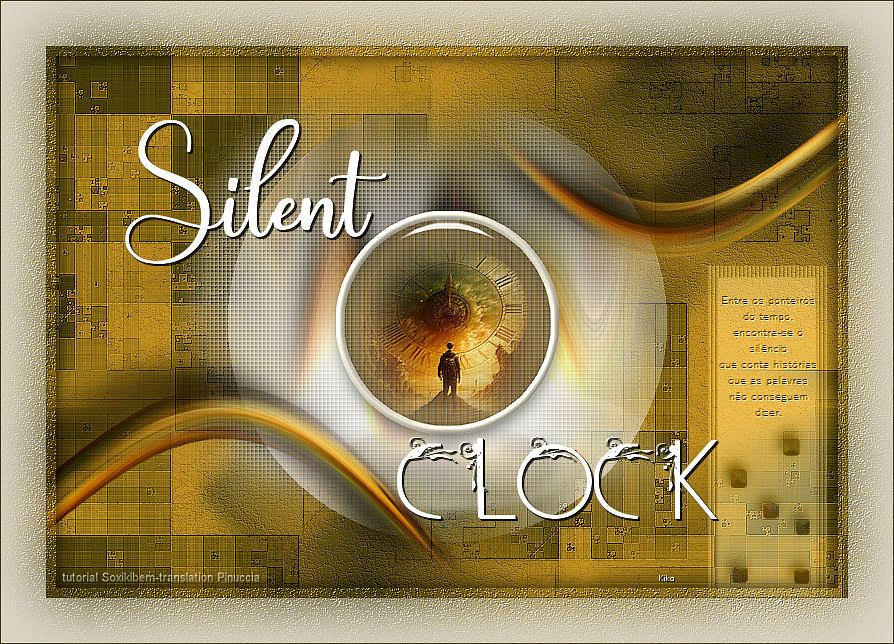 Kika 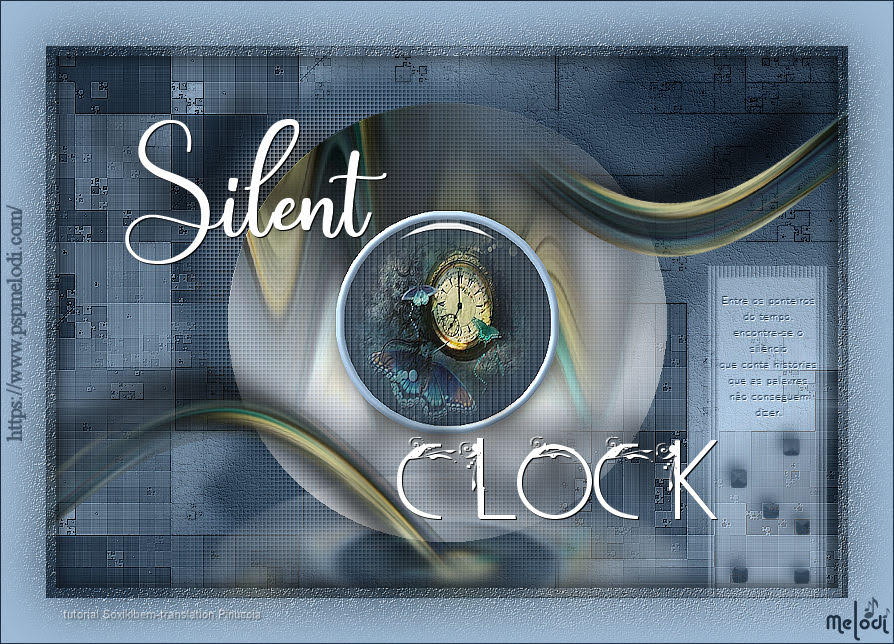 Melodi 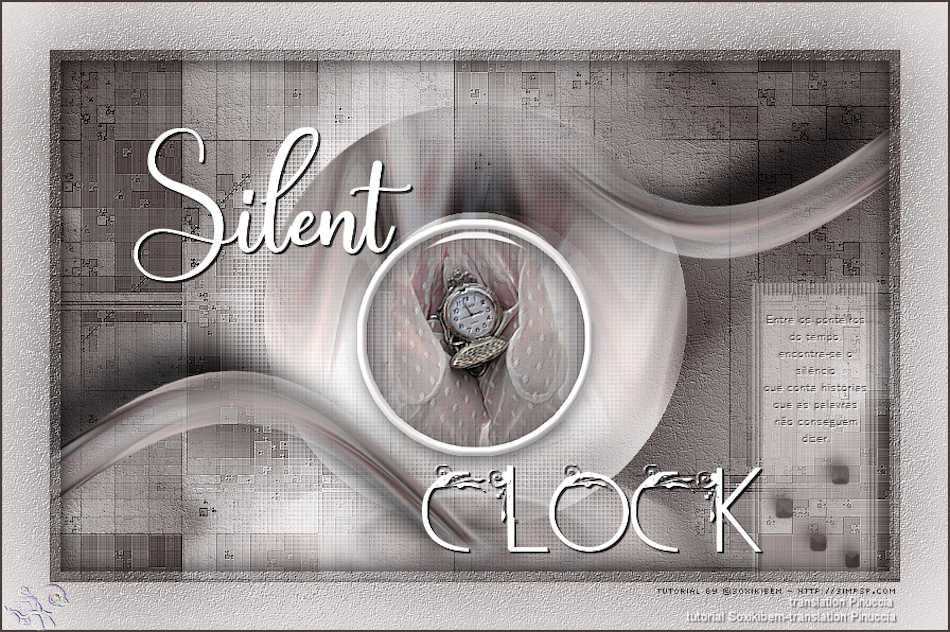 Pia  If you have problems or doubts, or you find a not worked link, or only for tell me that you enjoyed this tutorial, write to me. |


