|
THE WEIGHT OF SILENCE  
 In silence, we find echoes of who we once were and who we fear to become. Every absence of words carries untold stories, imprisoned feelings, and drifting dreams. The weight of silence does not lie in the lack of sound, but in what it forces us to hear within ourselves.
This tutorial was written with Psp2022 and translated with PspX2020, but it can also be made using other versions of PSP.
For this tutorial, you will need:  Thanks for the tubes PqnaAlice. (The links of the tubemakers here).  consult, if necessary, my filter section here Filters Unlimited 2.0 here Filter Factory Gallery D - Infini Tiles, Legolator, Shouting here Filters Factory Gallery can be used alone or imported into Filters Unlimited. (How do, you see here) If a plugin supplied appears with this icon  it must necessarily be imported into Unlimited it must necessarily be imported into Unlimited You can change Blend Modes according to your colors.  Copy the selections in the Selections Folder. 1. Choose 3 colors to work. Foreground: #341109 Background: #bc9993 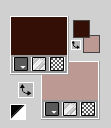 Color 3: #ffffff 2. Open a new transparent image 800 x 600 pixels. Flood Fill  the transparent image with your background color. the transparent image with your background color.Selections>Select All. Open your flower misted 215FlorByPqnaAlice 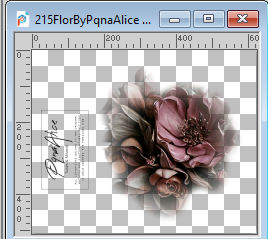 Erase the watermark and go to Edit>Copy. Go back to your work and go to Edit>Paste Into Selection. Selections>Select None. 3. Effects>Image Effects>Seamless Tiling, default settings.  Adjust>Blur>Gaussian Blur - radius 20. 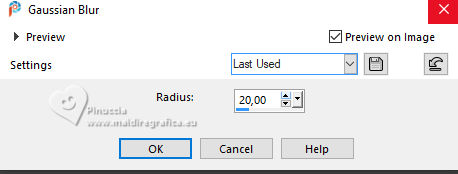 Effects>Plugins>Filter Factory Gallery D - Infini Tiles 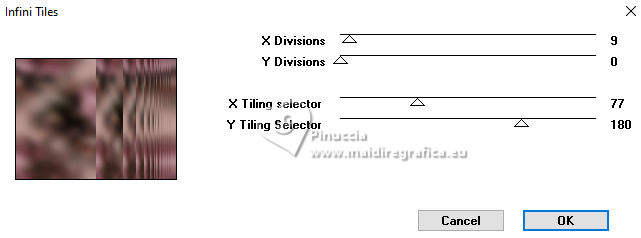 4. Effects>Reflection Effects>Rotating Mirror, default settings 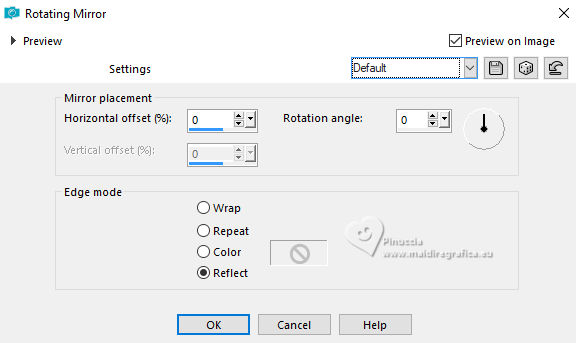 5. Effects>Distortion Effects>Warp. 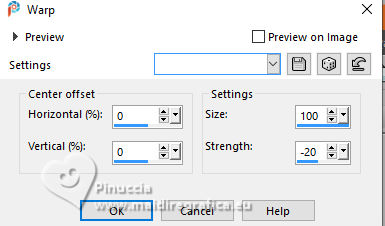 Effects>Edge Effects>Enahnce. 6. Effects>Plugins>Filters Unlimited 2.0 - Paper Textures - Striped Paper, Fine. 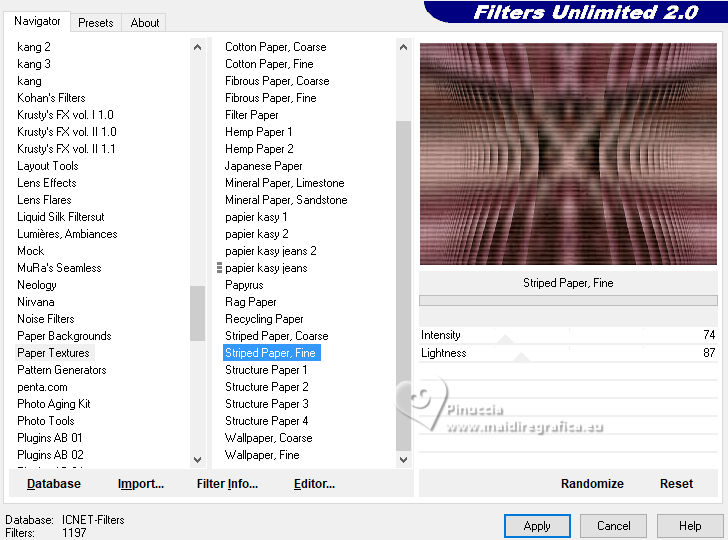 7. Layers>New Raster Layer. Selections>Load/Save Selections>Load Selection From Disk. Look for and load the selection 298_Xiki1 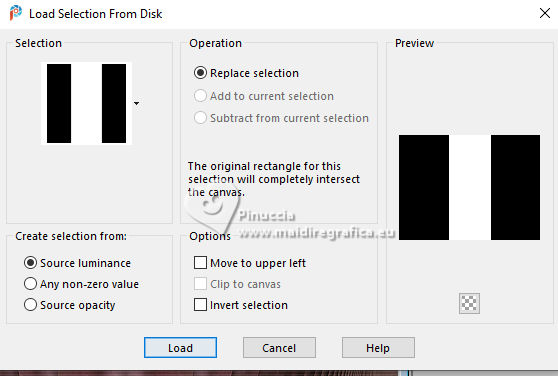 Selections>Edit Selection - and the selected area turns red. Effects>Distortion Effects>Warp, last settings you see this 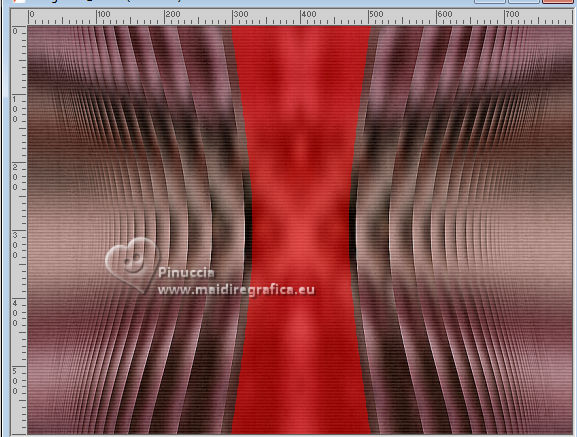 Again Edit>Selection and the selected area returns normal. 8. Set your background color to white #ffffff. Flood Fill the selection with your background color #ffffff.Selections>Load/Save Selections>Load Selection From Disk. Look for and load the selection 298_Xiki2 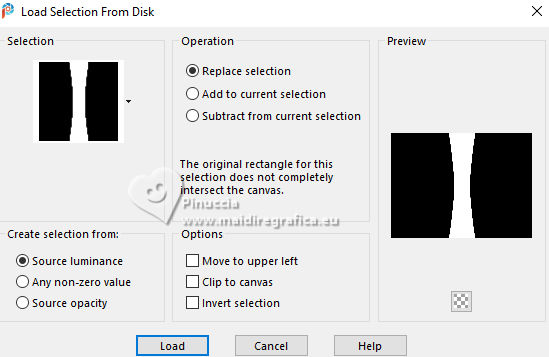 Press CANC on the keyboard  don't use Edit>Cut because you have still in memory your flower misted Keep selected. 9. Layers>New Raster Layer. Edit>Paste Into Selection - your misted is still in memory. Effects>Edge Effects>Enhance. Selections>Select None. Layers>Arrange>Move Down. 10. Effects>Image Effects>Seamless Tiling. 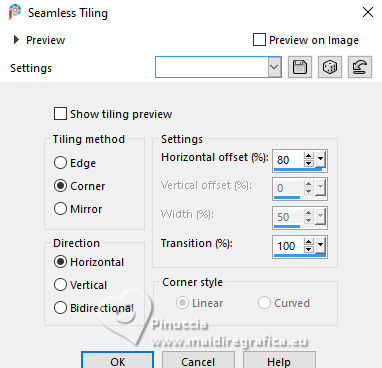 Layers>Duplicate. Image>Mirror>Mirror Horizontal. Layers>Merge>Merge Down. Layers>Properties>General>Blend Mode: Screen 11. Activate the layer Raster 2. Selections>Load/Save Selections>Load Selection From Disk. Look for and load the selection 298_Xiki3 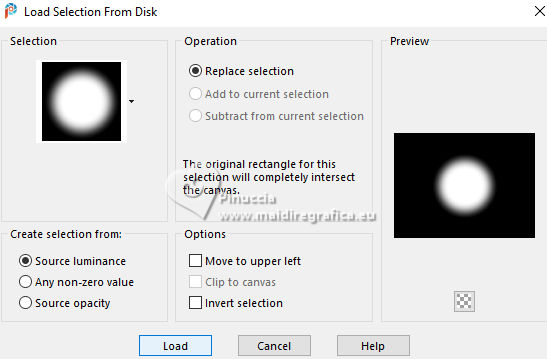 Press CANC on the keyboard. Selections>Select None. Layers>Properties>General>Blend Mode: Dodge, Opacity: 80%. 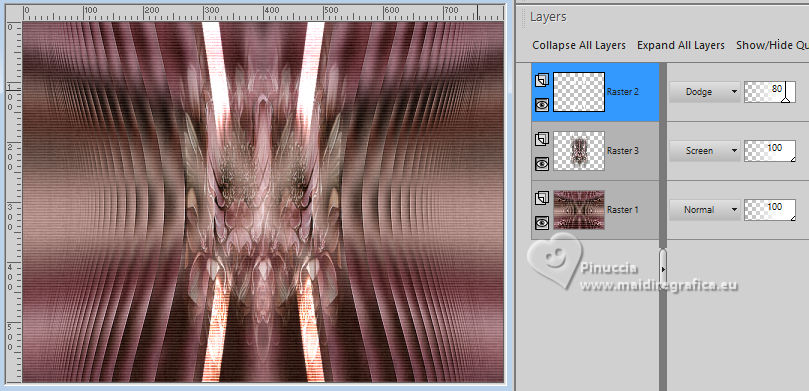 12. Layers>New Raster Layer. Selections>Load/Save Selections>Load Selection From Disk Look for and load the selection 298_Xiki4 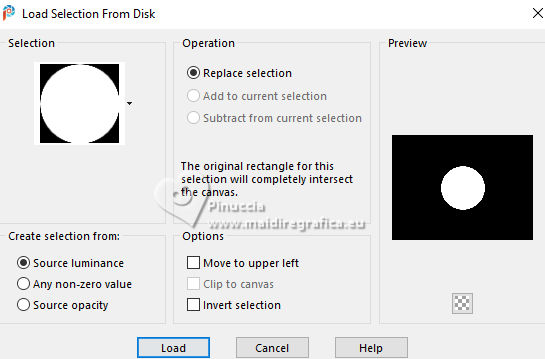 Flood Fill the layer with your white background color #ffffff.Selections>Modify>Contract - 2 pixels. Press CANC on the keyboard. Selections>Modify>Contract - 15 pixels. Flood Fill the layer with your white background color #ffffff.Selections>Modify>Contract: 2 pixels. Flood Fill the layer with your foreground color.13. Edit>Paste into Selection - your flower misted is still in memory. Adjust>Sharpness>Sharpen. Selections>Select None. Effects>3D Effects>Drop Shadow, color black #000000. 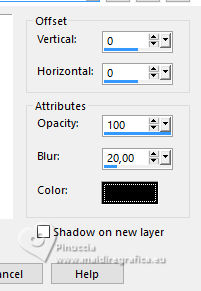 14. Layers>New Raster Layer. Effects>Plugins>Filter Factory Gallery D - Shoutin' 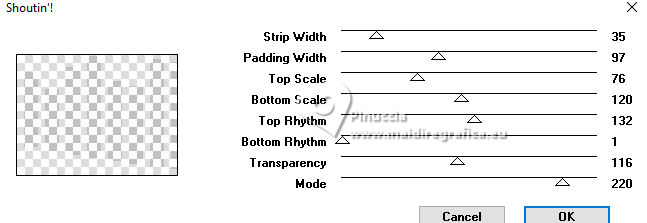 15 Effects>Distortion Effects>Warp. 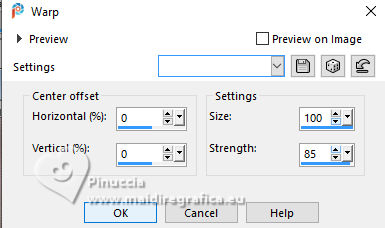 16. Effects>Reflection Effects>Rotating Mirror, default settings. 17. Effects>Image Effects>Seamless Tiling.  Selections>Load/Save Selections>Load Selection From Disk. Look for and load the selection 298_Xiki5 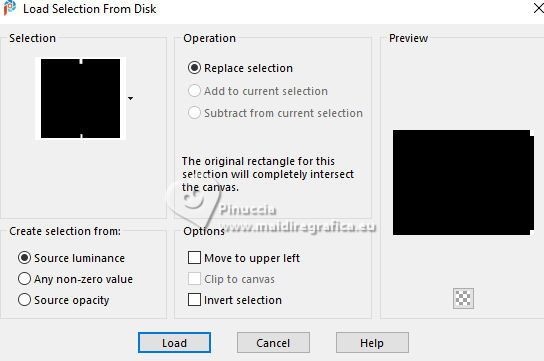 Press CANC on the keyboard. Selections>Select None. Layers>Properties>General>Blend Mode: Overlay. 18. Effects>Reflection Effects>Rotating Mirror. 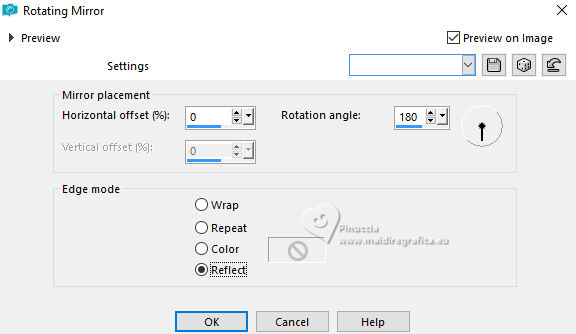 19. Open Decor298_Xiki 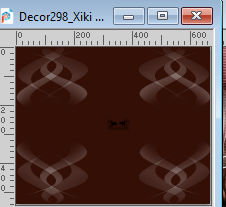 Edit>Copy. Go back to your work and go to Edit>Paste as New Layer. Layers>Properties>General>Blend Mode: Screen. Your tag and the layers  20. Image>Add Borders, 1 pixel, symmetric, foreground color. Layers>Duplicate. Image>Resize, to 85%, resize all layers not checked. Activate your background layer. Adjust>Blur>Motion Blur.  21. Effects>Plugins>Filter Factory Gallery D - Legolator.  22. Activate the layer Copy of Background. Effects>3D Effects>Drop Shadow, color black #000000.  23. Image>Add Borders, 5 pixels, symmetric, color #ffffff. Image>Add Borders, 3 pixels, symmetric, foreground color. Image>Add Borders, 10 pixels, symmetric, color #ffffff. Image>Add Borders, 3 pixels, symmetric, foreground color. Image>Add Borders, 40 pixels, symmetric, color #ffffff. Image>Add Borders, 3 pixels, symmetric, foreground color. 24. Open your main tube  Erase the watermark and go to Edit>Copy. Go back to your work and go to Edit>Paste as New Layer. Place  the tube and apply Drop Shadow to your liking. the tube and apply Drop Shadow to your liking.25. Open Decor298_Xiki2  Edit>Copy. Go back to your work and go to Edit>Paste a New Layer. Pick Tool  Position X: 700,00 - Position Y: 271,00.  26. Open TituloTWOS_Xiki  Erase the watermark and go to Edit>Copy. Go back to your work and go to Edit>Paste as New Layer. Pick Tool Position X: 311,00 - Position Y: 6,00.  27. Open Credit-Tutorial_bySoxikibem  Choose a layer and go to Edit>Copy. Go back to your work and go to Edit>Paste as new layer. Place to your liking.Don't forger your translator's credit. Layers>Merge>Merge All and save as jpg. Version with my tube from a Pinterest image 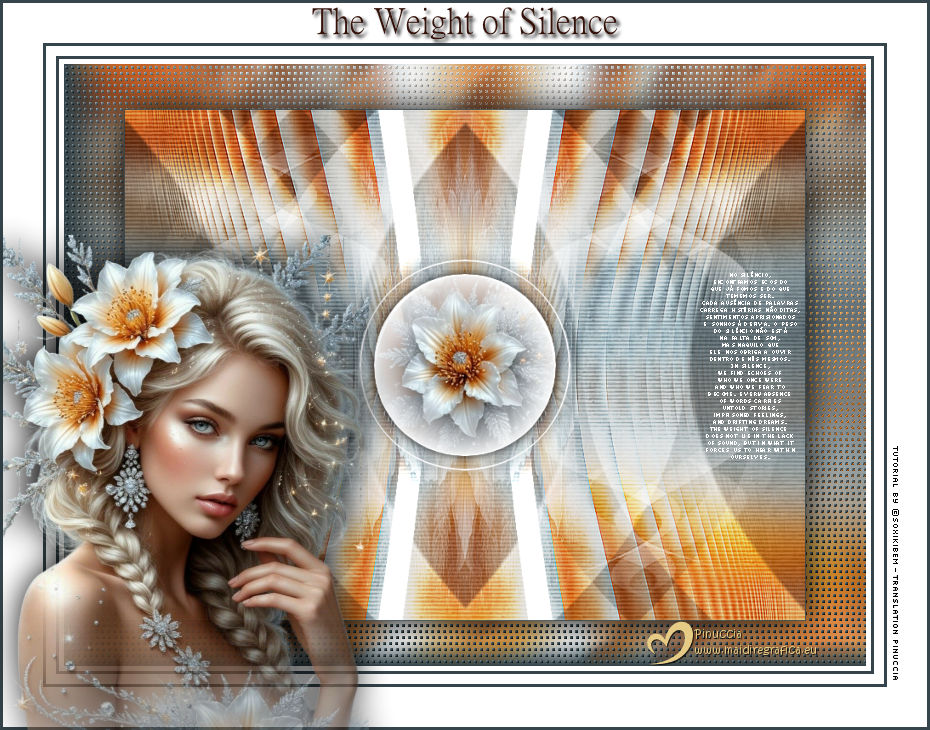  Your versions. Thanks  Melodi  Jolcsi  Marion  Rosa  If you have problems or doubts, or you find a not worked link, or only for tell me that you enjoyed this tutorial, write to me. 17 November 2025 |


