|
TULIPA  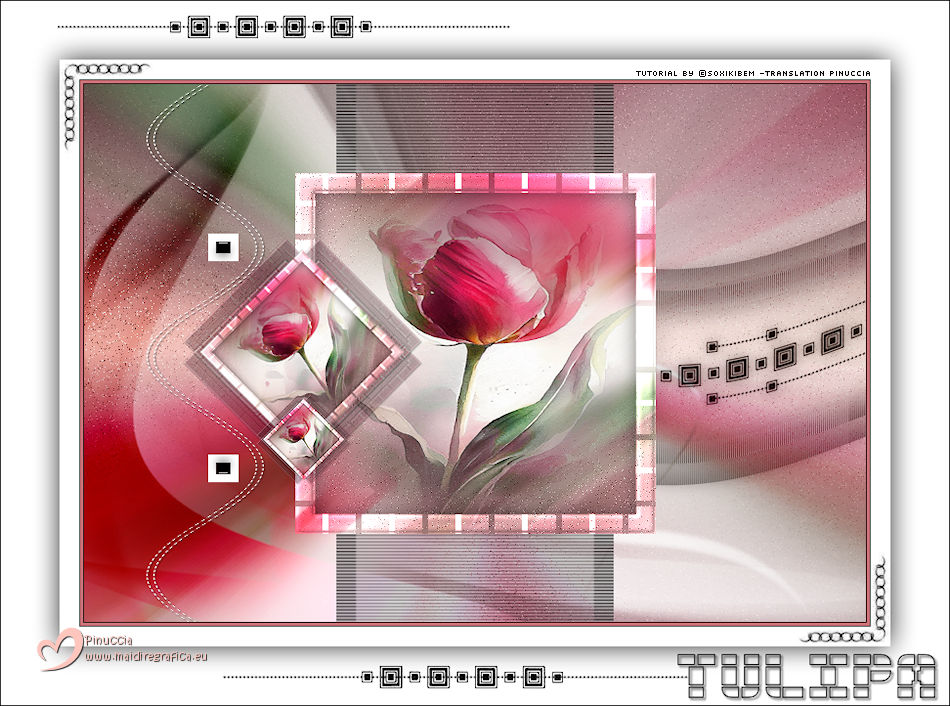
 Amidst mists of color and silence, the tulip blooms, holding within its petals the whisper of a love that blossoms through time. 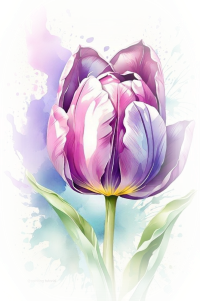
This tutorial was written with Psp2022 and translated with PspX2020,
For this tutorial, you will need:  For the tube thanks PqnaAlice and for the mask thanks Narah. The rest of the material is by Soxikibem. (The links of the tubemakers here).  consult, if necessary, my filter section here Filters Unlimited 2.0 here AP (Pattern). Pattern. Pads here Filter Factory Gallery B. Button Deluxe here Toadies. What are you here VanDerLee. Unplugged-X here Filters Factory Gallery and Toadies can be used alone or imported into Filters Unlimited. (How do, you see here) If a plugin supplied appears with this icon  it must necessarily be imported into Unlimited it must necessarily be imported into Unlimited You can change Blend Modes according to your colors. In the newest versions of PSP, you don't find the foreground/background gradient (Corel_06_029). You can use the gradients of the older versions. The Gradient of CorelX here 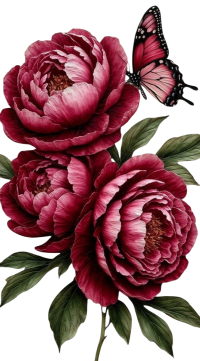 Copy the selection in the Selections Folder. Open the mask in PSP and minimize it with the rest of the material. 1. Choose 5 colors to work. 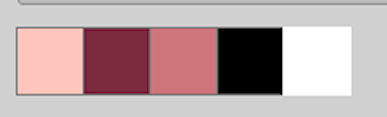 Foreground: #fec6bd Background: #7c2c40 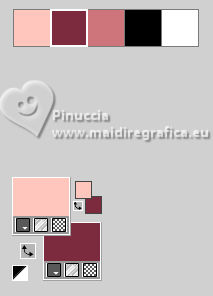 color 3: #cd757b color 4: #000000 color 6: #ffffff Set your foreground color to a Foreground/Backgroung Gradient, style Linear 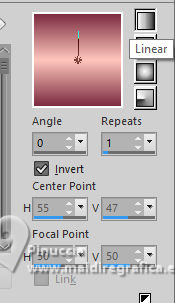 2. Open a new transparent image 800 x 550 pixels. Flood Fill  the transparent image with your Gradient. the transparent image with your Gradient.3. Adjust>Add/Remove Noise>Add Noise. 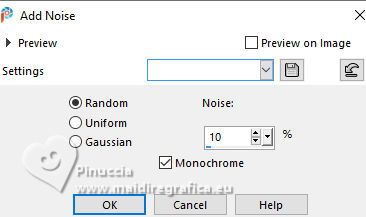 4. Layer>New Raster Layer. Selections>Select All. Open 221FlorByPqnaAlice 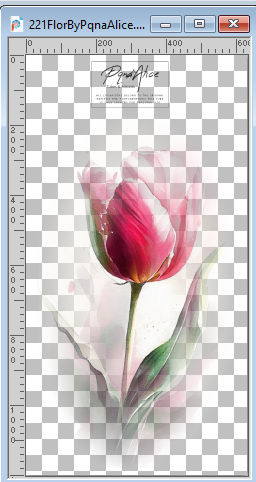 Erase the watermark and go to Edit>Copy. Go back to your work and go to Edit>Paste Into Selection. Selections>Select None. 5. Effects>Image Effects>Seamless Tiling, default settings  Adjust>Blur>Motion Blur, for 3 times 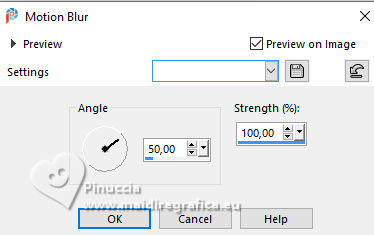 6. Effects>Plugins>Filters Unlimited 2.0 - Filter Factory Gallery B - Button Deluxe. 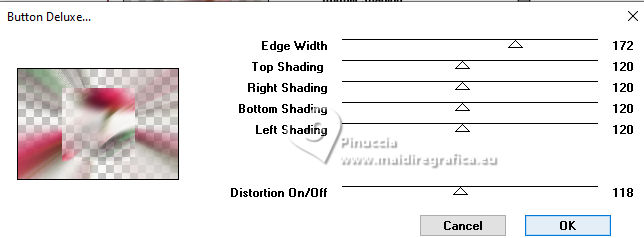 7. Layers>Merge>Merge Down. Seletions>Load/Save Selections>Load Selection from Disk Look for and load the selection 310_Xiki1 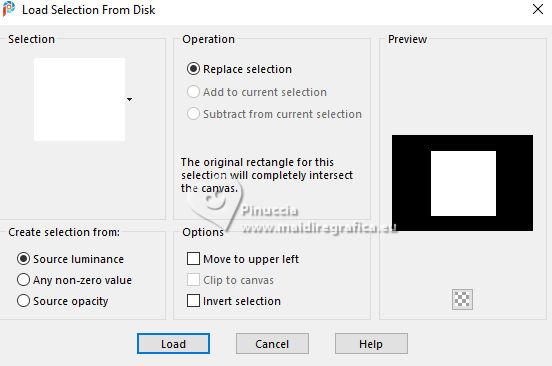 Selections>Promote Selection to Layer. Selections>Modify>Select Selection Borders. 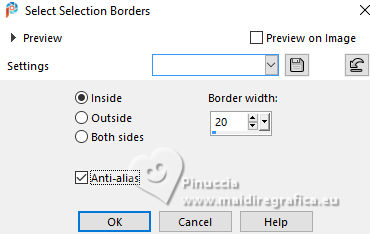 8. Layers>New Raster Layer. Set your foreground color to white #ffffff. Flood fill the layer with your foreground color.Effects>Plugins>AP (Pattern)- Pattern - Pads. 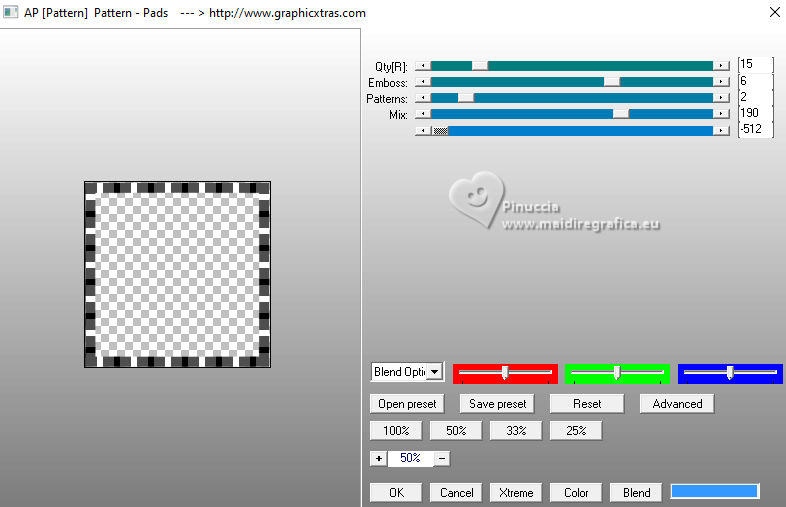 9. Effects>3D Effects>Inner Bevel. 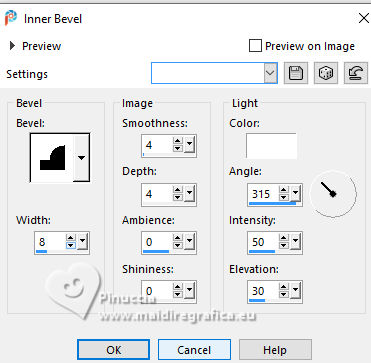 Layers>Properties>General>Blend Mode: Dodge. 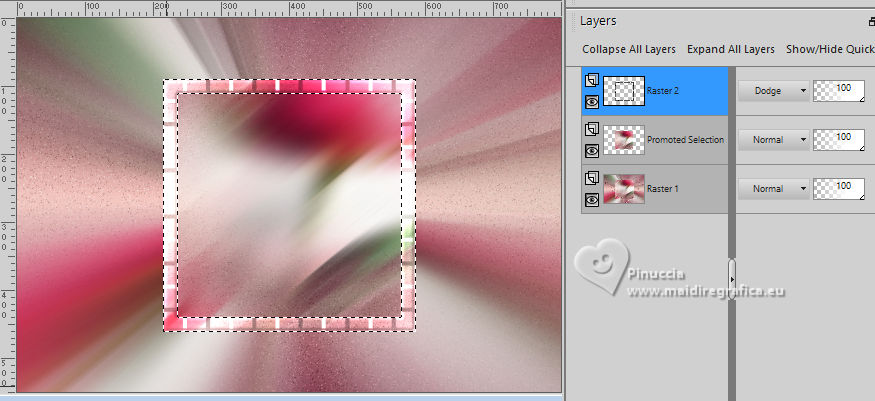 10. Activate the layer Promoted Selection. Seletions>Load/Save Selections>Load Selection from Disk. Load again the selection 310_Xiki1 Edit>Paste into Selection - the flower misted is still in memory. Adjust>Sharpness>Sharpen. 11. Selections>Modify>Contract - 20 pixels. Layers>New Raster Layer. Effects>3D Effects>Cutout. 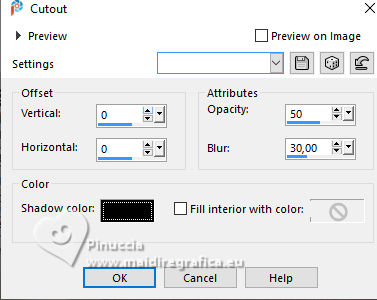 Selections>Select None. 12. Close the layer Raster 1. Layers>Merge>Merge Visible. Re-open the layer Raster 1 13. Stay on the layer Merged.  Layers>Duplicate. Image>Resize, to 40%, resize all layers not checked. Image>Free Rotate - 45 degrees to left  Adjust>Sharpness>Sharpen. 14. Layers>Duplicate. Effects>Plugins>Toadies - What Are You?  15. Layers>Arrange>Move Down. Effects>Edge Effects>Enhance More. Effects>3D Effects>Drop Shadow, color black #000000.  Activate your top layer, Copy of Merged. Layers>Merge>Merge Down. Pick Tool  Position X:: 101,00 - Position Y: 158,00.  16. Layers>Duplicate. Image>Resize, to 40%, resize all layers not checked. Adjust>Sharpness>Sharpen. Pick Tool Position X: 176,00 - Position Y: 317,00. 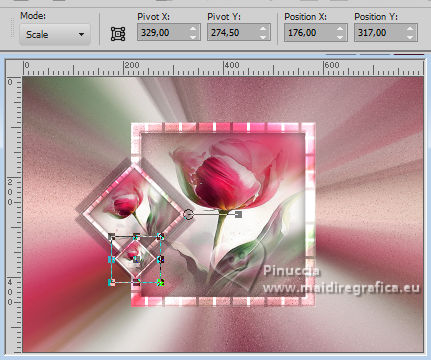 17. Activate the layer Raster 1. Layers>New Raster Layer. Flood Fill the layer with your white foreground color.Layers>New Mask Layer>From Image Open the menu under the source window and you'll see all the files open. Select the mask Narah_Mask_1342 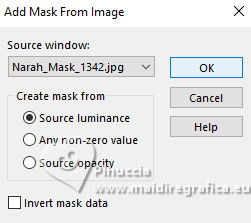 Layers>Merge>Merge Group. 18. Effects>Plugins>VanDerLee - UnPlugged-X - Light 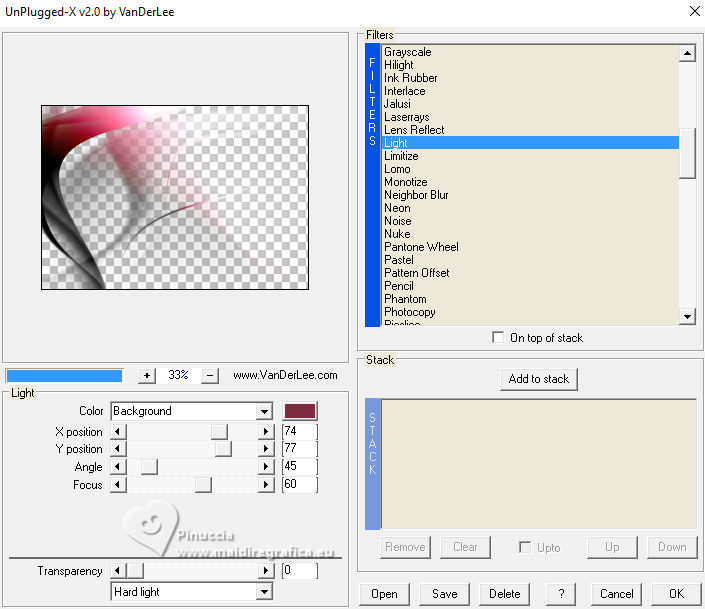 Image>Mirror>Mirror Vertical. Layers>Properties>General>Blend Mode: Overlay. 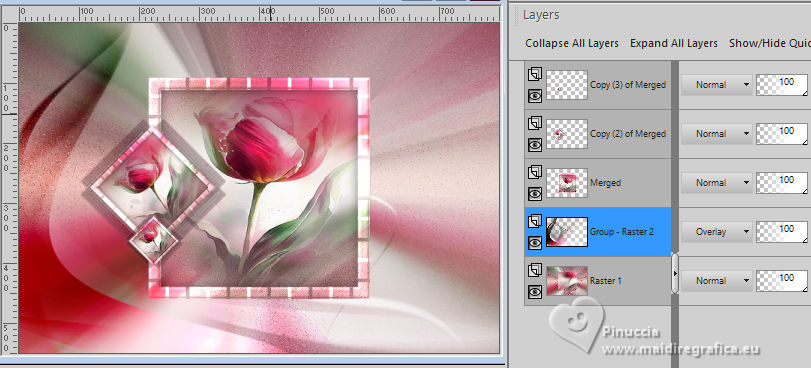 19. Open Decor310_Xiki  Erase the watermark and go to Edit>Copy. Go back to your work and go to Edit>Paste as new layer. Pick Tool Position X: 540,00 - Position Y: 127,00.  Layers>Properties>General>Blend Mode: Luminance (L). 20. Edit>Copy no Decor310_Xiki3  Erase the watermark and go to Edit>Copy. Go back to your work and go to Edit>Paste as new layer. Position X: 258,00 - Position Y: 0,00.  21. Open Decor310_Xiki2  Erase the watermark and go to Edit>Copy. Go back to your work and go to Edit>Paste as new layer. Position X: 63,00 - Position Y: 0,00.  22. Image>Add Borders, 1 pixel, symmetric, color black #000000. Image>Add Borders, 3 pixels, symmetric, color 3 #cd757b. Image>Add Borders, 1 pixel, symmetric, color black #000000. Image>Add Borders, 20 pixels, symmetric, color white #ffffff. Selections>Select All. 23. Image>Add Borders, 60 pixels, symmetric, color white #ffffff. Effects>3D Effects>Drop Shadow, color black #000000.  Selections>Select None. 24. Open Decor310_Xiki4  Erase the watermark and go to Edit>Copy. Go back to your work and go to Edit>Paste as new layer. Pick Tool Position X: 59,00 - Position Y: 63,00  25. Open Decor310_Xiki5  Erase the watermark and go to Edit>Copy. Go back to your work and go to Edit>Paste as new layer. Position X: 58,00 - Position Y: 14,00.  26. Image>Add Borders, 1 pixel, symmetric, color black #000000. 27. Open Creditos-bySoxikibem Edit>Copy. Go back to your work and go to Edit>Paste as new layer. Position  to your liking. to your liking.Please also respect the translator's work and don't forget his or her watermark. 28. Image>Add Borders, 1 pixel, symmetric, foreground color. 29. Sign your work and save as jpg. Versions with my tubes from Pinterest image 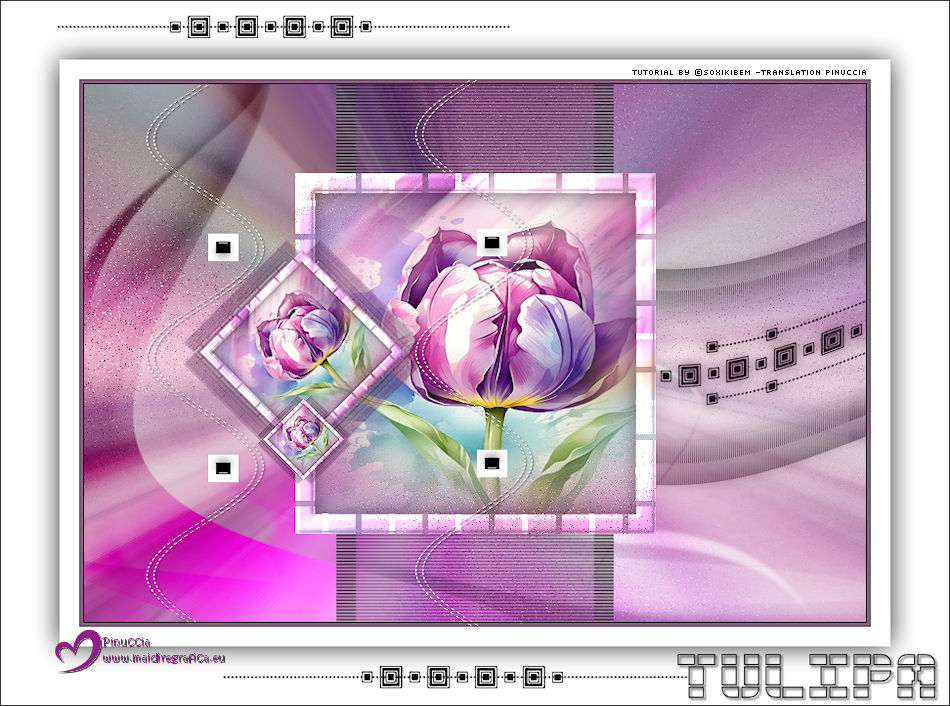 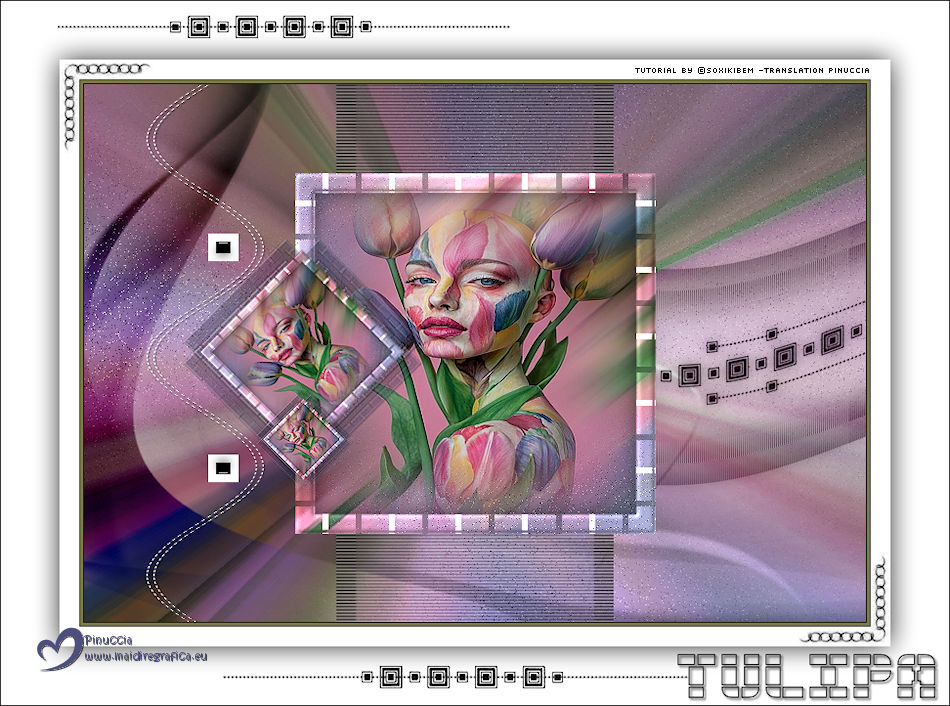   Your versions. Thanks  Irene  Just Sue  Kamelius  If you have problems or doubts, or you find a not worked link, or only for tell me that you enjoyed this tutorial, write to me. 14 May 2026 |


