|
UNREVEALED SECRET  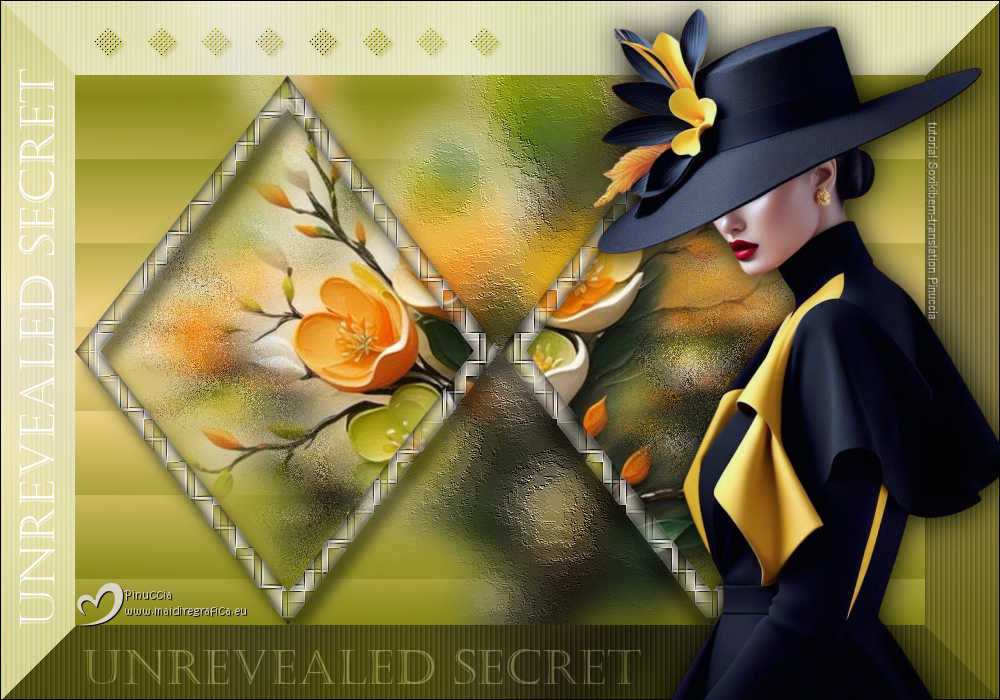
 There are secrets that whisper in silence, hidden between words never spoken. They live in the spaces between averted gazes, in the gentle weight of a stifled sigh. They need no locks, for their strength lies in what is never exposed, in what remains untouched by time.
This tutorial was written with Psp2022 and translated with PspX2020, but it can also be made using other versions of PSP.
For this tutorial, you will need:  For the tubes thanks PqnaAlice . (The links of the tubemakers here).  consult, if necessary, my filter section here Filters Unlimited 2.0 here Toadies - Bitches Crystal, Blur'em, Weaver, Sucking Toad Bevel II.2 here Filters Toadies can be used alone or imported into Filters Unlimited. (How do, you see here) If a plugin supplied appears with this icon  it must necessarily be imported into Unlimited it must necessarily be imported into Unlimited You can change Blend Modes according to your colors. In the newest versions of PSP, you don't find the foreground/background gradient (Corel_06_029). You can use the gradients of the older versions. The Gradient of CorelX here  Copy the Selections in the Selections Folder. 1. Choose 3 colors to work. For the example: 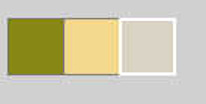 Set your foreground color to #888818, and your background color to #f3d78b. 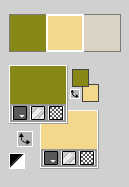 color 3 #dad3c3 2. Set your foreground color to a Foreground/Background Gradient, style Rectangular. 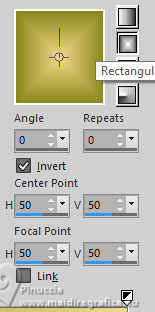 Open a new transparent image 850 x 550 pixels. Flood Fill  the transparent image with your foreground Gradient. the transparent image with your foreground Gradient.3. Effects>Plugins>Toadies - Bitches Crystal 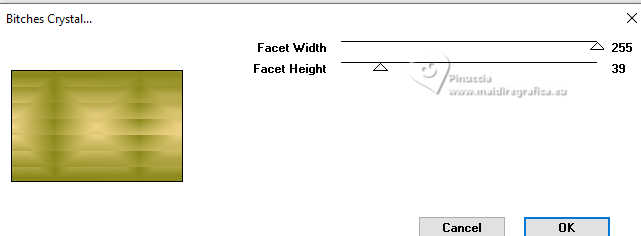 4. Effects>Reflection Effects>Rotating Mirror. 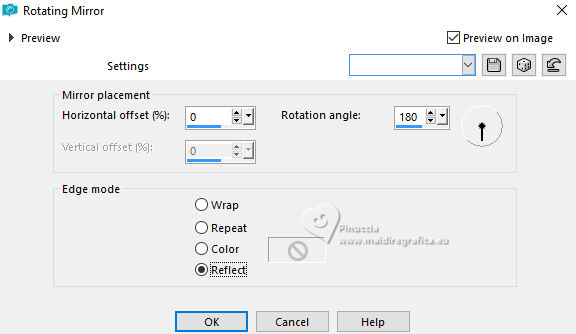 5. Layers>New Raster Layer. Selections>Load/Save Selection>Load Selection from Disk. Look for and load the selection 281_Xixi1 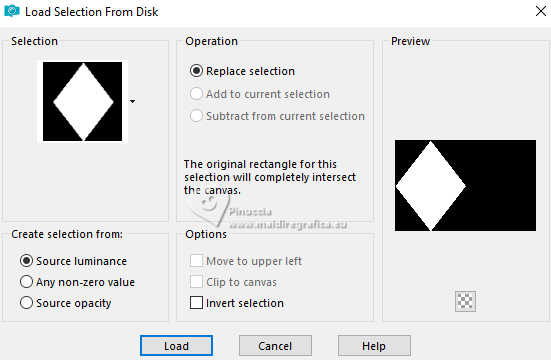 Open the floral misted 210FlorByPqnaAlice 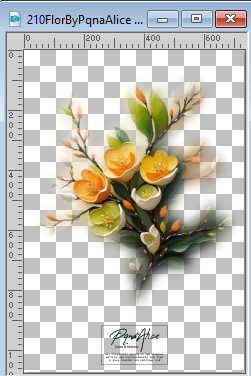 Edit>Copy. Go back to your work and go to Edit>Paste Into Seletion. Adjust>Sharpness>Sharpen. 6. Effects>Plugins>Toadies - Blur'em 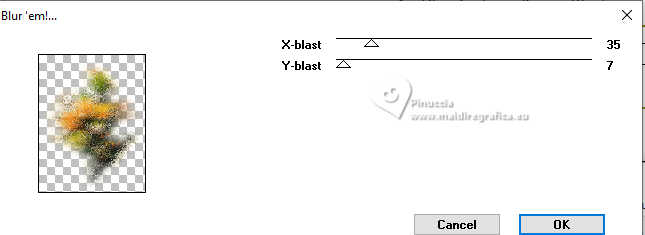 7. Selections>Modify>Select Selection Borders. 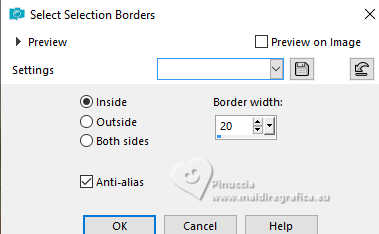 8. Layers>New Raster Layer. Set your background color to the color 3  Flood Fill the selection with your background color (color 3).Effects>Plugins>Toadies - Weaver 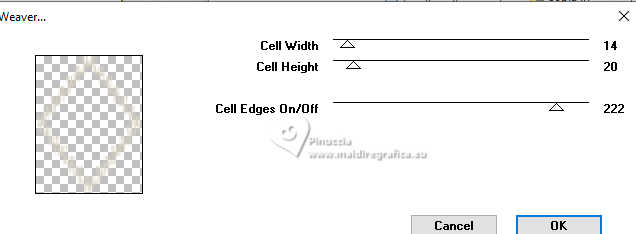 9. Effects>Edge Effects>Enhance More. Layers>New Raster Layer. Effects>3D Effects>Cutout. 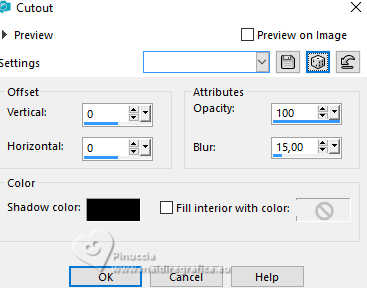 10. Layers>Merge>Merge Down. Effects>3D Effects>Drop Shadow. 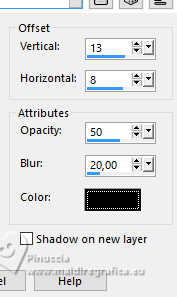 Selections>Select None. 11. Activate the layer Raster 2. Layers>Duplicate. Image>Mirror>Mirror Horizontal. Layers>Merge>Merge Down. 12. Activate the layer Raster 3. Layers>Duplicate. Image>Mirror>Mirror Horizontal. Layers>Merge>Merge Down. 13. Activate the layer Raster 2. Edit>Paste as new Layer - the misted 210FlorByPqnaAlice is still in memory  14. Selections>Load/Save Selection>Load Selection from Disk. Look for and load the selection 281_Xixi2 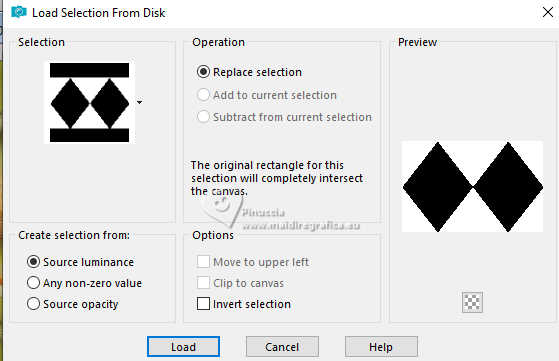 Adjust>Blur>Gaussian Blur - radius 10. 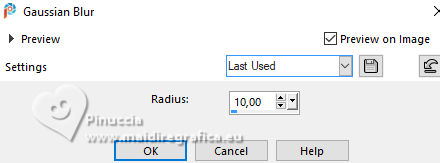 Selections>Promote Selection to Layer. Effects>Art Media Effects>Brush Strokes - color #808080. 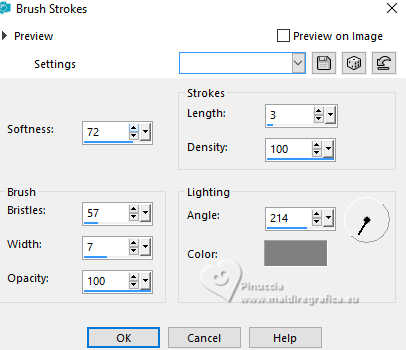 Selections>Select None. 15. Layers>Merge>Merge Visible. Edit>Copy Image>Canvas Size - 1000 x 700 pixels.  16. Layers>New Raster Layer. Selections>Select All. Edit>Paste Into Selection Selections>Select None. Layers>Arrange>Move Down. Adjust>Blur>Gaussian Blur - radius 30 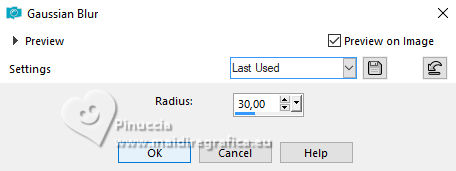 17. Effects>Plugins>Toadies - Sucking Toad Bevel II.2 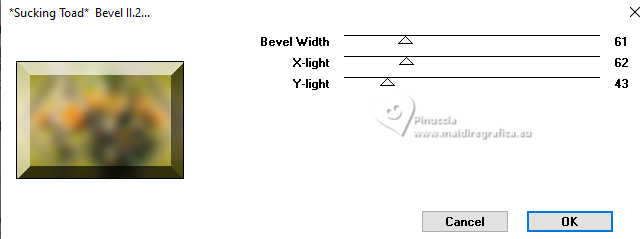 18. Layers>New Raster Layer. Selections>Load/Save Selection>Load Selection from Disk. Look for and load the selection 281_Xixi3 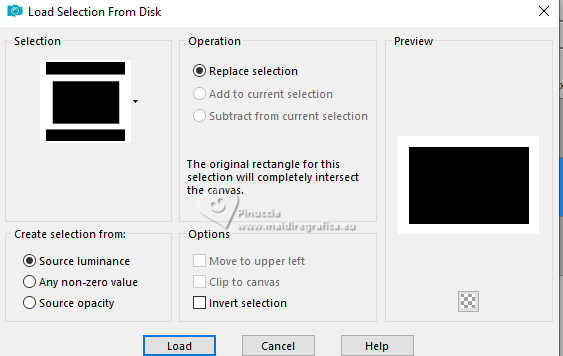 Flood Fill the selection with your background color (color 3).Effects>Texture Effects>Blinds - foreground color. 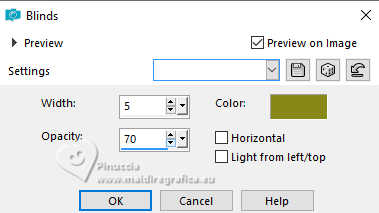 Layers>Properties>General>Blend Mode: Soft Light. Selections>Select None. 19. Activate your top layer, Merged. Layers>New Raster Layer. Set your foreground color to black #000000. Flood Fill the layer with color black.Selections>Select All. Selections>Modify>Contract - 1 pixel. Edit>Cut or press CANC on the keyboard. Selections>Select None. 20. Open your main tube 1195MulherByPqnaAlice 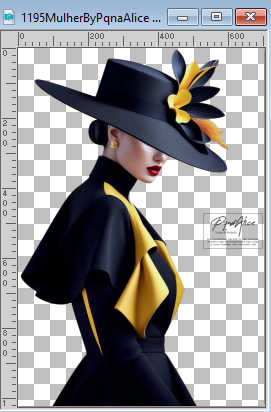 Erase the watermark and go to Edit>Copy. Go back to your work and go to Edit>Paste as new layer. Image>Mirror>Mirror horizontal. Image>Resize, at your choice, I resized to 70%, resize all layers not checked. Move  the tube to the right side. the tube to the right side.Effects>3D Effects>Drop Shadow, at your choice. 21. Open Titulo_US_Xiki  Erase the watermark and go to Edit>Copy. Go back to your work and go to Edit>Paste as New Layer. Pick Tool  Position X: 81,00 - Position Y: 649,00. 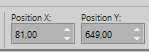 Layers>Properties>General>Blend Mode: Soft Light. 22. Layers>Duplicate. Image>Free Rotate - 90 degrees to left 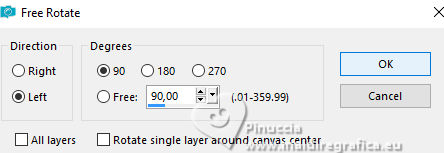 Pick Tool Position X: 19,00 - Position Y: 69,00.  Layers>Properties>General>Blend Mode: Normal. 23. Open DecorUS_Xiki  Erase the watermark and go to Edit>Copy. Go back to your work and go to Edit>Paste as New Layer. Pick Tool Position X: 92,00 - Position Y: 26,00.  Layers>Properties: Blend Mode Burn. 24. Sign your work and save as jpg. For the tubes of this version thanks Luz Cristina and Laurette 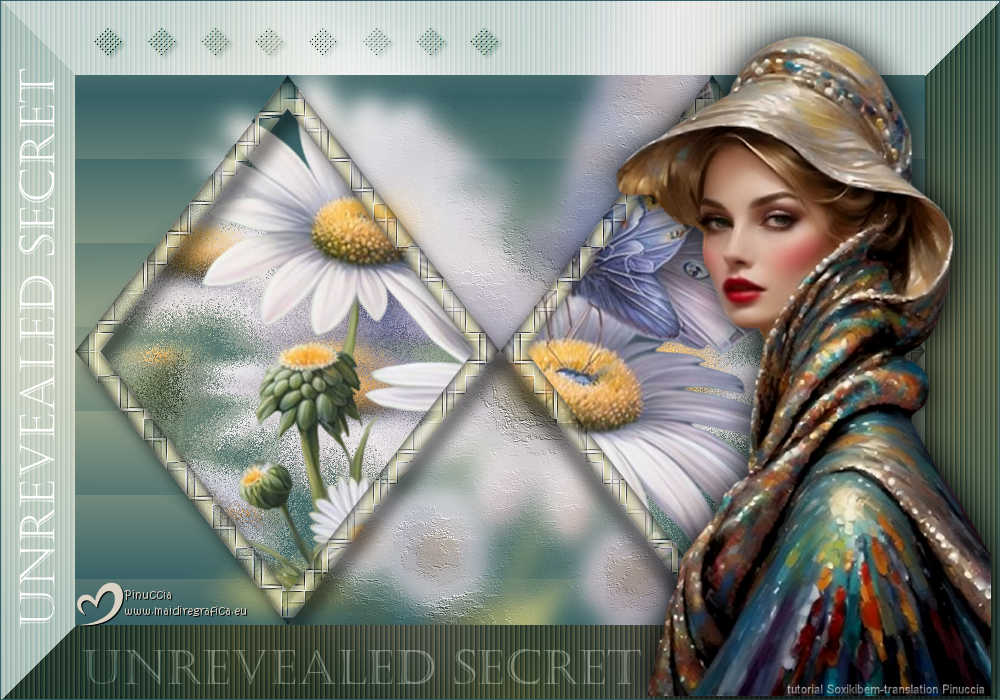  Your versions. Thanks 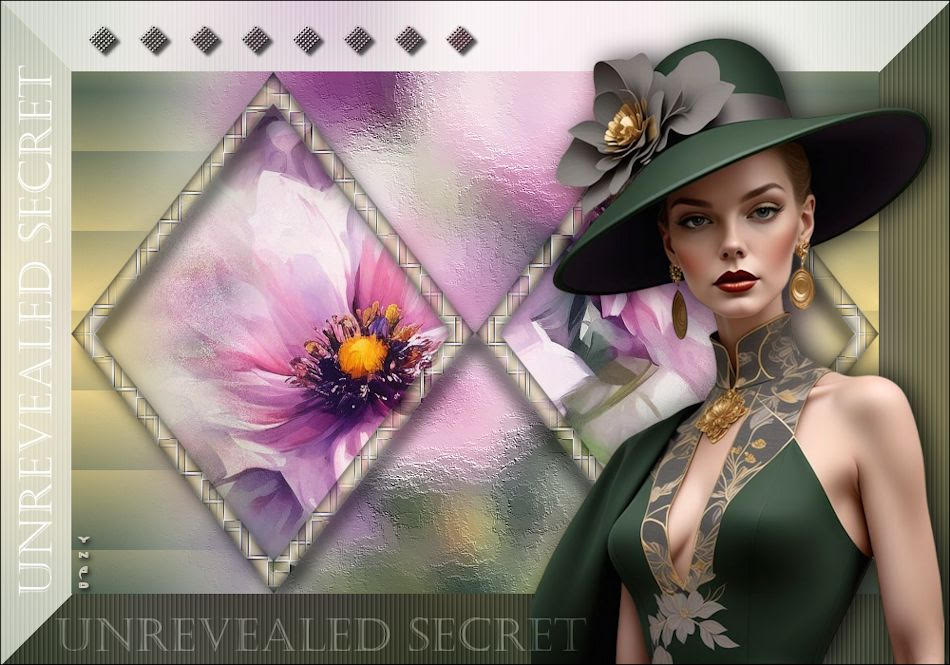 Dany 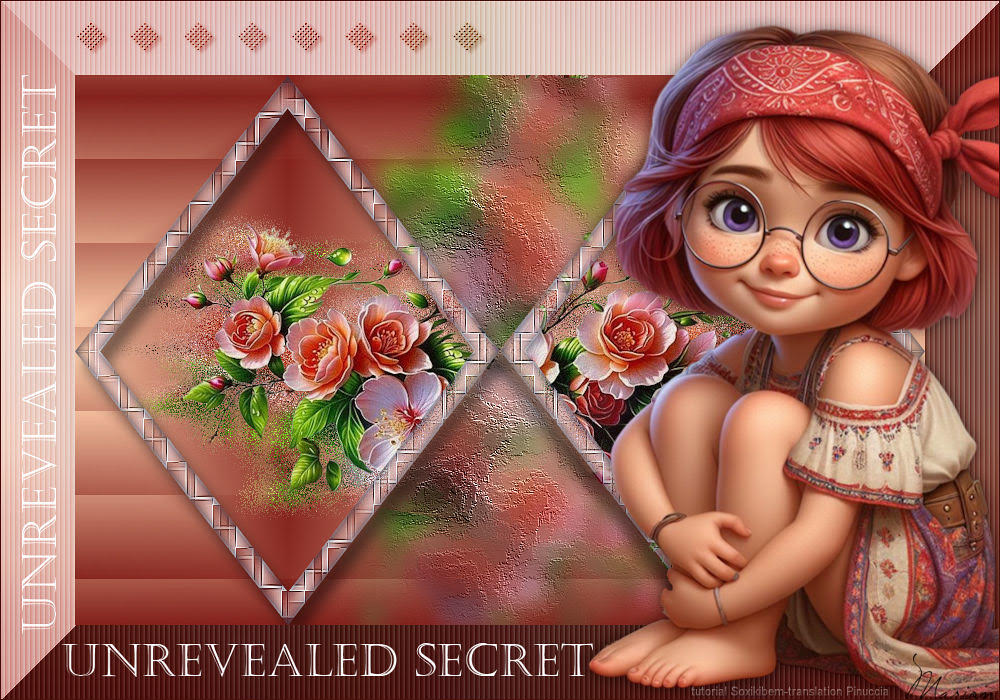 Marion 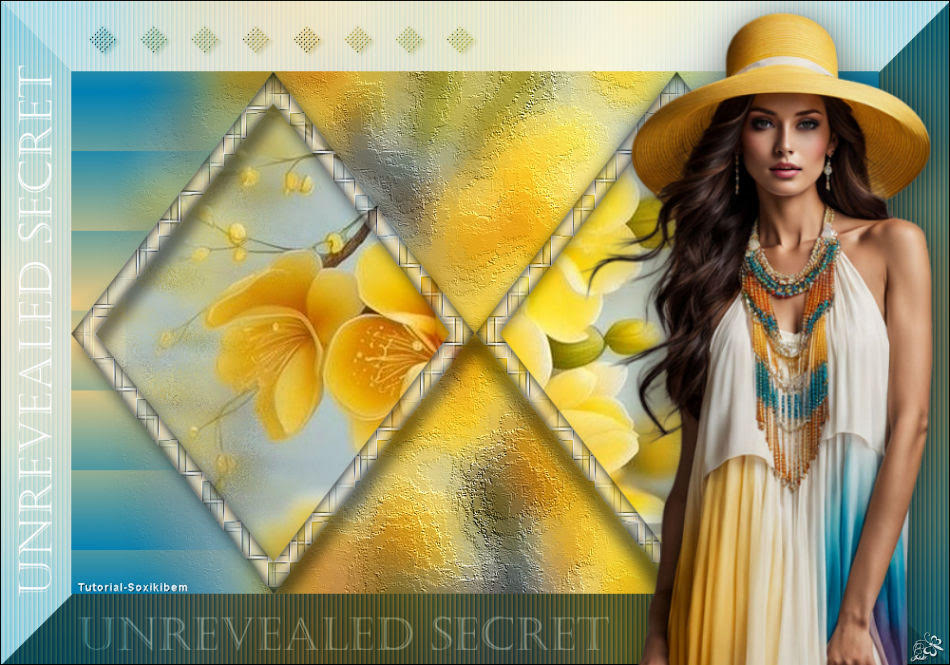 Jolcsi 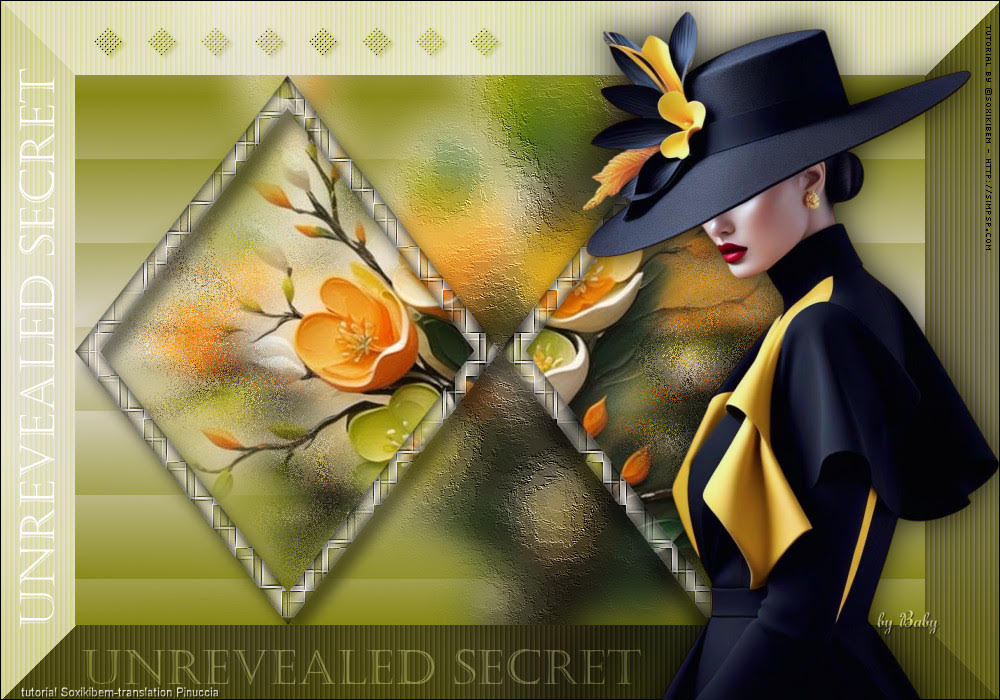 Baby 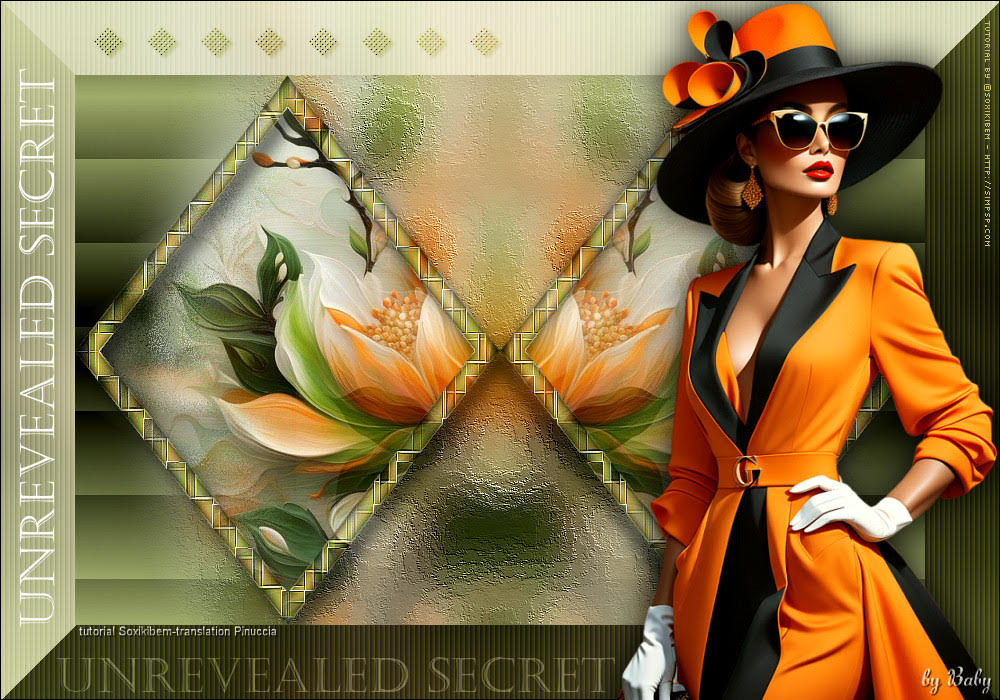 Baby 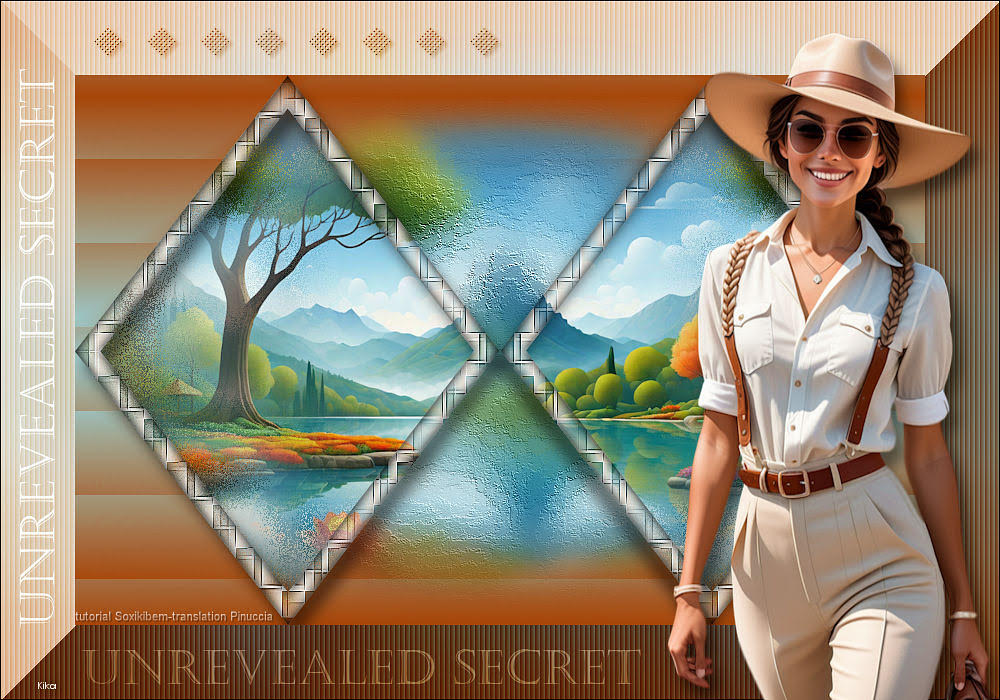 Kika  If you have problems or doubts, or you find a not worked link, or only for tell me that you enjoyed this tutorial, write to me. 26 April 2025 |


