|
VELVET  
 In this creation, we delve into an atmosphere where silence has texture and beauty holds secrets. Inspired by autumnal tones and hidden mysteries, this art walks between light and shadow, enveloped in velvet, marked by a gaze that speaks beyond time. Follow the steps and discover how to shape that elegant and somber omen, where every detail whispers an untold story. Explore the mystery, touch the beauty, and let yourself be enveloped… Sim PSP - where art meets the soul. 
This tutorial was written with Psp2022 and translated with PspX2020, but it can also be made using other versions of PSP.
For this tutorial, you will need:  A tube at your choice The rest of the material is by Soxikibem. (The links of the tubemakers here).  consult, if necessary, my filter section here Filters Unlimited 2.0 here Alien Skin Eye Candy 5 Impact - Bevel, Glass here Mura's Meister - Pole Transform here Mura's Seamless - Shift at Slant here Filters Mura's Seamless can be used alone or imported into Filters Unlimited. (How do, you see here) If a plugin supplied appears with this icon  it must necessarily be imported into Unlimited it must necessarily be imported into Unlimited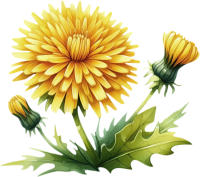 You can change Blend Modes according to your colors. Copy the selections in the Selections Folder. 1. Choose 4 colors to work. 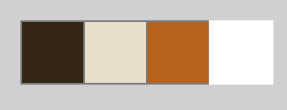 Foreground: #342717 Background: #e6dec9 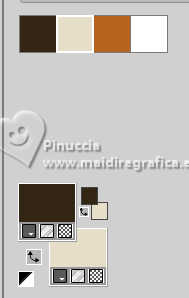 color 3: #b56320 color 4: #ffffff 2. Open a new transparent image 850 x 550 pixels. Flood Fill  the transparent image with your foreground color. the transparent image with your foreground color.Selections>Select All. 3. Open your main tube 1498MulherByPqnaAlice 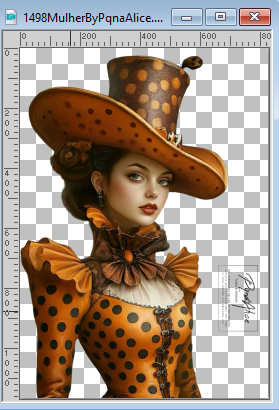 Erase the watermark and go to Edit>Copy. Minimize the tube. Go back to your work and go to Edit>Paste into Selection. Selections>Select None. 4. Effects>Image Effects>Seamless Tiling, default settings  Adjust>Blur>Gaussian Blur - radius 25 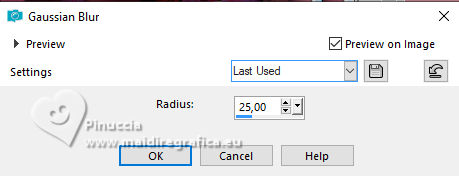 Effects>Distortion Effects>Wave. 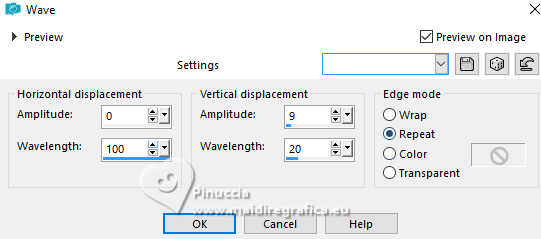 5. Layers>Duplicate. Effects>Geometric Effects>Perspective - Horizontal. 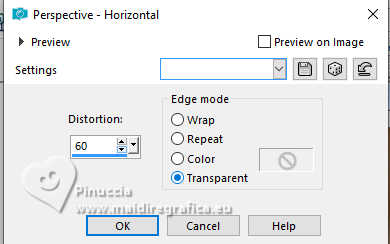 Repeat Perspective - Horizontal to -60 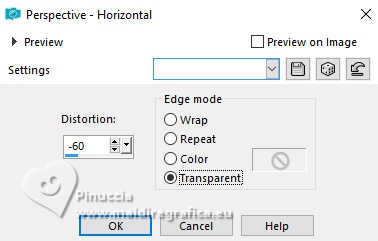 Result: 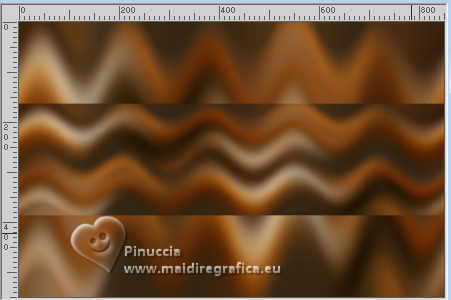 6. Layers>Duplicate. Activate the layer below, Copy of Raster 1. Effects>Plugins>Mura's Seamless - Shift at Slant. 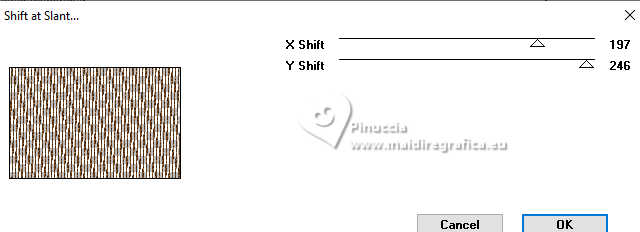 7. Effects>Reflection Effects>Rotating Mirror. 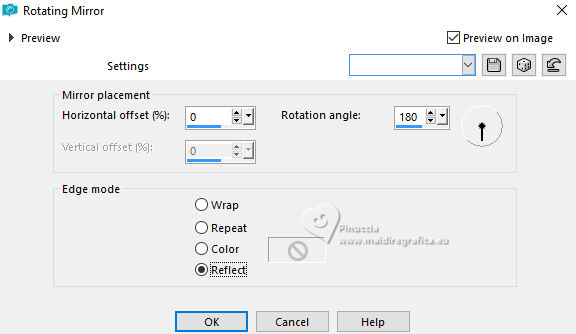 8. Activate the layer above, Copy(2) of Raster 1. Effects>Plugins>Mura's Meister - Pole Transform. 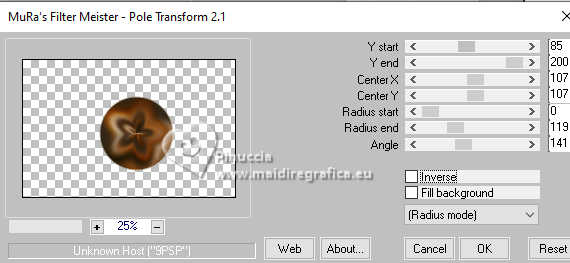 9. Activate your Magic Wand Tool  , tolerance and feather 0, , tolerance and feather 0,and click in the transparent part to select it. 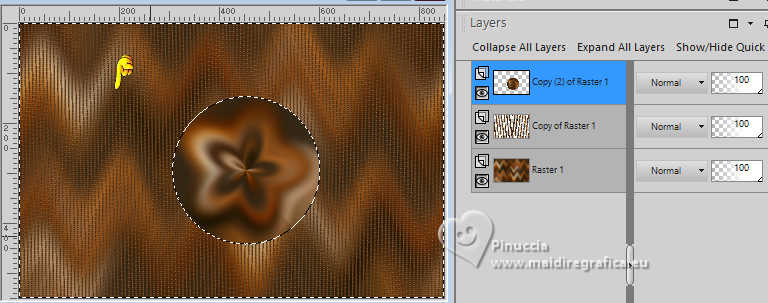 Selections>Invert. Selections>Modify>Contract - 30 pixels. Press CANC on the keyboard  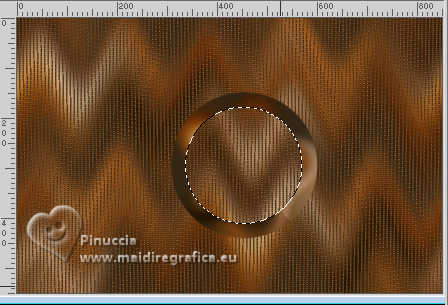 Keep selected. 10. Layers>New Raster Layer. Layers>Arrange>Move Down. Open the landscape misted 199PaisagembyPqnaAlice 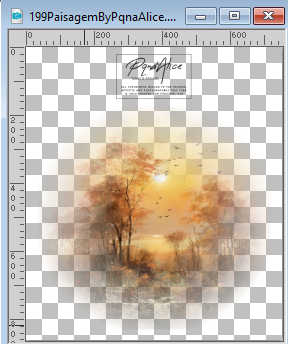 Erase the watermark and go to dit>Copy. Go back to your work and go to Edit>Paste Into Selection. 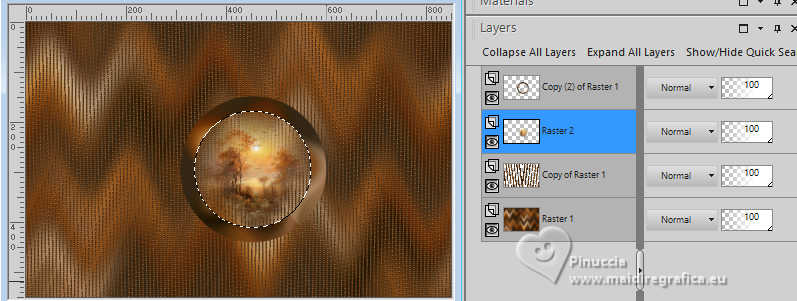 Adjust>Sharpness>Sharpen. 11. Effects>Plugins>Alien Skin Eye Candy 5 Impact - Glass - settings Clear. Selections>Select None. Activate again your top layer, Copy (2) of Raster 1. Adjust>Add/Remove Noise>Add Noise.  12. Effects>Plugins>Alien Skin Eye Candy 5 Impact - Bevel preset Pitted Surface, Light.  13. Layers>Merge>Merge Down. Pick Tool  Position X: 520,00 - Position Y: 35,00.  Layers>New Raster Layer. Layers>Arrange>Move Down. Selections>Load/Save Selections>Load Selection From Disk. Look for and load the selection 307_Xiki1  14. Set your foreground color to the color 3 #b56320 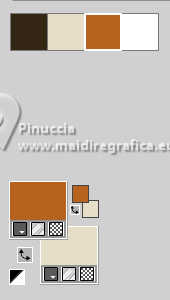 Flood fill the selection with your foreground color.Selections>Modify>Contract - 2 pixels. Press CANC on the keyboard. Selections>Modify>Contract - 10 pixels. 15. Reduce the opacity of your Flood Fill Tool to 40%. Flood Fill the selection with your background color.Don't forget to set again the opacity of your Flood Fill Tool to 100. Your landscape misted is still in memory: Edit>Paste as New Layer. Move  the image so that it is positioned the image so that it is positionedwithin the circle selections as shown in the screenshot below. 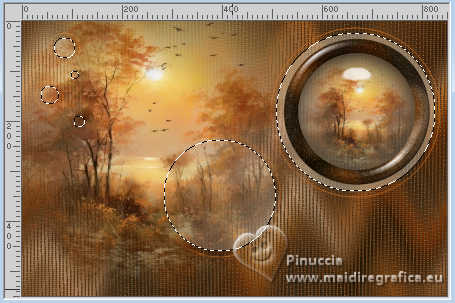 16. Selections>Promote Selection to Layer. Layers>Arrange>Move Down. Activate the layer Raster 4. Press CANC on the keyboard. 17. Selections>Invert. Adjust>Blur Gaussian Blur - radius 10.  Effects>Art Media Effects>Brush Strokes, foreground color  18. Selections>Invert. Activate the layer Promoted Selection. Adjust>Add/Remove Noise>Add Noise. Selections>Select None. 19. Activate the layer Raster 3. Effects>3D Effects>Drop Shadow, color black #000000.  Layers>Duplicate. Layers>Properties> General>Blend Mode: Dodge. 20. Activate your top layer, Raster 2. Open Decor307_Xiki  Edit>Copy. Go back to your work and go to Edit>Paste as new Layer. Pick Tool Position X: 100,00 - Position Y: 201,00.  *To colorize the deco: Adjust>Hue and Saturation>Hue Map. I only changed the values of these first two colors in Hue Map for my second version. By moving "these sliders" you will find a shade for the color of your work. Before changing the indicated settings, click "Reset to Default".  21. Edit>Copy Special>Copy Merged. Image>Add borders, 2 pixels, symmetric, color 1 #342717. Image>Add Borders, 1 pixel, symmetric, color 3 #b56320. Image>Add Borders, 3 pixels, symmetric, color 4 #ffffff. Image>Add Borders, 1 pixel, symmetric, color 3 #b56320. Image>Add Borders, 2 pixels, symmetric, color 1 #342717. 22. Selections>Select All. Image>Add Borders - 25 pixels, symmetric, whatever color. Selections >Invert. Edit>Paste Into Selection. Adjust>Blur>Gaussian Blur - radius 15.  23. Selections>Invert. Effects>3D Effects>Drop Shadow, color black #000000. 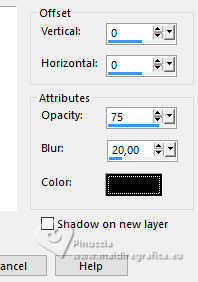 Selections>Select None. Image>Add Borders, 10 pixels, symmetric, color 4 #ffffff. Selections>Select All. 24. Image>Add Borders, 25 pixels, symmetric, whatever color. Selections >Invert. Edit>Paste Into Selection - the image of step 21 is always in memory. Adjust>Blur>Gaussian Blur - radius 15. Selections>Select None. 25. Activate again your main tube 1498MulherByPqnaAlice and go to Edit>Copy. Go back to your work and go to Edit>Paste as new Layer. Move the tube to the left, or to your liking.Effects>3D Effects>Drop Shadow, or the Effect you like better. 26. Layers>New Raster Layer. Selections>Load/Save Selections>Load Selection from Disk Look for and load the selection 307_Xiki2 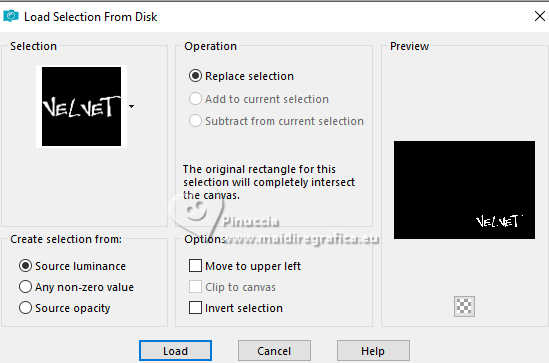 Flood Fill the selection with your background color.27. Layers>New Raster Layer. Layers>Arrange>Move Down. Selections>Modify>Expand - 3 pixels. Flood Fill the selection with color 3 #b56320.Selections>Select None. 28. Activate your top layer, Raster 2. Layers>Merge>Merge Down. Effects>3D Effects>Drop Shadow, color black #000000. 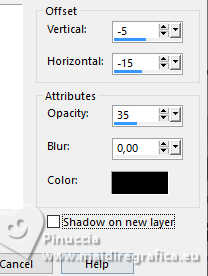 29. Edit>Copy the Creditos-bySoxikibem. Edit>Paste as new Layer. Place to your liking.Don't forget the translator's credit. Image>Add Borders - 2 pixels, symmetric, foreground color. 30. Sign your work and save as jpg. Version with my tube from Pinterest image   Your versions. Thanks 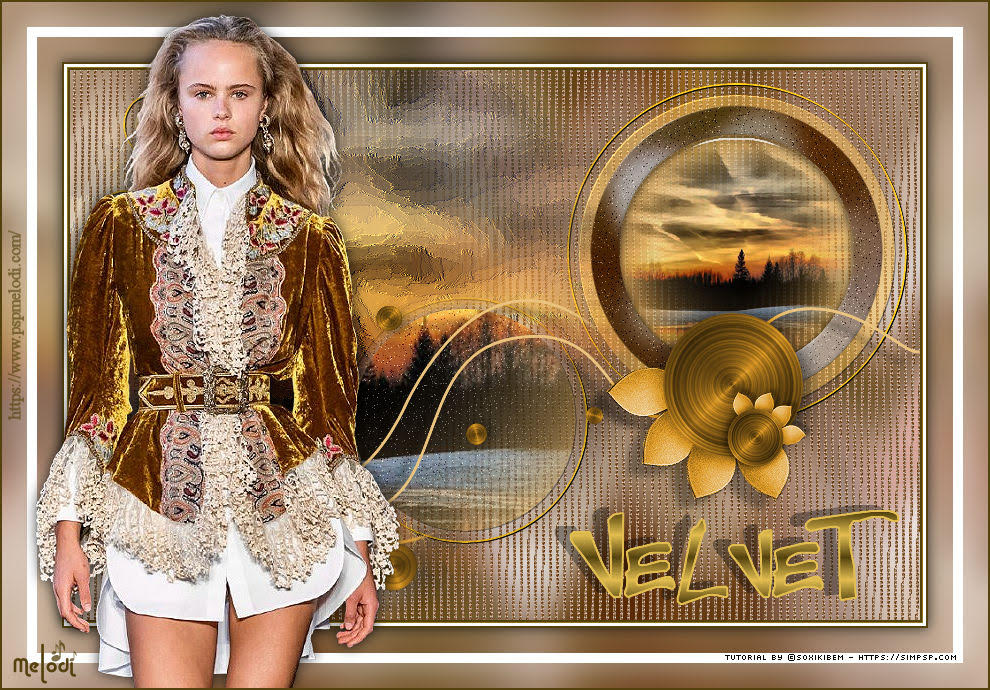 Melodi  Kika  Just Sue Kamelius  If you have problems or doubts, or you find a not worked link, or only for tell me that you enjoyed this tutorial, write to me. 16 April 2026 |


