|
WHISPERING PETALS  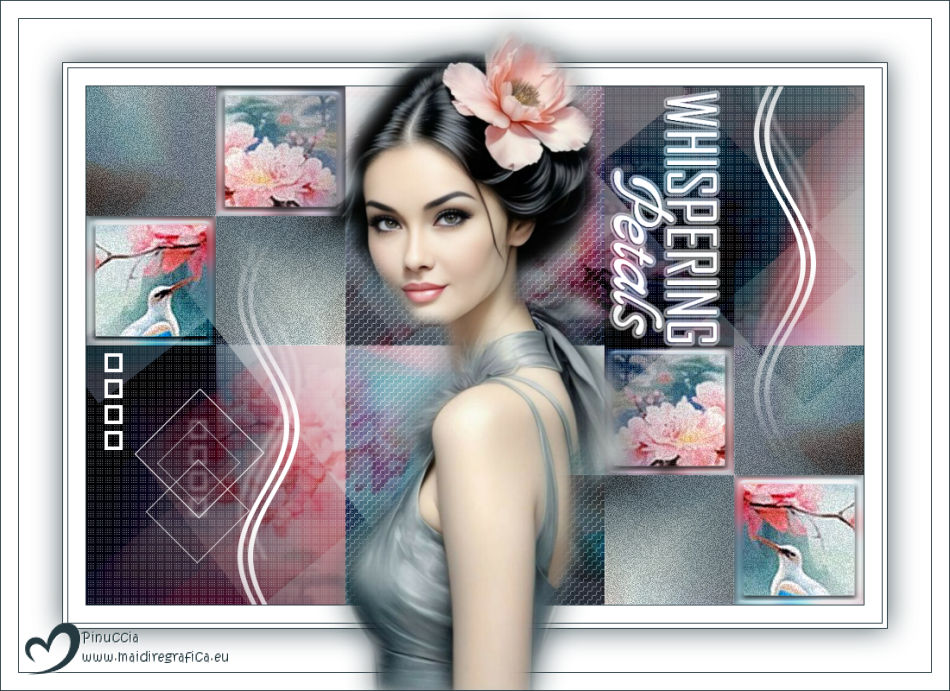

This tutorial was written with Psp2022 and translated with PspX2020, but it can also be made using other versions of PSP.
For this tutorial, you will need:  For the tubes thanks PqnaAlice. (The links of the tubemakers here).  consult, if necessary, my filter section here Filters Unlimited 2.0 here Frischluft - Mosaic Plane here Mehdi - Sorting Tiles here Penta.com - Dot and Cross here Filters Penta.com can be used alone or imported into Filters Unlimited. (How do, you see here) If a plugin supplied appears with this icon  You can change Blend Modes according to your colors.  Copy the selections in the Selections Folder. 1. Choose 3 colors to work. Set your foreground color to #253940, and your background color to #d38578. 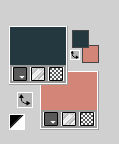 color 3: #ffffff. 2. Open a new transparent image 900 x 600 pixels. Flood Fill  the transparent image with your foreground color. the transparent image with your foreground color.Selections>Select All. 3. Open the misted 162PaisagemByPqnaAlice 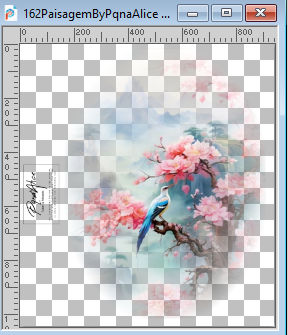 Erase the watermark and go to Edit>Copy. Go back to your work and go to Edit>Paste into Selection. Selections>Select None. 4. Effects>Image Effects>Seamless Tiling, default settings.  5. Adjust>Blur>Radial Blur. 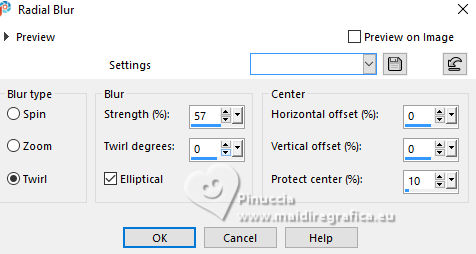 6. Effects>Plugins>Mehdi - Sorting Tiles. 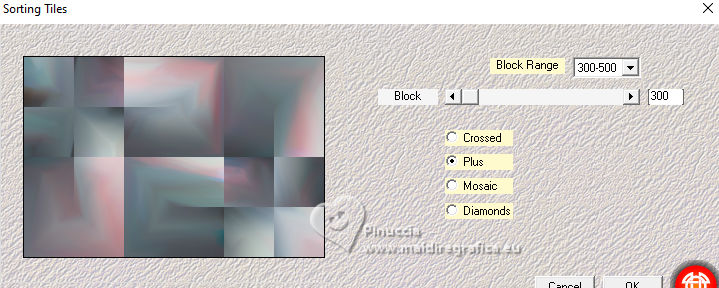 7. Selections>Load/Save Selections>Load Selection From Disk. Look for and load the selection WhisperingPetals_Xiki1 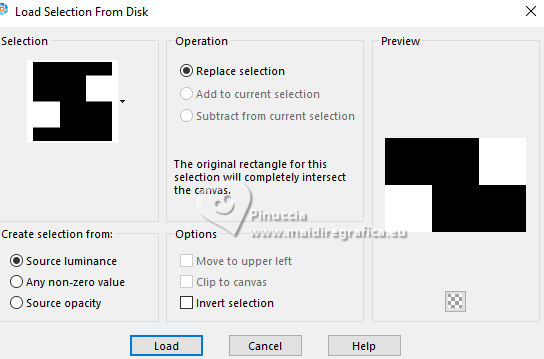 Selections>Promote Selection to Layer. Selections>Select None. Effects>Plugins>Frischluft - Mosaic Plane. 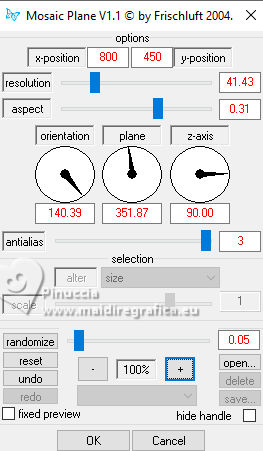 Effects>Plugins>Penta.com - Dot and Cross. 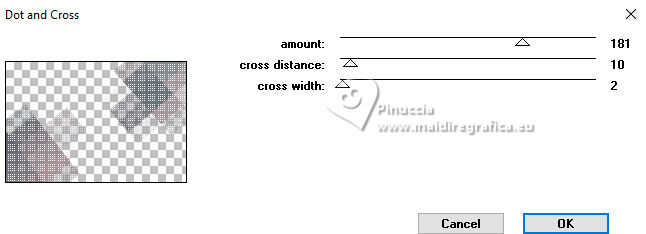 Layers>Properties>General>Blend Mode: Burn - Opacity: 80%. 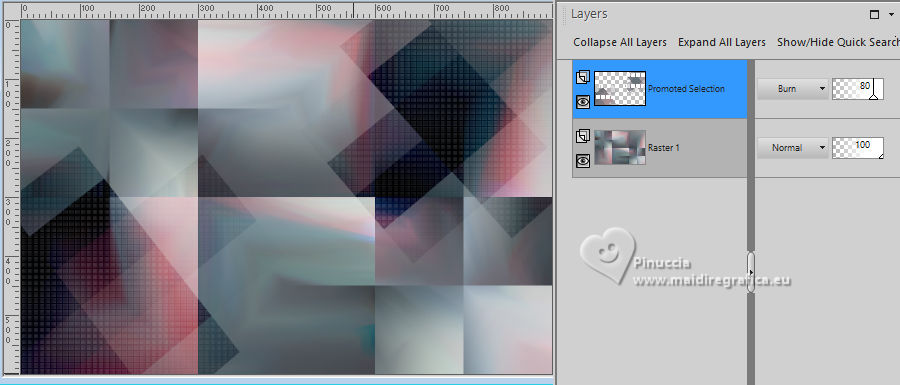 in my second version I used: Blend Mode: Overlay - Opacity: 100% 9. Activate the layer Raster 1. Selections>Load/Save Selections>Load Selection From Disk. Look for and load the selection WhisperingPetals_Xiki2 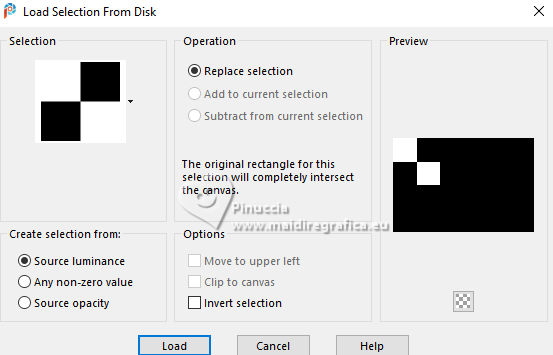 Selections>Promote Selection to Layer. Selections>Select None. Adjust>Add/Remove Noise>Add Noise. 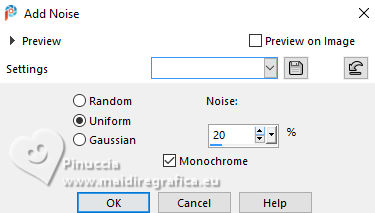 Adjust>Sharpness>Sharpen. 10. Activate the layer Raster 1. Selections>Load/Save Selections>Load Selection From Disk. Look for and load the selection WhisperingPetals_Xiki3 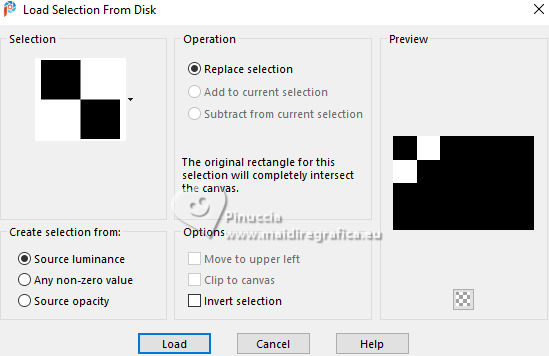 Selections>Promote Selection to Layer. Edit>Paste as New Layer - the misted 162PaisagemByPqnaAlice is still in memory. Place  the tube to your liking. the tube to your liking.If necessary, close the two top layers to see better how move the tube 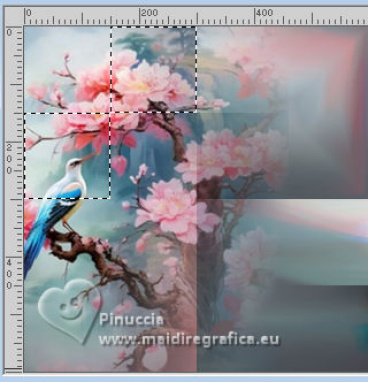 Open again the layers and you have this 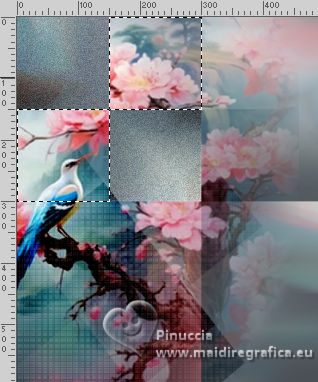 11. Selections>Invert. Press CANC on the keyboard  Selections>Invert. Adjust>Sharpness>Sharpen More. Adjust>Add/Remove Noise>Add Noise.  12. Layers>Merge>Merge Down. Selections>Modify>Select Selection Borders. 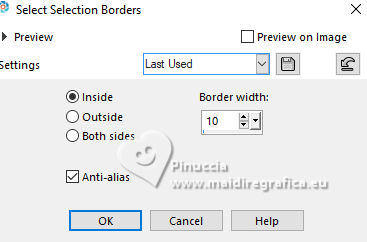 13. Adjust>Bur>Gaussian Blur - radius 10.  Effects>3D Effects>Inner Bevel. 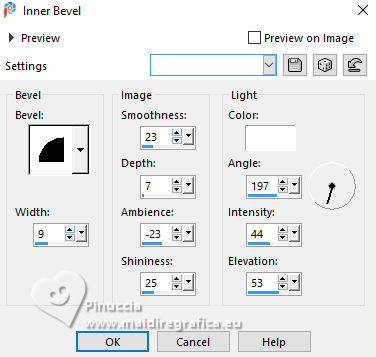 14. Selections>Select None. Activate the layer Promoted Selection 1. 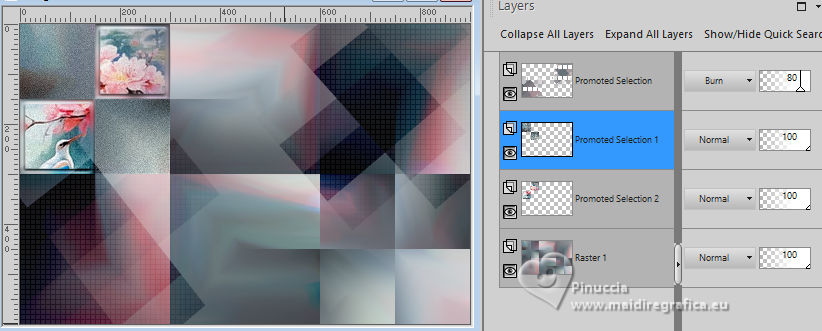 Layers>Merge>Merge Down. Layers>Duplicate. Image>Mirror>Mirror Horizontal. Image>Mirror>Mirror Vertical. Image>Flip>Flip Vertical. This feature flips, but leaves the image in the same position. 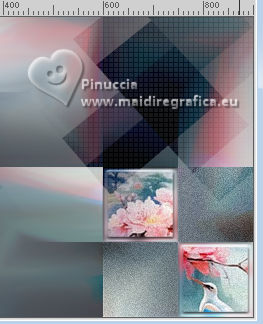 If you are using an older version of PSP that does not have this feature available, you can do: Image>Mirror>Mirror Vertical and after Objects>Align>Bottom, or Position X: - Position Y: .  15. Activate the layer Raster 1. Selections>Load/Save Selections>Load Selection From Disk. Look for and load the selection WhisperingPetals_Xiki4 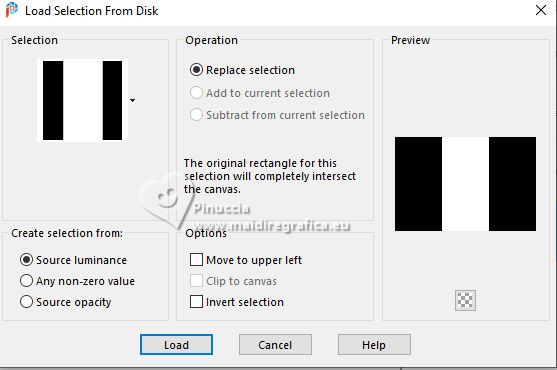 Selections>Promote Selection to Layer. Effects>Texture Effects>Weave weave color: white #ffffff. 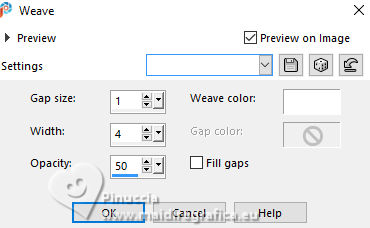 Selections>Select None. Layers>Properties>General>Blend Mode: Hard light. 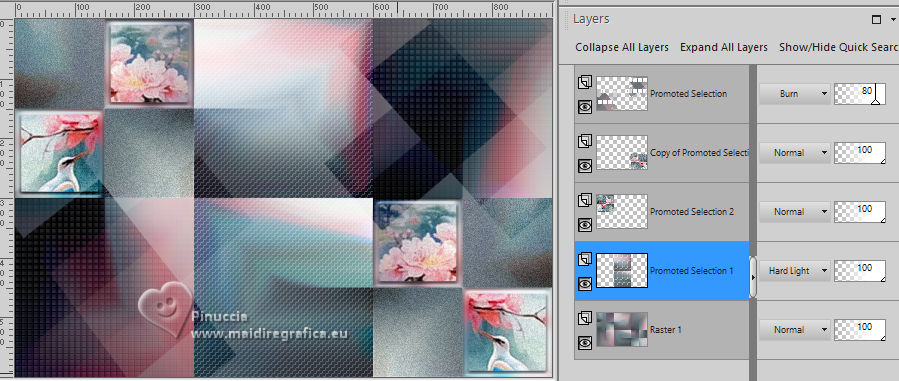 16. Activate the layer Raster 1. Edit>Paste as new layer - the landscape misted is always in memory. 17. Layers>Properties>General>Blend Mode: Soft Light. 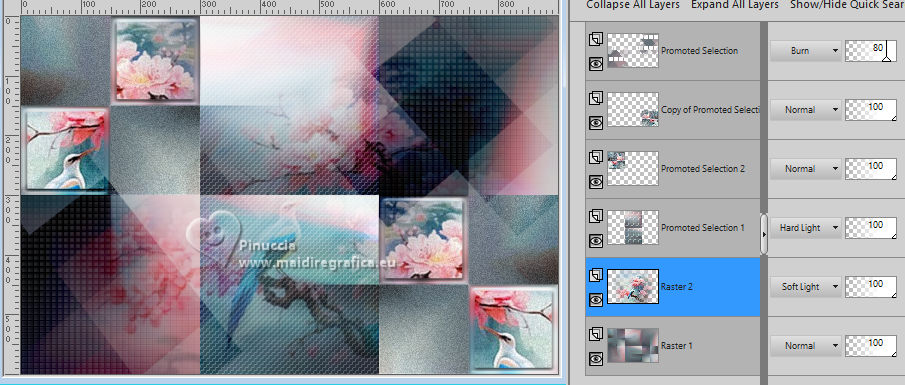 18. Activate your top layer, Promoted Selection. Open DecorWisperingPetals 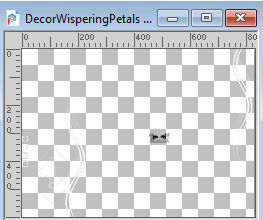 Erase the watermark and go to Edit>Copy. Go back to your work and go to Edit>Paste as new layer. Pick Tool  Position X: 21,00 - Position Y: 0,00.  19. Open the tube TituloWP_Xiki  Erase the watermark and go to Edit>Copy. Go back to your work and go to Edit>Paste as New Layer. Pick Tool  Position X: 605,00 - Position Y: 4,00.  Layers>Properties>General: Blend Mode Luminance (L). 20. Image>Add borders, 1 pixel, symmetric, foreground color. Image>Add borders, 20 pixels, symmetric, color white. Image>Add borders, 1 pixel, symmetric, foreground color. Image>Add borders, 5 pixels, symmetric, color white. Image>Add borders, 1 pixel, symmetric, foreground color. 21. Selections>Select All. Image>Add Borders - 50 pixels, symmetric, color white. Effects>3D Effects>Drop Shadow, foreground color.  22. Selections>Select None. Image>Add borders, 1 pixel, symmetric, foreground color. Image>Add borders, 20 pixels, symmetric, color white. 23. Open the woman tube 1142MulherByPqnaAlice  Erase the watermark and go to Edit>Copy. Go back to your work and go to Edit>Paste as New Layer. Place  the tube to your liking. the tube to your liking.Apply the effects at your choice. 24. Image>Add borders, 1 pixel, symmetric, foreground color. 25. Image>Resize, if you want. Sign your work and save as jpg. For the tube of these versions thanks Virginia and PqnaAlice  Wieske and PqnaAlice 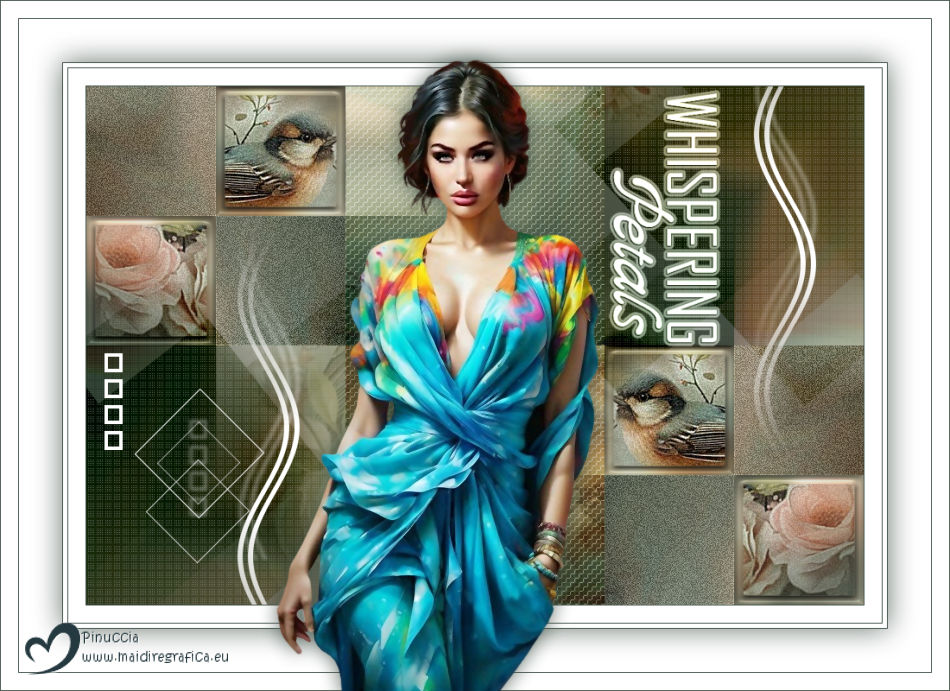  Your versions. Thanks  Kamelius 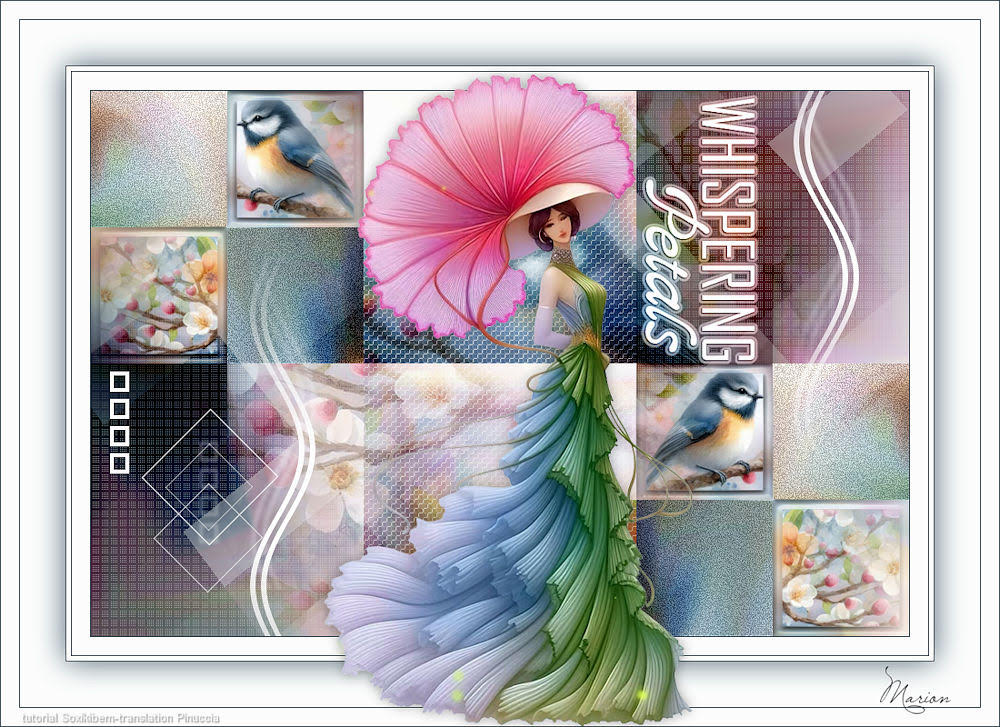 Marion   If you have problems or doubts, or you find a not worked link, or only for tell me that you enjoyed this tutorial, write to me. |


