|
WHISPERING FEATHERS  
 "When the clock announces the end of the party and the masks begin to fall,
 only the Whispering Feathers will know the secrets that were whispered there."
This tutorial was written with Psp2022 and translated with PspX2020, but it can also be made using other versions of PSP.
For this tutorial, you will need:  For the tube thanks PqnaAlice. The rest of the material is by Soxikibem. (The links of the tubemakers here).  consult, if necessary, my filter section here Filters Unlimited 2.0 here Mehdi - Sorting Tiles here Penta.com - Color Dot here Simple - Pizza Slice Mirror here AFS IMPORT - ewscript here AAA Frames - Foto Frame here Filters Penta.com, AFS IMPORT and Simple can be used alone or imported into Filters Unlimited. (How do, you see here) If a plugin supplied appears with this icon  it must necessarily be imported into Unlimited it must necessarily be imported into Unlimited You can change Blend Modes according to your colors.  Copy the Selections in the Selections Folder. 1. Choose 2 colors to work. Set your foreground color to #7c3d04, and your background color to #f1ceab.  2. Open a new transparent image 800 x 550 pixels. Flood Fill  the transparent image with your foreground color. the transparent image with your foreground color.Selections>Select All. 3. Open the misted 034CarnavalByPqnaAlice 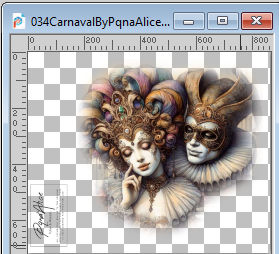 Erase the watermark and go to Edit>Copy. Go back to your work and go to Edit>Paste Into Selections. Selections>Select None. 4. Effects>Image Effects>Seamless Tiling, default settings.  Adjust>Blur>Radial Blur. 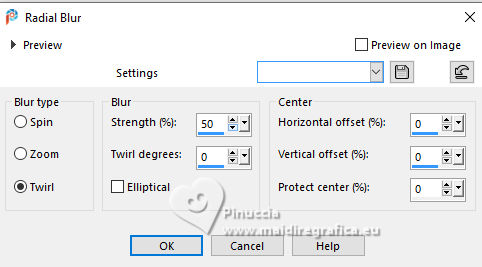 5. Effects>Plugins>Mehdi - Sorting Tiles. 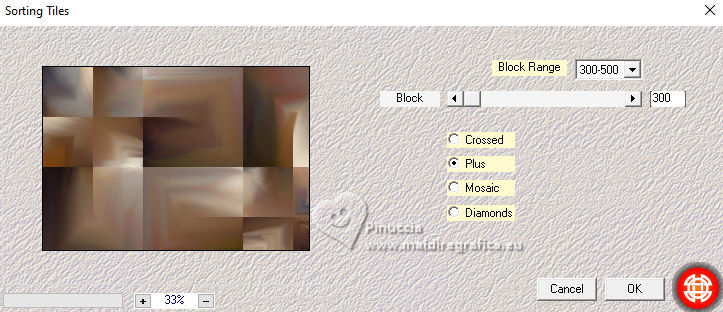 6. Effects>Plugins>Simple - Pizza Slice Mirror. This Effect works without window; result 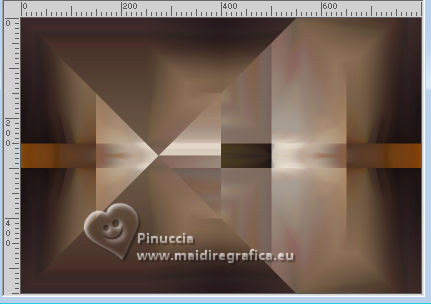 Effects>Image Effects>Seamless Tiling, Stutter Diagonal 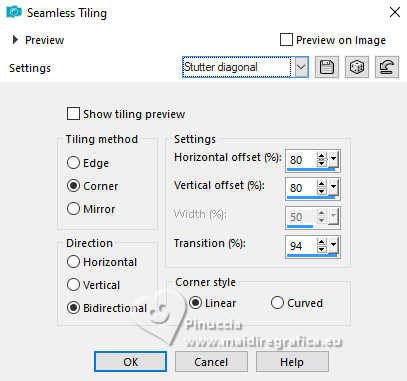 7. Layers>Duplicate. Selections>Load/Save Selections>Load Selections From Disk. Look for and load the selection WFeathers_Xiki1 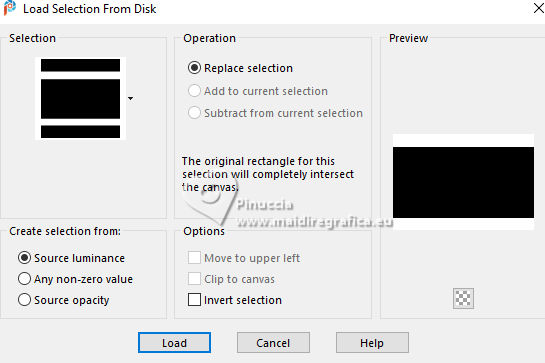 Press CANC on the keyboard  Selections>Select None. Image>Mirror>Mirror Horizontal. 8. Adjust>Add/Remove Noise>Add Noise.  9. Layers>New Raster Layer. Selections>Load/Save Selections>Load Selections From Disk. Look for and load the selection WFeathers_Xiki2  Effects>3D Effects>Cutout. 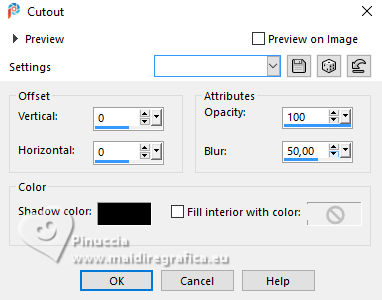 10. Effects>3D Effects>Drop Shadow, color black #000000. 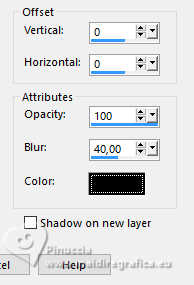 Selections>Select None. 11. Activate the layer Raster 1. Layers>Duplicate. Layers>Arrange>Bring to Top. Effects>Plugins>Filters Unlimited 2.0 - AFS Import - ewscript. 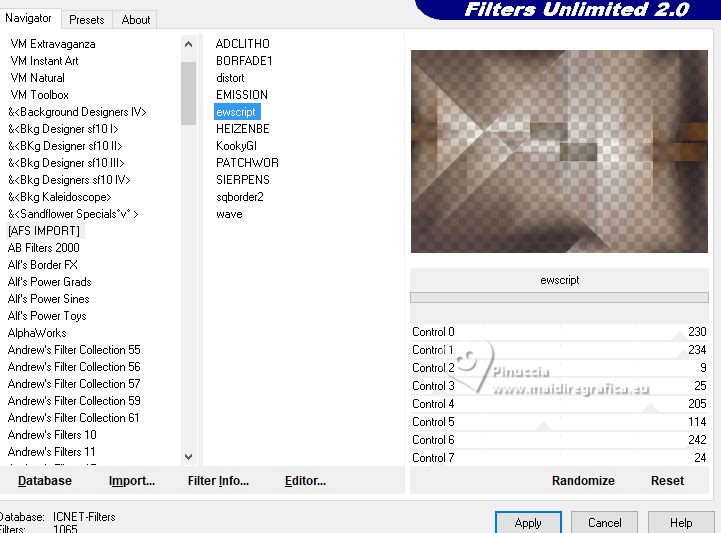 12. Layers>Properties>General: Blend Mode: Dodge. 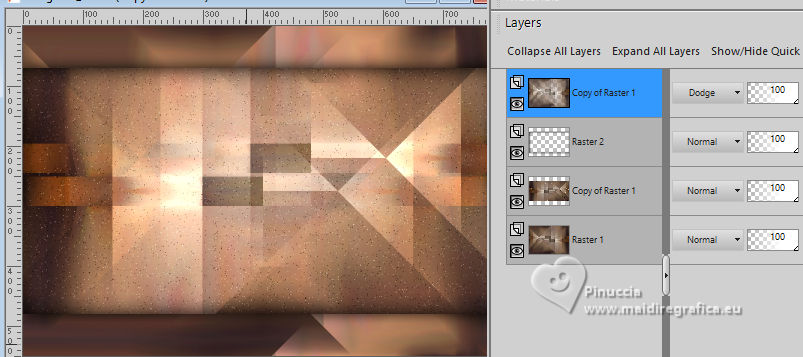 Effects>Edge Effects>Dilate. Edit>Repeat Dilate. 13. Activate again the layer Raster 1. Effects>Plugins>Penta.com - Color dot. 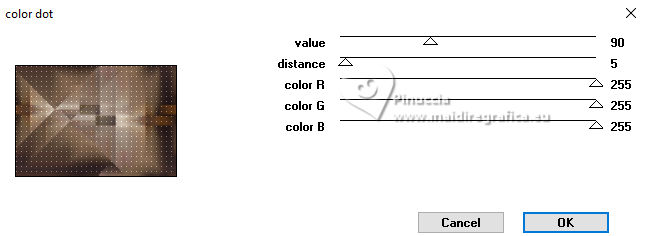 14. Activate the layer above, Copy of Raster 1. Edit>Copy Activate your top layer, also this named Copy of Raster 1. 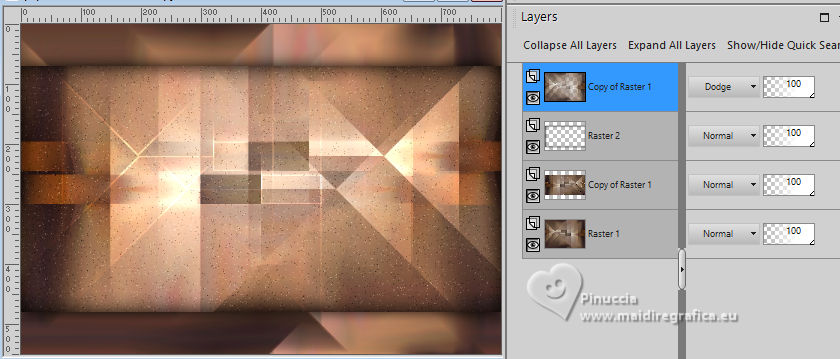 Layers>New Raster layer. Selections>Load/Save Selections>Load Selections From Disk. Look for and load the selection WFeathers_Xiki3  Edit>Paste into Selection 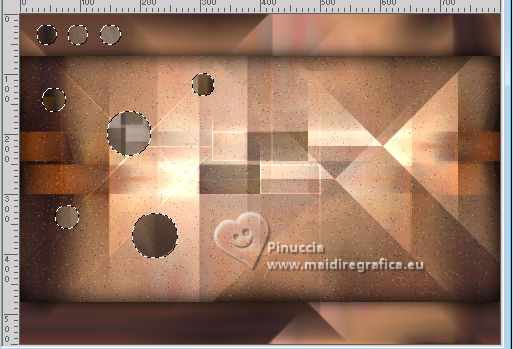 15. Adjust>Sharpness>Sharpen. Layers>Properties>General> Blend Mode: Hard Light. 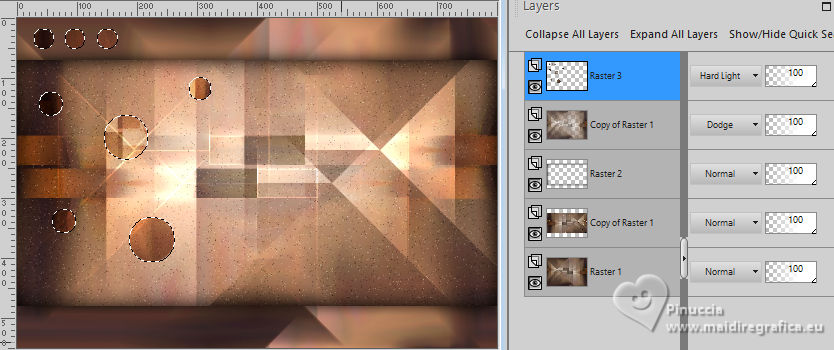 16. Layers>New Raster Layer. Effects>3D Effects>Cutout. 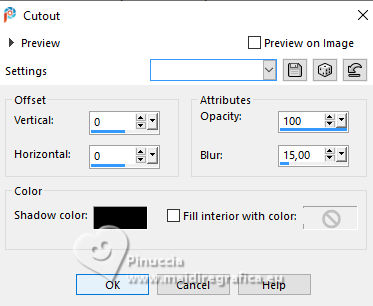 17. Effects>3D Effects>Drop Shadow, color black #000000.  Selections>Select None. Your tag and the layers.  18. Activate again your misted and go to Edit>Copy. Go back to your work and go to Edit>Paste as New Layer. For my example, I resized to 70%, resize all layers not checked. Move  the tube to the right side. the tube to the right side.Effects>3D Effects>Drop Shadow, at your choice. 19. Open WF_titulo_Xiki  Erase the watermark and go to Edit>Copy. Go back to your work and go to Edit>Paste as New Layer. Pick Tool  Position X: 0,00 - Position Y: 8,00.  21. Image>Add borders, 1 pixel, symmetric, foreground color. Image>Add borders, 5 pixels, symmetric, background color. Image>Add borders, 1 pixel, symmetric, foreground color. Image>Add borders, 1 pixel, symmetric, background color. 22. Selections>Select All. Image>Add borders, 15 pixels, symmetric, foreground color. Selections>Invert. Effects>Plugins>Penta.com - Color Dot.  Selections>Select None. 23. Image>Add borders, 5 pixels, symmetric, background color. Selections>Select All. Image>Add borders, 25 pixels, symmetric, foreground color. 24. Selections>Invert. Adjust>Add/Remove Noise>Add Noise, last settings. Selections>Select None. 25. Image>Add borders, 1 pixel, symmetric, background color. Image>Add borders, 30 pixels, symmetric, foreground color. 26. Effects>Plugins>AAA Frames - Foto Frame.  27. Sign your work and save as jpg. Optional In the second version I wanted to play with the colors and added a new layer. I painted it with the Foreground color. I applied the Filters Factory Gallery M - Ambrosia, default settings.  Layers >Properties>General>Blend Mode: Overlay - Opacity: 70%. For the tube thanks PqenaAlice   Your versions. Thanks  Kika  Louise  Melodi  Pia  Baby  Baby  Marion   If you have problems or doubts, or you find a not worked link, or only for tell me that you enjoyed this tutorial, write to me. 16 February 2025 |


