|
WHISPERS OF TIME  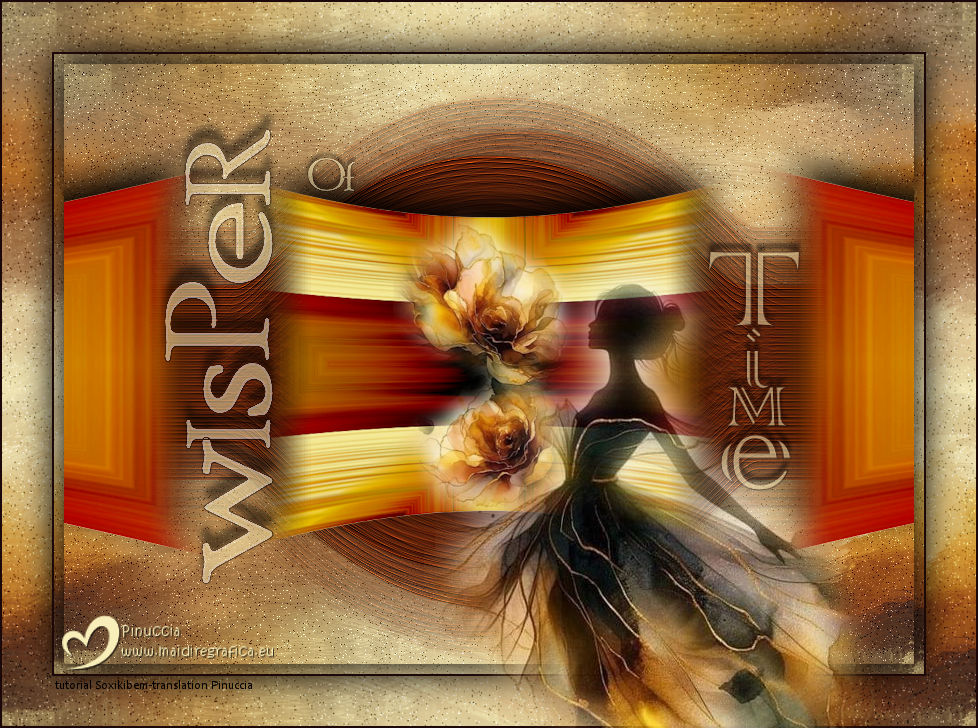
 Between shadows and light, time whispers forgotten secrets. In every gentle breeze, an echo of lost memories dances in the silence. The past and present intertwine in ethereal murmurs, guiding hearts that still dream.
This tutorial was written with Psp2022 and translated with PspX2020, but it can also be made using other versions of PSP.
For this tutorial, you will need:  Thanks for the tubes PqnaAlice. (The links of the tubemakers here).  consult, if necessary, my filter section here Filters Unlimited 2.0 here Mehdi - Sorting Tiles here MV's Plugins - Panowarp here VM Toolbox - Blast here Mura's Meister - Copies here Xero - Super Smooth here Filters VM Toolbox can be used alone or imported into Filters Unlimited. (How do, you see here) If a plugin supplied appears with this icon  it must necessarily be imported into Unlimited it must necessarily be imported into Unlimited You can change Blend Modes according to your colors.  Copy the Selection in the Selections Folder. 1. Choose 3 colors to work. For the example:  Set your foreground color to #1c0809, and your background color to #f8eeb9.  color 3 #95380d 2. Open a new transparent image 850 x 600 pixels. Flood Fill  the transparent image with your background color. the transparent image with your background color.Selections>Select All. Open your misted 212FlorByPqnaAlice 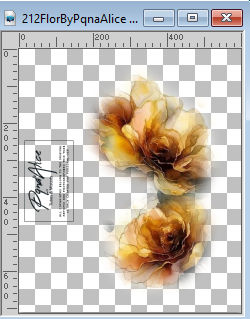 Erase the watermark and go to Edit>Copy. Go back to your work and go to Edit>Paste Into Selection. Selections>Select None. 3. Effects>Image Effects>Seamless Tiling, default settings.  Effects>Plugins>VM Toolbox - Blast. 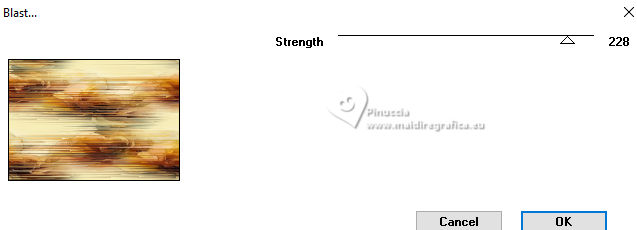 4. Effects>Distortion Effects>Wave  5. Effects>Image Effects>Seamless Tiling. 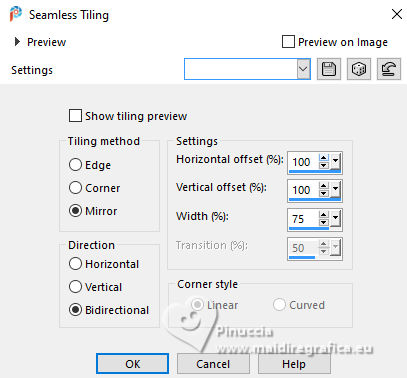 6. Layers>Duplicate. Effects>Plugins>Mehdi - Sorting Tiles. 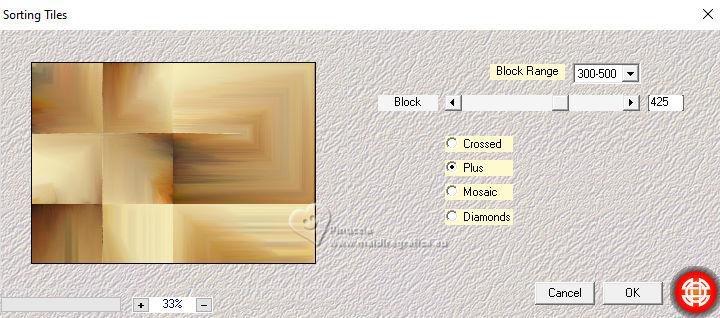 7. Effects>Reflection Effects>Kaleidoscope. 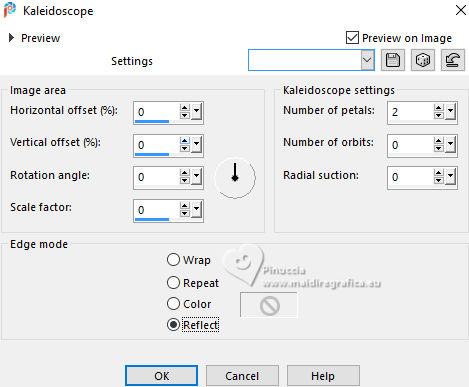 8. Layers>Duplicate. Layers>Properties>General> Blend Mode: Burn. in my second version I used Hard Light.  Layers>Merge>Merge Down. Activate your Selection Tool 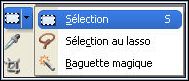 , tolerance and feather 0, , tolerance and feather 0,et select the rectangle effect  Selections>Promote Selection to Layer. Selections>Select None. 9. Chiudi il livello Promoted Selection. Activate the layer below Copy of Raster 1. Edit>Paste as new layer - the floral misted is still in memory 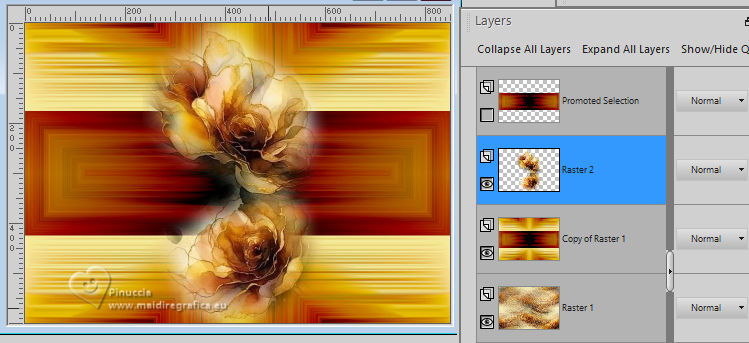 10. Layers>Merge>Merge Down. Effects>Plugins>MV's Plugins - PanoWarp  11. Image>Resize, to 70%, resize all layers not checked. Activate your Selection Tool  (no matter the type of selection, because with the custom selection your always get a rectangle) clic on the Custom Selection 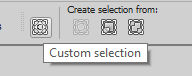 and set the following settings. 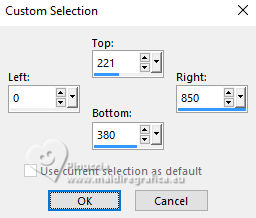 Activate the layer Raster 1. Layers>New Raster Layer. Set your foreground color to the color 3 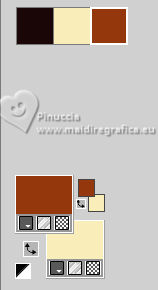 Flood Fill the selection with the color 3.Selections>Select None. Set again your foreground color with the color 1 12. Effects>Texture Effects>Blinds - foreground color. 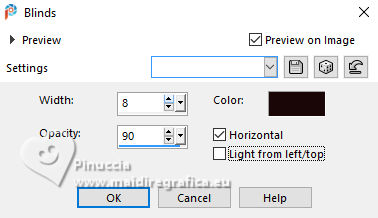 13. Effects>Distortion Effects>Warp. 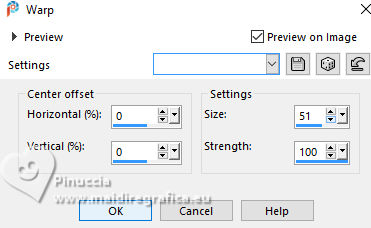 14. Effects>Plugins>Mura's Meister - Copies 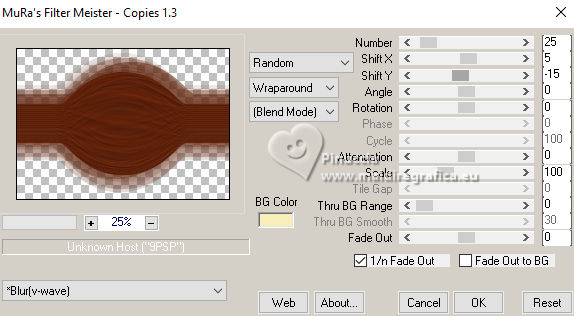 15. Effects>Edge Effects>Enhance. Activate the layer Raster 1. Effects>Plugins>Xero - Super Smooth 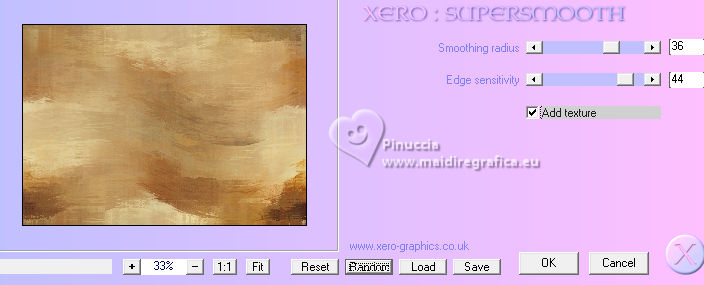 16. Adjust>Add/Remove Noise>Add Noise. 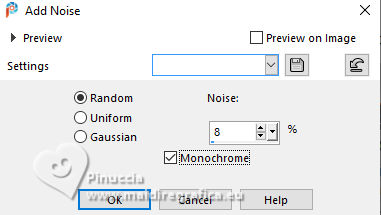 17. Open and activate the layer Promoted Selection. Effects>Plugins>MV's Plugins - PanoWarp 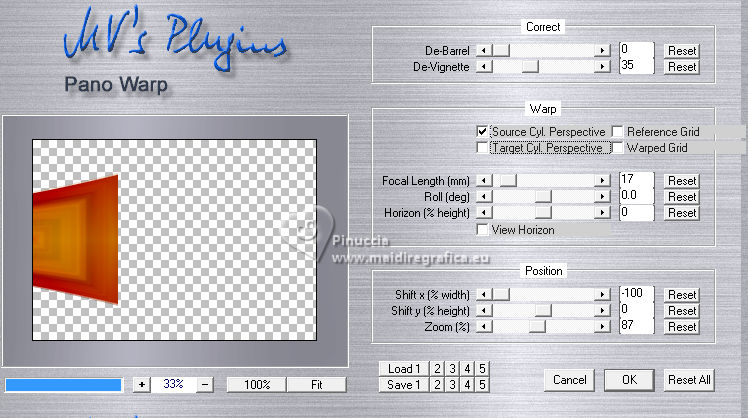 18. Pick Tool  Position X: -96,00 - Position Y: 100,00.  Layers>Duplicate. Image>Mirror>Mirror Horizontal. Layers>Merge>Merge Down. 19. Activate your Crop Tool  click in Merge Opaque Layer  and on Apply  to apply the crop. to apply the crop.20. Layers>Merge>Merge Down. Selections>Load/Save Selections>Load Selection From Disk. Look for and load the selection 284_Xiki_1  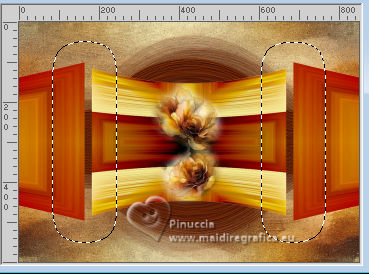 Press 5 times CANC on the keyboard  . .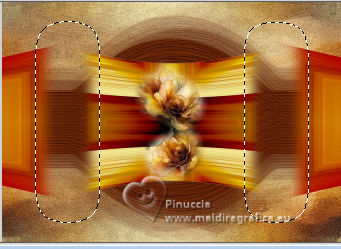 Selections>Select None. 21. Effects>3D Effects>Drop Shadow, color black #000000  22. Open TituloWOT_Xiki  Erase the watermark and go to Edit>Copy. Go back to your work and go to Edit>Paste a New Layer. Pick Tool Position X: 93,00 - Position Y: 43,00.  23. Activate the layer Raster 1. Edit>Copy 24. Image>Add Borders - 1 pixel, symmetric, foreground color. Selections>Select All. Image>Add Borders - 10 pixels, symmetric, whatever color. Selections>Invert. Edit>Paste Into Selection. Selections>Select None. 25. Image>Add Borders, 1 pixel, symmetric, foreground color. Selections>Select All. Image>Add Borders, 50 pixels, symmetric, whatever color. Selections>Invert. Edit>Paste Into Selection 26. Selections>Invert. Effects>3D Effects>Drop Shadow, color black #000000.  Selections>Select None. 27. Image>Add Borders, 2 pixels, symmetric, foreground color. 28. Open your main tube 090DiversosByPqnaAlice  Erase the watermark and go to Edit>Copy. Go back to your work and go to Edit>Paste as New Layer. Image>Mirror>Mirror Horizontal. Place  correctly the tube to the right side. correctly the tube to the right side.Effects>3D Effects>Drop shadow, at your choice. 29. Sign your work and save as jpg. For the tubes of this version thanks Lady Valella and PqnaAlice 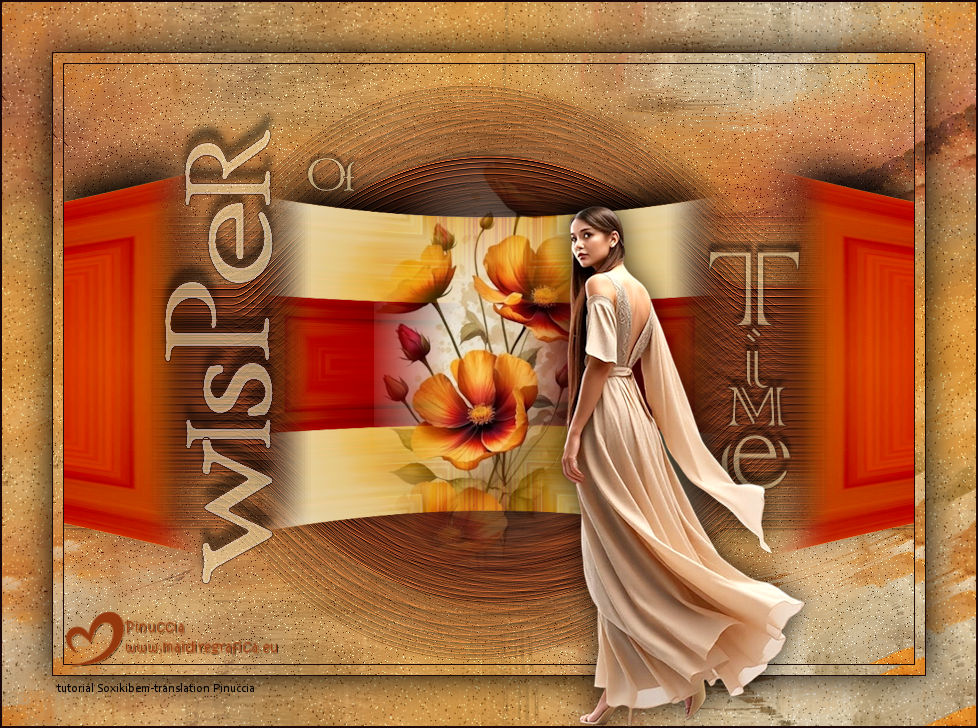  Your versions. Thanks  Irene  Kika  JMercedes  Lynnette  Marion  If you have problems or doubts, or you find a not worked link, or only for tell me that you enjoyed this tutorial, write to me. 1 June 2025 |


