|
ALGODON
 COTTON COTTON

Thanks Yedralina for your invitation to translate your tutorials into english

This tutorial was written with PSP2020 and translated with PSPX9, PSPX8 and PSP2020, but it can also be made using other versions of PSP.
Since version PSP X4, Image>Mirror was replaced with Image>Flip Horizontal,
and Image>Flip with Image>Flip Vertical, there are some variables.
In versions X5 and X6, the functions have been improved by making available the Objects menu.
In the latest version X7 command Image>Mirror and Image>Flip returned, but with new differences.
See my schedule here
 italian translation here italian translation here
 french translation here french translation here
 your versions here your versions here
For this tutorial, you will need:

For the tubes and the mask thanks Silvie, Beatriz and Narah.
(The links of the tubemakers here).

consult, if necessary, my filter section here
Filters Unlimited 2.0 here
AP 01 [Innovations] - Lines SilverLining here
Mura's Seamless - Emboss at alpha here
Simple - Top Left Mirror here
Tramages - Tow the line here
AAA Filters - Custom here
Filters Mura's Seamless, Simple and Tramages can be used alone or imported into Filters Unlimited.
(How do, you see here)
If a plugin supplied appears with this icon  it must necessarily be imported into Unlimited it must necessarily be imported into Unlimited

You can change Blend Modes according to your colors.
In the newest versions of PSP, you don't find the foreground/background gradient (Corel_06_029).
You can use the gradients of the older versions.
The Gradient of CorelX here

Open the mask in PSP and minimize it with the rest of the material.
Set you foreground color to #ece3da,
and your background color to #758696
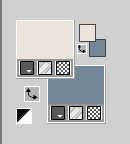
Set your foreground color to a Foreground/Background Gradient, style Radial.
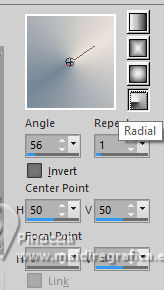
1. Open a new transparent image 1000 x 700 pixels.
Flood Fill  the transparent image with your Gradient. the transparent image with your Gradient.
2. Adjust>Blur>Gaussian Blur - radius 20.

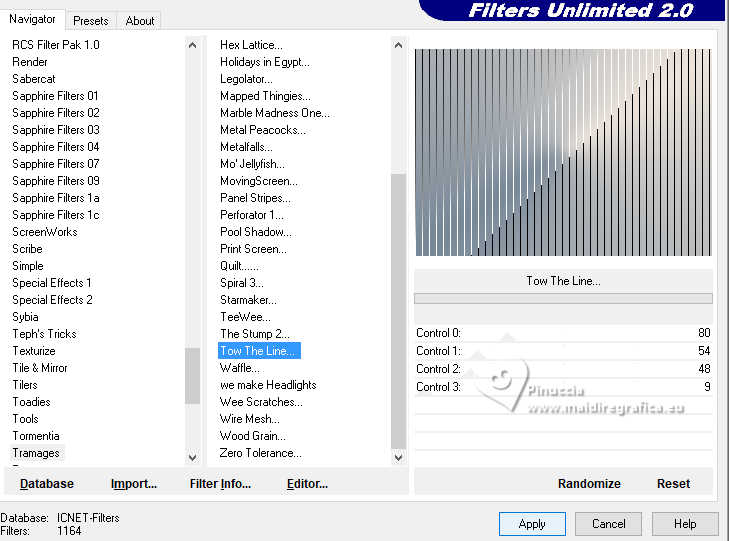
3. Effects>Plugins>Filters Unlimited 2.0 - Tramages - Tow the line, default settings.
4. Effects>Image Effects>Seamless Tiling.

Layers>Duplicate.
Image>Resize, to 80%, resize all layers not checked.
5. Effects>Image Effects>Seamless Tiling, horizontal checked.

Image>Mirror>Mirror Horizontal.
Effects>3D Effects>Drop Shadow, color black.

6. Layers>New Raster Layer.
Selections>Select All.
Open your main tube Black_Beauty85W_Silvie_29.04.2025 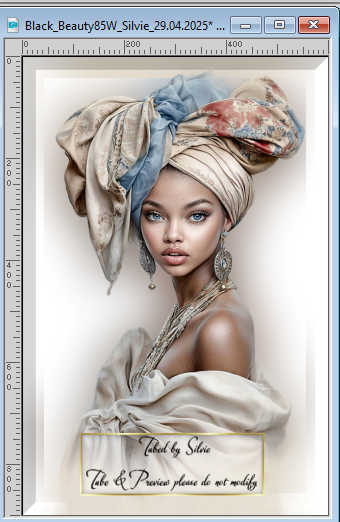
Edit>Copy.
Go back to your work and go to Edit>Paste into Selection.
Selections>Select None.
7. Effects>Image Effects>Seamless Tiling, default settings.

Adjust>Blur>Gaussian Blur - radius 15

Effects>Reflection Effects>Rotating Mirror, default settings.

Again Effects>Reflection Effects>Rotating Mirror, angle 180.

8. Layers>New Raster Layer.
Activate your Selection Tool 
(no matter the type of selection, because with the custom selection your always get a rectangle)
clic on the Custom Selection 
and set the following settings.
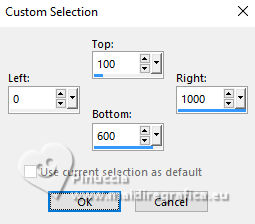
Set your foreground color to Color.
Flood Fill  the selection with your foreground color. the selection with your foreground color.
9. Activate the layer Raster 1.
Again Custom Selection 
(the new selection will replace the previous one).
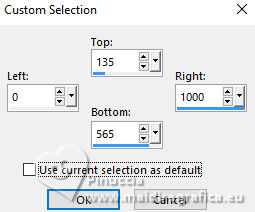
Selections>Promote Selection to Layer.
Layers>Arrange>Bring to Top.
10. Effects>Plugins>Filters Unlimited 2.0 - Simple - Top Left Mirror
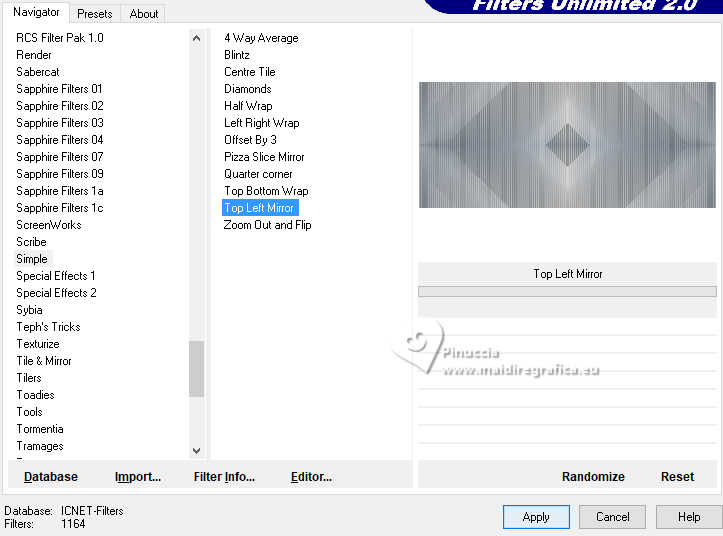
Effects>3D Effects>Drop Shadow, color black.

Selections>Select None.
11. Effects>Image Effects>Seamless Tiling.

Layers>Merge>Merge visible to new layer.
if you are using a previous version:
Edit>Copy Special>Copy Merged
Edit>Paste as new layer
12. Image>Resize, to 30%, resize all layers not checked.
Effects>Image Effects>Seamless Tiling.
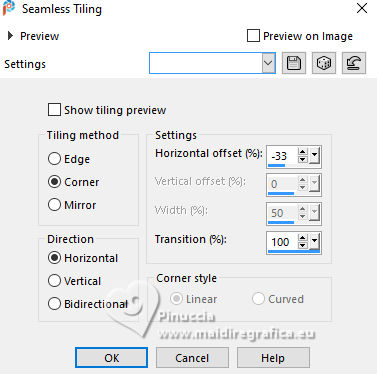
13. Effects>Reflection Effects>Rotating Mirror, default settings.

Again Image>Resize, to 80%, resize all layers not checked.
Adjust>Sharpness>Sharpen More.
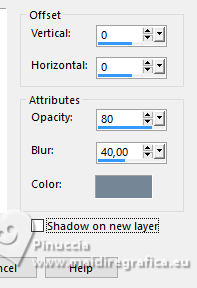
Effects>3D Effects>Drop Shadow, same settings, but background color.
14. Layers>New Raster Layer.
Set your foreground color to white.
Flood Fill  the layer with color white. the layer with color white.
Layers>New Mask layer>From image
Open the menu under the source window and you'll see all the files open.
Select the mask Narah_Mask_1240

Layers>Merge>Merge Group.
15. Layers>Duplicate.
Image>Mirror>Mirror Horizontal.
Image>Mirror>Mirror Vertical (Image>Flip).
Layers>Merge>Merge Down.
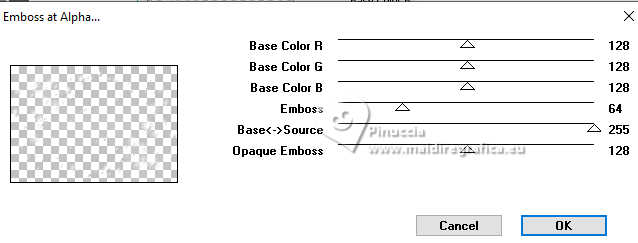
16. Effects>Plugins>Mura's Seamless - Emboss at Alpha, default settings.
17. Open the tube 3672-still life-LB TUBES 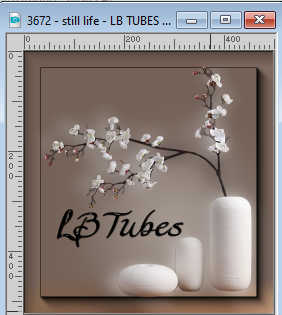
Edit>Copy.
Go back to your work and go to Edit>Past as new layer.
Image>Resize, if necessary, for the provided tube to 85; resize all layers not checked.
Move  the tube to the right. the tube to the right.
18. Layers>Duplicate.
Adjust>Blur>Gaussian Blur - radius 20.

Change the Blend Mode of this layer to Multiply.
Layers>Arrange>Move Down.
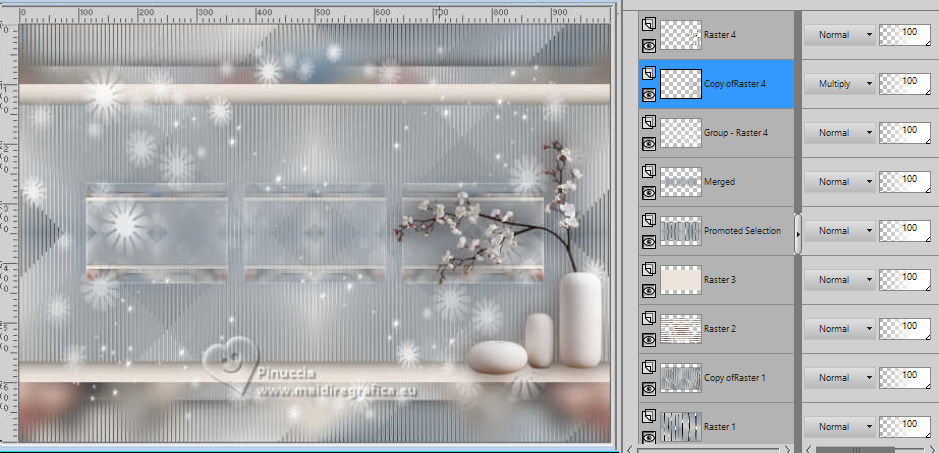
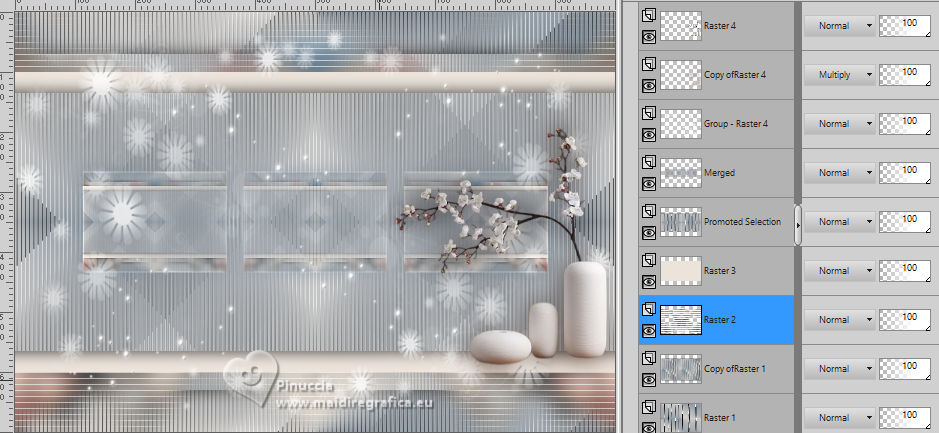
19. Activate the layer Raster 2.
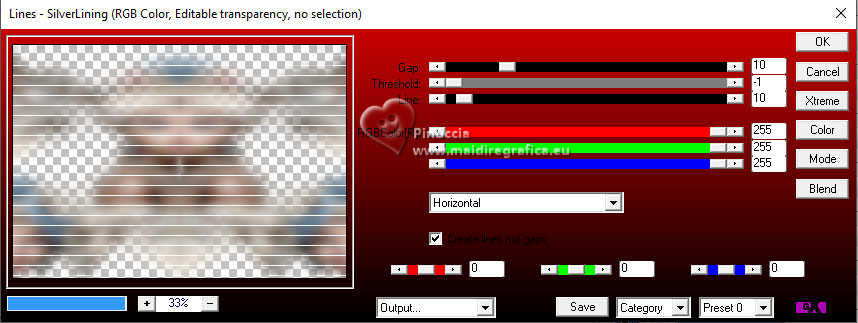
Effects>Plugins>AP 01 [Innovations] - Lines SilverLining
Result
20. Image>Add Borders, 2 pixels, symmetric, background color.
Selections>Select All.
Edit>Copy
21. Image>Add Borders, 50 pixels, symmetric, whatever color.
Selections>Invert.
22.Edit>Paste into Selection - the image in memory.
Adjust>Blur>Gaussian Blur - radius 15.

Effects>3D Effects>Drop Shadow, color black.

Selections>Select None.
23. Activate again your main tube and go to Edit>Copy.
Go back to your work and go to Edit>Past as new layer.
Image>Resize, if necessary, for the provided tube to 95%, resize all layers not checked.
Image>Mirror>Mirror Horizontal.
Move  the tube to the left side. the tube to the left side.
24. Layers>Duplicate.
Adjust>Blur>Gaussian Blur - radius 20.

Change the Blend Mode of this layer to Multiply.
Layers>Arrange>Move Down.
25. Image>Add Borders, 1 pixel, symmetric, background color.
26. Image>Resize, 1000 pixels width, resize all layers checked.
27. Sign your work on a new layer.
Layers>Merge>Merge All.
28. Optional: Effects>Plugins>AAA Filters - Custom - Landscape.
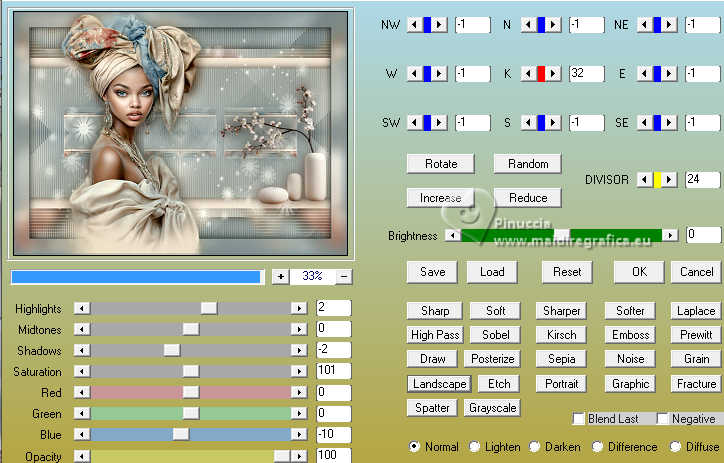
Save as jpg.
For the tubes of these versions thanks
Nicole and Syl
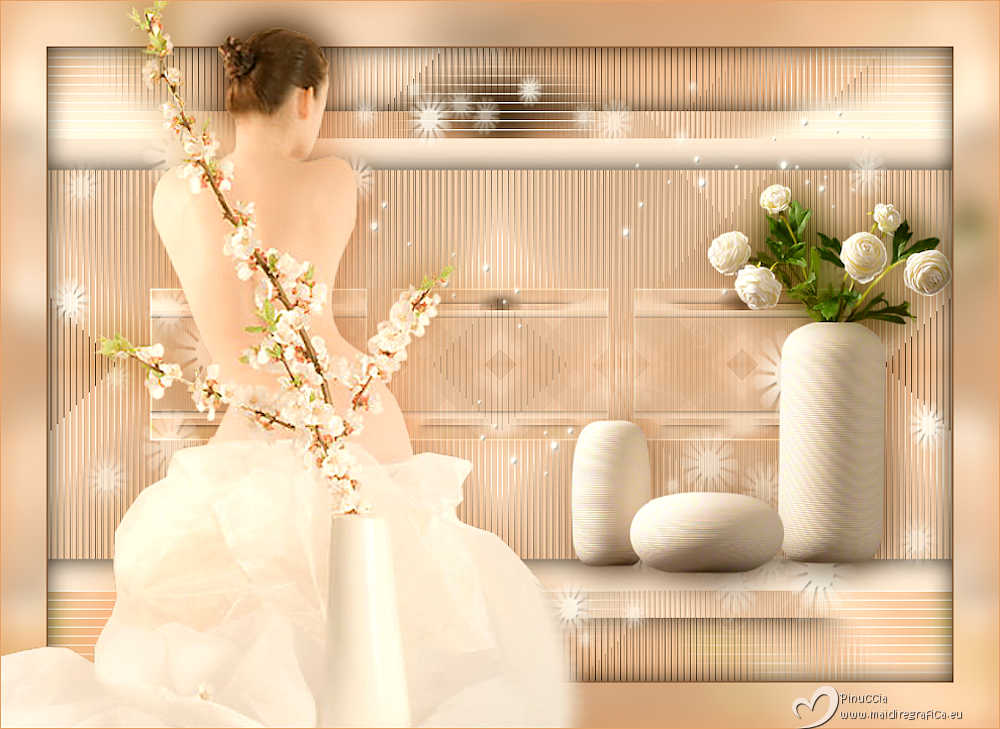
Luz Cristina and Naise M.


If you have problems or doubts, or you find a not worked link, or only for tell me that you enjoyed this tutorial, write to me.
2 September 2025

|
 COTTON

 COTTON
