|
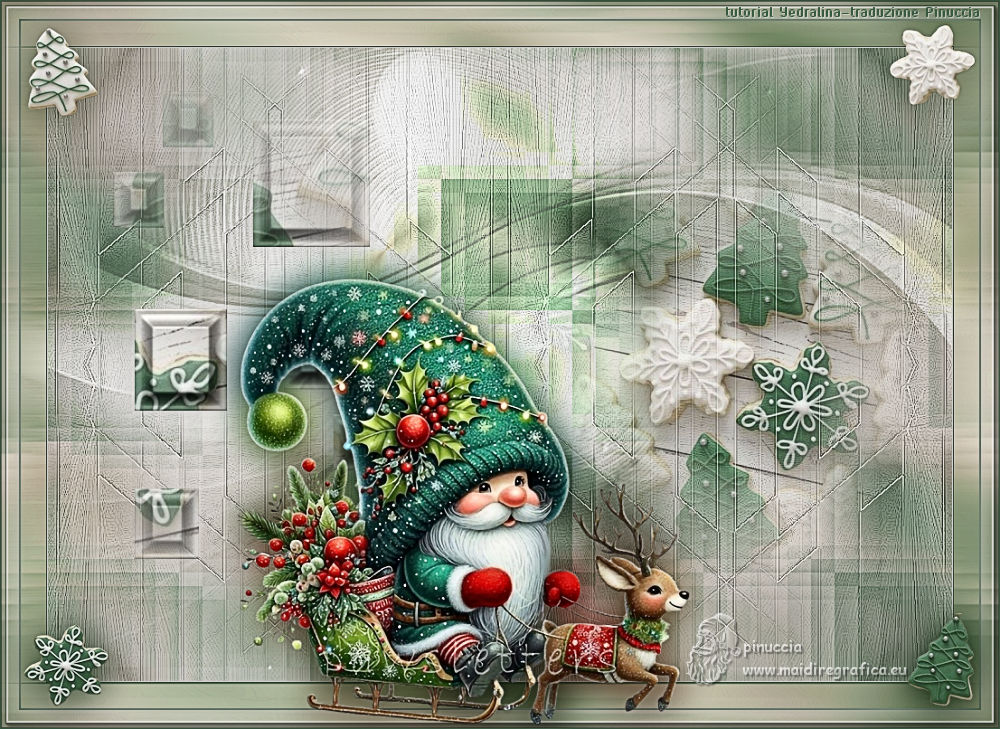
GALLETAS DE JENGIBRE
 GINGER COOKIES GINGER COOKIES

Thanks Yedralina for your invitation to translate your tutorials into english

This tutorial was written with PSP2020 and translated with PSPX9, PSPX8 and PSP2020, but it can also be made using other versions of PSP.
Since version PSP X4, Image>Mirror was replaced with Image>Flip Horizontal,
and Image>Flip with Image>Flip Vertical, there are some variables.
In versions X5 and X6, the functions have been improved by making available the Objects menu.
In the latest version X7 command Image>Mirror and Image>Flip returned, but with new differences.
See my schedule here
 italian translation here italian translation here
 french translation here french translation here
 your versions here your versions here

For this tutorial, you will need:

For the main tube thanks Silvie.
The rest of the material is by Yedralina
(The links of the tubemakers here).

consult, if necessary, my filter section here
Filters Unlimited 2.0 qui
AAA Frames - Foto Frame / AAA Filters - Custom qui
Mehdi - Sorting Tiles qui
VM Instant Art - Origami qui
Filters Simple, VM Distortion and VM Natural can be used alone or imported into Filters Unlimited.
(How do, you see here)
If a plugin supplied appears with this icon  it must necessarily be imported into Unlimited it must necessarily be imported into Unlimited


Copy the preset in the Presets Folder.
Open the masks in PSP and minimize them with the rest of the material.

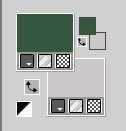
Set your foreground color to #36583f,
and your background color to #cdc9c8.
1. Open a new transparent image 1000 x 700 pixels.
2. Selections>Select All.
Open the texture or jpg image 1 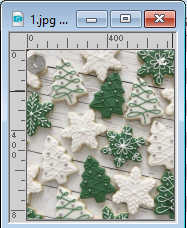
Edit>Copy.
Go back to your work and go to Edit>Paste into Selection.
Selections>Select None.
3. Adjust>Blur>Gaussian Blur - radius 20

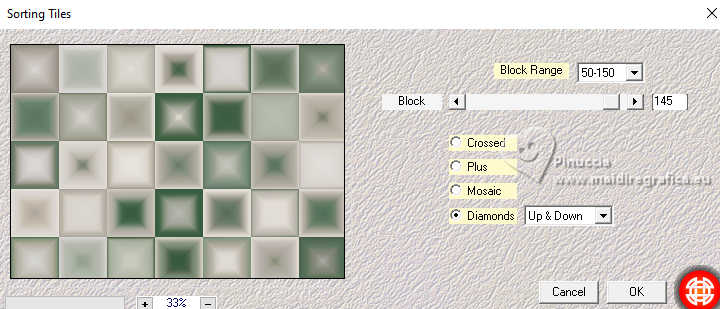
4. Effects>Plugins>Mehdi - Sorting Tiles.
5. Effects>Plugins>Filters Unlimited 2.0 - Special Effects 1 - Shiver, default settings.

6. Layers>Duplicate.
Effects>Plugins>VM Instant Art - Origami
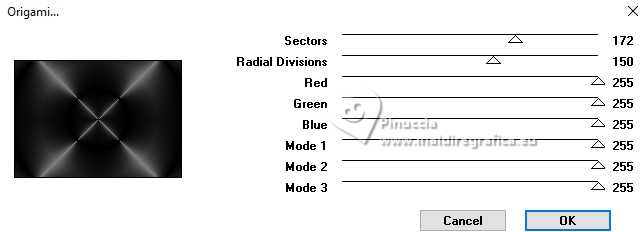
7. Change the Blend Mode of this layer to Soft Light.
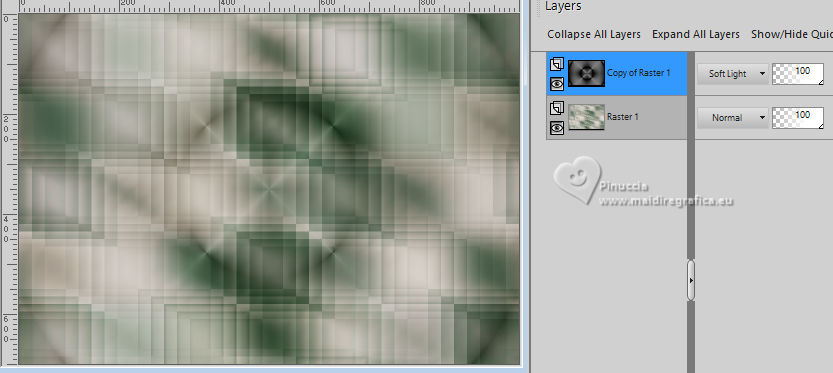
8. Layers>New Raster Layer.
Flood Fill  the layer with your background color. the layer with your background color.
Layers>New Mask layer>From image
Open the menu under the source window and you'll see all the files open.
Select the mask Masc171b©Yedralina
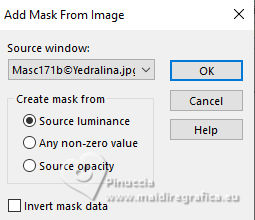
Layers>Duplicate.
Layers>Merge>Merge Group.
9. Adjust>Sharpness>Sharpen.
Effects>Reflection Effects>Rotating Mirror, default settings.

Repeat Effects>Reflection Effects>Rotating Mirror, angle 270.
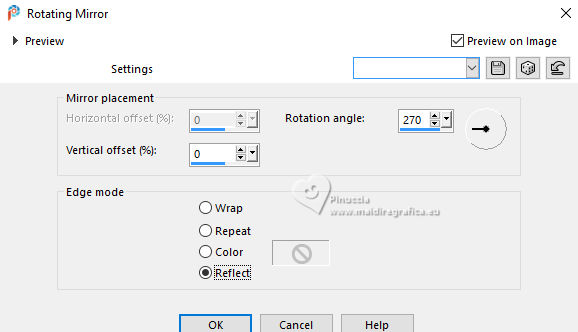
10. Effects>Image Effects>Seamless Tiling.

Effects>Edge Effects>Enhance.
Change the Blend Mode of this layer to Luminance (legacy).
11. Open the misted 4100©Yedralina 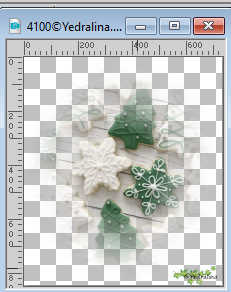
Erase the watermark and go to Edit>Copy.
Go back to your work and go to Edit>Paste as new layer.
Layers>Arrange>Move Down.
12. K key to activate your Pick Tool 
Position X: 417,00 - Position Y: -60,00.
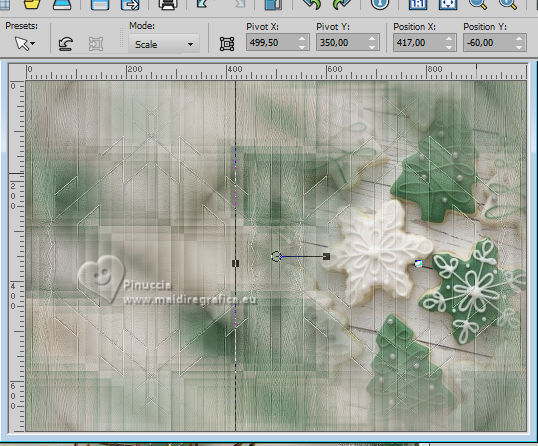
M key to deselect the Tool.
13. Stay on this layer.
Selections>Load/Save Selection>Load Selection from Disk.
Look for and load the selection ©Yedralina_Sel0887
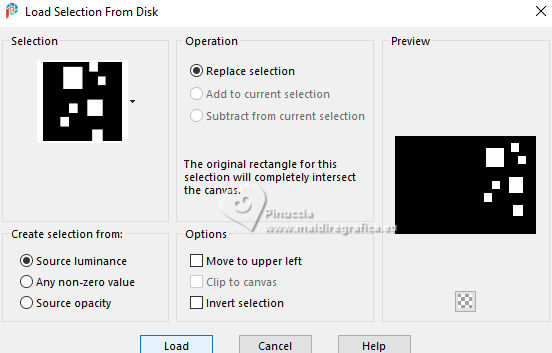
Selections>Promote Selection to Layer.
Layers>Arrange>Bring to Top.
14. Effects>3D Effects>Inner Bevel.
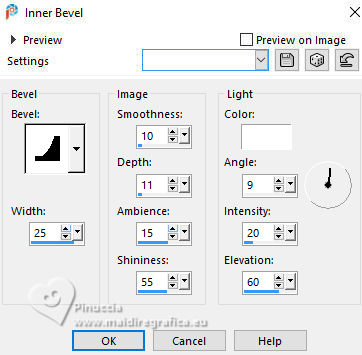
Selections>Select None.
15. Image>Mirror>Mirror Horizontal.
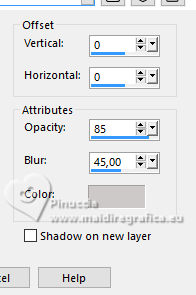
Effects>3D Effects>Drop shadow, background color.
16. Activate the layer of your misted to resize it. See the final tag.
For me to 65%, resize all layers not checked.
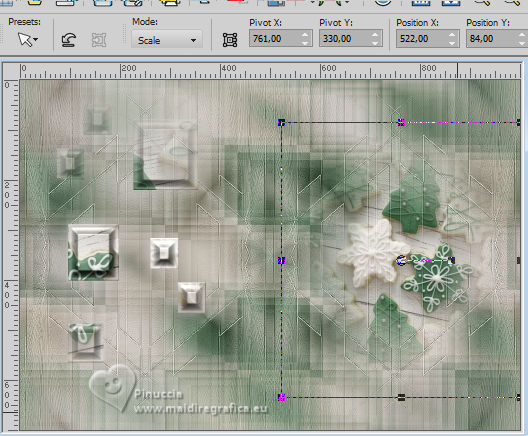
17. Objects>Align>Right,
or Pick Tool (K) 
Position X: 522,00 - Position Y: 84,00.
Adjust>Sharpness>Sharpen.
18. Layers>New Raster Layer.
Set your foreground color to white.
Flood Fill  the layer with the color white. the layer with the color white.
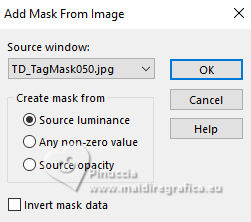
19. Layers>New Mask layer>From image
Open the menu under the source window
and select the mask TD_TagMask050
Layers>Duplicate.
Layers>Merge>Merge Group.
20. Image>Mirror>Mirror Vertical (Image>Flip).
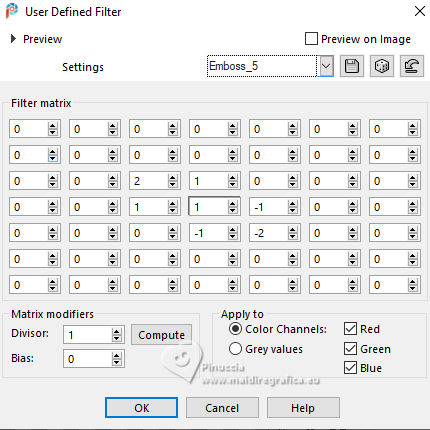
21. Effects>User Defined Filter - Emboss 5
22. Change the Blend Mode of this layer to Overlay.
Layers>Arrange>Move Down.
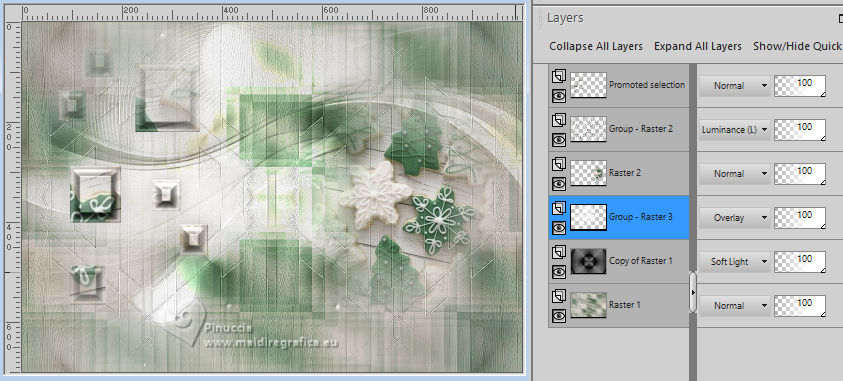
23. Activate again your background layer.
Edit>Copy.
Edit>Paste as new image, and minimize it.
24. Set again your foreground color with the first color #36583f

Go back to your work.
Image>Add Borders, 1 pixel, symmetric, background color.
Image>Add Borders, 1 pixel, symmetric, foreground colo.
25. Selections>Select All.
26. Image>Add Borders, 50 pixels, symmetric, whatever color.
27. Selections>Invert.
Edit>Paste into Selection - the minimized image is still in memory.
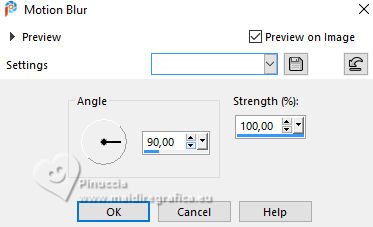
Adjust>Blur>Motion Blur.
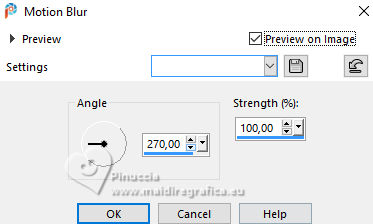
Repeat Adjust>Blur>Motion Blur, angle 270.
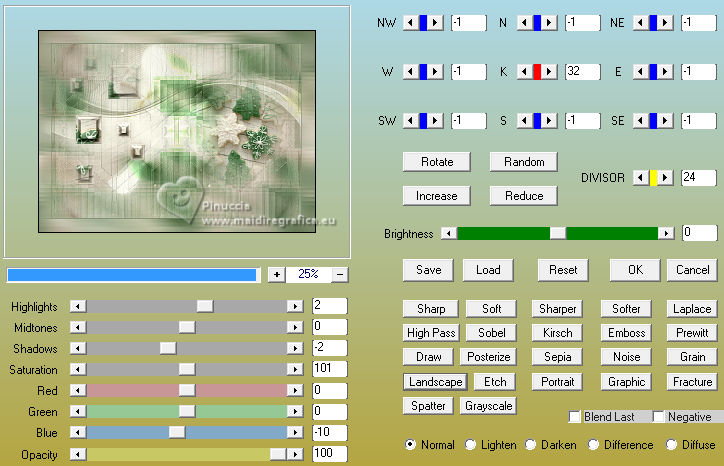
28. Effects>Plugins>AAA Filters - Custom - Landscape/Grain
29. Selections>Select All.
Selections>Modify>Contract - 20 pixels.
30. Layers>New Raster Layer.
Flood fill  with your foreground color. with your foreground color.
31. Selections>Modify>Contract - 2 pixels.
Press CANC on the keyboard 
Keep selected.
32. Effects>3D Effects>Drop shadow, background color.

Selections>Select None.
33. Layers>Merge>Merge Down.
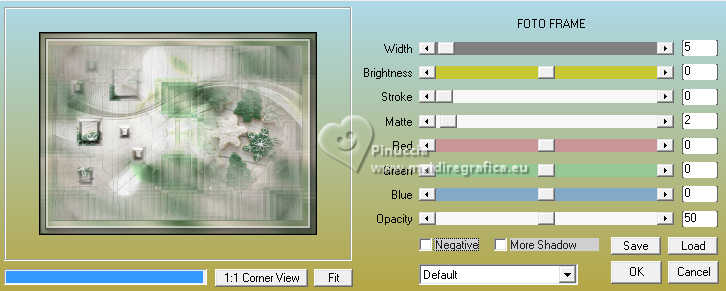
34. Effects>Plugins>AAA Frames - Foto Frame.
35. Open the tube Christmas_Gnome_in_Sled47C_Silvie... 
Edit>Copy.
Go back to your work and go to Edit>Paste as new layer.
Image>Resize, if necessary - for the provided tube to 65%, resize all layers not checked.
Move  the tube to your liking. the tube to your liking.
36. Adjust>Sharpness>Sharpen.
Layers>Duplicate.
37. Adjust>Blur>Gaussian Blur - radius 20.

38. Change the Blend Mode of this layer to Luminance (legacy) (or Multiply).
Layers>Arrange>Move Down.
39. Open the tube Deco384©Yedralina 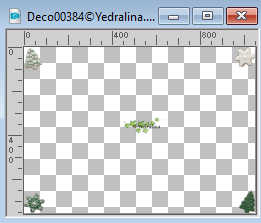
Erase the watermark and go to Edit>Copy.
Go back to your work and go to Edit>Paste as new layer.
Don't move it.
40. Layers>Duplicate.
Adjust>Blur>Gaussian Blur - radius 20.

Change the Blend Mode of this layer to Multiply.
Layers>Arrange>Move Down.
41. Image>Add Borders, 1 pixel, symmetric, foreground color.
Image>Resize, 1000 pixels width, resize all layers checked.
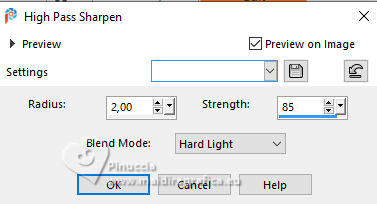
42. Adjust>Sharpness>High Pass Sharpen
43. Sign your work on a new layer.
Layers>Merge>Merge All and save as jpg.
Main tube by Silvie; the rest of the material by Yedralina. Thanks.
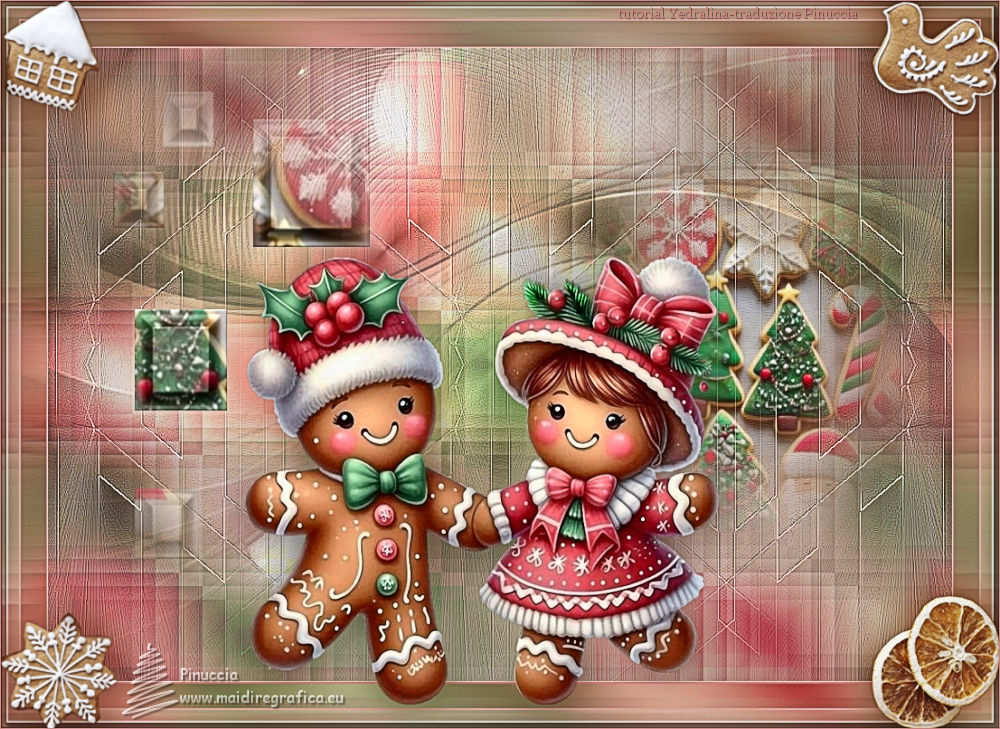
For the scrap elements of this version thanks Blaque Heart Designz
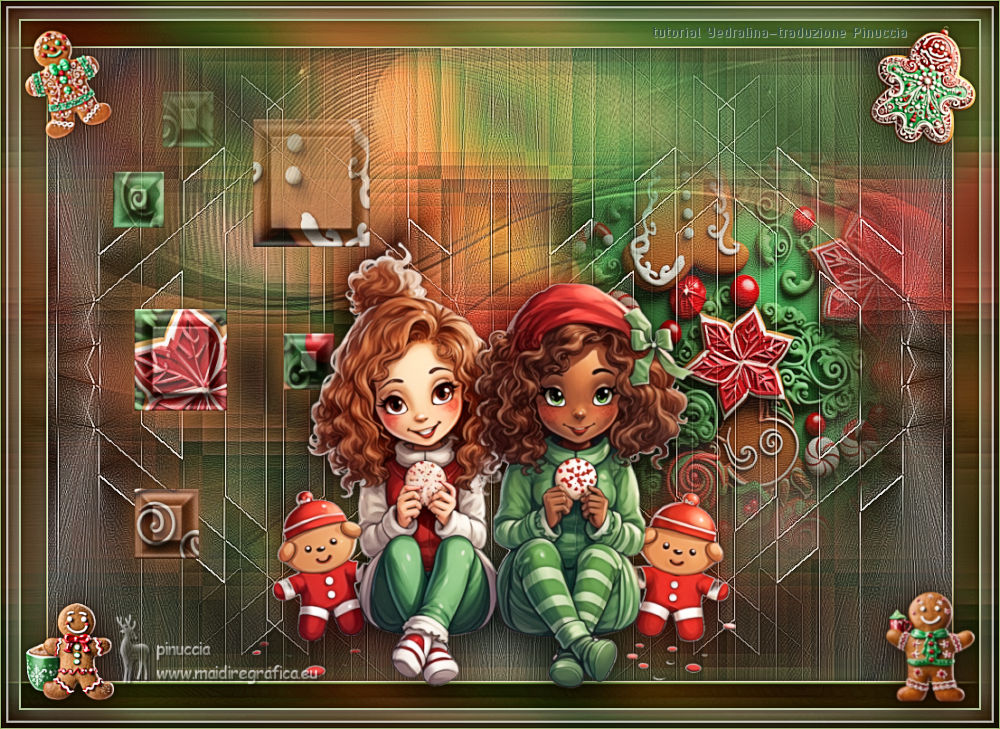
Version with my tubes from Pinterest images


If you have problems or doubts, or you find a not worked link, or only for tell me that you enjoyed this tutorial, write to me.
30 November 2025

|
 GINGER COOKIES

 GINGER COOKIES